
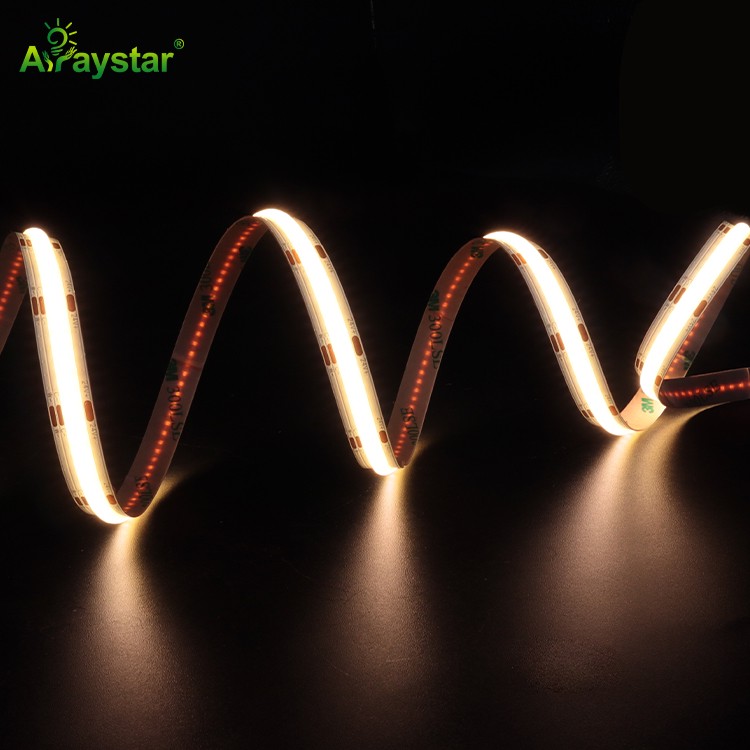
Why mount LED strips in an aluminum profile
An aluminum profile (also called an LED channel or extrusion) turns a bare flexible strip into a finished linear light fixture. It provides a heat sink, a mounting surface, and a diffuser that hides individual LED dots. This page explains how to match the strip to the profile, choose the cover, and install it correctly.
Heat dissipation
Aluminum pulls heat away from the PCB, lowering junction temperature and extending LED life.
Dot-free light
A frosted or opal cover diffuses the beam so individual LEDs disappear into a continuous line.
Clean finish
The channel hides wiring and adhesive and gives a rigid, professional mounting edge.
How to match strip width to the channel
The most common mistake is ordering a strip wider than the channel inner width. The PCB must sit flat on the base. Use this table as a starting point, then confirm the exact inner width on the profile datasheet.
| PCB width | Minimum channel inner width | Typical strip type |
|---|---|---|
| 5mm | 7mm | Narrow COB / 2835 low-density |
| 8mm | 10mm | Standard 2835 / 5050 / most COB |
| 10mm | 12mm | High-density SMD / RGBW |
| 12mm | 15mm | High-power / addressable / 5-in-1 |
Channel types and diffuser covers
Profiles are named by how they mount. The same strip works in all of them; the difference is the installation detail and visible finish.
Surface mount
Screws or sticks onto any flat surface. The simplest option for cabinets and shelving.
Recessed / flush
Plastered into a groove so only the light line shows. Used in walls and ceilings.
Corner / angle
45-degree or 90-degree V-shape for internal corners and edge lighting.
Pendant / suspended
Hangs from wires for linear pendant fixtures over counters and workspaces.
Opal cover
Fully hides dots, loses 20-30% output. Best for shallow channels.
Frosted / clear
Frosted balances output and dots; clear keeps maximum brightness at high mounting.
Four-step installation
Measure and cut
Cut the profile with a hacksaw or miter saw. Cut the strip only at marked cut lines.
Fix the channel
Mount with screws or adhesive. For recessed profiles, plaster and sand flush first.
Stick the strip
Clean with alcohol, peel the backing, press in from one end. Wire before the final section.
Clip the cover
Press the diffuser along the channel. End caps and mounting brackets finish the fixture.
Recommended strips for channel mounting
These strips are supplied on reels and cut to the length of the profile. COB is the default choice for dot-free linear light; high-density SMD is the value option.
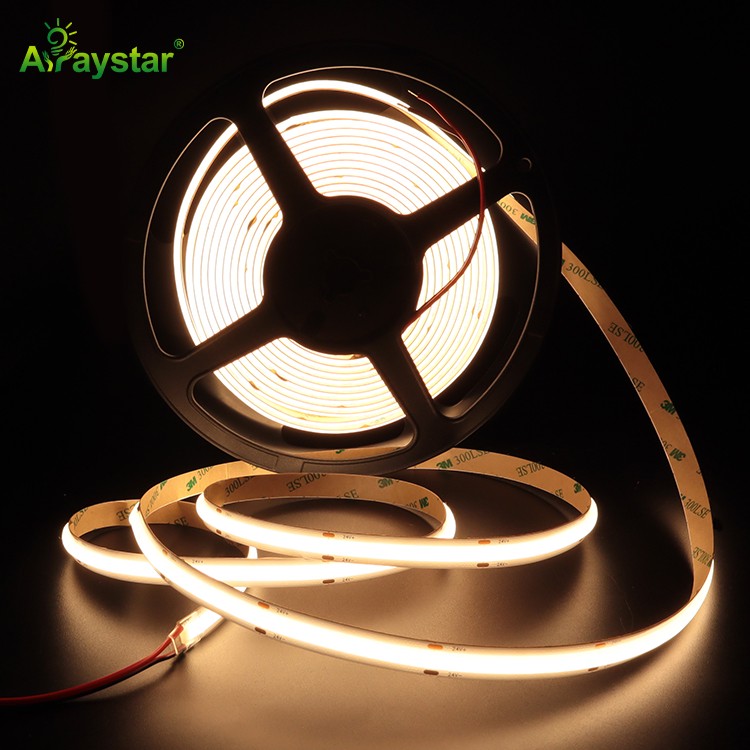
COB LED Strip
Continuous dot-free line, 5-12mm PCB options, ideal behind opal and frosted covers.
View product
High-density SMD Strip
120-240 LEDs/m on 8-10mm PCB, cost-effective for surface and recessed channels.
View product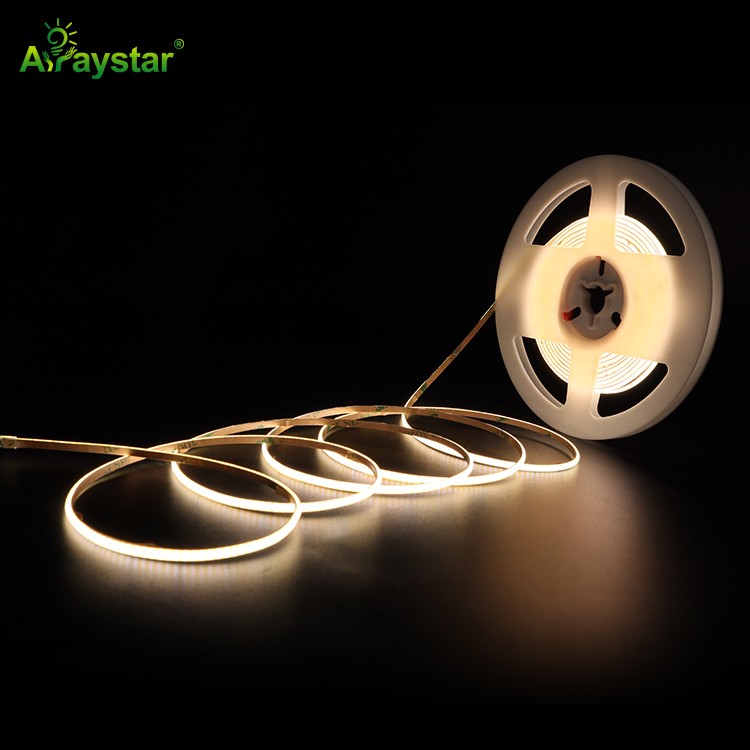
Tunable White COB
Adjustable color temperature in a single channel, for dimmable warm-to-cool fixtures.
View productFrequently asked questions
Need strips cut to match your profiles?
Send us your channel inner width and run length. We will recommend the PCB width, density and cover, and supply cut-to-length samples.
Request a quote