Cold Weather LED Strip Installation: Winter Adhesive & Handling Tips
- 2026-09-19 13:17
- /
- Arraystar
Self-adhesive strip is temperature-sensitive: below roughly 10 °C the pressure-sensitive adhesive hardens and will not wet out properly, so strip applied in the cold will seem to stick and then fall. For winter or cold-surface installs, warm the substrate and strip to the adhesive's rated application temperature (often ~15–25 °C+), clean and dry the surface, use primer where recommended, apply firm pressure, and add mechanical clips/channels as the permanent fix rather than relying on tape alone.
Why Cold Kills Adhesion
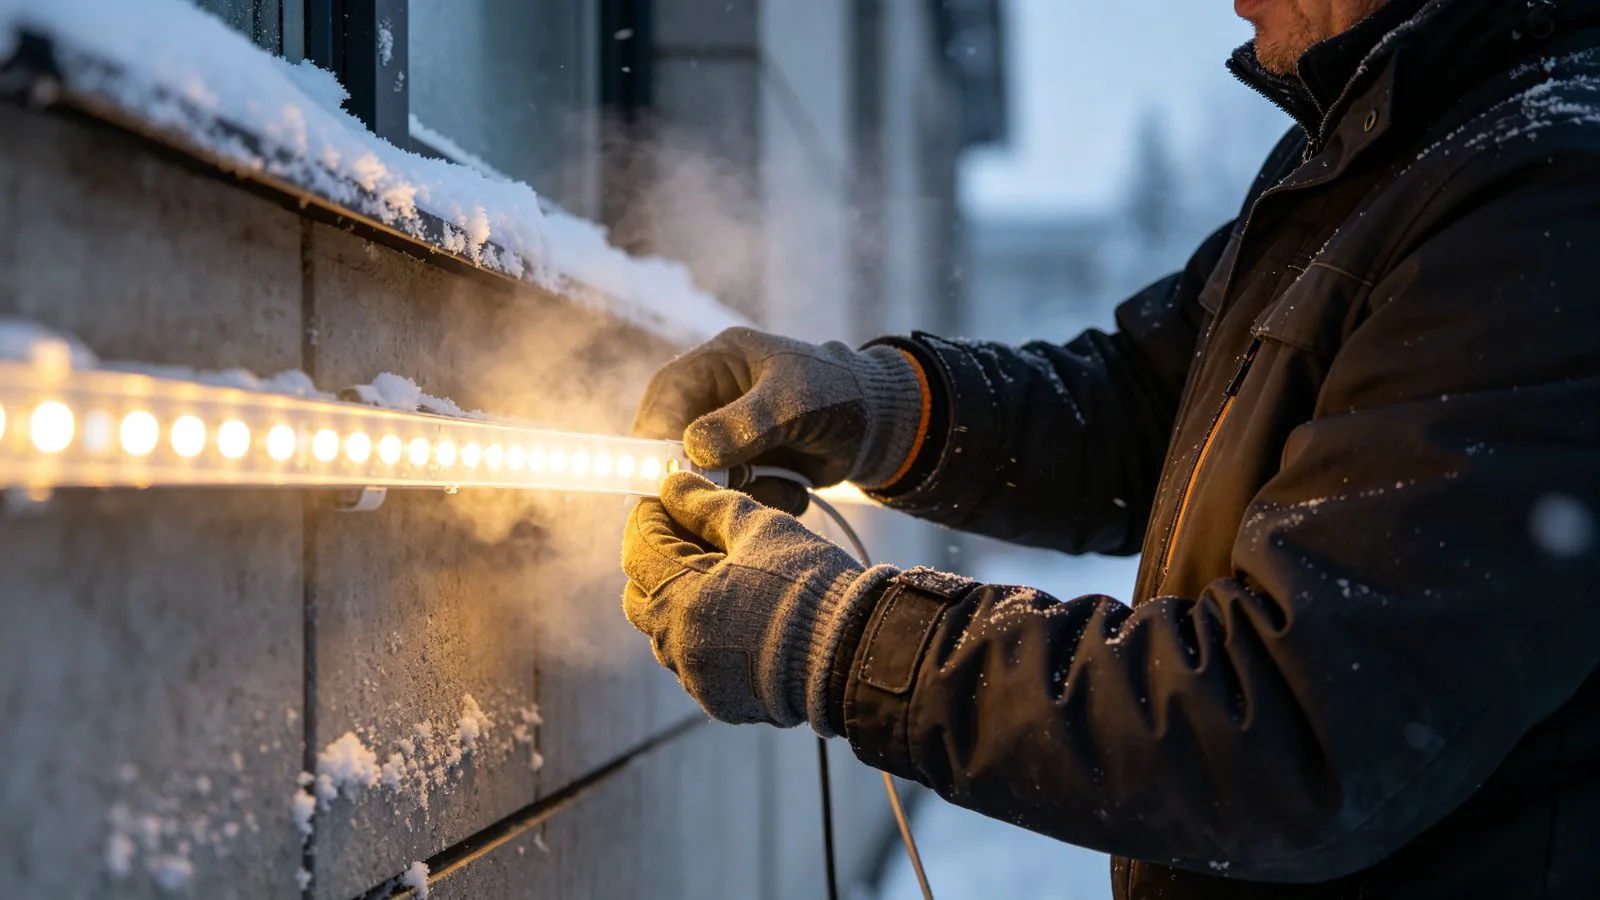
The foam or acrylic pressure-sensitive adhesive (PSA) on the back of LED strip works by flowing into the microscopic texture of the mounting surface — a process called wetting — under firm pressure. This flow is strongly temperature dependent. When the adhesive and substrate are cold, the PSA becomes hard and glassy, contact area stays small and initial tack is weak even if the strip appears to stick. Over hours and days, with the added weight of the strip and thermal cycling, it releases. Cold installation also affects silicone encapsulation (stiffer) and can introduce condensation on metal surfaces. The LEDs themselves like cold and will perform well thermally — the problem is purely the bond and handling during fitting.
- Adhesive hardens below its minimum application temperature (commonly cited around 10–15 °C; check the tape datasheet).
- Wet-out fails: poor contact means low real bond strength despite apparent tack.
- Condensation and frost on cold metal/glass leave a moisture film the tape cannot bond to.
- Silicone/TPU bodies stiffen, making the strip harder to form in the cold.
- Thermal cycling after install stresses an already weak bond.
Preparing for a Cold-Weather Install
Winter installation requirements
| Factor | Practice |
|---|---|
| Surface/air temp | Warm to tape's rated application temp (~15–25 °C+) |
| Strip temperature | Keep reels warm indoors until use; don't pre-cut in the cold |
| Surface condition | Clean, dry, free of frost/condensation/oil/dust |
| Cleaner | Isopropyl alcohol, fully evaporated/dry |
| Primer | Use tape-maker primer (e.g. 94-type) on hard/cold surfaces |
| Mechanical fix | Clips/channels as the permanent support |
| Post-install | Maintain warmth/pressure during adhesive cure period |
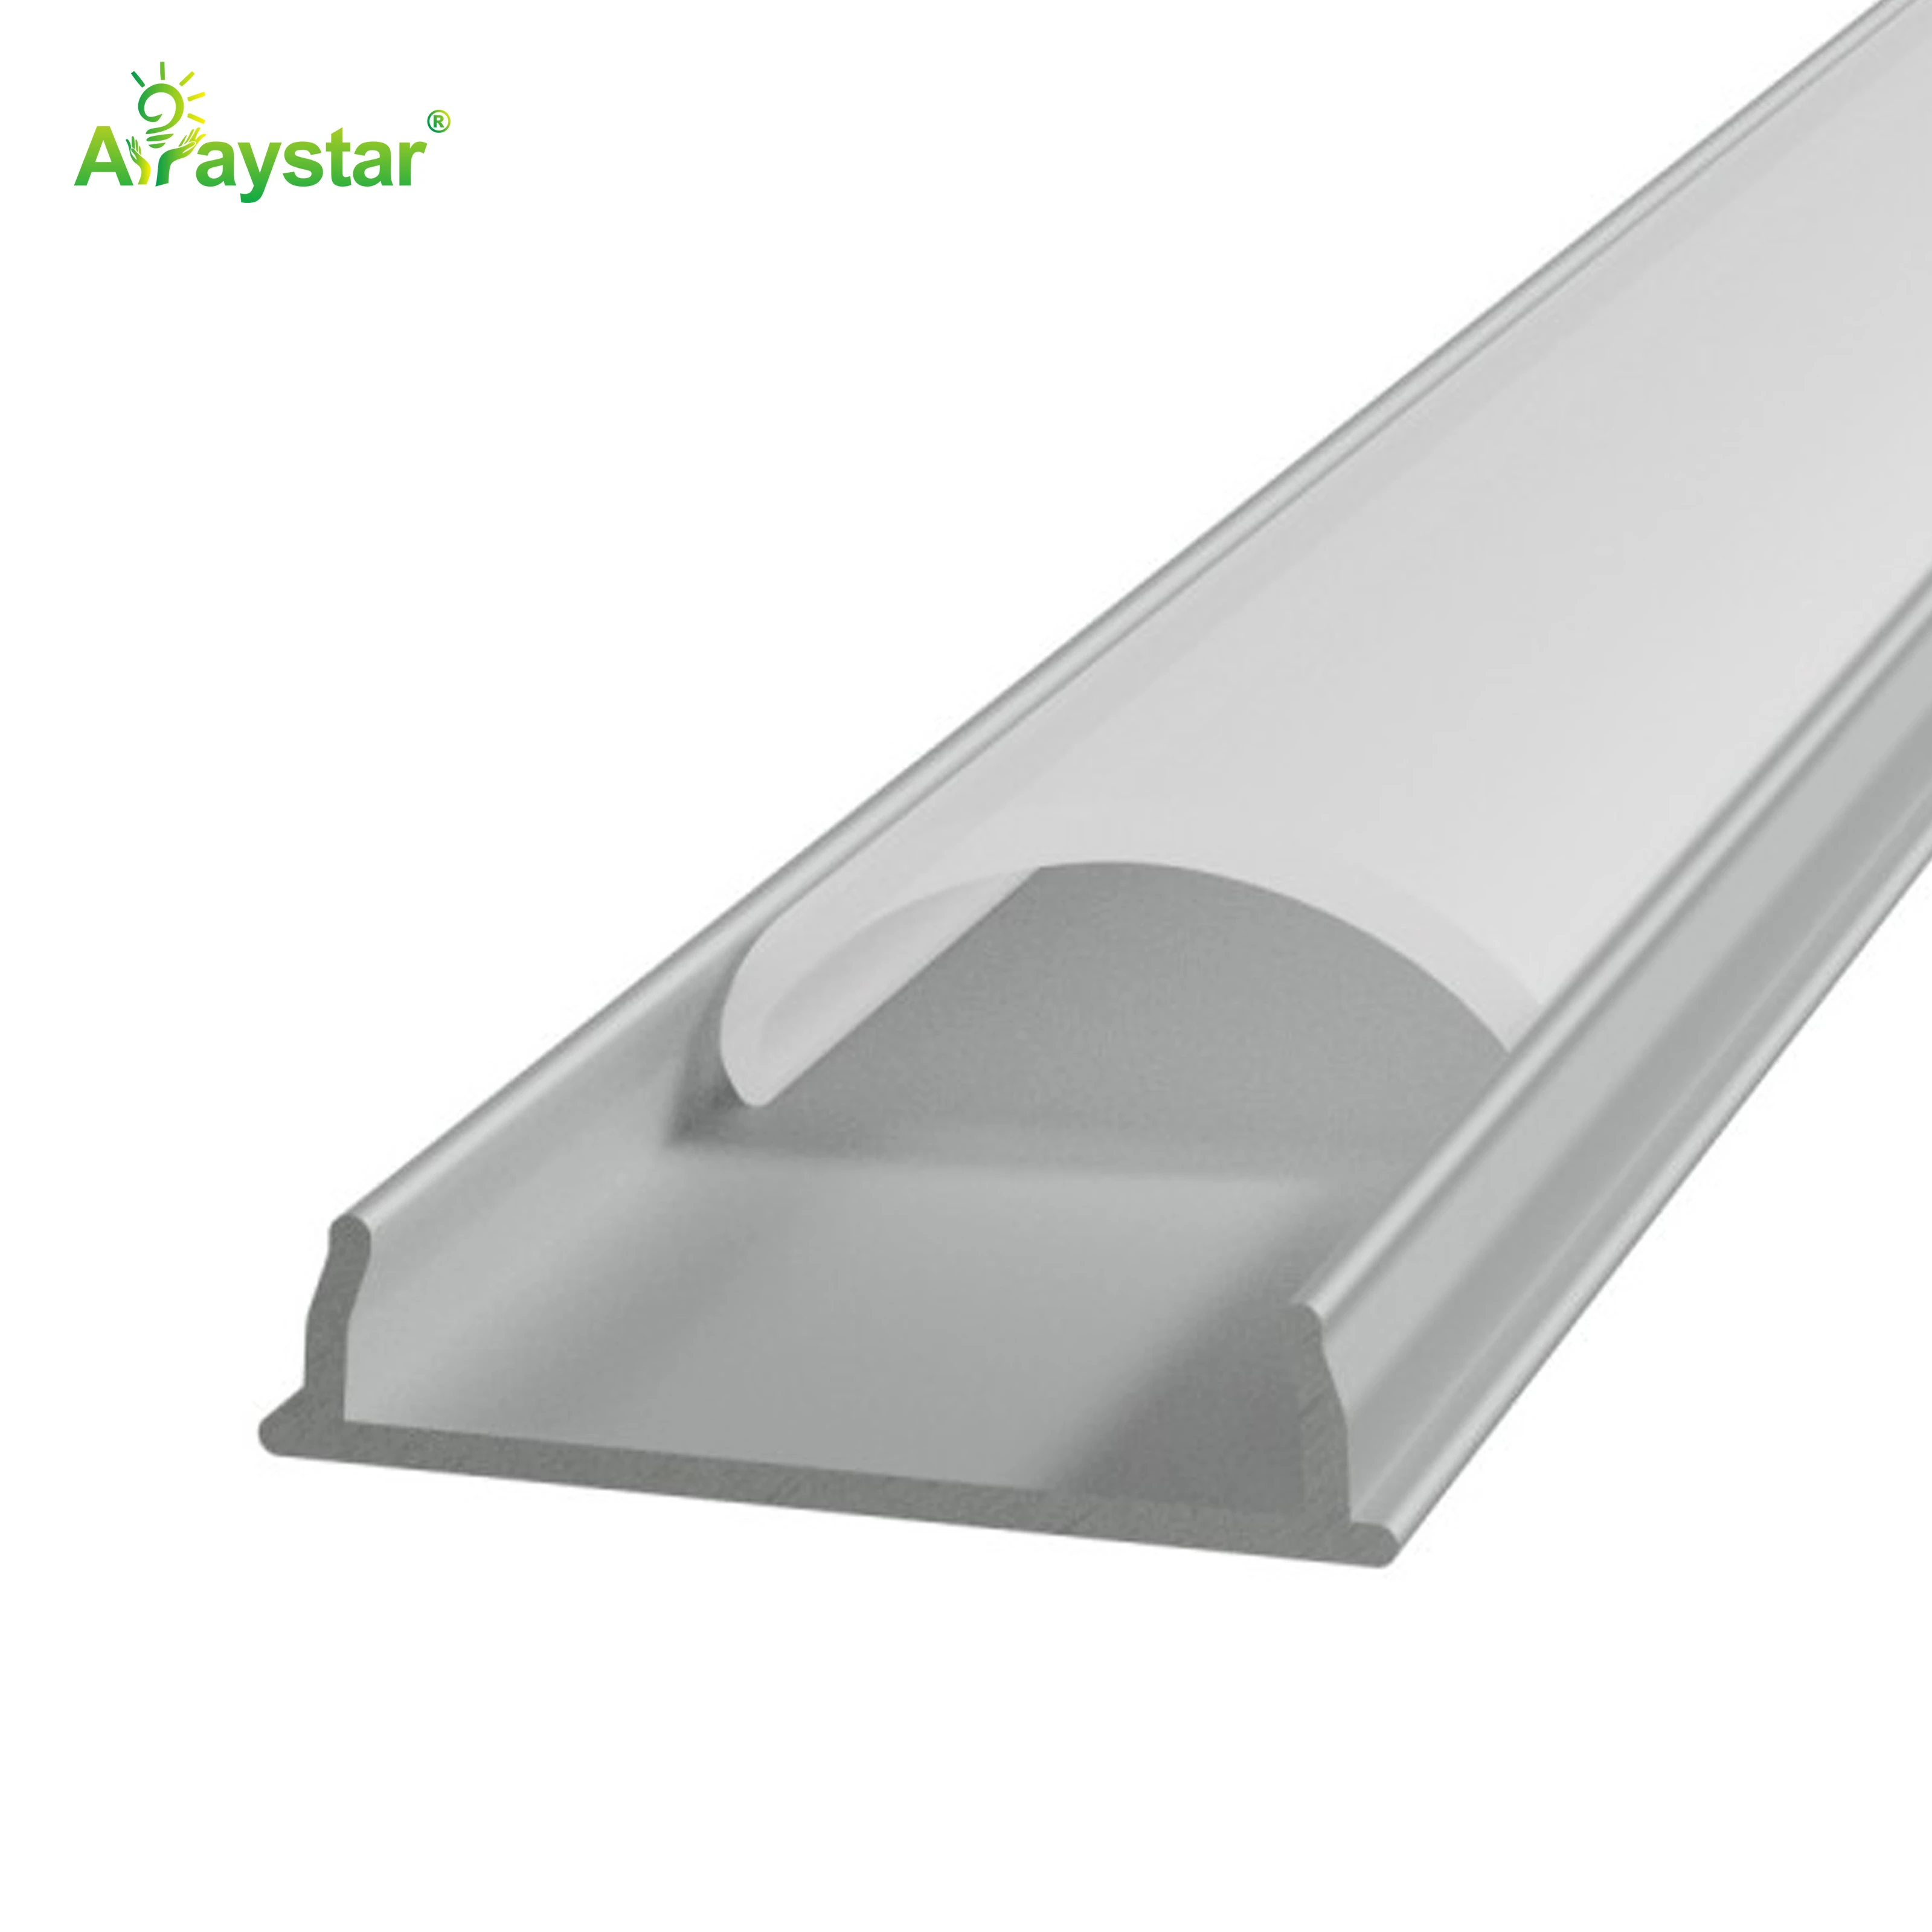
Where the ambient temperature cannot be raised (an unheated site, an outdoor facade in winter, a cold-store fit-out during a shutdown), the robust answer is to design the installation so adhesion is not the sole fixing: use aluminum channels with clips or covers, mounting brackets, screws or rivets that mechanically retain the strip regardless of temperature. The channel also gives a clean, dry, thermally conductive surface to bond to. See our separate VHB surface-preparation guide for the full IPA/primer/pressure procedure.

Step-by-Step Cold Install Procedure
- Condition the materials: store strip and tape indoors at room temperature and bring out only what you will fit immediately.
- Warm the substrate: use heaters/heat guns (carefully) to bring the mounting surface and channel above the tape's minimum temperature; verify by touch/thermometer.
- Eliminate moisture: wipe cold metal/glass, allow it to warm above dew point so no condensation forms, and dry fully.
- Clean with isopropyl alcohol and let it evaporate completely; apply primer on hard, textured or cold surfaces and allow its flash-off time.
- Peel the liner progressively (not all at once), press the strip firmly along its entire length — apply concentrated pressure; bond strength builds with pressure and time.
- Add clips/channel immediately as the permanent mechanical retention, especially outdoors and overhead.
- Keep the area warm during initial cure if possible; adhesive reaches full strength over time (typically 24–72 h).
Fixing method reliability in cold
| Method | Cold reliability |
|---|---|
| Tape alone, cold surface | Poor – likely to release |
| Tape + warmed/prepped surface | Better, indoor/sheltered |
| Tape + primer + pressure | Good during rated temp |
| Channel + clips/cover (mechanical) | Best, temperature-independent |
| Screws/rivets/brackets | Best for heavy/outdoor runs |
Special Cases and Troubleshooting
- Outdoor winter facades: schedule adhesive work during the warmest part of the day, warm the channel, and rely on mechanical clips; do not trust tape on frozen metal.
- Cold stores/freezers: fit strip during a shutdown when surfaces can be warmed and dried, or use sealed clip-in/vapor-tight fixtures that do not depend on PSA; once in steady cold operation, properly cured adhesive and mechanical fixings hold (see our freezer guide).
- Glass/windows in winter: watch condensation; bond to warmed dry glass and use channel/edge retention.
- If tape has already failed in the cold, remove residue, re-clean, warm the surface, add primer and reinstall with clips — do not simply press the old tape back.
- Store unused reels in their liner at room temperature; repeated freezing of exposed adhesive reduces its performance.
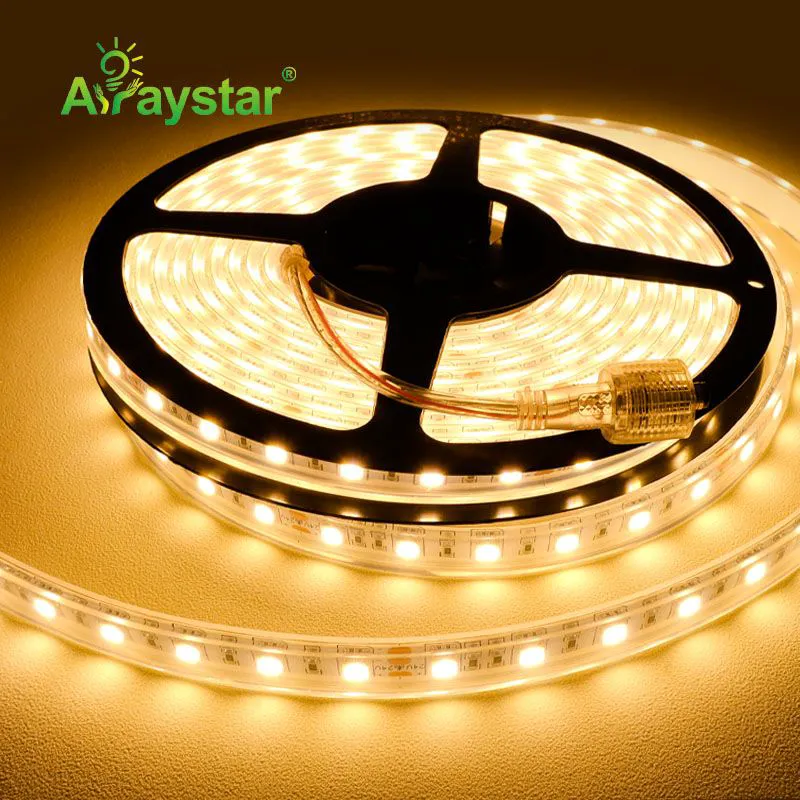
We supply strip with high-tack adhesive suited to rated application temperatures, matching aluminum channels with clips and covers for mechanical retention, and primer-compatible mounting for demanding sites. Tell us the installation temperature, substrate and indoor/outdoor conditions and we will recommend a fixing method that will not fail in winter service.
Recommended Products
Frequently Asked Questions
What temperature is too cold to install self-adhesive LED strip?
Below the pressure-sensitive adhesive's rated minimum application temperature — commonly around 10–15 °C (check the tape datasheet) — the adhesive hardens and cannot wet out, so it will not form a durable bond even if it initially sticks. Warm the strip and substrate to roughly 15–25 °C or above, or use mechanical fixing.
Will LED strip adhesive stick in a freezer or cold room?
Not reliably if applied while surfaces are cold, frosty or wet. Fit during a shutdown with surfaces warmed, cleaned, dried and primed, or — better — use sealed clip-in channels or vapor-tight fixtures that retain the strip mechanically rather than relying on adhesive. Once correctly installed and in steady cold operation, mechanical fixing holds regardless of temperature.
How do I make LED strip adhesive stick better in winter?
Warm both the strip and the mounting surface above the tape's minimum temperature, remove frost and condensation, clean with isopropyl alcohol and let it dry, apply a compatible primer on hard surfaces, peel the liner progressively and press firmly along the whole length, then add clips or a channel cover and keep the area warm during the 24-72 h cure.
Can I use a heat gun to warm the surface?
Yes, carefully — warm the substrate and channel to the rated application temperature without overheating, which can damage the strip, adhesive or encapsulation. Better to warm the surface before applying the strip than to heat the strip directly, and verify the surface is above the dew point so no condensation re-forms before bonding.
Should I rely on tape or mechanical clips for outdoor winter runs?
Use mechanical fixing as the permanent support — aluminum channels with clips/covers, brackets, screws or rivets — with adhesive as a secondary aid. Outdoor winter surfaces combine cold, moisture, frost and thermal cycling that defeat pressure-sensitive adhesive, whereas clips and channels retain the strip independently of temperature and also protect and cool it.
Installing LED strip in cold conditions?
We provide high-tack strip, primer-compatible mounting and aluminum channels with clips/covers for temperature-independent mechanical fixing. Tell us the install temperature, substrate and environment for a winter-proof fixing method.
Email: info@arraystarled.com | Phone: +86-0755-2103-6746 | WhatsApp: 0086 1581 8514 077
Need to size your power supply? Use our LED Strip Power Calculator to find the right driver in seconds.