VHB Adhesive Surface Prep for LED Strip: IPA & Primer 94 Bonding
- 2026-09-19 13:17
- /
- Arraystar
Premium acrylic foam (VHB-type) and high-tack adhesives only reach their rated strength on a properly prepared surface: bond to clean, dry, sound substrates above the application temperature; degrease with isopropyl alcohol (typically a 50:50–70:30 IPA/water wipe), use the manufacturer's primer (such as 3M 94) on low-surface-energy or rough surfaces, apply firm uniform pressure, and allow the adhesive to build strength over 24–72 hours. Even the best tape fails on dusty, oily, powdery or cold surfaces — surface prep is the whole job.
How High-Performance Foam Adhesive Works
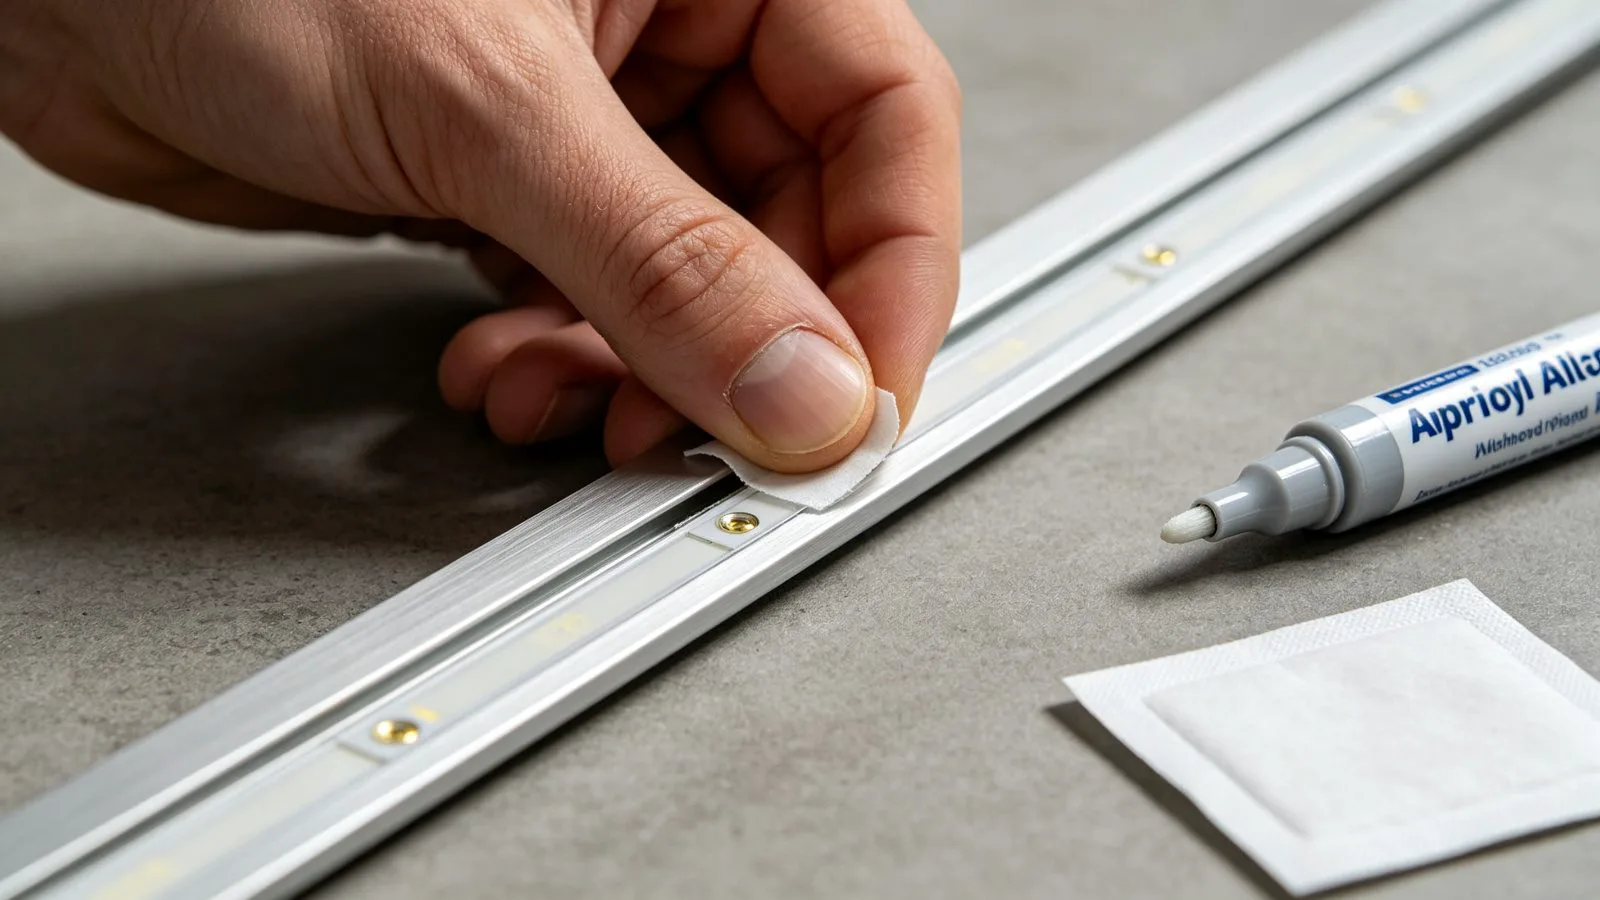
High-bond acrylic foam tapes (the family often referred to as VHB, a 3M trademark, and similar high-tack acrylic/foam adhesives used on quality strip) form a bond by wetting out the surface under pressure and then developing strength over time through viscoelastic flow — typically reaching much of their ultimate strength after 24–72 hours at room temperature. Three conditions control the result: surface energy and cleanliness, temperature during application, and applied pressure. High-surface-energy, smooth, clean metals and plastics bond strongly; low-surface-energy materials (polyethylene, polypropylene, some powders), porous or powdery surfaces (raw wood, plaster, concrete), and silicone-treated or greasy surfaces resist bonding unless primed or mechanically fixed.
- Cleanliness: dust, oil, grease, wax, release agents and oxidation all prevent contact.
- Surface energy & texture: smooth high-energy surfaces bond best; LSE/porous surfaces need primer or clips.
- Temperature: cold adhesive cannot wet out (see our winter-install guide).
- Pressure: firm uniform application is what initiates the bond.
- Cure time: strength builds over 24–72 h; do not load the bond immediately.
The Surface Preparation Procedure
Step-by-step surface prep
| Step | Detail |
|---|---|
| 1. Inspect | Sound, dry surface; remove loose paint/rust/dust |
| 2. Clean | Degrease with isopropyl alcohol wipe |
| 3. Dry | Allow full evaporation; no lint residue |
| 4. Abrade (if needed) | Light abrasion on glossy/oxided metal, then re-clean |
| 5. Prime | Apply 94-type/tape primer on LSE/rough surfaces |
| 6. Warm | Ensure surface above application temperature |
| 7. Apply | Progressive liner removal, firm pressure |
| 8. Cure | Hold load for 24–72 h at temperature |
Use a lint-free cloth with isopropyl alcohol (a common wipe concentration is around 50:50 to 70:30 IPA to clean water; follow the tape maker's guidance — some water aids cleaning, while very high concentrations evaporate too fast to lift contaminants). Wipe in one direction with the alcohol and a dry cloth to finish, and let the solvent evaporate fully. On difficult substrates apply the tape manufacturer's primer (for example 3M Tape Primer 94 or equivalent) in a thin uniform coat and allow its recommended flash-off time; primer dramatically improves adhesion to low-energy and porous materials.
Surface-by-Surface Guidance
Bonding to common substrates
| Substrate | Preparation / caution |
|---|---|
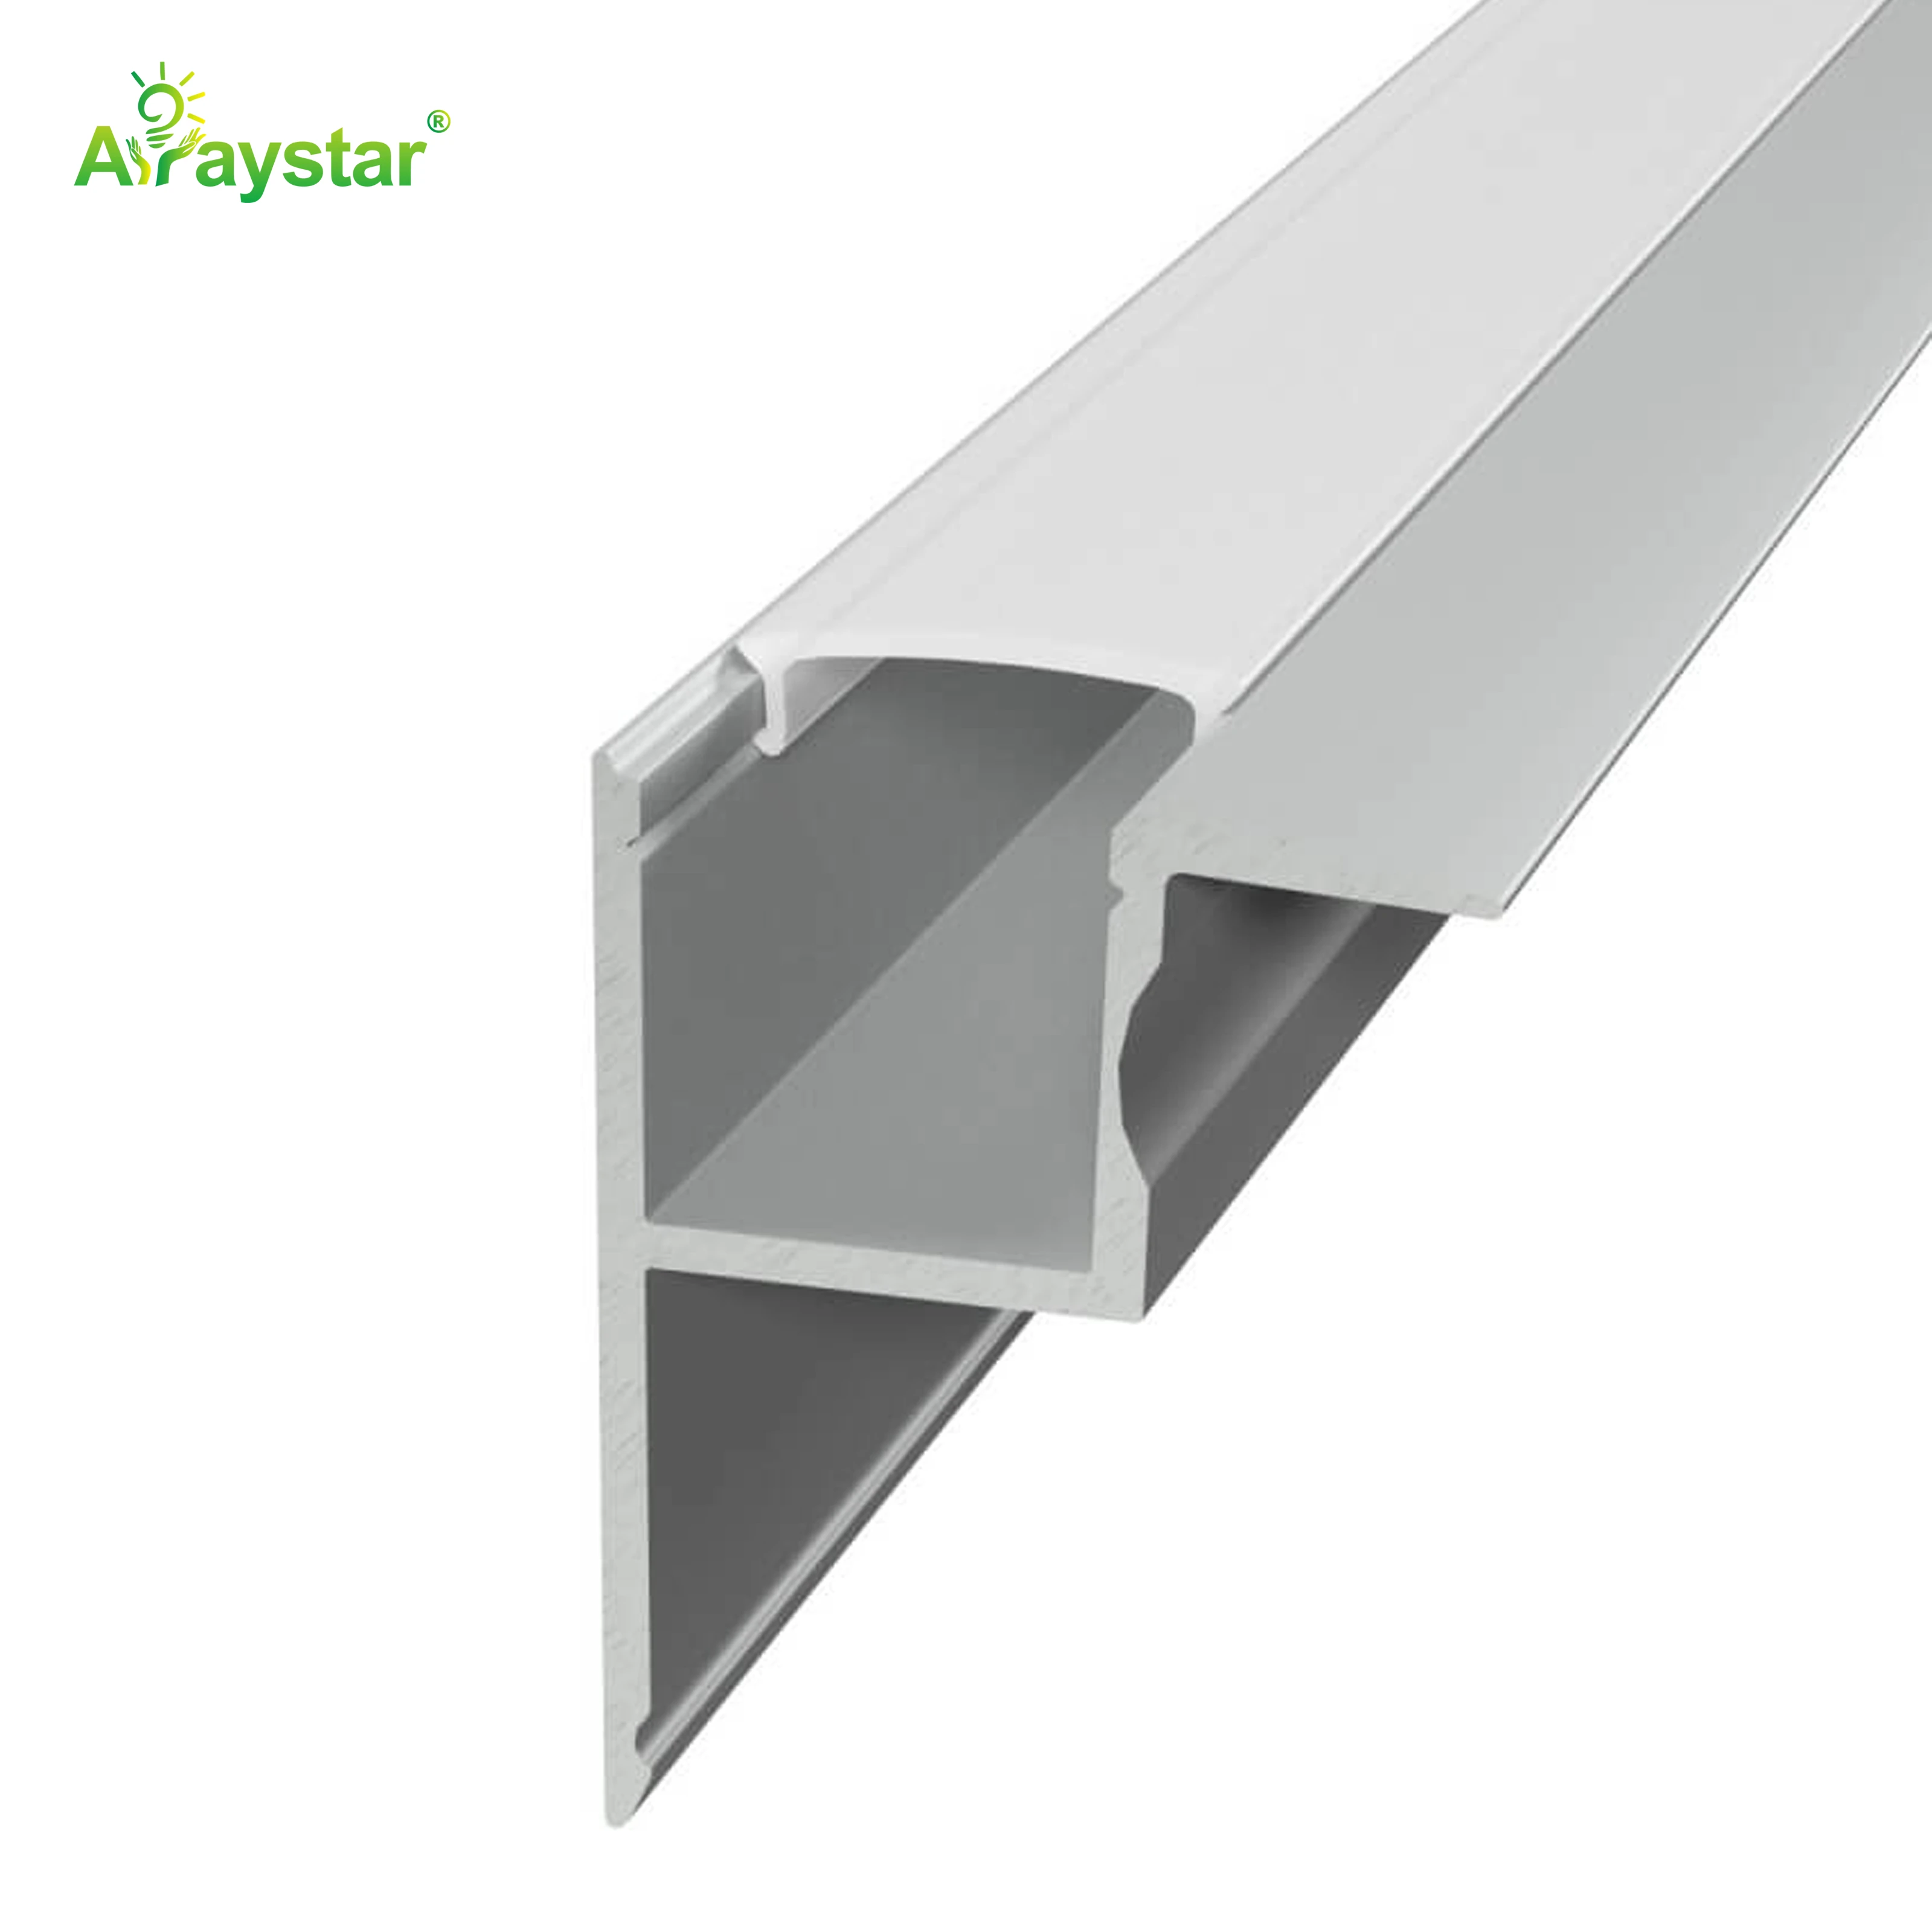
| Aluminum channel | IPA wipe; abrade/clean anodised or oily surface |
| Painted/powder-coated | Check coating is sound/cured; test bond; primer may help |
| Stainless/glass | IPA, lint-free; watch condensation when cold |
| Raw wood/MDF | Seal/prime porous surface or use clips |
| Plaster/concrete/brick | Porous/dusty – mechanical fixing strongly preferred |
| PE/PP/silicone plastics | Low surface energy – use primer or clips |
| PVC/ABS/acrylic | Usually bonds well after IPA; test solvent compatibility |
- Never bond to damp, powdery, peeling or silicone-contaminated surfaces; silicone contamination is especially hard to remove and often requires mechanical fixing.
- For overhead, vertical heavy, outdoor or high-temperature loads, use channel/clips even when the surface bonds well.
- On new paint or powder coating, allow full cure and test adhesion, as fresh or low-energy coatings release tape.
Application Pressure, Cure and Verification
- Apply firm, even pressure along the whole strip (a roller or firm thumb pressure), not just spot presses; bond strength scales with contact pressure.
- Peel the liner in sections as you go to prevent contamination and premature contact.
- Resist loading/stressing the bond during the 24–72 h room-temperature strength build; warmer conditions speed it, cold slows it.
- Do a quick pull test on an offcut bonded to the actual substrate to confirm adhesion before the full install.
- Where tape is marginal, combine with end caps, clips or channel covers rather than hoping the tape improves.
- Document the surface and temperature at installation for warranty and repeatability.
We supply strip with high-tack/foam adhesive and recommend the matching IPA-clean and primer procedure, plus aluminum channels and clips for demanding surfaces. If you tell us the substrate material, finish, orientation and installation temperature, we will advise whether tape alone is sufficient or mechanical retention is required for a bond that lasts.
Recommended Products
Frequently Asked Questions
Do I need primer (like 3M 94) for LED strip adhesive?
Use a tape-manufacturer primer on low-surface-energy plastics (PE/PP), porous or powdery surfaces (raw wood, plaster, concrete), some powder coats and any hard-to-bond substrate; it dramatically improves and speeds adhesion. Clean high-energy surfaces like smooth aluminum and glass often bond well after an IPA wipe alone, but primer is cheap insurance on uncertain surfaces.
What is the best way to clean a surface before LED strip?
Wipe with a lint-free cloth and isopropyl alcohol (commonly around 50:50 to 70:30 IPA/water per the tape maker), finishing with a dry wipe, and let it evaporate fully so the surface is clean, dry and free of dust, oil, wax and lint. Lightly abrade glossy or oxidised metal first and re-clean. Avoid harsh cleaners that leave residues.
How long does LED strip adhesive take to fully bond?
High-performance acrylic/foam adhesives build strength over time through wetting and flow, typically reaching much of their ultimate strength after about 24-72 hours at room temperature; warmth accelerates and cold slows this. Apply firm pressure and avoid loading or stressing the strip during the cure period; mechanical clips hold it meanwhile.
Why does my LED strip keep falling off?
Usually a surface-prep or temperature problem: dusty/oily/powdery/peeling substrate, low-surface-energy plastic, silicone contamination, cold application below the tape minimum, insufficient pressure or immediate loading. Clean with IPA, prime difficult surfaces, warm to the rated temperature, press firmly and add clips/channel; on porous or overhead surfaces use mechanical fixing as the primary method.
Can VHB-style tape hold LED strip on concrete or plaster?
Not reliably alone: concrete, plaster, brick and raw wood are porous, powdery and often uneven/damp, so the tape contacts loose particles rather than a sound surface. Seal/prime and test, but the robust solution is an aluminum channel screwed or plugged to the wall with the strip inside, which also gives a clean line and heat sinking.
Need LED strip that stays bonded?
We supply high-tack strip with the correct IPA/primer procedure and aluminum channels/clips for difficult surfaces and overhead or outdoor loads. Tell us the substrate, finish, orientation and temperature and we will specify a reliable fixing.
Email: info@arraystarled.com | Phone: +86-0755-2103-6746 | WhatsApp: 0086 1581 8514 077
Need to size your power supply? Use our LED Strip Power Calculator to find the right driver in seconds.