how to cut LED strip lights, how to join LED strips, LED strip connectors, LED strip soldering
- 2026-09-08 17:19
- /
- Arraystar
One of the best things about LED strip lights is that you can cut them to any length you need. But cutting and joining LED strips correctly can be tricky. Do it wrong, and you'll end up with dead sections or poor connections.
As an experienced LED strip light manufacturer, Arraystar LED has seen every possible mistake. This guide will teach you how to cut and join LED strips correctly.
Before You Cut: Important Rules
Rule 1: Only Cut at the Marked Lines
Every LED strip has cut line markings (usually every 3-5 LEDs)
Never cut between the marked points — you'll break the circuit
Look for the line with copper solder pads (+/−)
Rule 2: Check Polarity
LED strips have + (positive) and − (negative) markings
When joining, + must connect to +, − to −
Reversed polarity = dead strip
Rule 3: Measure Twice, Cut Once
Measure carefully before cutting
It's better to cut a little long and trim later
You can't add length back once it's cut
How to Cut LED Strip Lights
Tools you'll need: Sharp scissors or utility knife, tape measure, marker
Step-by-step:
Measure the required length
Find the nearest cut line (don't cut past it)
Mark the cut line with a marker
Cut straight across the line with scissors or knife
Inspect the cut ends — make sure solder pads are clean
How to Join LED Strip Lights
There are two ways to join LED strips:
Method 1: Using Connectors (Easiest)
What you need: LED strip connectors (matching your strip width)
Steps:
Open the connector — flip the clear cover up
Insert the strip end — make sure +/− matches
Close the cover — press down firmly
Test the connection — power on and check
Pros: Fast, no tools needed, removable
Cons: Can be less reliable, bulkier
Method 2: Soldering (More Permanent)
What you need: Soldering iron, solder, wire strippers, heat shrink tubing
Steps:
Tin the solder pads on both strip ends
Tin the wire ends
Solder wires between strips — + to +, − to −
Insulate with heat shrink — slide over and heat
Test the connection
Pros: More reliable, cleaner, smaller
Cons: Requires soldering skills
Joining Around Corners
L-shaped connectors — perfect for 90° corners
Wire jumpers — use short wires to jump around corners
Flex the strip — if flexible enough (like COB), you can bend it
Common Problems & Fixes
Strip won't light up after joining: Wrong polarity (+/− reversed) — reverse the connection
Dim lights at the joint: Poor connection, high resistance — re-solder or replace connector
Lights flicker at the joint: Loose connection — re-seat the connector or re-solder
Waterproof strip lost waterproofing: Cut broke the silicone coating — re-seal with silicone glue
Tips for Better Connections
Clean the solder pads — wipe with alcohol before connecting
Use the right connectors — match your strip width (8mm, 10mm, etc.)
Don't over-bend — stress at joints causes failures
Test before installing — fix problems while it's easy
Use heat shrink — especially for waterproof strips
Get Quality LED Strips & Accessories
At Arraystar LED, we supply everything you need for LED strip installation:
LED strips:
COB LED strips (flexible, easy to bend)
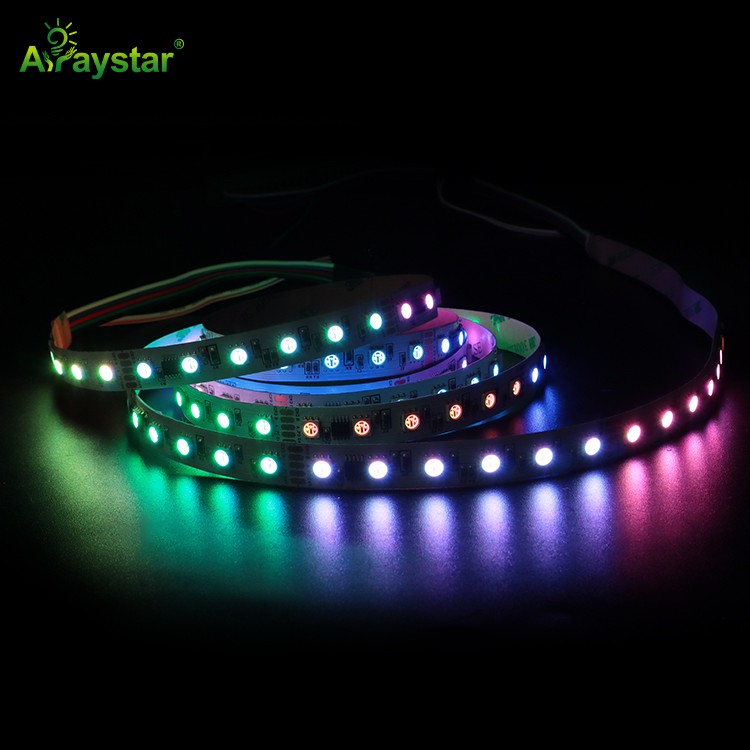
SMD LED strips (reliable, affordable)
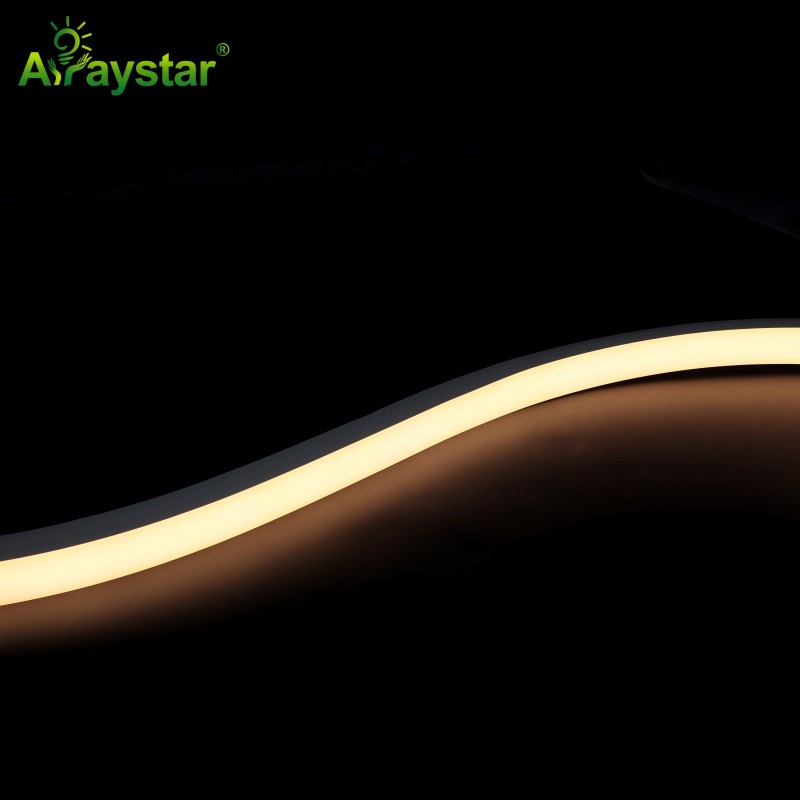
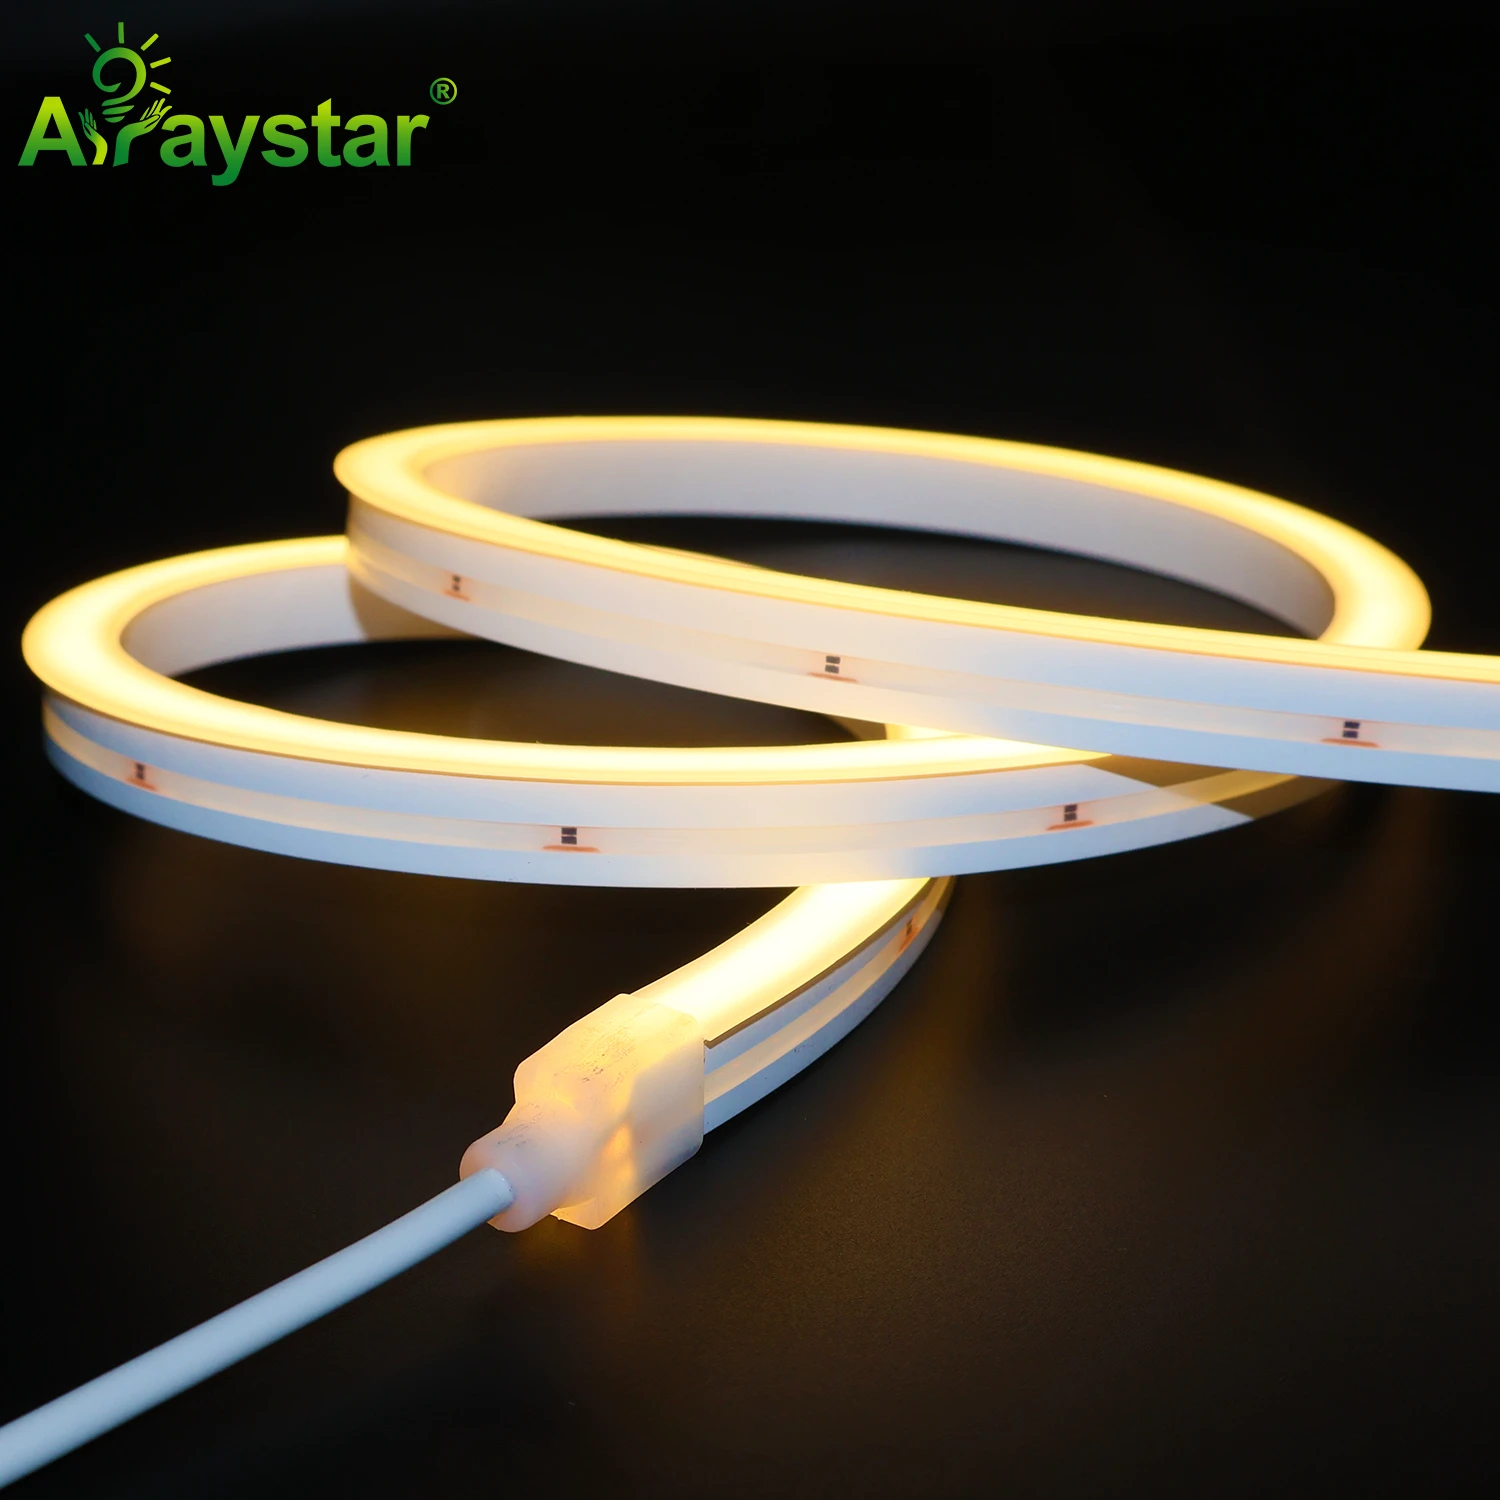
LED neon flex (curved lighting)
Accessories:
LED strip connectors (all types)
Aluminum channels & diffusers
Power supplies & controllers
Mounting clips & screws
📧 Email: info@arraystarled.com
📱 WhatsApp: +86 158 1851 4077
🌐 Website: www.arraystarled.com
Free samples available — test quality before you buy.
About the Manufacturer
ArrayStar LED is a professional LED strip manufacturer in Shenzhen, China since 2010, serving 80+ countries. We support custom OEM/ODM projects (custom CCT, CRI, PCB, logo, packaging) and wholesale supply for distributors and contractors worldwide.