how to install LED strip lights, LED strip installation guide, LED strip wiring, LED strip setup
- 2026-09-08 17:01
- /
- Arraystar
Installing LED strip lights might seem intimidating, but with the right preparation and tools, it's a DIY project most people can handle. Whether you're lighting under cabinets, behind a TV, or along a staircase, this guide will walk you through the process.
As an experienced LED strip light manufacturer, Arraystar LED supplies products to DIYers and professionals worldwide. Here's our step-by-step installation guide.
Before You Start: What You'll Need
Materials:
LED strip lights (IP20 for indoor, IP65+ for outdoor)
Power supply (matching voltage and wattage)
LED strip connectors (if needed)
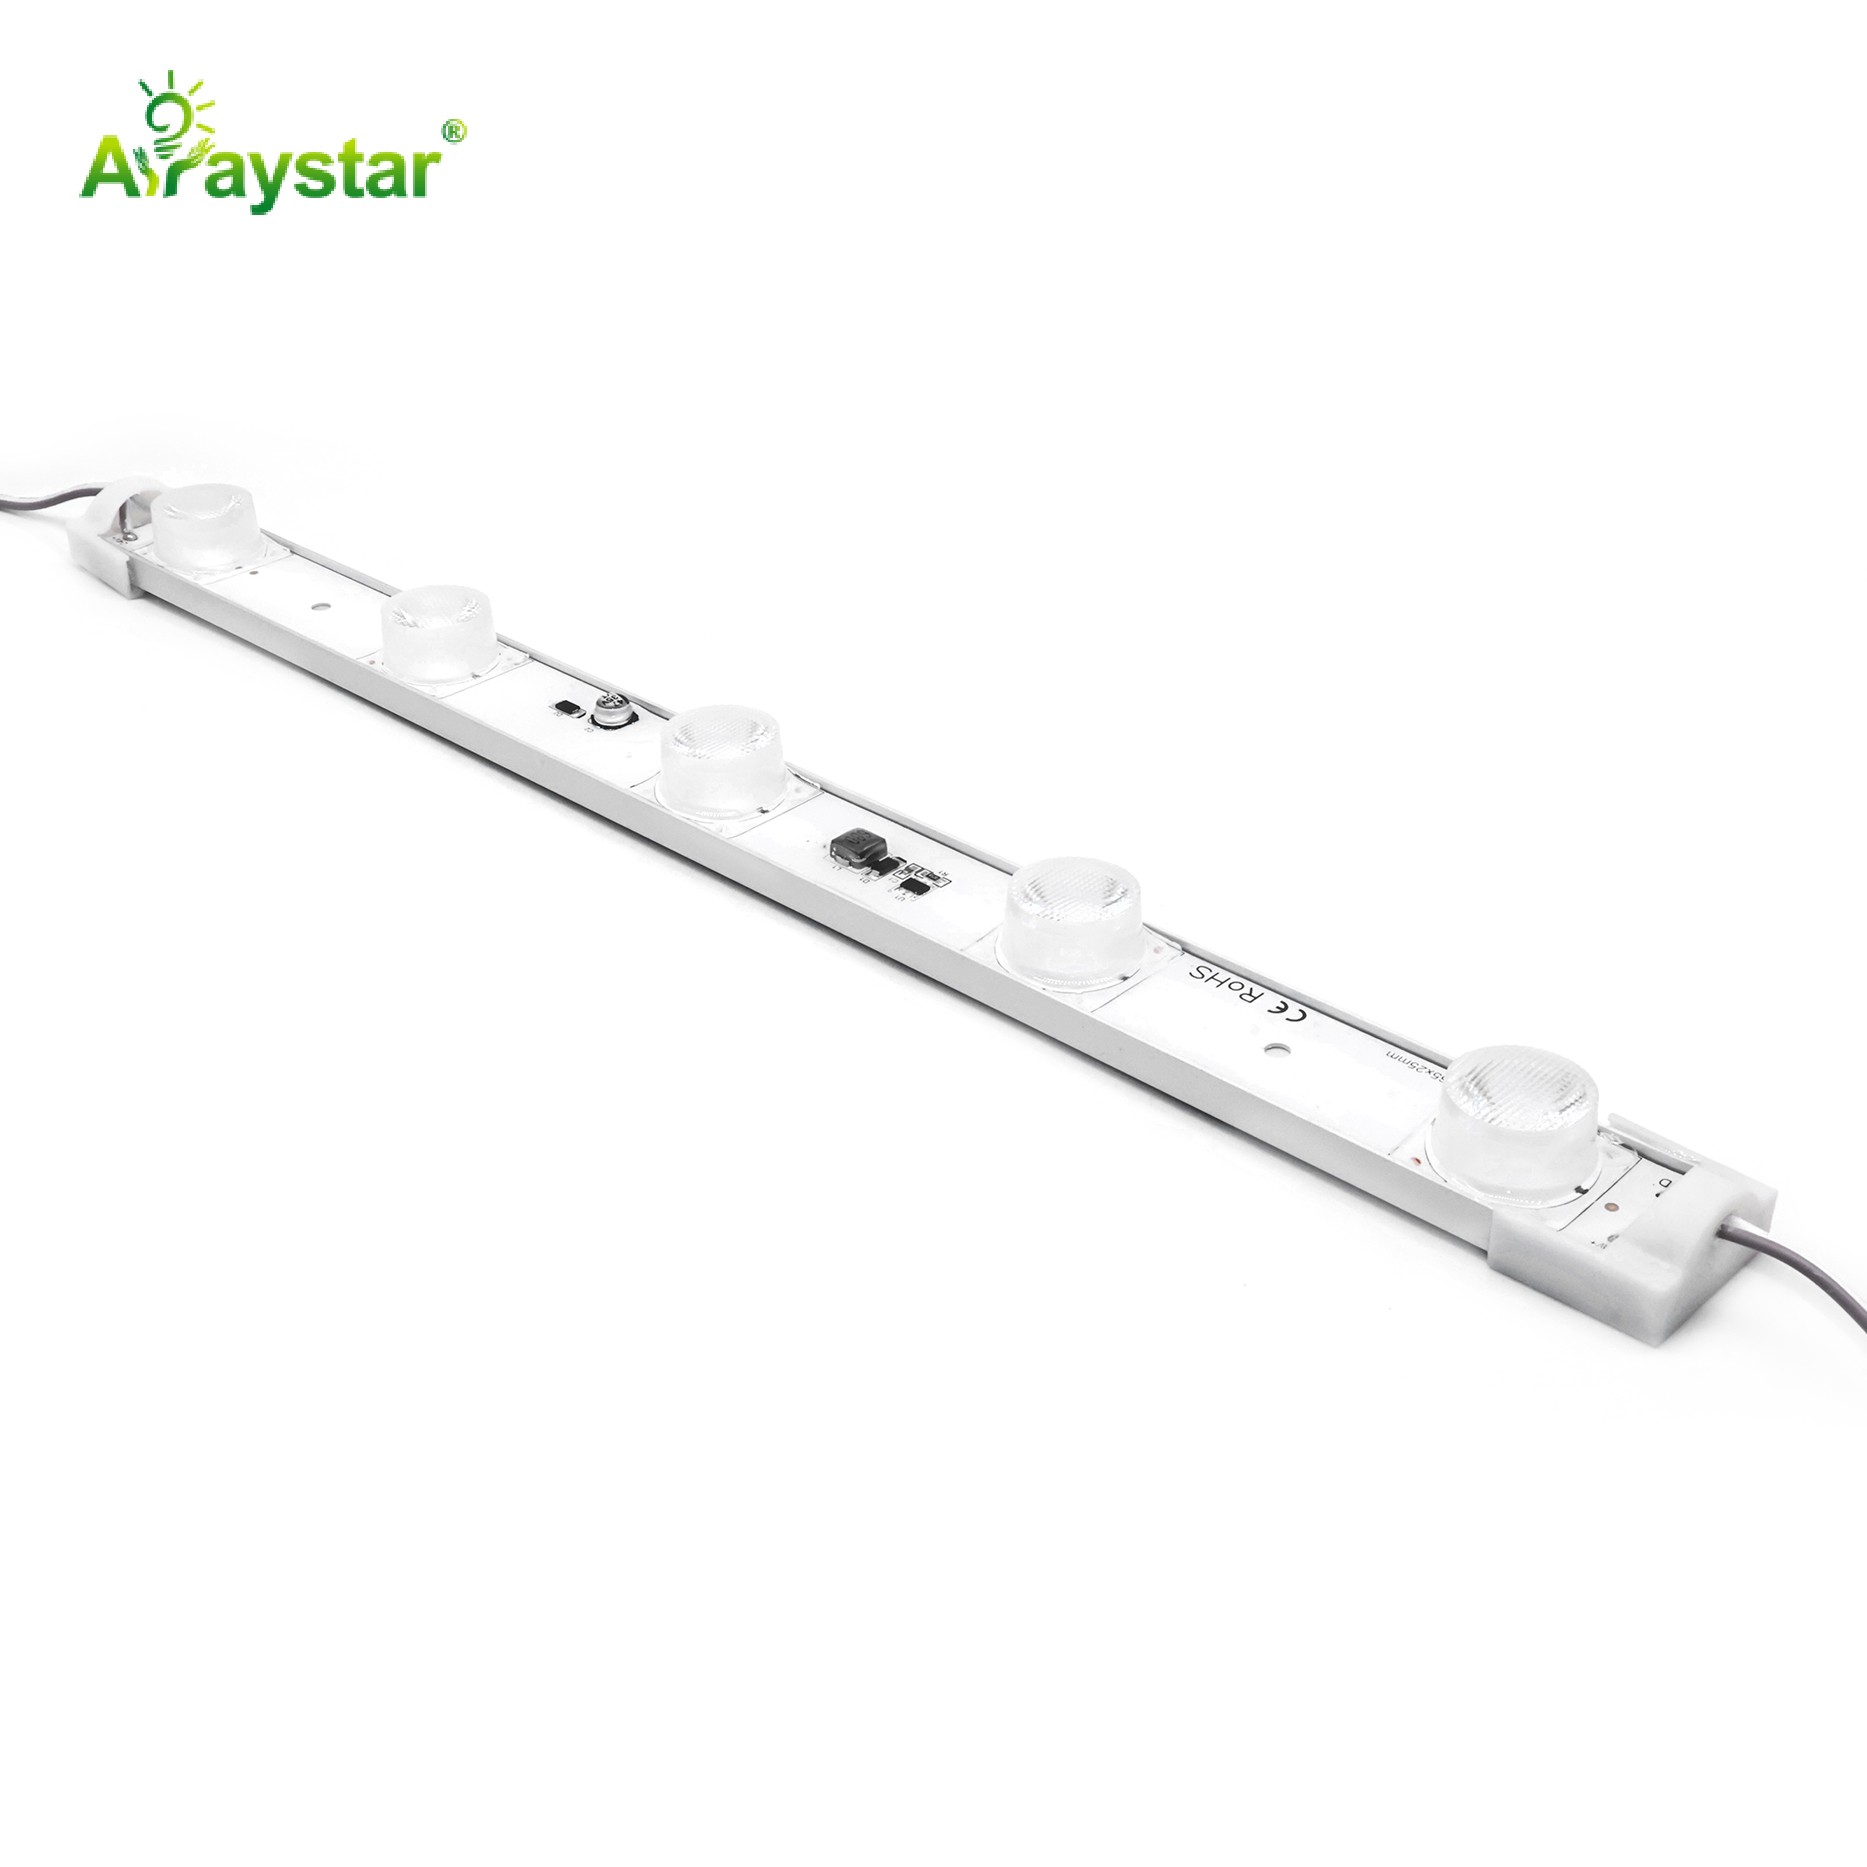
Mounting clips or aluminum channels
Screws and mounting hardware
Tools:
Tape measure
Scissors or utility knife
Screwdriver
Wire strippers
Soldering iron (for hardwired connections)
Cleaning alcohol (for adhesive strips)
Step 1: Plan Your Layout
Measure the area — measure carefully, add 10-20% extra for corners and mistakes
Check where to cut — look for the cut line markings on the strip
Plan connections — where will the power supply go? How will you run wires?
Avoid over-length — don't exceed the maximum run length (usually 5m for 12V, 10m for 24V)
Step 2: Choose the Right Power Supply
This is the most common mistake! Undersized power supplies cause dim lighting and premature failure.
Calculate the wattage:
Check the LED strip's wattage per meter (e.g., 14.4W/m)
Multiply by total length (e.g., 5m × 14.4W = 72W)
Add 20% buffer (72W × 1.2 = 86.4W)
Choose a power supply with at least this wattage
Step 3: Test Before Installing
Always test before mounting!
Plug in the strip and power supply
Check that all sections light up
Test the controller/dimmer if using one
Check for any dead spots or color inconsistencies
Step 4: Prepare the Surface
Clean the surface — use alcohol to remove dust, grease, and oil
Dry completely — moisture prevents adhesion
Smooth surface — rough surfaces won't stick well
Consider mounting clips — for outdoor or high-heat areas, use clips instead of adhesive
Step 5: Install the Strip
For adhesive-backed strips:
Peel back a few inches of the backing
Align carefully, press firmly
Peel and press gradually, don't remove all backing at once
Press firmly along the entire length
For aluminum channels:
Mount the channel using screws or adhesive
Insert the LED strip inside the channel
Snap on the diffuser cover
Mount end caps and mounting clips
Step 6: Make Connections
Using connectors:
Cut the strip at the marked cut line
Insert into the connector, making sure polarity matches (+/−)
Press firmly to secure
Soldering (more permanent):
Tin the pads on the strip
Tin the wires
Solder wires to the correct pads (+/−)
Insulate with heat shrink tubing
Step 7: Connect the Power Supply
Connect the LED strip wires to the power supply output
Double-check polarity (positive to positive, negative to negative)
Plug in the power supply
Test all connections
Common Installation Problems & Fixes
Strip won't light up: Wrong polarity — check +/− connections
Dim at the end: Voltage drop — shorten run or use thicker wires
Flickering: Undersized power supply — upgrade power supply
Peeling off: Dirty surface — clean surface, use mounting clips
Wrong color: Wrong CCT order — check label or order sample
Installation Tips for Best Results
Don't overload one power supply — split long runs between multiple supplies
Use thicker wire for long runs — voltage drop kills brightness
Keep power supplies ventilated — they generate heat
Plan for access — leave room to service connections
Follow local electrical codes — especially for 110V/220V high-voltage strips
Get Quality LED Strips for Your Project
At Arraystar LED, we manufacture high-quality LED strip lights for DIY and professional installations:
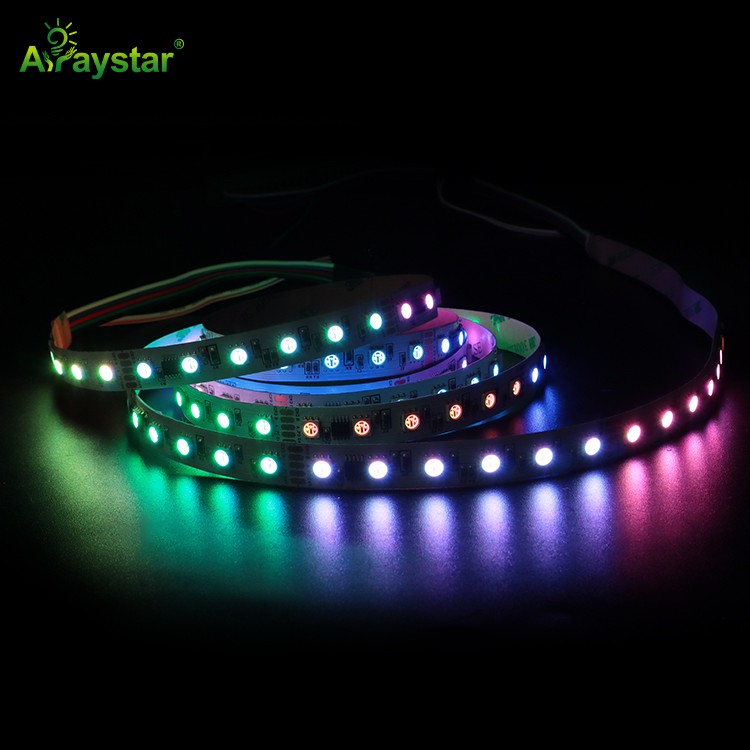
COB LED strips — seamless, dot-free lighting
SMD LED strips — reliable, budget-friendly options
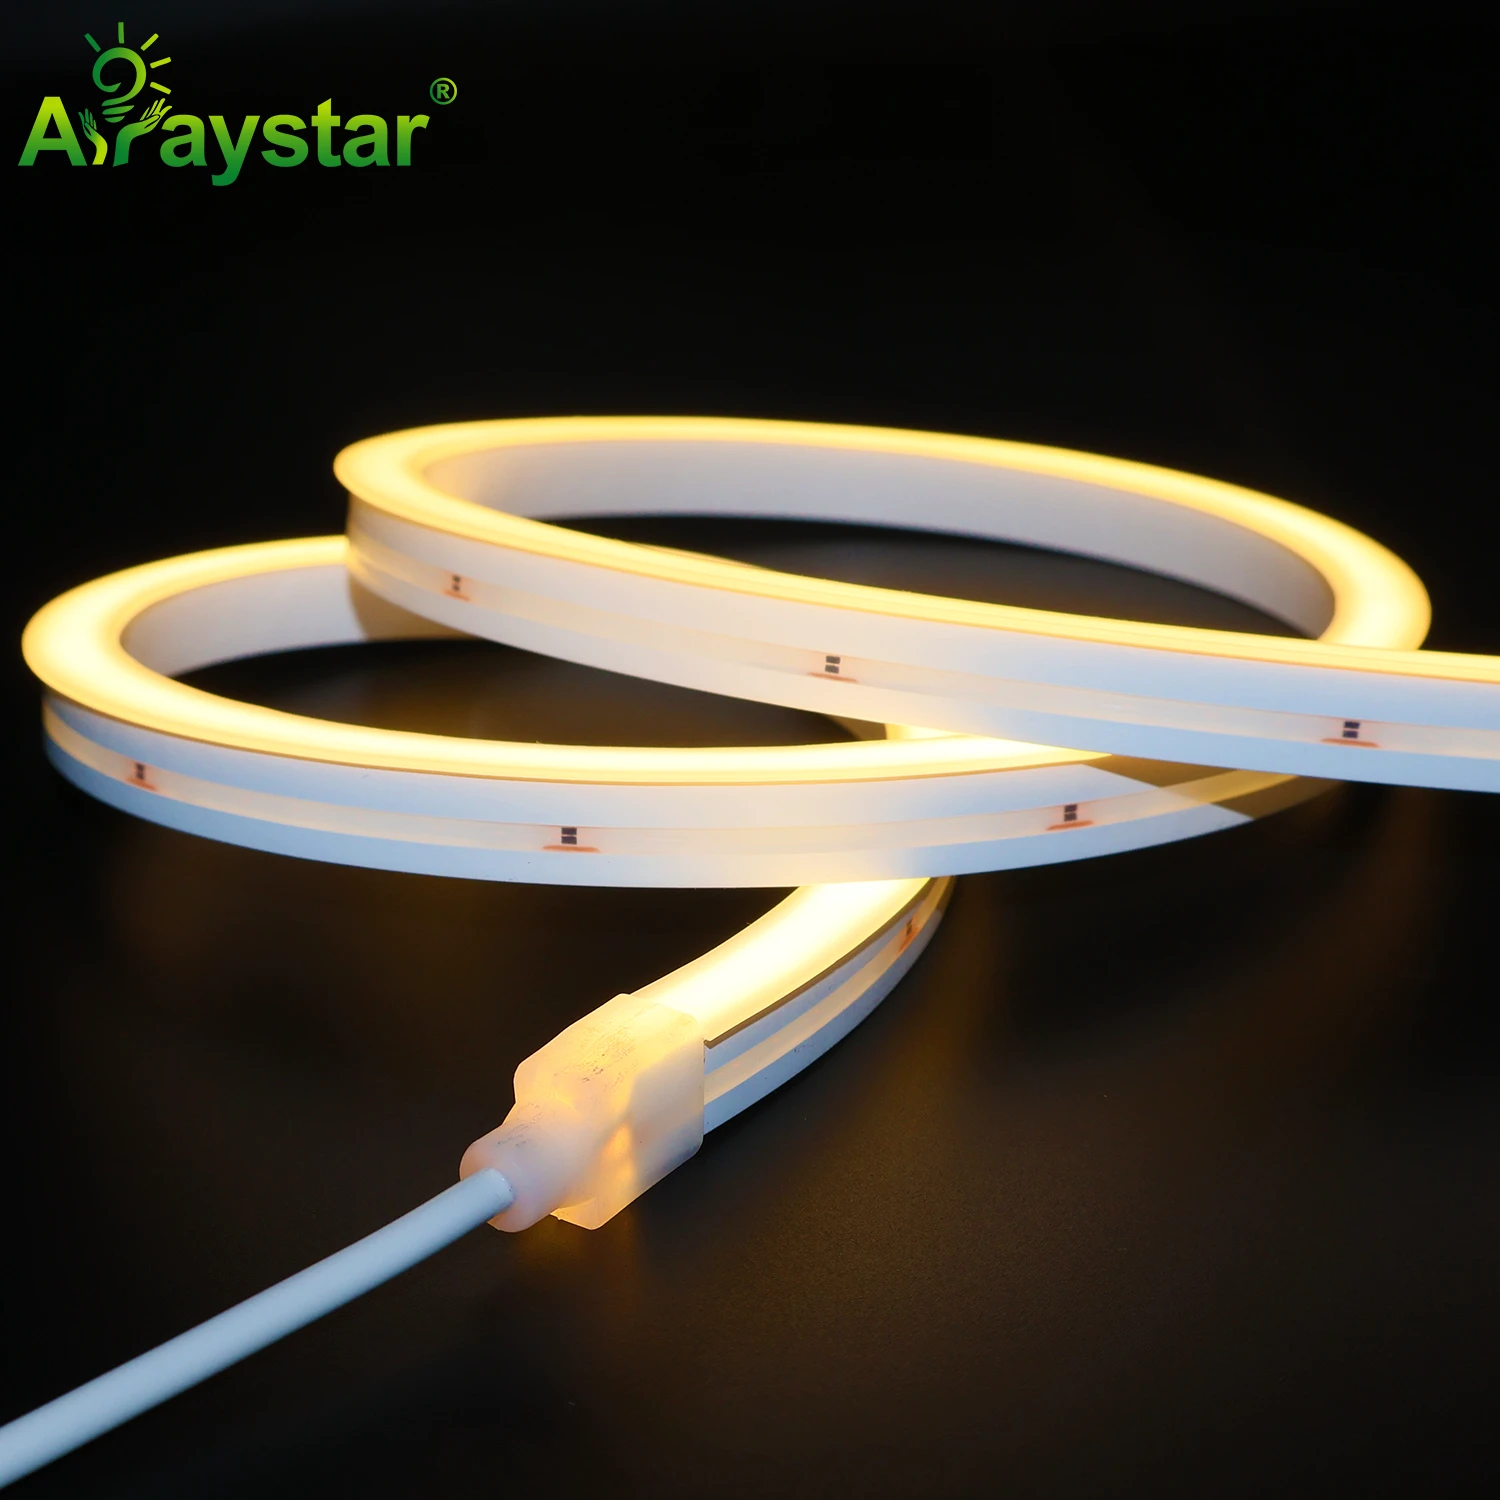
LED neon flex — for curved and decorative projects
Power supplies & controllers — everything you need
📧 Email: info@arraystarled.com
📱 WhatsApp: +86 158 1851 4077
🌐 Website: www.arraystarled.com
Free samples available — test quality before you buy.
About the Manufacturer
ArrayStar LED is a professional LED strip manufacturer in Shenzhen, China since 2010, serving 80+ countries. We support custom OEM/ODM projects (custom CCT, CRI, PCB, logo, packaging) and wholesale supply for distributors and contractors worldwide.