The Layered Lighting Method: Ambient, Task & Accent with LED Strip
- 2026-09-19 13:17
- /
- Arraystar
Professional interiors feel right because they layer light rather than relying on one bright source. Build every room from three independently controlled layers — ambient (overall background), task (focused on work surfaces) and accent (highlighting features) — using linear LED for coves and indirect ambient, under-cabinet/channel task light, and grazing/shelf accent, then add dimming and scenes so the balance shifts by activity. LED strip is uniquely good at all three layers because it can be hidden exactly where each is needed.
The Three Lighting Layers
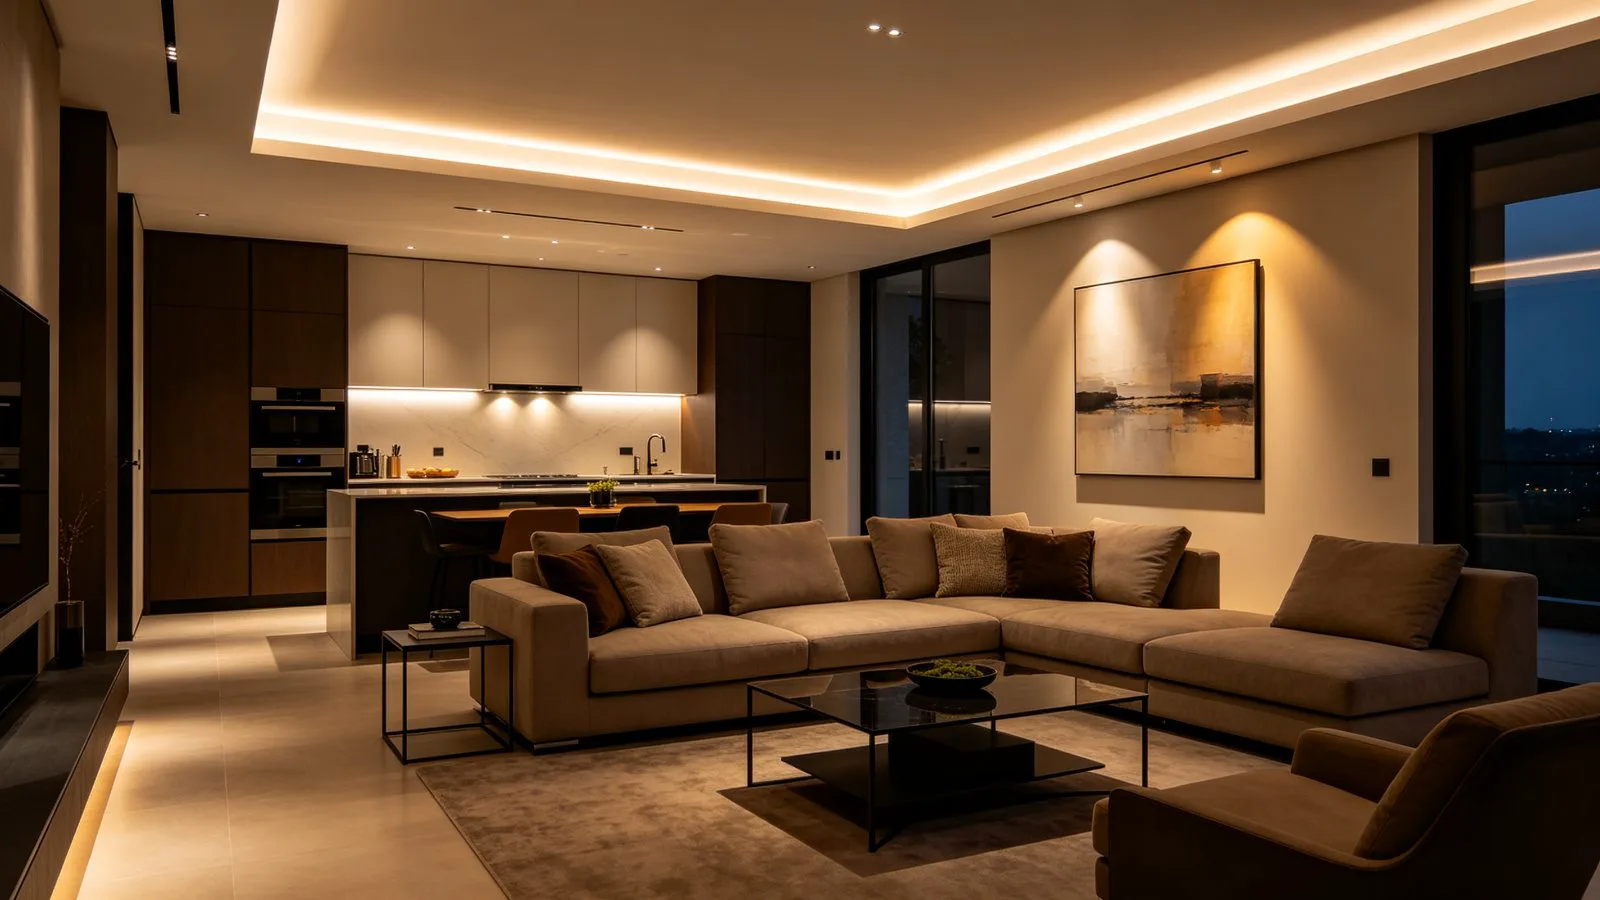
A single grid of downlights produces flat, monotonous light with harsh shadows and glare. Professional lighting design instead stacks three functional layers. Ambient (general) lighting provides overall background illumination and the room's base brightness, often most comfortably delivered indirectly. Task lighting concentrates higher, glare-controlled light on work surfaces — kitchen counters, desks, bathroom mirrors. Accent lighting highlights architecture, texture and objects — coves, art, shelving, toe-kicks. When each layer is separately dimmed and switched, the same room shifts from bright functional to relaxed or dramatic. Linear LED strip excels here because it is thin, dimmable and concealable in coves, channels, shelves and joinery for each layer.
- Ambient: comfortable overall light, often indirect cove/perimeter wash.
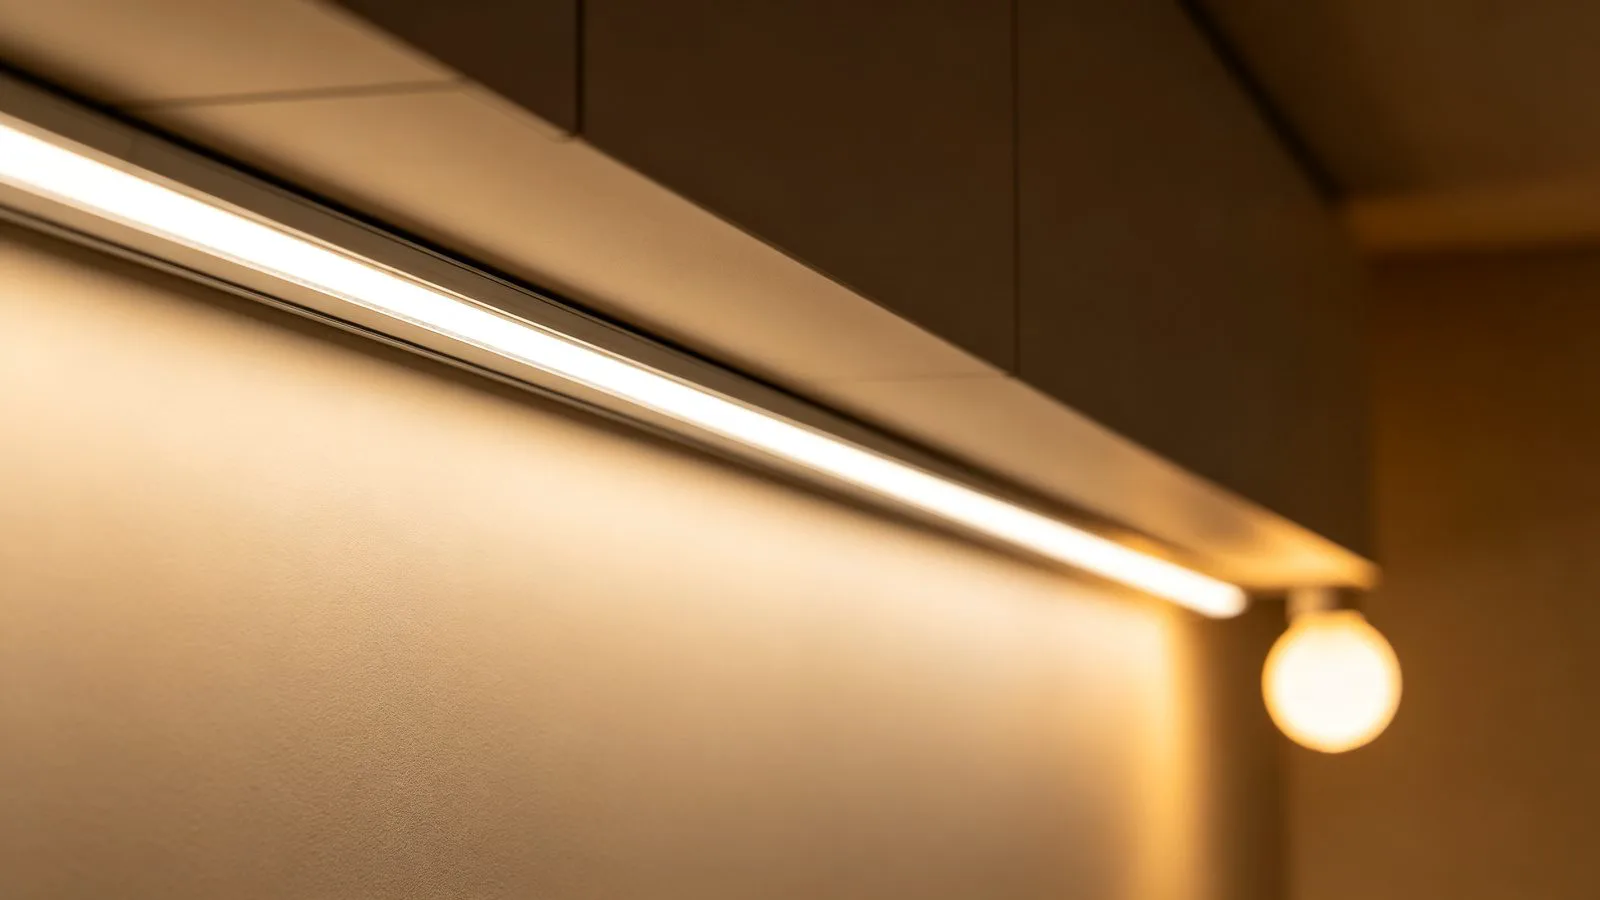
- Task: brighter, shadow-free light exactly where work happens.
- Accent: directional light on features, texture and objects.
- Independent control: dimmers/scenes let the layers balance by activity.
- Contrast and hierarchy guide the eye and avoid flat lighting.
How LED Strip Serves Each Layer
Linear LED across the three layers
| Layer | Typical strip application | Control/quality |
|---|---|---|
| Ambient | Ceiling cove/perimeter uplight, coffer, indirect wall wash | Warm-neutral, dimmable, even |
| Task | Under-cabinet, desk shelf, mirror and workbench channels | Brighter, CRI 90+, glare-controlled |
| Accent | Toe-kick, shelf edging, niche, art/stone grazing | Dimmable, directional, sometimes RGB |
| Decorative | Neon outlines, shadow gaps, backlit features | Scene-driven, lower brightness |
| Wayfinding | Skirting/corridor low-level night light | Low warm, motion at night |
The method is to place light where it is needed and hide the source: bounce ambient light off ceilings from concealed coves for soft, shadow-free fill; put dedicated task channels at the task plane (and light it from in front so the body does not cast a shadow); and use accent strips to graze textured walls, outline joinery, back-light shelves or highlight toe-kicks. Each layer uses appropriate brightness and CCT — task light is brightest and most neutral, ambient softer, accent most directional — and all should dim without flicker.
Designing Layer by Layer
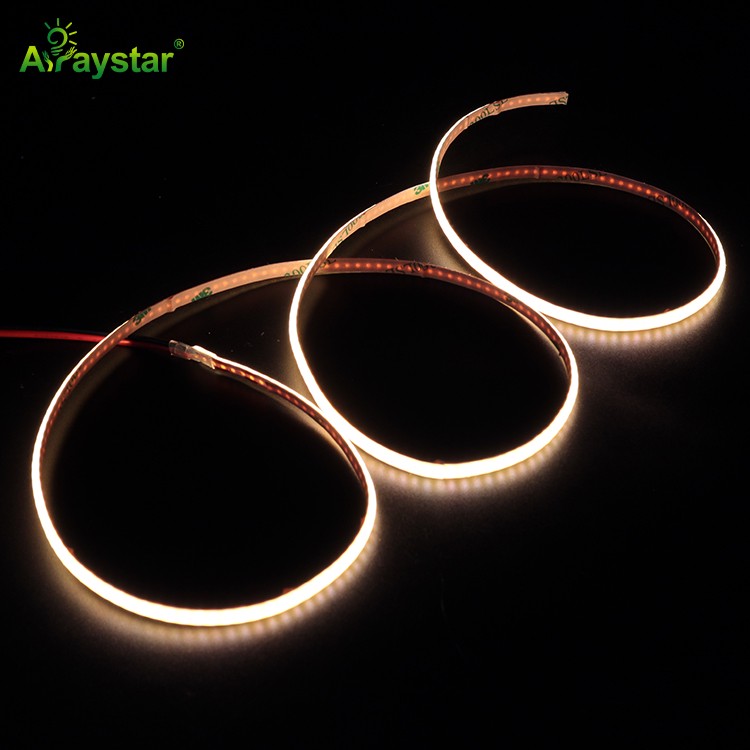
- Start with ambient: conceal COB in ceiling coves, coffers or perimeter reveals for even indirect fill; supplement with downlights only where needed.
- Add task at surfaces: under-cabinet channels for counters, desk-edge/shelf strips, mirror-side light in bathrooms; CRI 90+ and adequate local lux.
- Layer accent last: toe-kick and plinth glow, shelf/niche strips, grazers on stone or art, backlit features; accent should be brighter than its immediate surround to read.
- Use contrast deliberately: accent roughly 3–5× the ambient around a feature creates focus without glare; avoid lighting everything equally.
- Keep colour coherent: consistent warm/neutral family across layers (tunable white allows scenes without mixed colours).
- Hide every source: channels, baffles and coves so occupants see the effect, not the diodes.
Example room scenes (illustrative)
| Scene | Ambient | Task | Accent |
|---|---|---|---|
| Cooking / working | On, neutral | Bright, full | Low/off |
| Dining / relaxing | Dimmed warm | Off | Soft on |
| Entertaining | Low | Off | Feature/colour on |
| Night circulation | Off | Off | Low warm toe-kick |
| Cleaning/day | Bright full | On | As needed |
Controls, Layout and Common Mistakes
- Wire each layer to its own dimmer/zone/channel; a single switch defeats layering.
- Use scenes (keypad/app/smart controller) to recall balanced combinations per activity.
- Specify flicker-free dimming and matched drivers; tune low-end so no layer drops out.
- Avoid over-bright accent with no ambient (harsh, high-contrast) or flat all-on lighting (no hierarchy).
- Plan coves and channels during build/joinery; concealment and cable runs are easier early.
- Balance daylight: dim electric layers with sensors or scenes as natural light changes.
- Keep CCT consistent per scene; mixing warm and cool strips randomly looks unintentional.
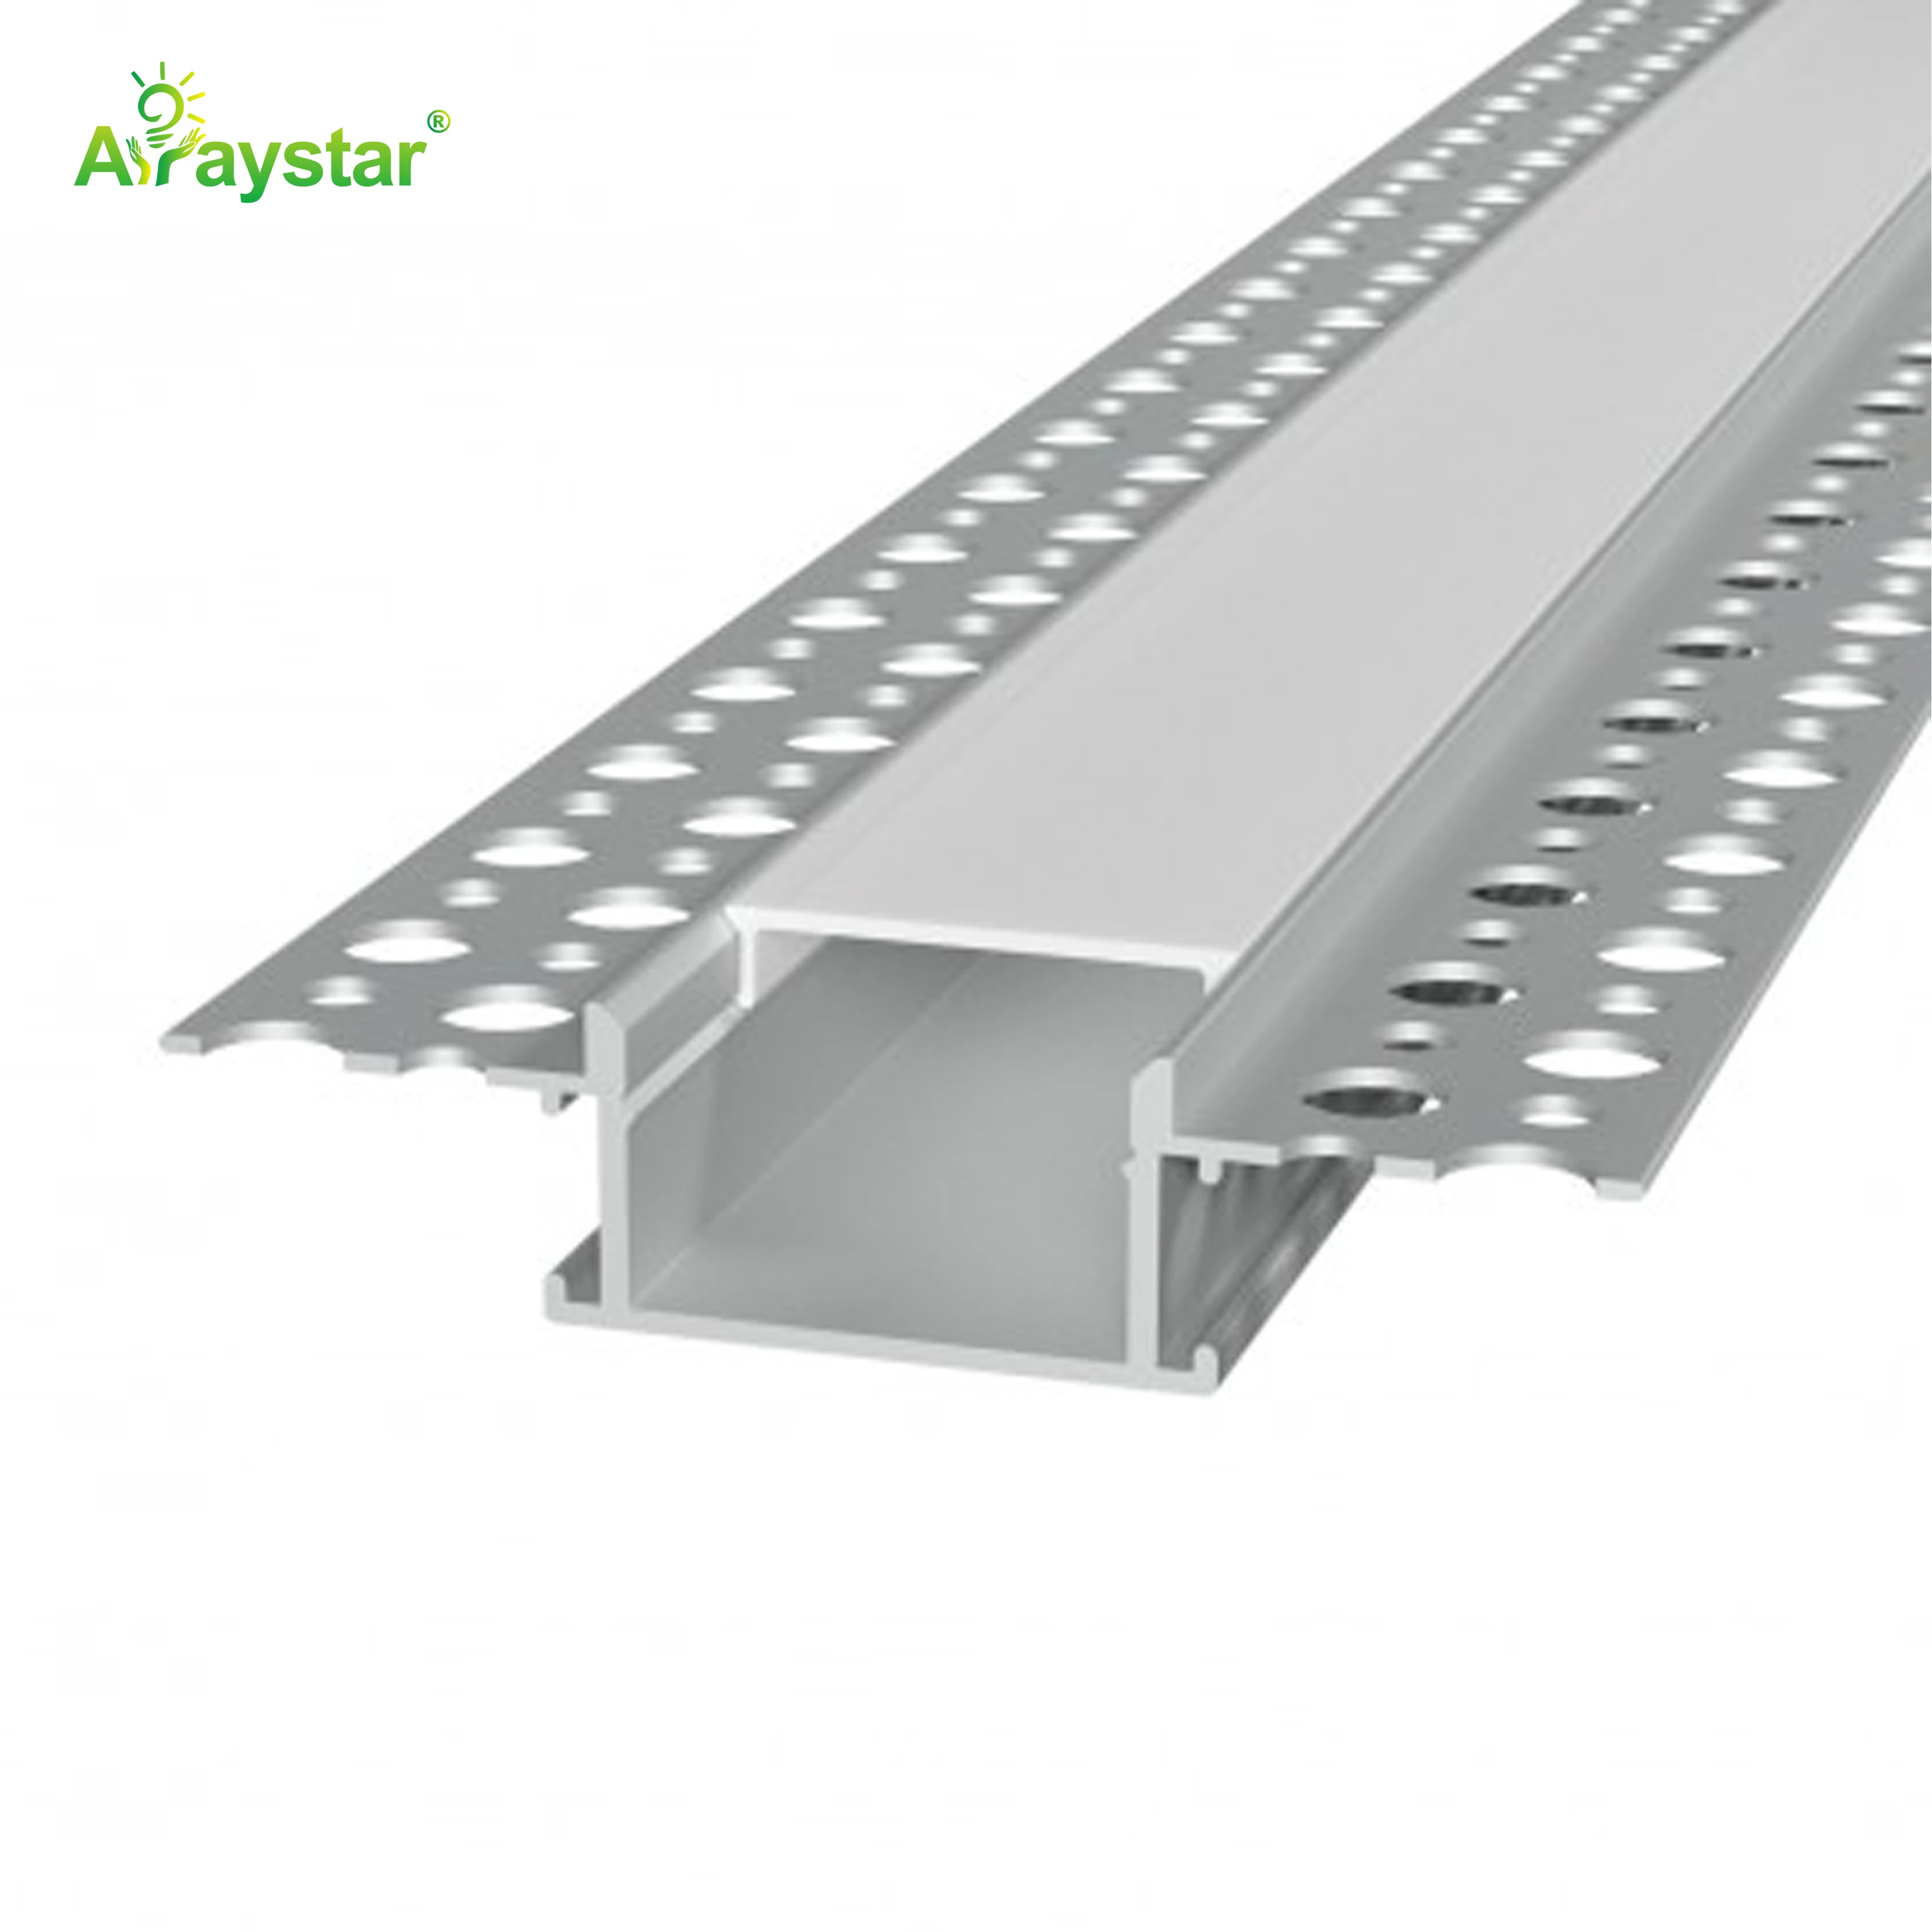
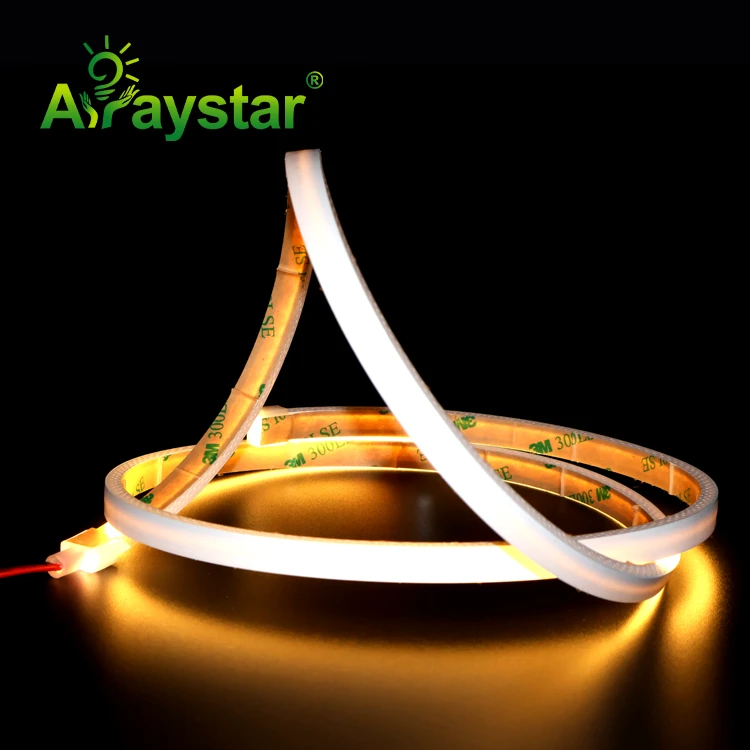
We supply the full toolkit for layered designs — continuous COB for ambient coves and reveals, CRI 90+ strip in opal channels for task, low-profile and neon strip for accent and wayfinding, plus multi-zone dimmable/tunable/RGBW controllers and flicker-free drivers. Send us your room plans and the activities in each zone and we will lay out all three layers with a scene plan that makes the space feel balanced at any time of day.
Recommended Products
Frequently Asked Questions
What are the three layers of lighting?
Ambient (general background light providing overall visibility, often indirect), task (focused brighter light on work surfaces like counters and desks) and accent (directional light highlighting features such as art, shelving, coves and toe-kicks). Designing and dimming them independently creates depth and flexibility, whereas a single bright layer looks flat and causes glare and shadows.
How do I use LED strip for ambient lighting?
Conceal continuous COB in ceiling coves, perimeter reveals, coffers or behind valances so light bounces indirectly off the ceiling or walls for soft, shadow-free fill, rather than shining strip directly into the room. Keep it dimmable, even and warm-to-neutral, and supplement with downlights only where the indirect wash is insufficient.
Where does task LED strip lighting go?
Directly at the work plane in concealed channels: under kitchen wall cabinets shining onto the counter (mounted toward the front to avoid the body casting a shadow), along desk shelves or monitor edges, beside bathroom mirrors and over workbenches. Use CRI 90+, adequate local brightness, opal diffusers for glare control and separate dimming.
How bright should accent lighting be relative to ambient?
Accent should be noticeably brighter than its immediate surroundings to create focus — a common rule of thumb is roughly 3-5 times the ambient level on the highlighted feature, adjusted to avoid glare. If accent is only as bright as the ambient it disappears; if far too bright with no ambient fill it becomes harsh and high-contrast.
Should each lighting layer be on a separate switch or dimmer?
Yes — independent control is what makes layering work. Put ambient, task and accent on separate dimmer zones (or channels of a smart/DALI system) and program scenes such as cooking, dining, entertaining and night that recall balanced combinations. One switch for everything forces a single flat look and removes the ability to adapt the room by activity.
Designing a layered lighting scheme?
We supply continuous COB for ambient coves/reveals, CRI 90+ task channels, accent and neon strip plus multi-zone dimmable/tunable/RGBW controllers and flicker-free drivers. Send room plans and activities for a complete three-layer layout with scenes.
Email: info@arraystarled.com | Phone: +86-0755-2103-6746 | WhatsApp: 0086 1581 8514 077
Need to size your power supply? Use our LED Strip Power Calculator to find the right driver in seconds.