Shadow Gap & Reveal LED Strip Detail for Modern Interiors
- 2026-09-19 13:17
- /
- Arraystar
Crisp architectural reveal and shadow-gap lighting is about hiding the source and controlling geometry: design a recessed slot or stepped junction deep enough to conceal the LED channel from normal viewing angles, use continuous diffused COB in a slim channel, keep the lit surface matte and light-coloured to reflect a soft wash, and dimension the gap/baffle so no direct diode glare or bright scallop is visible. The light should appear as a clean gradient line — the LED itself should never be seen.
What Shadow-Gap and Reveal Lighting Is
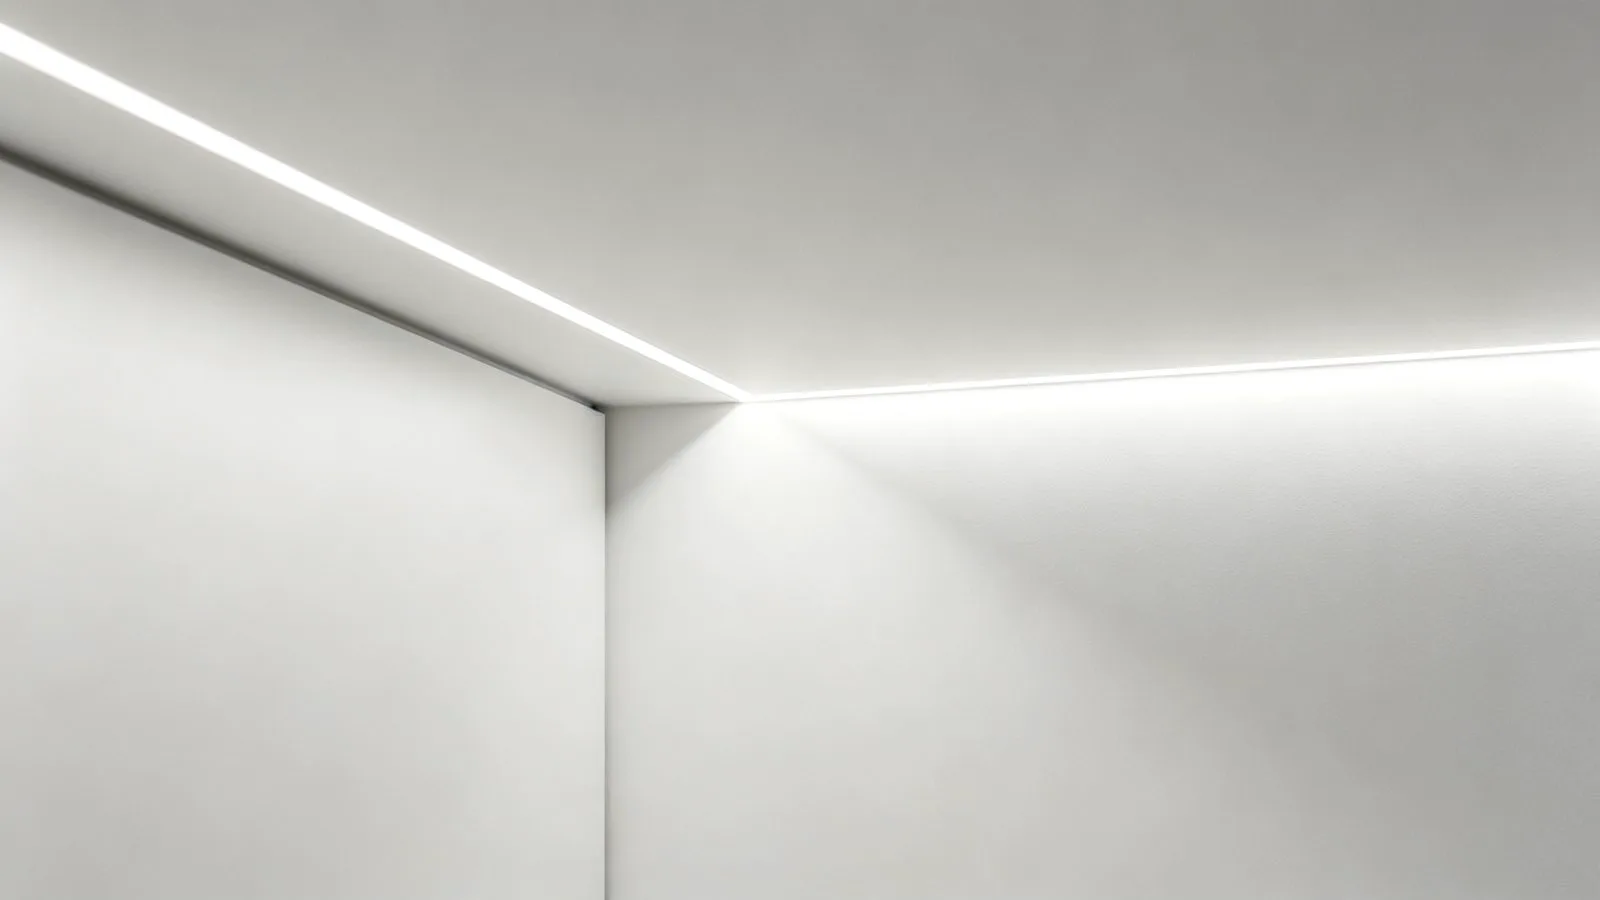
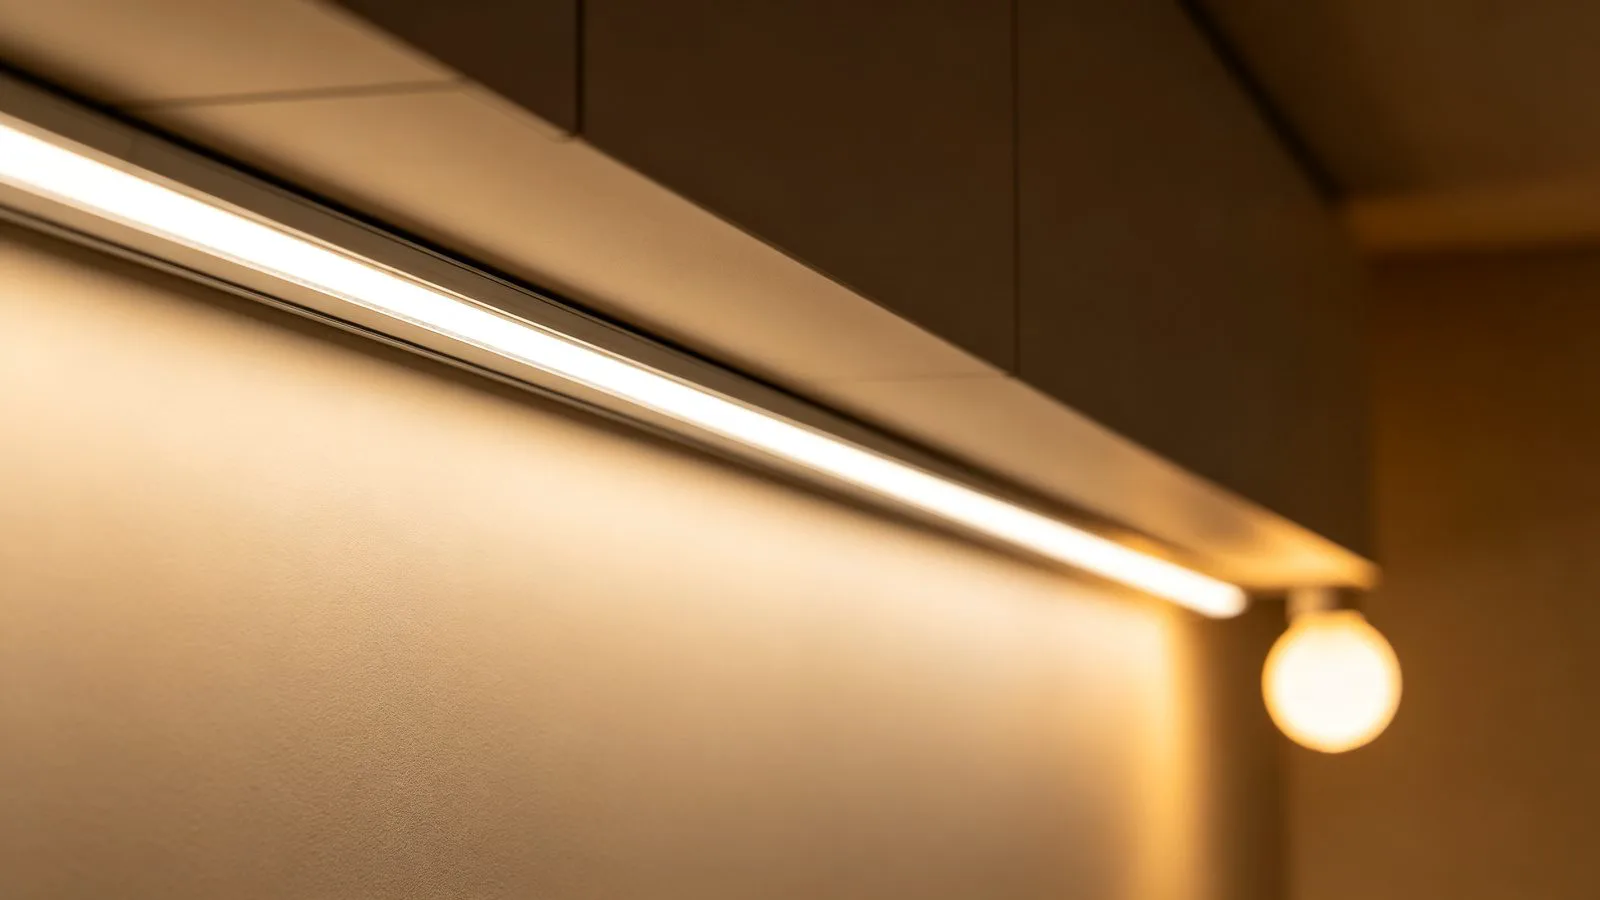
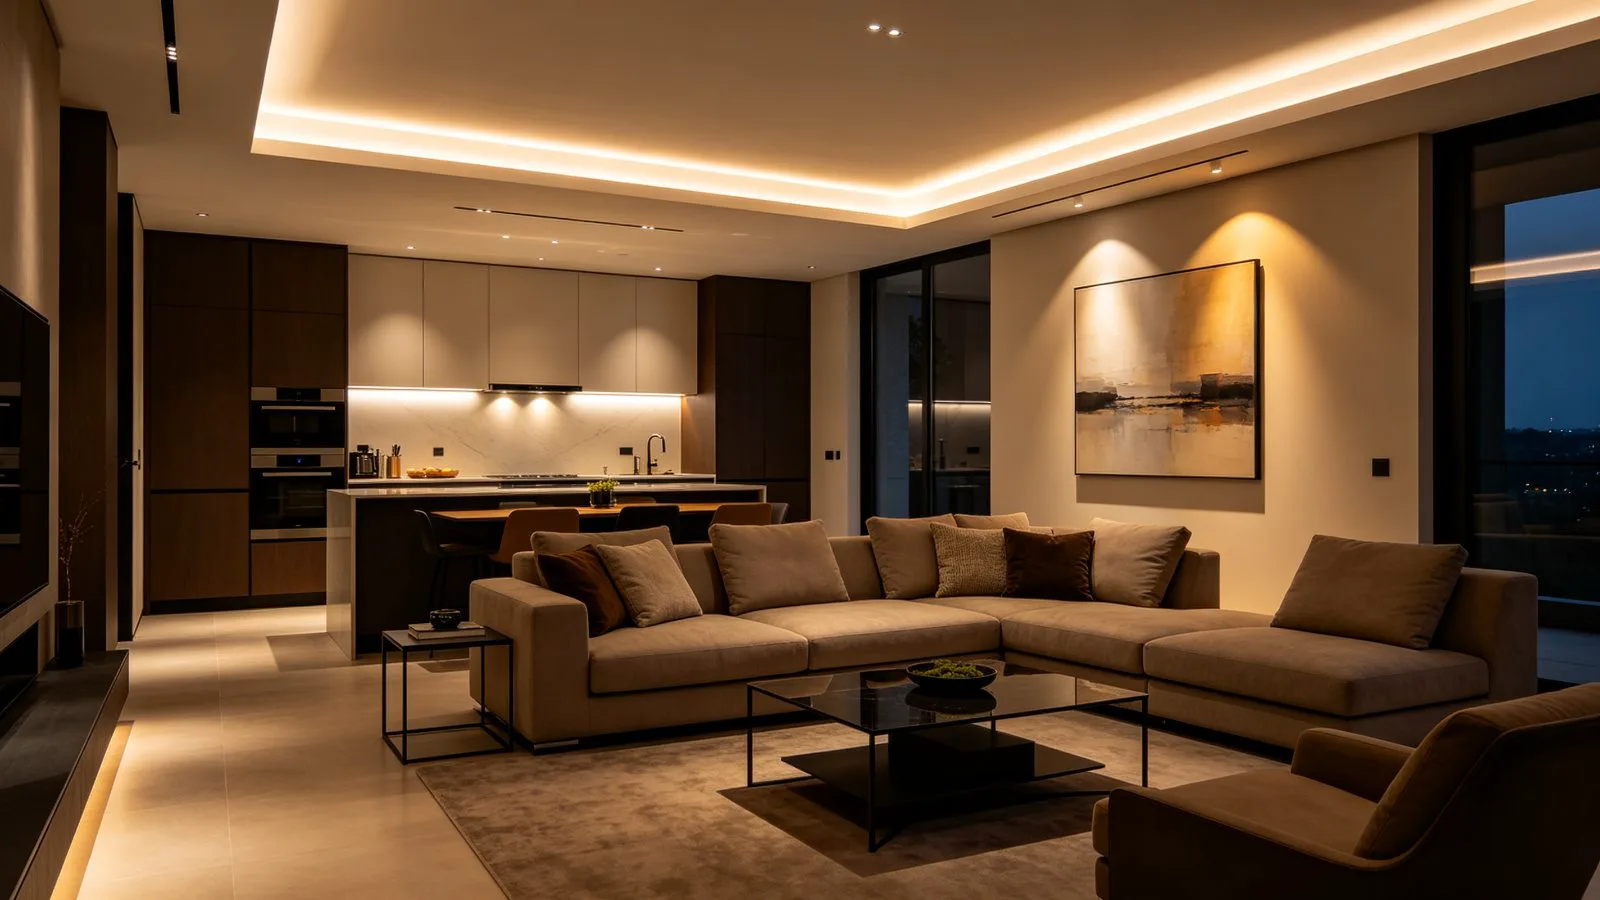
A shadow gap (or reveal) is a deliberate recessed slot at a junction — ceiling-to-wall, wall-to-floor, joinery-to-wall or within layered ceilings — that separates planes visually. Adding concealed linear light to the gap turns an architectural detail into a soft indirect glow that makes ceilings appear to float, defines corridors, highlights texture and provides calm ambient light without visible fixtures. The aesthetic is minimalist and high-end, but it is unforgiving: the effect is only as good as the concealment and continuity. A visible diode, a bright end, an uneven gap or glare from a doorway destroys the illusion. Success is in the detail dimensioning and in using continuous, diffused sources with matte surfaces to wash.
- Conceal the source: occupants should see light, not LEDs or channel.
- Continuous line: no dots, gaps, bright ends or colour patches.
- Controlled geometry: gap width, depth and baffle angle hide glare.
- Matte light surfaces reflect a smooth wash; glossy surfaces mirror the LED.
- Tidy construction: straight, consistent reveals are essential to the look.
Geometry: Dimensioning the Reveal
Reveal detail design factors
| Factor | Consideration |
|---|---|
| Viewing angles | Slot must hide LED from standing/seated sightlines |
| Gap width | Narrow crisp line vs wider wash; consistent throughout |
| Recess depth | Enough to baffle the source and blend light |
| Baffle/lip | A small lip or angled slot blocks direct view of diodes |
| LED position | Aimed at the surface to be washed, not the viewer |
| Channel | Slim recessed/plaster-in profile with opal cover |
| Surface | Matte, light-coloured, continuous wall/soffit |
| Corners | Continuous channel or mitred corners, no dark joints |
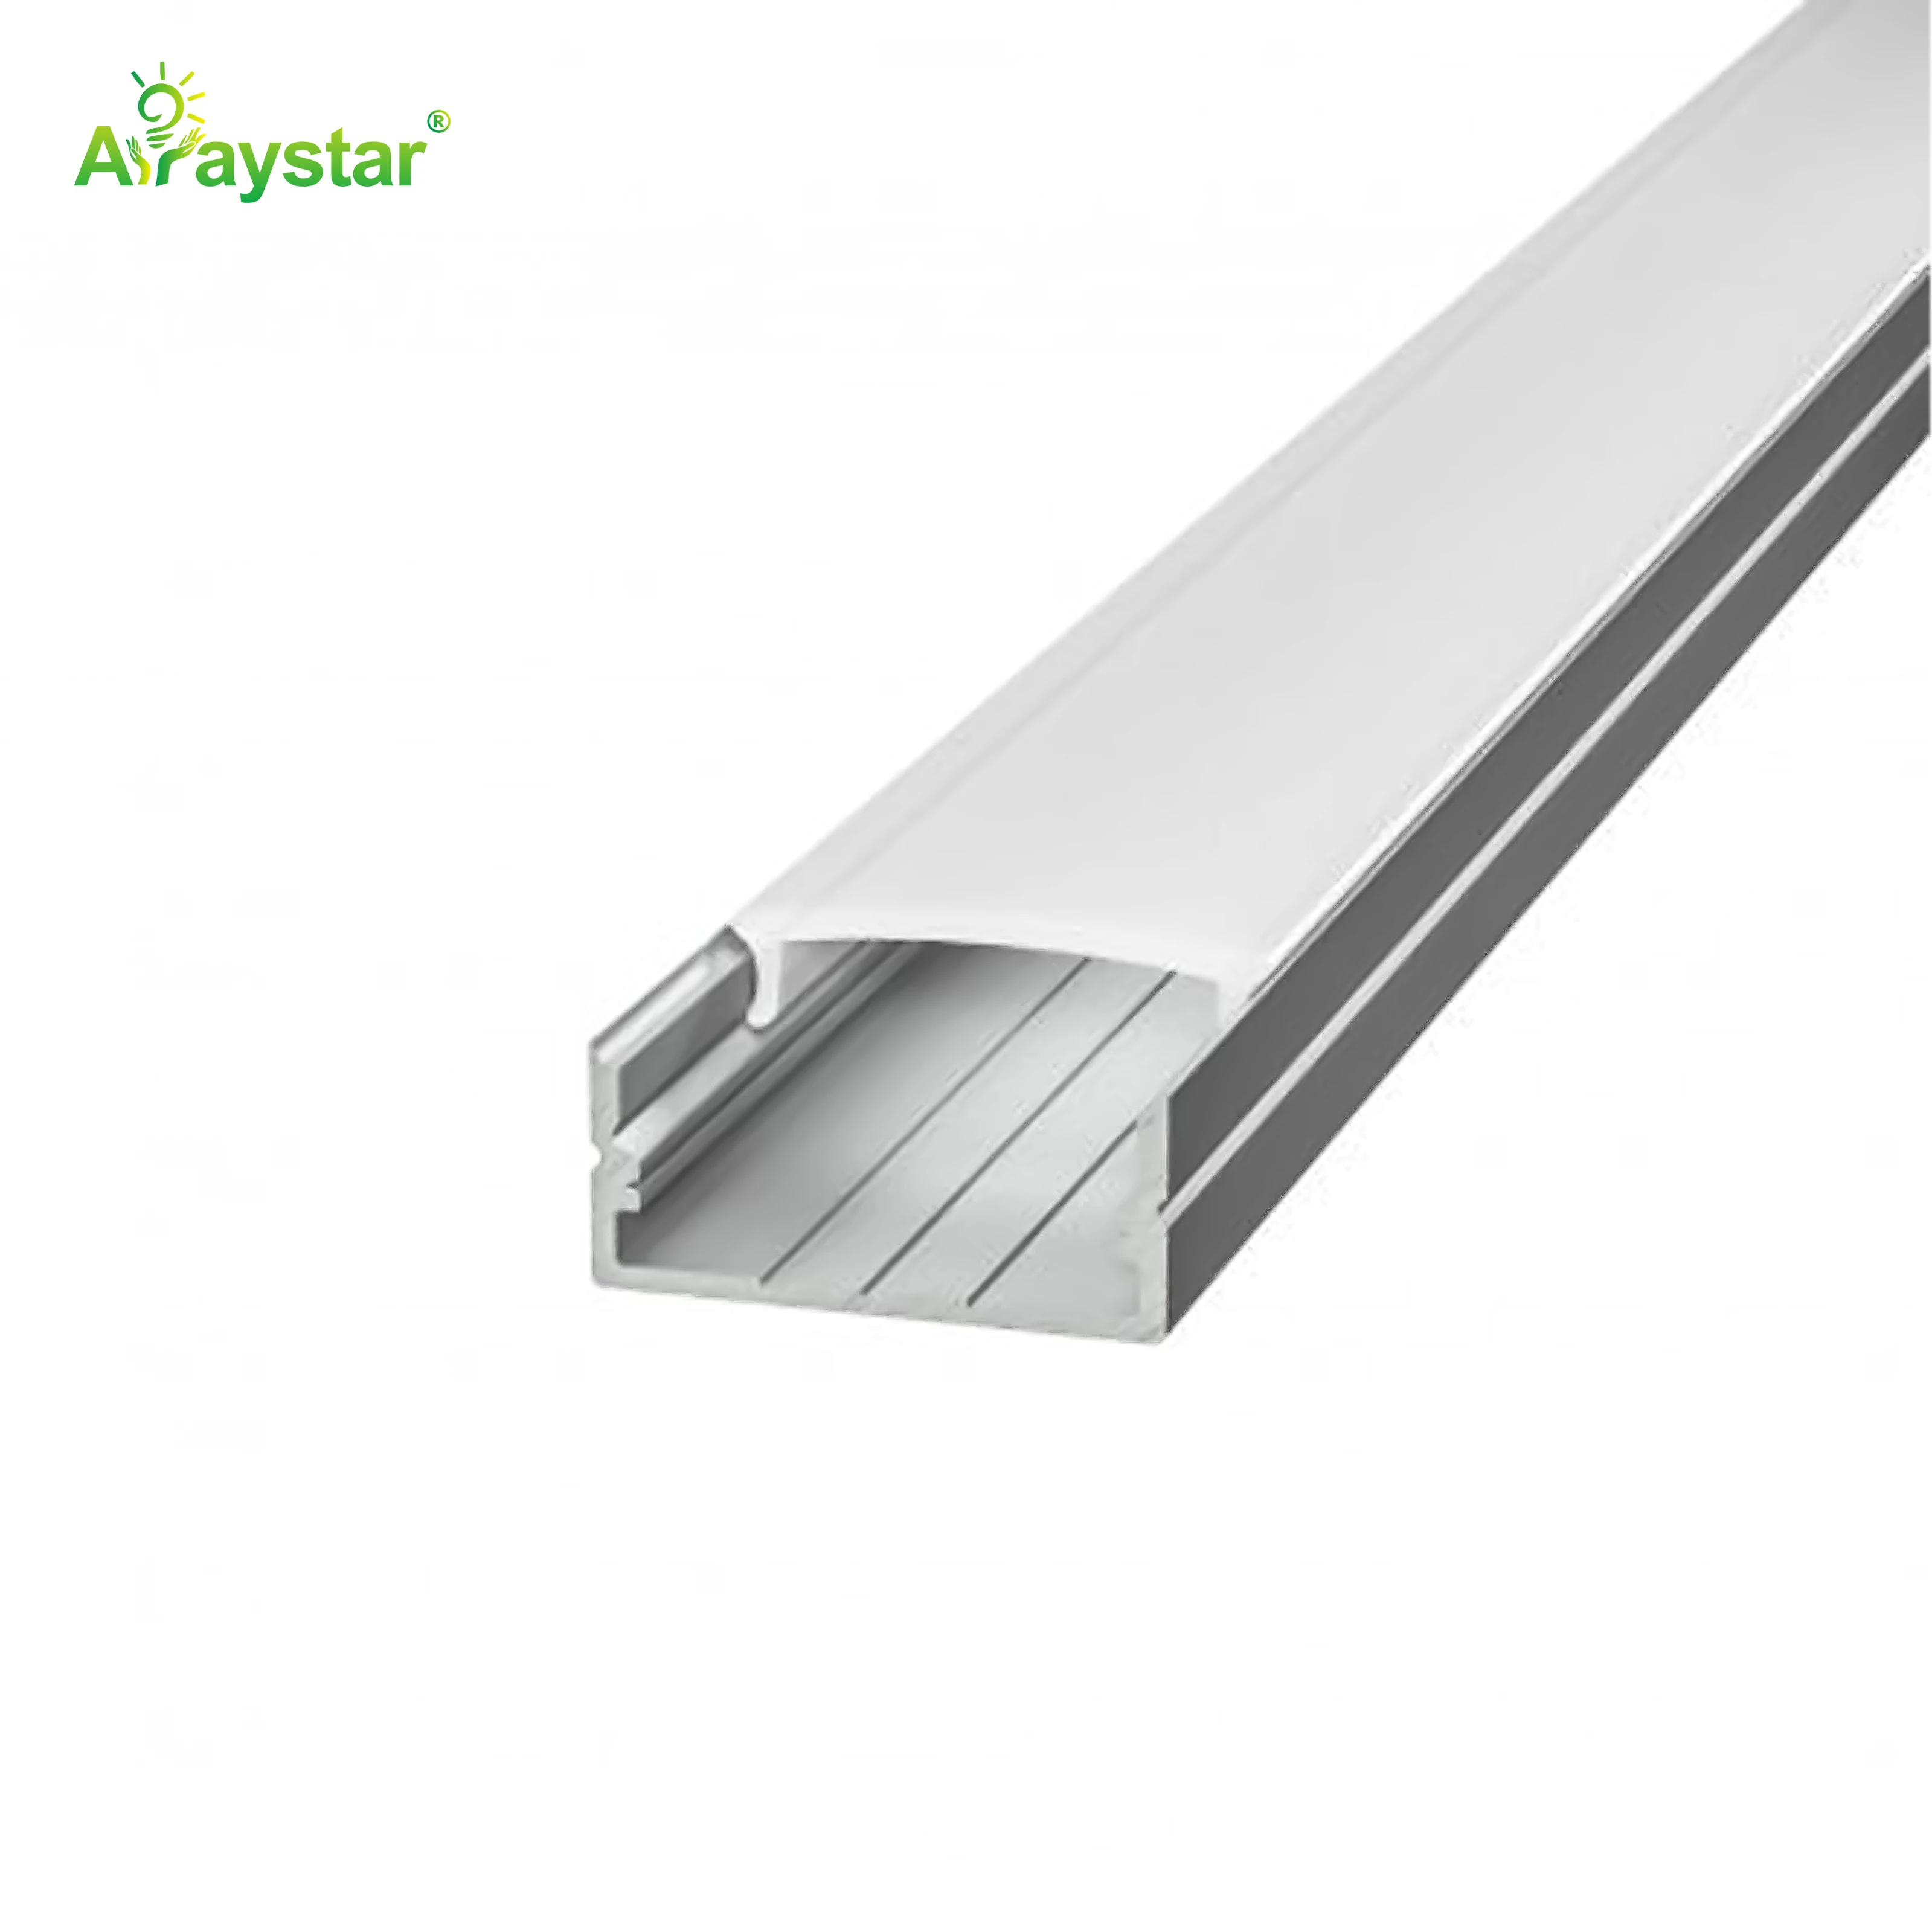
The core principle is the cut-off angle: the reveal's lip or depth must block a direct line of sight to the emitting surface from every normal viewing position, including from doorways and when seated. The LED is aimed to wash the adjacent plane (the wall for a ceiling perimeter gap, the floor for a skirting reveal) rather than shine outward. Plaster-in (trimless) aluminum channels give the cleanest result by disappearing into the drywall; surface channels suit joinery and retrofit. Your millworker or drywall contractor and lighting supplier should coordinate the exact profile before framing.
Choosing the Light Source and Effect
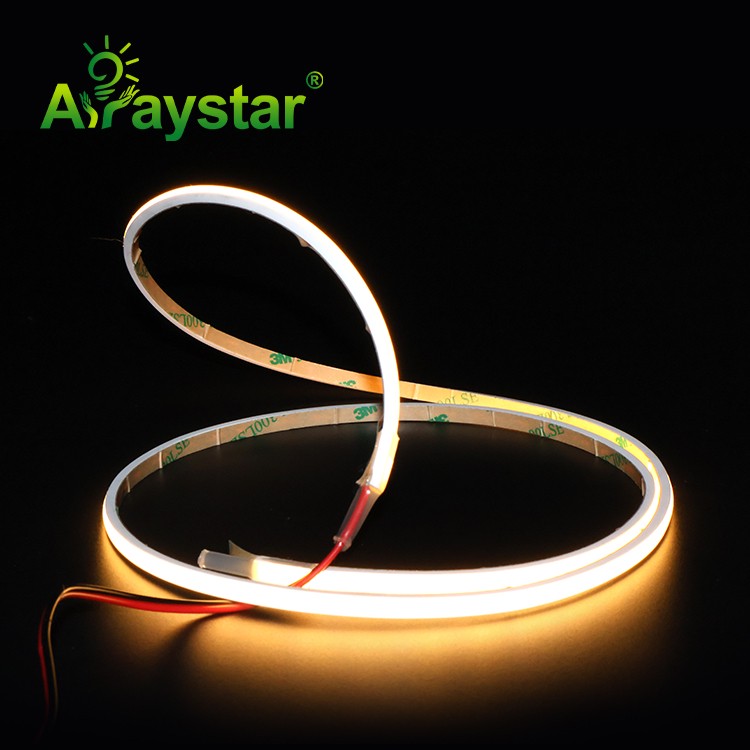
- Use continuous COB or very dense strip in an opal/plaster-in channel for a dot-free line; spaced SMD will scallop in a narrow reveal.
- Choose bin-matched product across long runs and handle corners with continuous-bend or mitred channels to avoid bright/dark joints.
- Pick CCT to the interior: warm 2700–3000 K for residential/hospitality calm, 3000–3500 K neutral for modern commercial.
- Keep brightness moderate and dimmable: reveal light is ambient/accent; dim it to avoid a harsh neon-like line.
- Ensure flicker-free dimming down to low levels, as reveals are often used in evening scenes.
- Use matte paint on the washed wall; glossy or dark surfaces either reflect the diodes or absorb the wash.
Common reveal applications
| Location | Effect / note |
|---|---|
| Ceiling perimeter (cove) | Floating ceiling, soft ambient uplight |
| Stepped/coffered ceiling | Defines layers, no visible fixtures |
| Wall-to-floor/skirting | Wayfinding night glow, safe circulation |
| Joinery/wall junction | Floating cabinets, shelves, bedheads |
| Corridor wall slots | Linear guidance and texture grazing |
| Bathroom/mirror | Soft shadow-free accent (rated IP if wet) |
Construction Details and Pitfalls
- Coordinate before drywall: plaster-in channels and blocking must be framed in; retrofits use surface/joinery profiles.
- Maintain a perfectly straight, consistent gap; wavy or varying-width reveals are glaringly obvious when lit.
- Plan continuous runs and mitred corners; hide feed cables and drivers in the ceiling/void, accessibly.
- Manage voltage drop on long perimeter runs with feeds/48 V so the line is evenly bright (see our PCB guide).
- Seal and finish to the channel edge cleanly; plaster-in profiles are designed to be flushed and painted.
- Avoid dust traps and paint on the diffuser; install/protect covers through decorating and remove protective film last.
- Provide access to drivers and avoid placing splices in inaccessible gaps.
We supply slim recessed and plaster-in (trimless) aluminum channels with continuous COB and opal diffusers, corner pieces and flicker-free dimmable drivers ideal for shadow gaps and reveals, along with dimensioning guidance for cut-off and wash. Send us the junction detail (ceiling-wall, skirting, joinery), available recess depth and desired line brightness and we will specify the channel, strip and aiming for a clean, source-free glow.
Recommended Products

Frequently Asked Questions
How do you hide LED strip in a shadow gap or reveal?
Use a recessed or plaster-in aluminum channel set deep enough (or with a small lip/baffle) that the LED is outside normal sightlines, aim the continuous opal COB at the surface to be washed rather than the room, and keep the gap geometry consistent. The cut-off angle must block direct diode view from standing and seated positions, including from doorways.
What LED strip is best for ceiling reveal lighting?
Continuous COB or very dense strip in a slim opal plaster-in or recessed channel gives the smoothest dot-free line; use bin-matched product across the perimeter, mitred/continuous corners, warm-to-neutral CCT, moderate dimmable brightness and flicker-free drivers. Spaced low-density SMD tends to scallop in a narrow reveal.
Why do I see dots or glare in my ceiling cove lighting?
The LED is not sufficiently concealed or the source is too sparse/close: the lip or recess depth does not cut off the viewing angle, the diffuser is clear or missing, strip density is low, or the washed wall is glossy and mirrors the diodes. Deepen the baffle, use continuous opal COB, aim at a matte surface and dim to a comfortable level.
How wide or deep should a shadow gap be for LED?
There is no single number; the gap and recess depth are dimensioned so the lip blocks direct LED sightlines while leaving room for the channel and light to blend, typically with the LED aimed at the adjacent plane. Your lighting supplier and drywall/millwork contractor should coordinate the plaster-in profile and cut-off before framing; a physical mock-up of the detail is the best check.
Can shadow-gap lighting be added to an existing room?
Yes, though trimless plaster-in reveals are easiest during renovation when drywall is open. In a finished room use surface-mounted slim channels at ceiling-wall or skirting junctions, channels within joinery/cabinets, or retrofit cove profiles; these still need concealment of the source and matte surfaces for the same clean effect.
Detailing a shadow gap or luminous reveal?
We supply plaster-in and recessed slim channels with continuous opal COB, corners and flicker-free dimmable drivers, plus cut-off and aiming guidance. Send the junction detail, recess depth and desired brightness for a clean source-free design.
Email: info@arraystarled.com | Phone: +86-0755-2103-6746 | WhatsApp: 0086 1581 8514 077
Need to size your power supply? Use our LED Strip Power Calculator to find the right driver in seconds.