
My Quick Connector Does Not Fit the Strip: Width and Pad Spacing Mismatch
- 2026-11-02 15:55
- /
- Arraystar LED
You bought a bag of quick connectors that looked about right, and none of them seat on the strip. The reel is 8 mm but the connector is 10 mm, or the pads are spaced 8 mm apart and the connector pins are 10 mm. Close only counts in horseshoes.
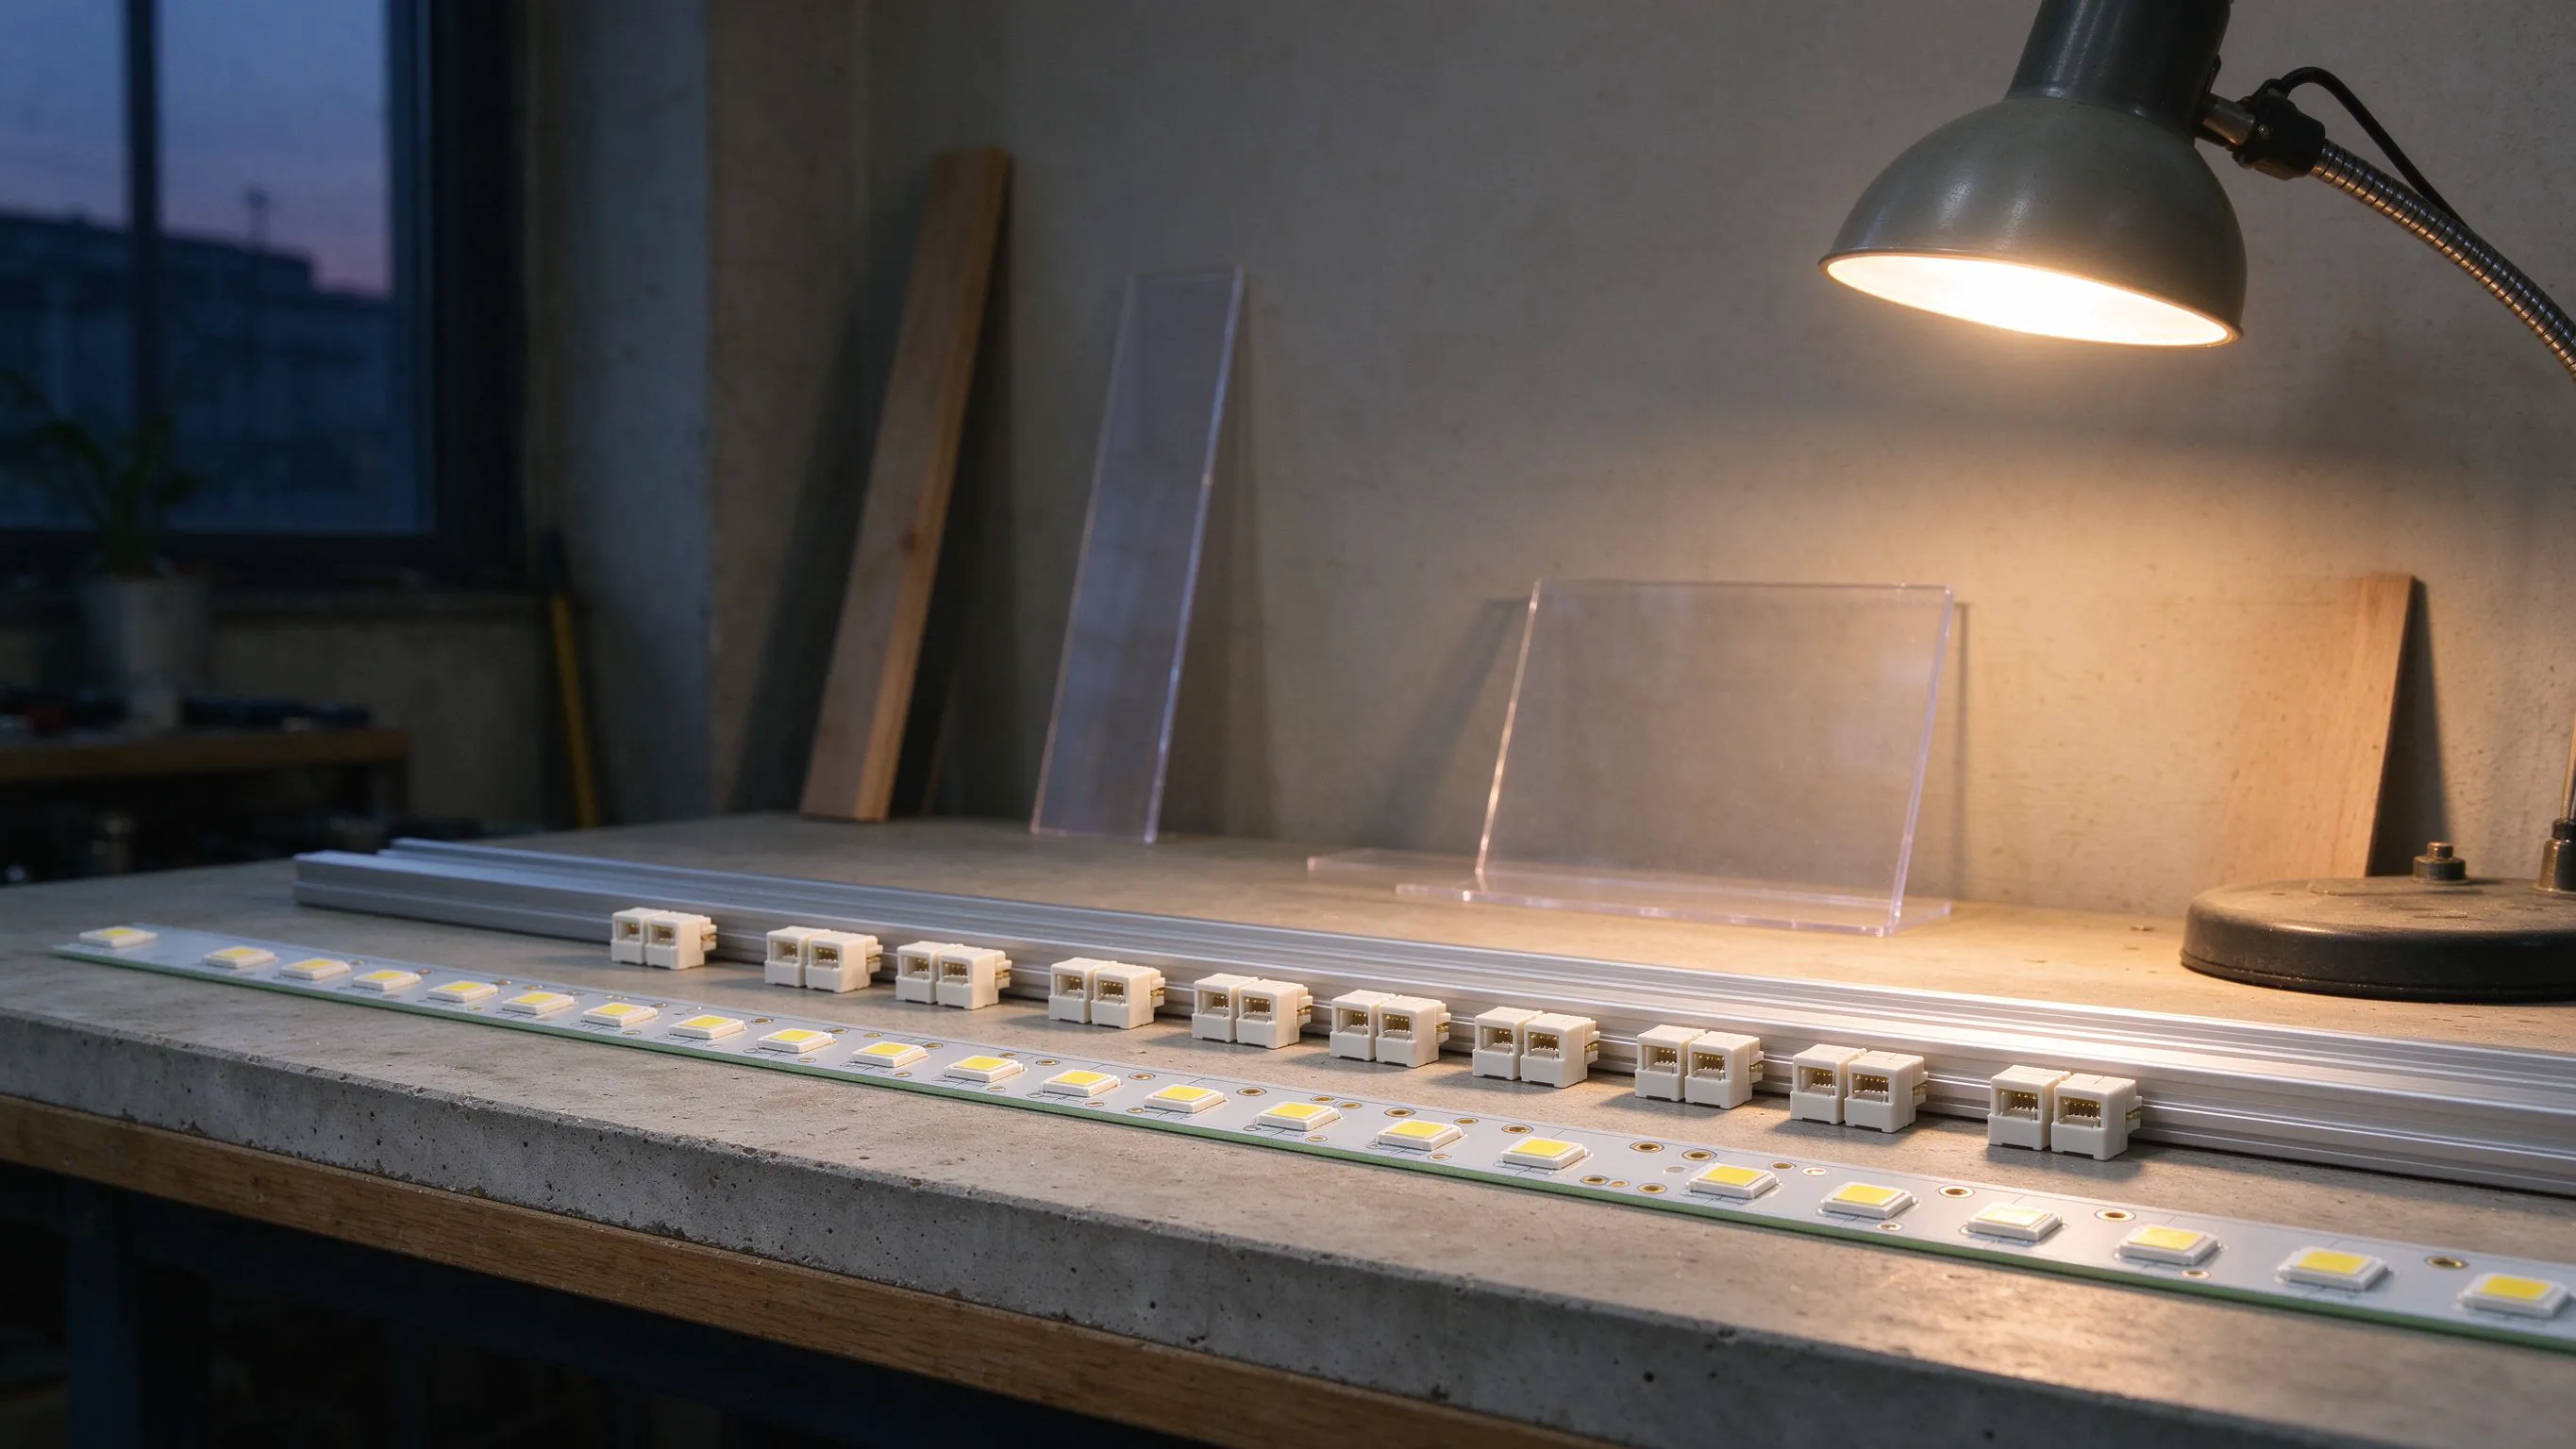
The connector that almost fits but does not
You cut the strip, peel the backing, and try to clip in a solderless connector. The lid will not shut. You force it, one side contacts, the other side floats over empty PCB. You move the strip a millimetre, now the other side contacts. You have a connector that looks seated but is making contact on one pin only, and the strip flickers or half-lights. That is a width and pad-spacing mismatch, not a faulty connector.
Solderless clips look interchangeable, but they are not. The connector has to match the strip width, the pad spacing, and the pad layout. An 8 mm COB strip with 8 mm pad spacing will not seat in a 10 mm connector built for a 10 mm PCB. The contacts land on the solder mask, not the copper.
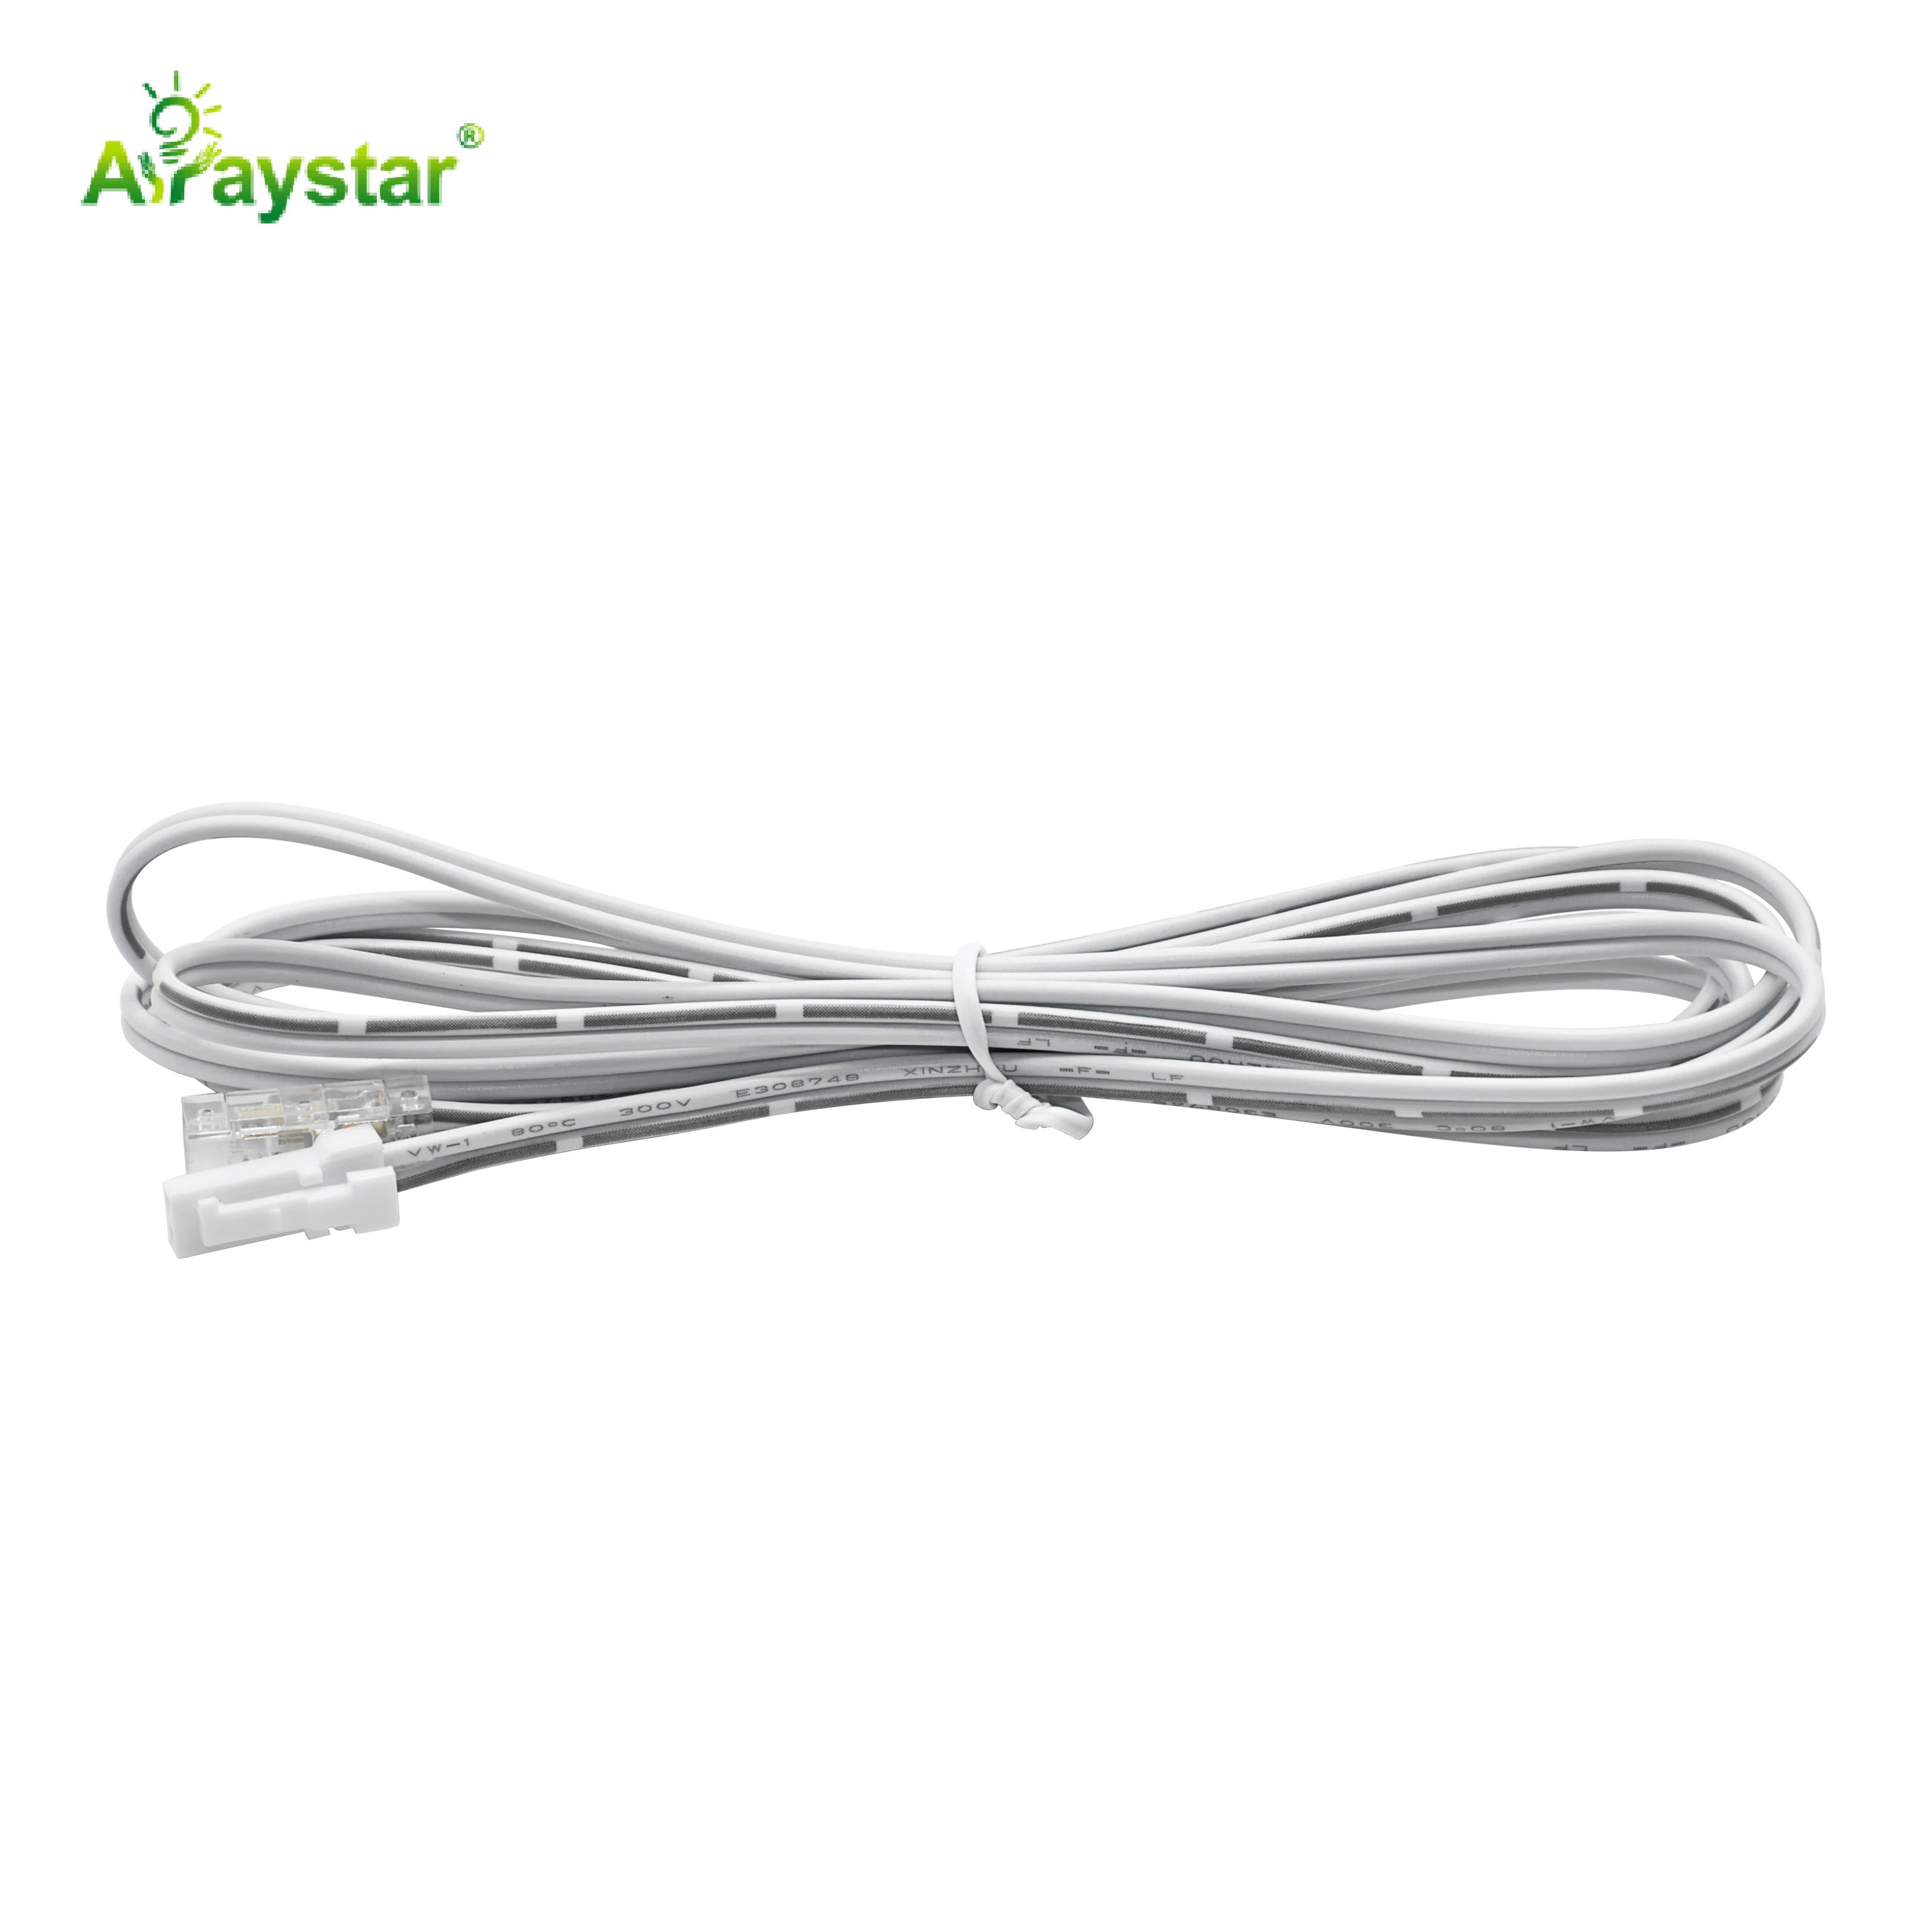
The three numbers you need before ordering
Before you buy a bag of connectors, measure three things on the strip. Width of the PCB, measured at the widest point. Pad spacing, measured centre-to-centre between the two power pads on the end. And pad type: whether the pads are on the front face, the back face, or both. A connector for top-pad strip will not grip a bottom-pad strip, even if the width and spacing match. A 15-minute measurement on the bench beats a bag of clips that all fit nothing.
The measurement order I follow
- Measure PCB width in mm with a ruler or callipers.
- Measure pad centre-to-centre spacing in mm.
- Check whether the pads are on the top, bottom, or both sides of the board.
Common mismatches that waste money
The most common mistake is buying an 8 mm connector for a 10 mm strip, or a 10 mm connector for an 8 mm strip. The connector body swallows the strip or leaves it floating. The second mistake is mixing COB and SMD connectors: COB pads run right to the edge, while SMD pads sit in from the edge. The third is buying a 4-pin RGB connector for a 2-pin single-colour strip. I have also seen people buy 12 V and 24 V clips interchangeably, which works electrically but the pin pitch still has to match the reel.
Width and pad spacing are independent; match both, not just the width.
| Strip width | Pad spacing | Connector to buy |
|---|---|---|
| 5 mm COB | 8 mm | 5 mm COB clip, 8 mm pins |
| 6 mm SMD | 10 mm | 6 mm SMD clip, 10 mm pins |
| 8 mm COB | 8 mm | 8 mm COB clip, 8 mm pins |
When a clip will never work, solder instead
If the strip has a silicone jacket, a solderless clip will not bite through the jacket to reach the pads. On waterproof silicone-extruded strips, you must cut the jacket back 10 mm, tin the exposed pads, and solder a fly lead on. Trying to clip a waterproof strip just mashes the silicone and gives you a bad contact. For hanging suspension runs, use the elastic bungee cord connectors made for that, not a power clip.
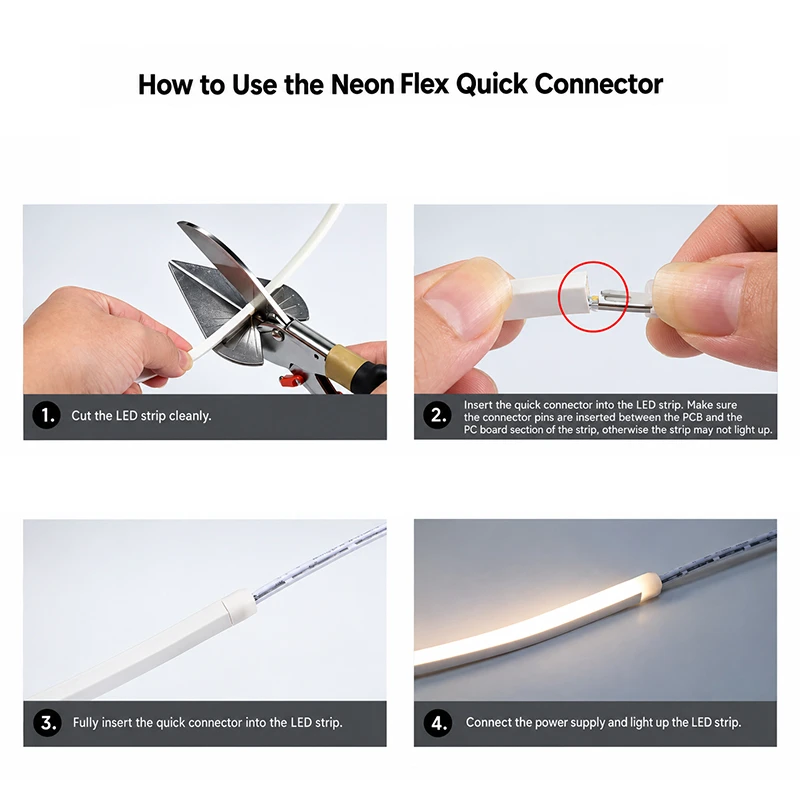
Testing the contact before you close the cabinet
Before I tape the run up, I close the connector lid, give it a gentle pull, and measure the voltage at the far end of the strip. If the connector is only contacting one pin, the far end reads 0 V. If both pins seat, the far end reads the full supply. That 10-second test saves a cabinet teardown three months later.
- Match width, pad spacing, and pad side; not just the width.
- Never clip a silicone-jacketed strip; strip the jacket and solder.
- Measure voltage at the far end before closing the cabinet.
Recommended Products
Frequently Asked Questions
Why will my quick connector not seat on the LED strip?
Because the connector body width, pin spacing, or pad side does not match the strip. An 8 mm connector on a 10 mm strip leaves the pins floating; a top-pad connector on a bottom-pad strip contacts solder mask. Measure the PCB width, pad centre-to-centre, and pad side before buying.
What measurements do I need to pick the right connector?
Three: PCB width in mm, pad centre-to-centre spacing in mm, and which side of the board the pads are on. COB pads run to the edge; SMD pads sit in from the edge. A connector that matches width but not pad layout still will not contact the copper.
Can I force a slightly wrong connector to fit?
No. Forcing the lid bends the pins, and you end up with a contact on one pin only, which gives a flickering or half-lit run. The connector looks seated but the resistance is high. Solder a fly lead instead of forcing a mismatched clip. It is faster and lasts longer.
Will a solderless clip work on a waterproof silicone strip?
No. The silicone jacket insulates the pads, so the clip pins only push into the jacket. Cut the jacket back 10 mm, tin the exposed pads, and solder a fly lead on. Trying to clip a waterproof strip mashes the silicone and gives an intermittent contact.
How do I know the connector is really making contact?
Close the lid, give it a gentle pull, then measure the voltage at the far end of the strip with a multimeter. If it reads the full supply, both pins are seated. If it reads 0 or half voltage, one pin is floating. Do this before you tape the run up; it is a 10-second test.
Need help with your LED project?
Get factory-direct pricing, free samples and engineering support within 24 hours.
Email: info@arraystarled.com | Phone: +86-0755-2103-6746 | WhatsApp: 0086 1581 8514 077
Need to size your power supply? Use our LED Strip Power Calculator to find the right driver in seconds.







