How to Build Custom LED Strip Aluminum Channel: Complete Fabrication Guide
- 2026-09-09 15:48
- /
- Arraystar
Quick Answer
Aluminum channels (also called LED profiles or extrusions) provide heat sinking, protection, and a professional finish for LED strip installations. Types include: surface mount (U-shape), recessed (flush with surface), corner (90-degree), and pendant (hanging). Choose channel width to match strip width (8mm/10mm/12mm/20mm), select diffuser type (clear, frosted, opal) based on desired light diffusion, and install with end caps, mounting clips, and suspension wires. Custom fabrication allows unique shapes and sizes for specific projects.
Why Use Aluminum Channels?
Aluminum channels serve multiple important purposes: 1) Heat sinking: Aluminum dissipates heat from LED strips, keeping LEDs cooler and extending lifespan by 30-50%. Essential for high-power strips (>14.4W/m). 2) Protection: Channels protect strips from physical damage, dust, and moisture (when used with end caps and gaskets). 3) Professional appearance: Channels hide the strip and wires, creating a clean, finished look. Diffusers spread light evenly, eliminating hot spots and LED dotting. 4) Easy installation: Channels come with mounting clips, end caps, and accessories for quick, professional installation. 5) Versatility: Available in many shapes and sizes for different applications—surface mount, recessed, corner, pendant, and more. While channels add cost ($2-10/m), they significantly improve the appearance, performance, and longevity of LED strip installations.
Types of Aluminum Channels
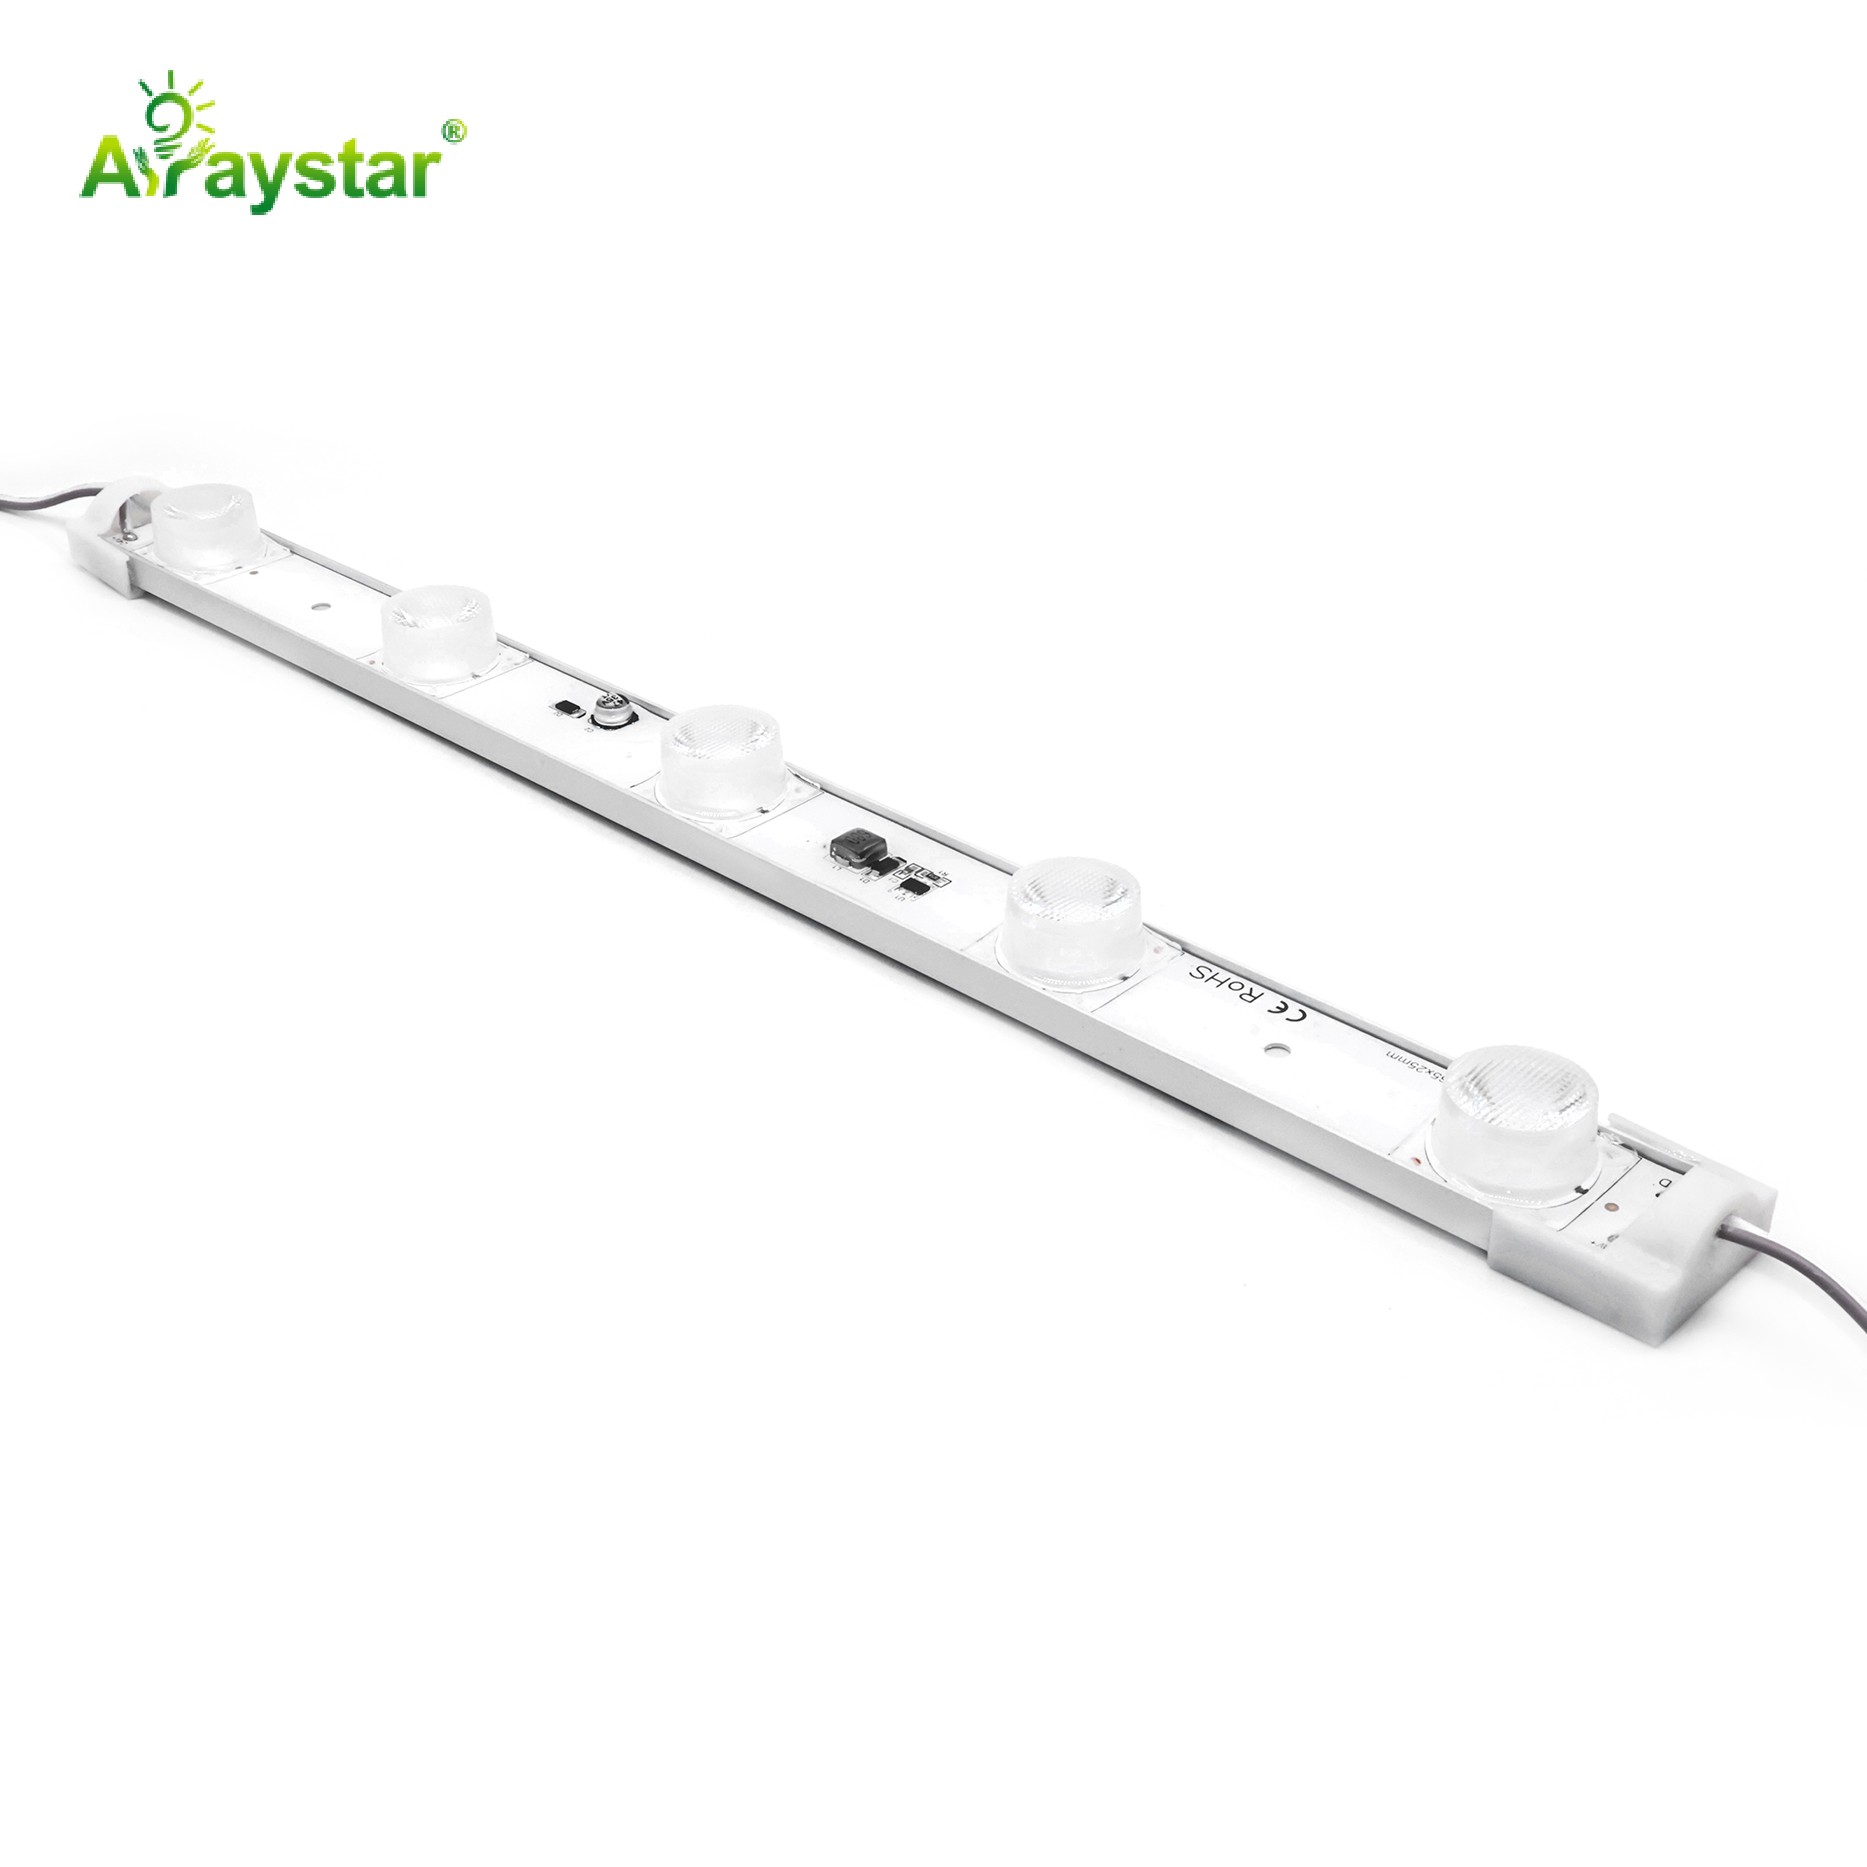
1) Surface mount (U-shape): The most common type. A U-shaped channel that mounts directly to surfaces. Available in various widths (8mm-50mm) and depths. Ideal for under-cabinet, shelving, cove lighting, and general applications. 2) Recessed (flush mount): Designed to be installed into a groove or cutout, creating a flush, seamless appearance with the mounting surface. Ideal for architectural installations, furniture, and modern designs where the channel should be invisible. Requires precise cutting of the mounting surface. 3) Corner (L-shape/V-shape): Designed for 90-degree corners, such as cabinet corners, ceiling-wall junctions, and inside/outside corners. Angles LED light at 45 degrees for even illumination of adjacent surfaces. 4) Pendant (hanging): Channels designed to be suspended from ceilings using wires or cables. Ideal for linear pendant lights over kitchen islands, dining tables, desks, and reception areas. Available with end caps and cable suspension kits. 5) Slim/thin profile: Very low-profile channels (3-5mm height) for applications where minimal visibility is desired. Ideal for tight spaces and modern, minimalist designs. 6) Round/circular: Round channels for creating circular or curved light fixtures, or for use as pendant lights.
Choosing the Right Channel and Diffuser
Channel selection factors: 1) Width: Choose channel inner width to match strip width (add 1-2mm clearance). Common: 8mm channel for 8mm strips, 12mm for 10-12mm strips, 20mm for wide COB strips. 2) Depth: Deeper channels provide better heat sinking and more room for diffuser to spread light. Shallow channels for low-profile applications. 3) Material: 6063-T5 aluminum is standard for LED channels—good thermal conductivity and corrosion resistance. Anodized finish for durability and appearance. 4) Diffuser type: Clear (transparent, minimal diffusion, visible LEDs at close range), frosted (semi-transparent, moderate diffusion, some LED visibility), opal/milk (opaque, maximum diffusion, completely hides LEDs, reduces brightness by 20-30%). Choose based on desired appearance—opal for uniform, dot-free light; clear for maximum brightness and visible LED effect. 5) Accessories: End caps (to close channel ends and protect strips), mounting clips (for easy installation), suspension wires (for pendant channels), corner connectors (for joining channels at angles). 6) Custom options: Many suppliers offer custom cutting, drilling, anodizing colors (black, silver, gold), and custom extrusion for unique projects.
Custom Fabrication Techniques
For custom or unique installations, you may need to fabricate or modify aluminum channels: 1) Cutting: Use a miter saw with a fine-tooth aluminum-cutting blade (80+ teeth) for clean, straight cuts. For 45-degree miter cuts, use a miter saw with adjustable angle. Deburr cut ends with a file or sandpaper. 2) Drilling: Use a drill press or hand drill with HSS bits for drilling mounting holes, wire entry holes, or custom patterns. Use lubricant (cutting oil or WD-40) to prevent bit overheating and ensure clean holes. 3) Bending: Aluminum channels can be bent using a sheet metal brake or roller bender for curved installations. Note: bending may deform the channel interior—test on scrap first. For gentle curves, use flexible channels designed for bending. 4) Joining: For long runs, join channels using internal splice connectors or by butting ends together. For corners, use miter cuts (45 degrees each) joined at 90 degrees, or use pre-made corner connectors. 5) Finishing: Sand and polish cut ends for a professional look. Anodize or paint custom colors using spray paint designed for metal (primer + paint + clear coat). 6) Custom extrusion: For large projects or unique designs, work with an aluminum extrusion manufacturer to create custom channel profiles. Minimum order quantities typically apply (500-1000m), but custom profiles offer exact dimensions and features for your application.
Installation Best Practices
1) Plan layout: Measure and plan channel layout before cutting. Account for corners, ends, and wire routing. 2) Prepare surface: Ensure mounting surface is clean, dry, and flat. For recessed channels, cut grooves to exact dimensions using a router or saw. 3) Mount channels: Use mounting clips (snap-in) or screw directly through channel base. For surface mount, space screws every 30-50cm. Ensure channels are level and aligned. 4) Install strips: Peel adhesive backing and press LED strip firmly into channel bottom. Ensure strip is centered and flat. For long runs, use power injection as needed. 5) Connect wires: Route power wires through end cap holes or channel openings. Solder or use connectors for strip-to-wire connections. Ensure polarity is correct. 6) Install diffusers: Cut diffuser to channel length, snap into channel groove. Ensure diffuser is fully seated and flat. 7) Install end caps: Snap end caps onto channel ends. For waterproof installations, use silicone sealant around end caps and wire entries. 8) Test: Turn on power and verify all sections light up correctly. Check for even illumination, no dark spots, and proper dimming (if applicable). 9) Cleanup: Remove any fingerprints or debris from diffuser and channel exterior using a soft cloth and mild cleaner.
Channel Selection Guide Table
| Factor | Option A | Option B |
|---|---|---|
| Brightness | Medium-High | High |
| Efficiency | Good | Excellent |
| Cost | Lower | Higher |
| Best For | General applications | Premium installations |
Recommended Products
ART-NT1212-02
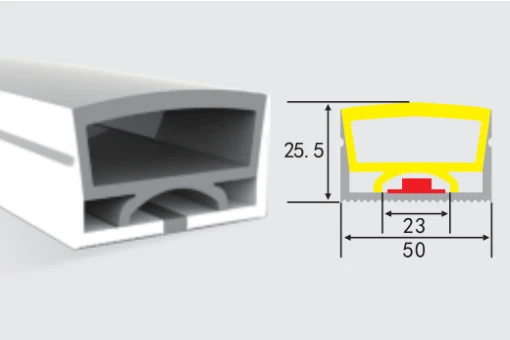
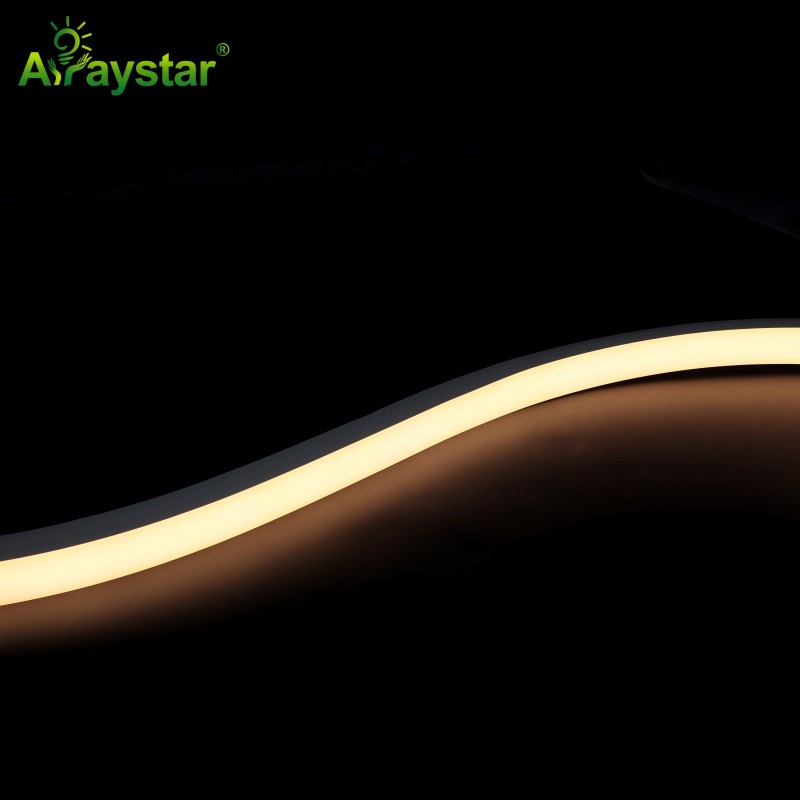
Professional common top bend neon tube from Arraystar LED, manufactured with premium quality components and backed by our 3-year warranty.
ART-NT5020
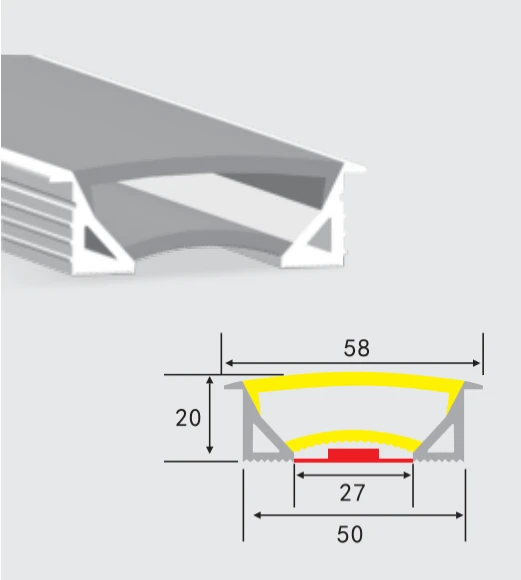
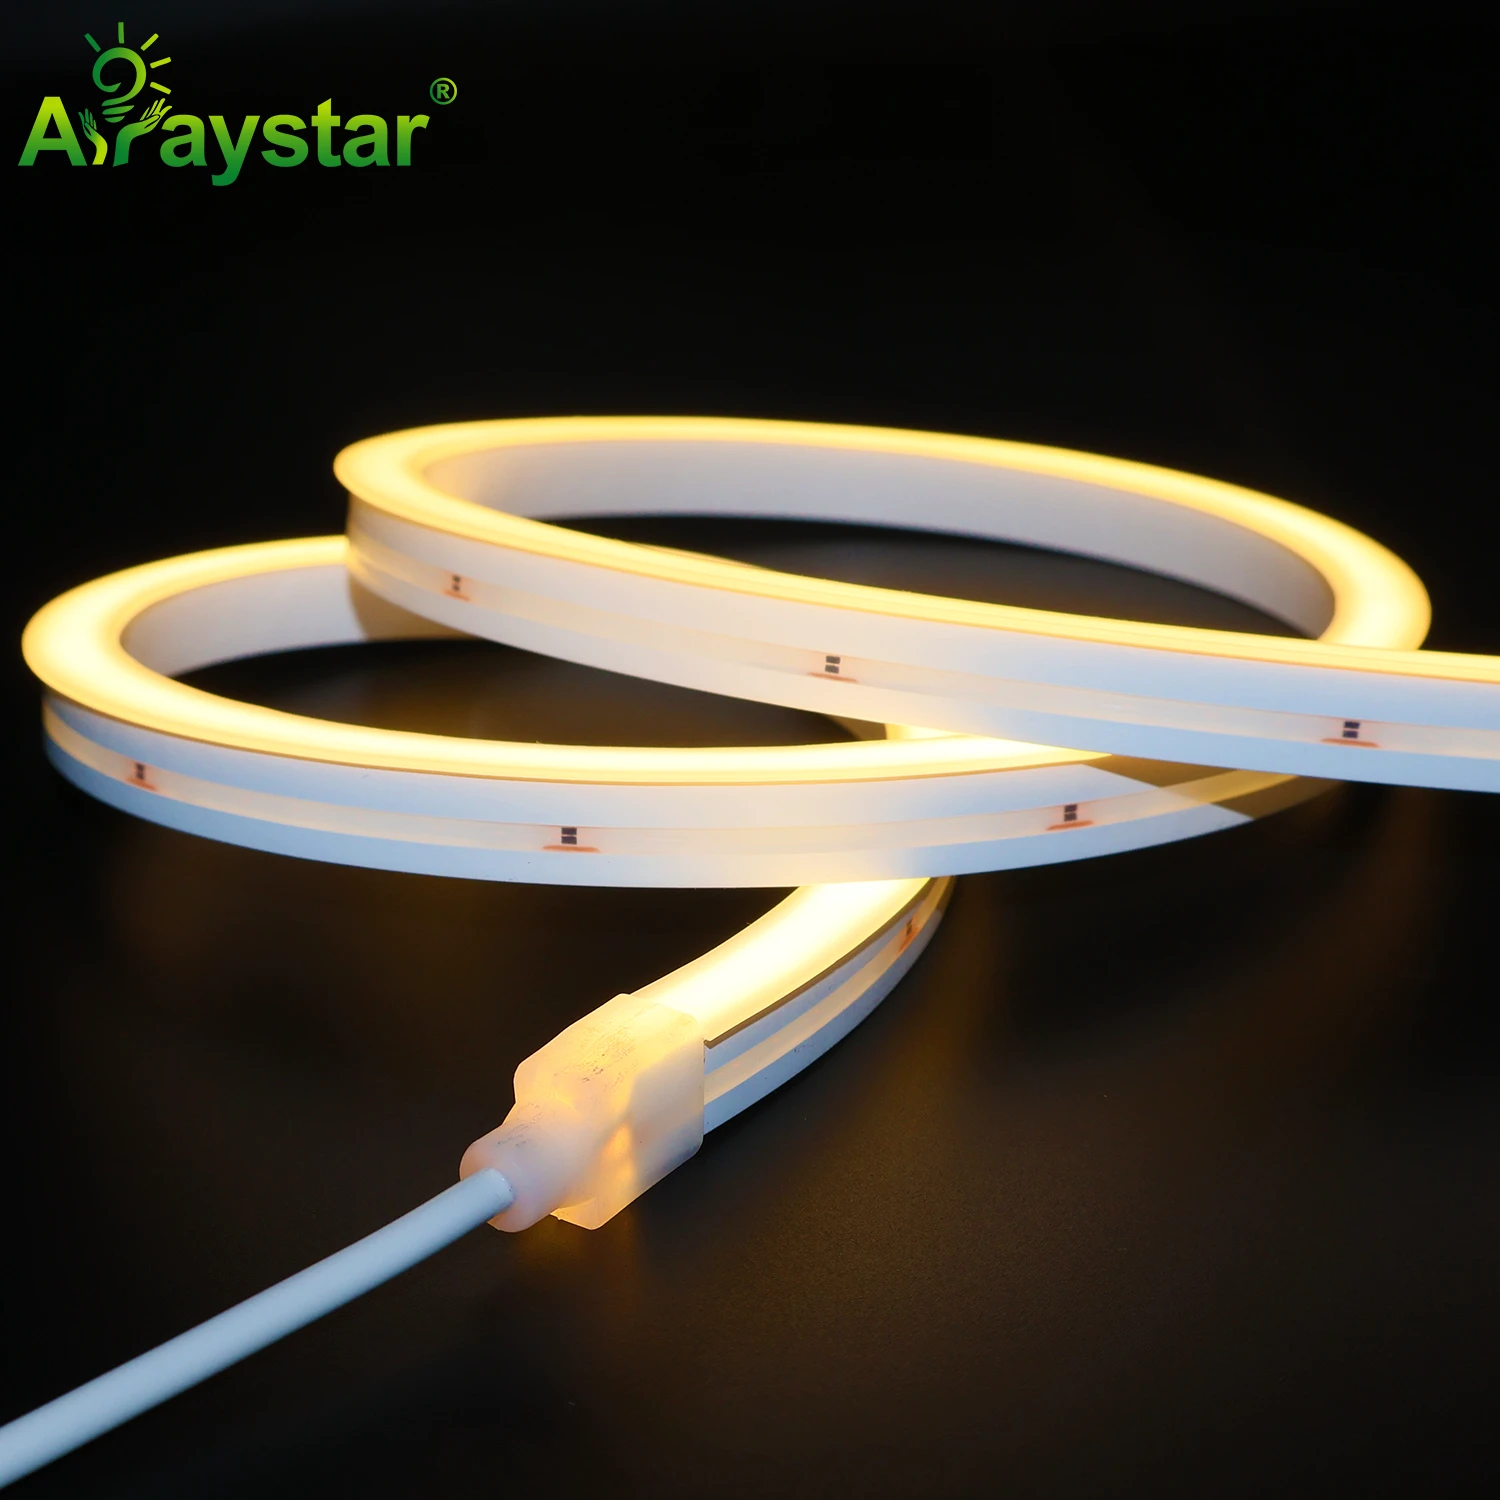
Professional surface cover neon tube from Arraystar LED, manufactured with premium quality components and backed by our 3-year warranty.
Frequently Asked Questions
Q: How do I dim common top bend neon tube?
A: Multiple dimming options available: 0-10V, PWM, TRIAC, DALI, DMX512, and wireless (WiFi/Zigbee/Bluetooth). Ensure your dimmer is compatible with the strip's voltage and current. COB strips dim especially smoothly due to uniform light output.
Q: What should I consider before buying common top bend neon tube?
A: Key factors include: required brightness (lumens/m), color temperature, voltage (12V/24V/48V), IP rating for environment, LED density, CRI requirement, dimming compatibility, and total run length. Calculate total wattage to size your power supply correctly.
Q: Can common top bend neon tube be used outdoors?
A: Only IP65 or higher rated strips are suitable for outdoor use. IP65 for covered/splash areas, IP67 for exposed outdoor, IP68 for underwater/submersion. Always use waterproof connectors and properly seal all connections for outdoor installations.
Q: How do I calculate the power supply size for common top bend neon tube?
A: Multiply the strip's wattage per meter by total length, then add 20% headroom. For example: 5m × 14.4W/m = 72W + 20% = 86.4W, so choose a 100W power supply. Always use a power supply rated for LED applications.
Q: What is the maximum run length for common top bend neon tube?
A: This depends on voltage and copper weight. 12V strips typically max 5m, 24V up to 10m, 48V up to 20m. For longer runs, use power injection at both ends or intermediate points to prevent voltage drop and color shift.
Conclusion
Aluminum channels (also called LED profiles or extrusions) provide heat sinking, protection, and a professional finish for LED strip installations. Types include: surface mount (U-shape), recessed (flush with surface), corner (90-degree), and pendant (hanging). Choose channel width to match strip width (8mm/10mm/12mm/20mm), select diffuser type (clear, frosted, opal) based on desired light diffusion, and install with end caps, mounting clips, and suspension wires. Custom fabrication allows unique shapes and sizes for specific projects. Arraystar LED offers 15+ years of LED strip manufacturing experience with full OEM/ODM capabilities, CE/RoHS/ERP certification, and 3-year warranty. Contact our team for a free consultation and custom quote for your project.
Ready to start your project? Contact us today for expert guidance and competitive pricing.
About the Manufacturer
ArrayStar LED is a professional LED strip manufacturer in Shenzhen, China since 2010, serving 80+ countries. We support custom OEM/ODM projects (custom CCT, CRI, PCB, logo, packaging) and wholesale supply for distributors and contractors worldwide.