How to Make LED Strip Neon Sign: Complete DIY and Custom Guide
- 2026-09-09 15:56
- /
- Arraystar
Quick Answer
LED strip neon signs are a popular DIY project for custom signage, home decor, and business branding. Methods: 1) LED neon flex (easiest)—bend flexible neon tubing into shapes, mount on acrylic/wood backing; 2) LED strip + diffuser (budget)—install LED strip inside custom-cut acrylic or PVC channels; 3) EL wire (decorative only)—thin, flexible, but low brightness. Tools needed: neon flex/LED strip, power supply, controller, backing material (acrylic/wood/MDF), mounting clips/adhesive, wire connectors, heat shrink. Design in vector software (Illustrator/Inkscape), cut backing with CNC router or laser cutter, then install and wire LEDs.
LED Neon Sign Overview
LED neon signs are modern, energy-efficient alternatives to traditional glass neon signs. They offer: Lower cost (1/3 to 1/10 the price of glass neon), safer (low voltage, no fragile glass, no high voltage transformers), energy efficient (uses 80% less energy than glass neon), durable (shock-resistant, long lifespan 50,000+ hours), easy to install and customize, and available in many colors and effects. LED neon signs are popular for: Home decor (bedrooms, game rooms, home bars), business signage (storefronts, restaurants, bars, salons), events and weddings (custom names, phrases), art and creative projects, and gifts. DIY LED neon signs are achievable with basic tools and materials, and custom professional signs can be ordered from manufacturers.
Method 1: LED Neon Flex (Recommended)
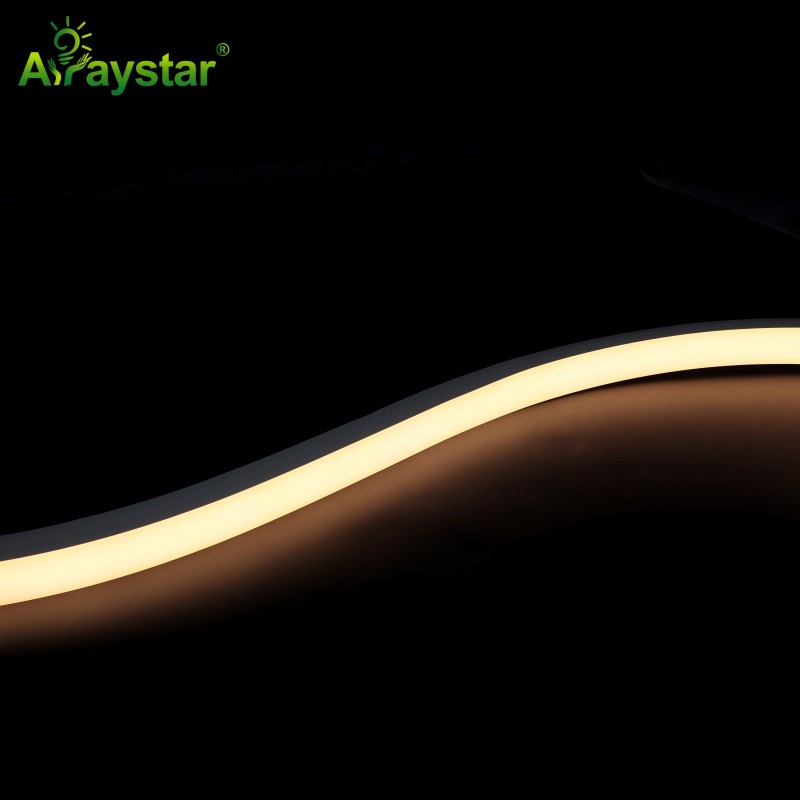
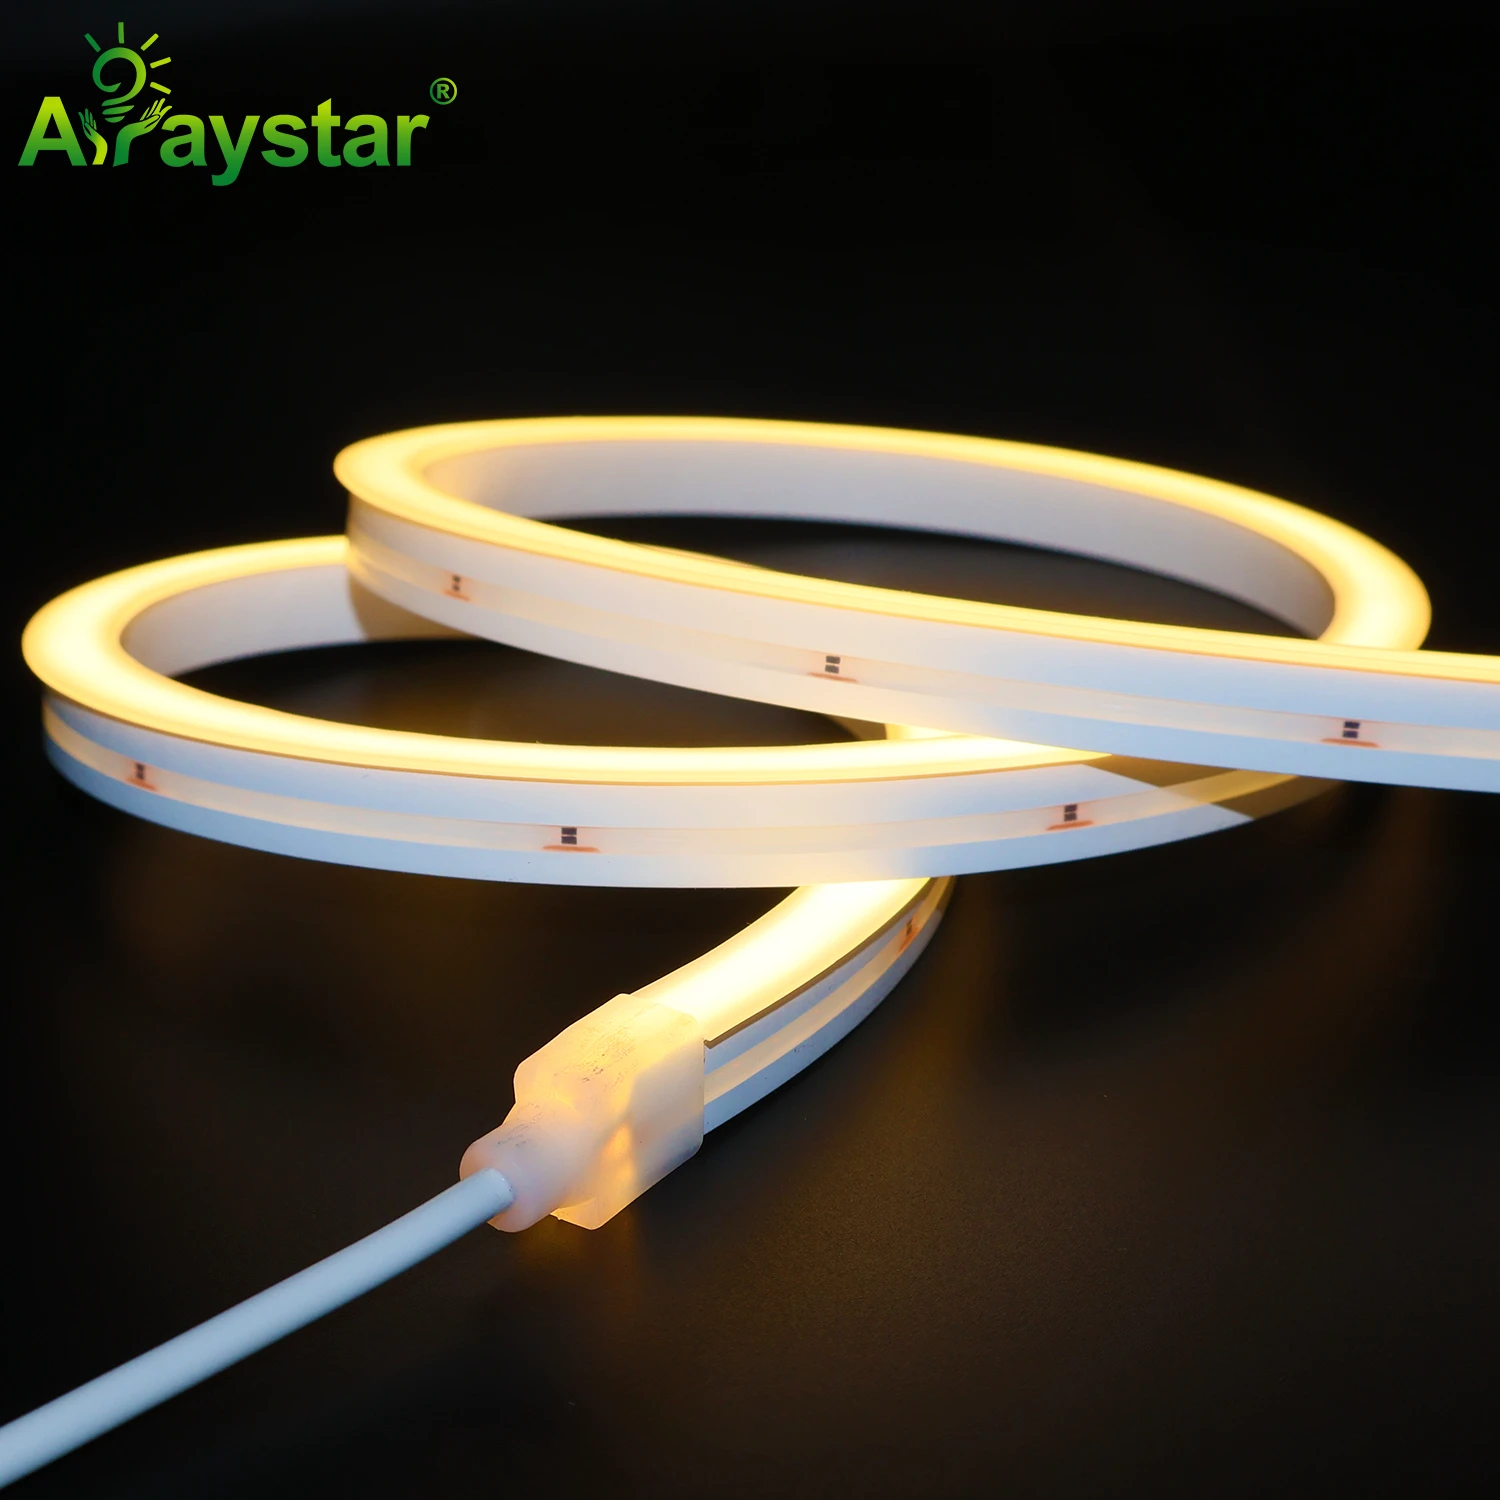
LED neon flex is the easiest and most professional-looking method for making custom neon signs. Materials needed: LED neon flex tubing (choose color, width 6mm/8mm/12mm, side-bend or top-bend), 12V/24V power supply (sized for total length and wattage), controller/dimmer (optional, for brightness/effects), backing material (clear acrylic, wood, MDF, or metal), mounting clips or silicone adhesive, wire and connectors, heat shrink tubing. Steps: 1) Design: Create your design in vector software (Adobe Illustrator, Inkscape, or free online tools). Keep lines continuous—avoid sharp corners (minimum bend radius 3-5cm for neon flex). 2) Cut backing: Cut backing material to size using CNC router, laser cutter, or hand tools. For letters/shapes, you can either mount neon on top of solid backing or cut out the shape and mount neon along edges. 3) Bend neon flex: Carefully bend neon flex to match your design. Use a heat gun (low heat) to soften tubing for tighter bends. Avoid kinking—maintain minimum bend radius. Use templates to ensure accurate shapes. 4) Mount: Secure neon flex to backing using mounting clips (screwed or glued), silicone adhesive, or small retaining pins. Ensure tubing is secure and follows design accurately. 5) Wire: Connect neon flex to power supply. For multiple sections, solder or use connectors. Ensure polarity is correct. Use heat shrink for insulation. 6) Test: Turn on power and verify all sections light up correctly. Check for even brightness and no dark spots. 7) Finish: Install hanging hardware (wire, standoffs) for wall mounting. Clean backing and tubing. Tips: Start with simple designs (single line, text) before attempting complex shapes. Use side-bend neon flex for letters/shapes that bend in the same plane. Use top-bend for 3D or curved installations. Always use a properly sized power supply (120% of total wattage).
Method 2: LED Strip + Diffuser Channel (Budget)
For a budget-friendly neon sign, use standard LED strip inside custom-cut diffuser channels. Materials: LED strip (COB recommended for uniform light, or high-density 2835/5050), aluminum or acrylic channel (U-shape, with diffuser cover), power supply, backing material, adhesive/mounting hardware. Steps: 1) Design and cut backing as above. 2) Cut channel to length using miter saw or hacksaw. For curves, use flexible channel or heat-form acrylic channel. 3) Install LED strip inside channel (peel adhesive, press firmly). 4) Attach channel to backing using screws or adhesive. 5) Install diffuser cover on channel. 6) Wire and test as above. Advantages: Lower cost than neon flex, uses standard LED strips, easy to replace strips, available in many channel profiles. Disadvantages: Less authentic neon look (visible channel profile), harder to create complex curves, bulkier than neon flex. Best for: Simple text or geometric designs, budget projects, applications where channel profile is acceptable.
Custom Design and Manufacturing
For businesses or individuals wanting professional-quality custom neon signs without DIY, work with a manufacturer: 1) Design service: Many manufacturers offer free design assistance—send your idea, logo, or text and they create a proof. 2) Customization options: Size (from 10cm to 5m+), color (single color, RGB, RGBW, tunable white), backing (clear acrylic, colored acrylic, wood, metal, no backing), mounting (wall mount, standoff, hanging, freestanding), effects (static, dimmable, flashing, animated, sound-sensitive), and custom shapes/logos. 3) Process: Submit design → receive proof and quote → approve and pay deposit → production (7-15 days) → quality inspection → shipping → installation. 4) MOQ: Many manufacturers accept single custom orders (MOQ 1 piece), with volume discounts for larger orders. 5) Certifications: Ensure products have CE, RoHS, and other required certifications for your market. 6) Warranty: Look for 1-2 year warranty on custom signs. Cost: Custom neon signs typically range from $50 (small, simple) to $500+ (large, complex, RGB). Professional installation may add $50-200. Tips: Provide high-resolution vector files (AI, EPS, SVG) for best results. Specify exact size, color, and mounting requirements. Ask for a physical or digital proof before production. Consider shipping costs and time for large signs.
Neon Sign Project Ideas and Inspiration
| Factor | Option A | Option B |
|---|---|---|
| Brightness | Medium-High | High |
| Efficiency | Good | Excellent |
| Cost | Lower | Higher |
| Best For | General applications | Premium installations |
Recommended Products
Anti-glare 12x12 mm LED Neon Flex Black
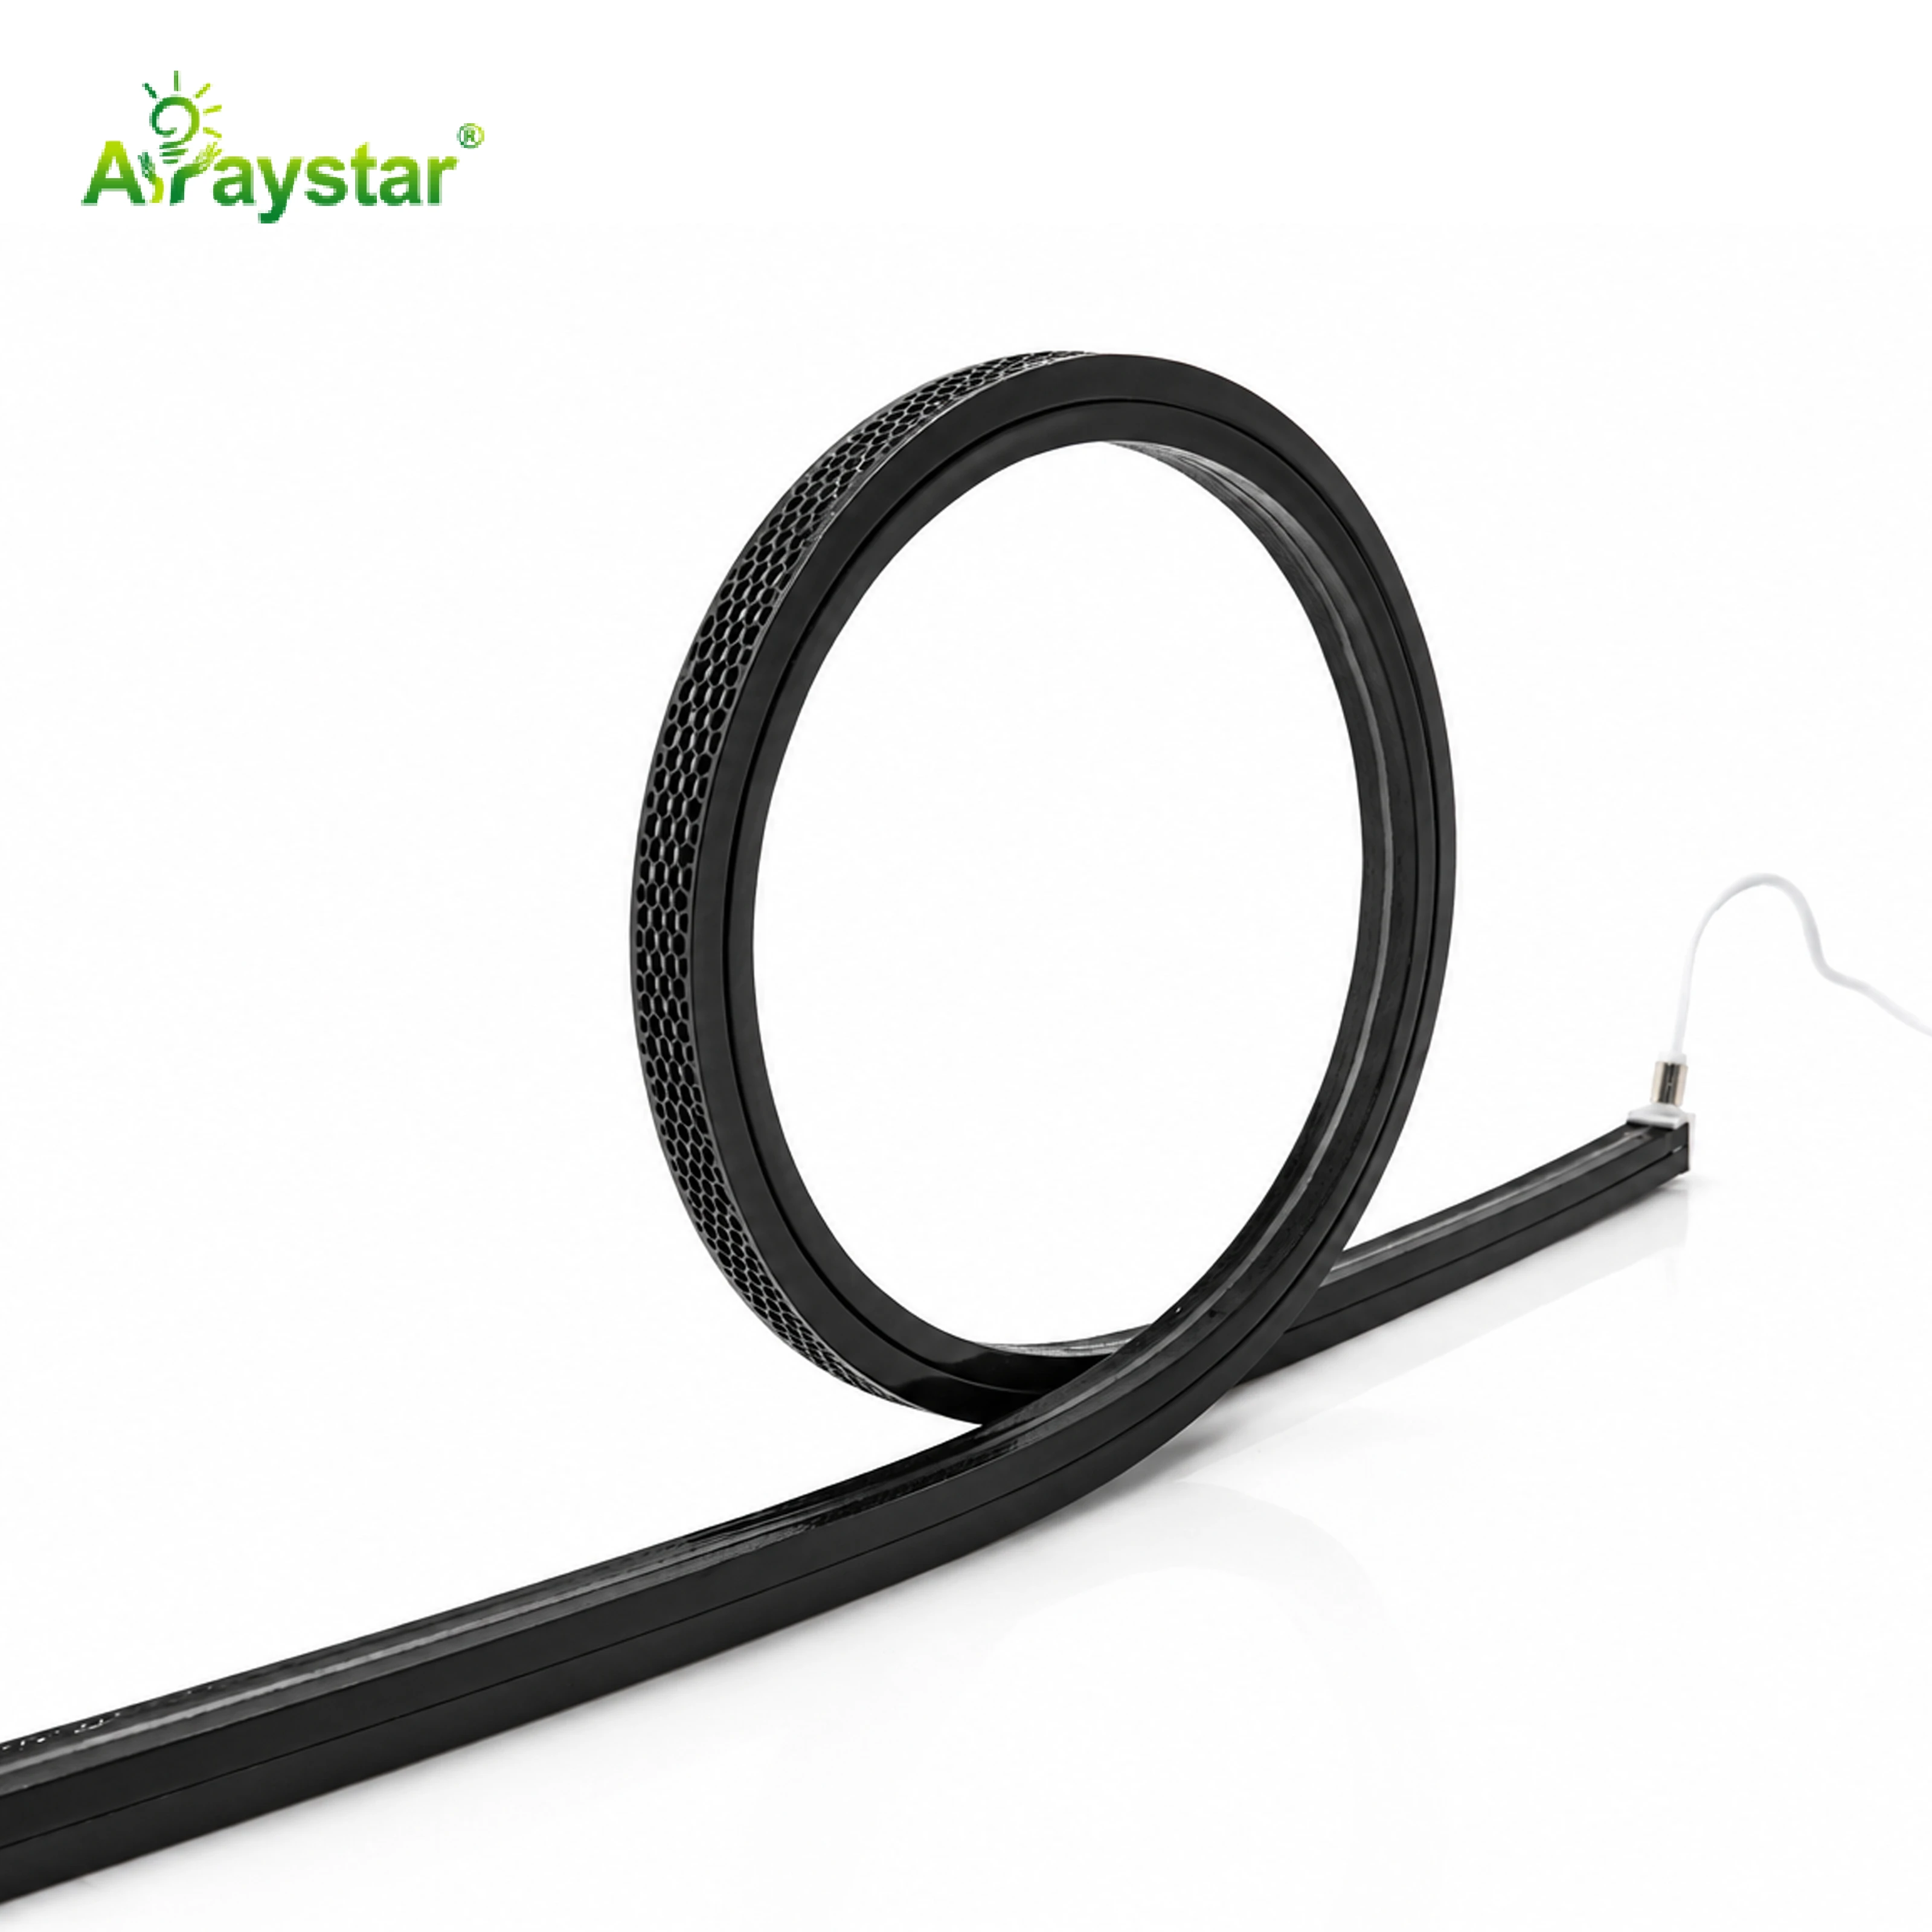
Model CCT/Color Voltage Power LED Qty/M CRI Lumen ART-NS1212-120-SWW-24 2700K 24V DC 14W/m 120 LEDs/m >90 20 lm/W ART-NS1212-120-WW-24 3000K 24V DC 14W/m 120 LEDs/m >90 20 lm/W
Black Housing Top Bend LED Neon Strip ART-NS1212-B
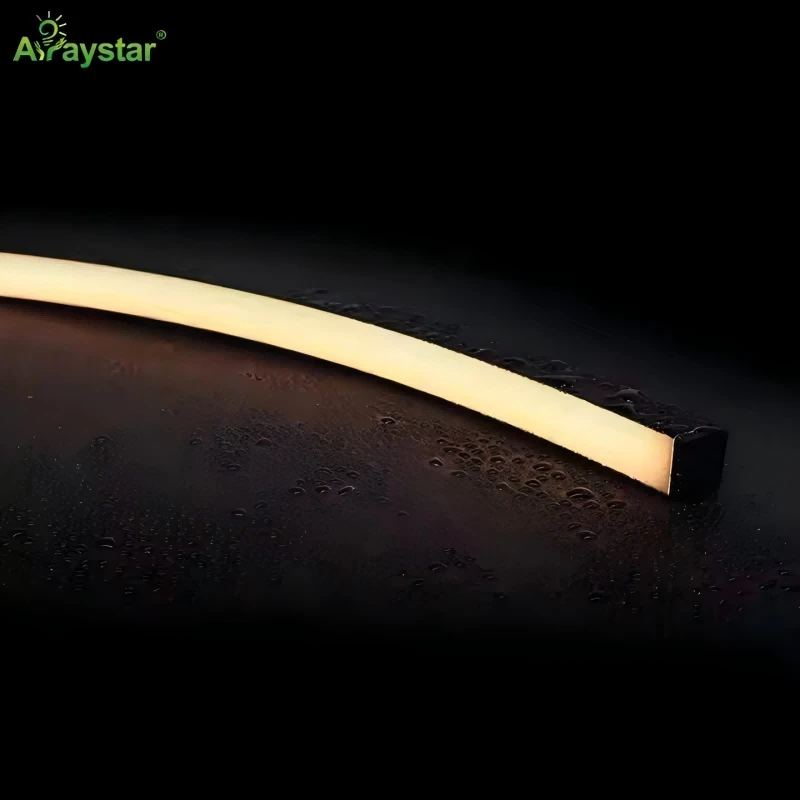
Black Housing Top Bend Neon Strip CCT/Color Voltage Power(W/M) LED Type LED Qty/m Cut Size Pixels/M IP Rating CRI Lumen(lm/M) ART-NS1212-B 1800K, 2700K, 3000K, 4000K, 6000K 12V DC 12W/M 2835
Frequently Asked Questions
Q: What should I consider before buying anti-glare led neon flex?
A: Key factors include: required brightness (lumens/m), color temperature, voltage (12V/24V/48V), IP rating for environment, LED density, CRI requirement, dimming compatibility, and total run length. Calculate total wattage to size your power supply correctly.
Q: What is the maximum run length for anti-glare led neon flex?
A: This depends on voltage and copper weight. 12V strips typically max 5m, 24V up to 10m, 48V up to 20m. For longer runs, use power injection at both ends or intermediate points to prevent voltage drop and color shift.
Q: Can anti-glare led neon flex be used outdoors?
A: Only IP65 or higher rated strips are suitable for outdoor use. IP65 for covered/splash areas, IP67 for exposed outdoor, IP68 for underwater/submersion. Always use waterproof connectors and properly seal all connections for outdoor installations.
Q: How do I dim anti-glare led neon flex?
A: Multiple dimming options available: 0-10V, PWM, TRIAC, DALI, DMX512, and wireless (WiFi/Zigbee/Bluetooth). Ensure your dimmer is compatible with the strip's voltage and current. COB strips dim especially smoothly due to uniform light output.
Q: How do I calculate the power supply size for anti-glare led neon flex?
A: Multiply the strip's wattage per meter by total length, then add 20% headroom. For example: 5m × 14.4W/m = 72W + 20% = 86.4W, so choose a 100W power supply. Always use a power supply rated for LED applications.
Conclusion
LED strip neon signs are a popular DIY project for custom signage, home decor, and business branding. Methods: 1) LED neon flex (easiest)—bend flexible neon tubing into shapes, mount on acrylic/wood backing; 2) LED strip + diffuser (budget)—install LED strip inside custom-cut acrylic or PVC channels; 3) EL wire (decorative only)—thin, flexible, but low brightness. Tools needed: neon flex/LED strip, power supply, controller, backing material (acrylic/wood/MDF), mounting clips/adhesive, wire connectors, heat shrink. Design in vector software (Illustrator/Inkscape), cut backing with CNC router or laser cutter, then install and wire LEDs. Arraystar LED offers 15+ years of LED strip manufacturing experience with full OEM/ODM capabilities, CE/RoHS/ERP certification, and 3-year warranty. Contact our team for a free consultation and custom quote for your project.
Ready to start your project? Contact us today for expert guidance and competitive pricing.
About the Manufacturer
ArrayStar LED is a professional LED strip manufacturer in Shenzhen, China since 2010, serving 80+ countries. We support custom OEM/ODM projects (custom CCT, CRI, PCB, logo, packaging) and wholesale supply for distributors and contractors worldwide.