LED Strip Connectors: Complete Guide to Types and How to Use Them
- 2026-09-09 15:42
- /
- Arraystar LED
Let me save you the three most common mistakes I see with solderless connectors: buying the wrong width, trapping the silicone sleeve under the contact, and assuming a connector clicked when it didn't. Get those three right and solderless joins are genuinely reliable. Here's the full rundown of connector types and how to fit them properly.
First, match the connector to your strip
A connector is not universal. Before you order anything, check three specs on your strip:
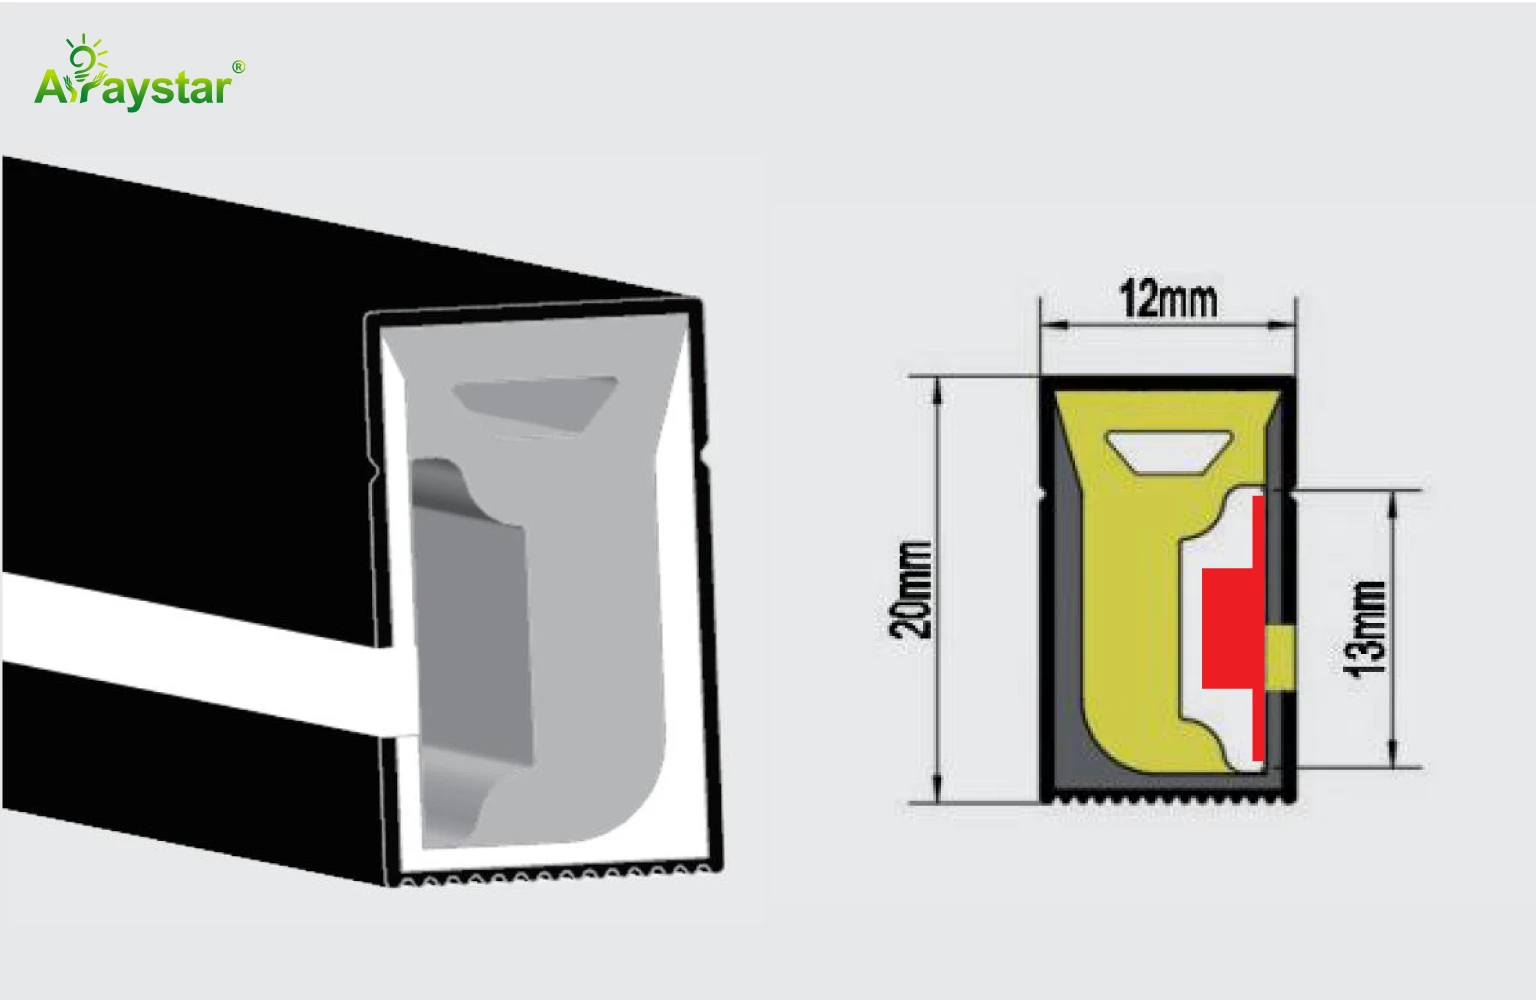
- Width — 8mm, 10mm, 12mm, or wider. A 10mm connector on a 12mm strip simply won't make contact.
- Single-color vs RGB/RGBW — the number of contact lanes (2, 3, 4, or 5 pins) must match.
- Waterproof rating — IP65/IP67 strips come with a silicone sleeve or gel coating you have to peel back over the contacts first.
The main connector types
Strip-to-wire (pigtail)
A short length of pre-attached wire on one end and a clip on the other. This is what you use at the start of a run to connect the strip to the driver. The most common connector in any install.
Strip-to-strip (coupler)
Clips two cut sections end to end in a straight line. Handy when you need a longer run or a repair without adding wire.
L, T, and X corner connectors
These turn a run 90° (L), branch it in three directions (T), or four (X). They save you looping wire around corners under cabinets. Just make sure the pin count matches — an RGBW corner piece has five lanes.
Rigid and flexible shapeable connectors
Rigid L-pieces hold a crisp right angle; flexible versions bend to whatever angle you need for odd geometry. I prefer flexible for site work because walls are never perfectly square.
Waterproof connectors
For outdoor or IP-rated runs, use sealed connectors with gel-filled housings and screw-lock or snap-lock barrels. A standard indoor clip used outside will wick water and corrode within months.
How to clip one on correctly
- Cut the strip only on the marked cut line, straight across with clean scissors.
- If waterproof, peel the silicone sleeve back from the contact pads — don't cut the pads.
- Open the connector's hinged clip. Slide the strip in until the pads sit directly under the metal pins, + to +.
- Close the clip firmly. You should feel it latch. Give the wire a gentle pull — if it slides out, it wasn't seated.
- Power up before you mount the strip. If a color channel is dead on an RGB strip, the pin isn't contacting that lane; reopen and re-seat.
When to solder instead
Connectors are fast and great for accessible joins, but for permanent, vibration-prone, or high-current runs I solder. A soldered joint has lower resistance, never works loose, and handles more current without heating. Connectors are the right call for cabinets, shelving, and anything you might need to disassemble. For the actual technique, see my soldering tutorial.
FAQ
Why does one color not work after I connect my RGB strip?
A single pin isn't contacting its pad. Open the clip, check the strip is pushed fully home and straight, then re-latch. Also confirm the pin count and strip width match.
Can I use a connector on a COB strip?
Yes, but COB needs connectors made for its continuous contact pads and width — standard SMD connectors don't line up. Check the specific COB connector for your model.
Do connectors reduce brightness?
A properly seated connector has negligible effect. If you see dimming right at a join, the contact is loose or partially corroded — re-seat or replace it.
If you're putting together a kit, tell me the strip width, pin count, and whether it's waterproof and I'll match the right connectors — our COB and SMD ranges all have matching clip sets.