
2x6mm Ultra-Thin Neon Strips for Furniture Inlay and Shadow Gaps
- 2026-10-09 18:40
- /
- Arraystar LED
High-end furniture and joinery often leave only a two or three millimetre shadow gap for light, which rules out conventional neon. A 2x6mm ultra-thin neon strip tucks into a routed or extruded groove and all but disappears when switched off. The install is really a joinery job: groove dimension, heat dissipation and edge finishing decide whether the result looks factory-made or retrofitted.
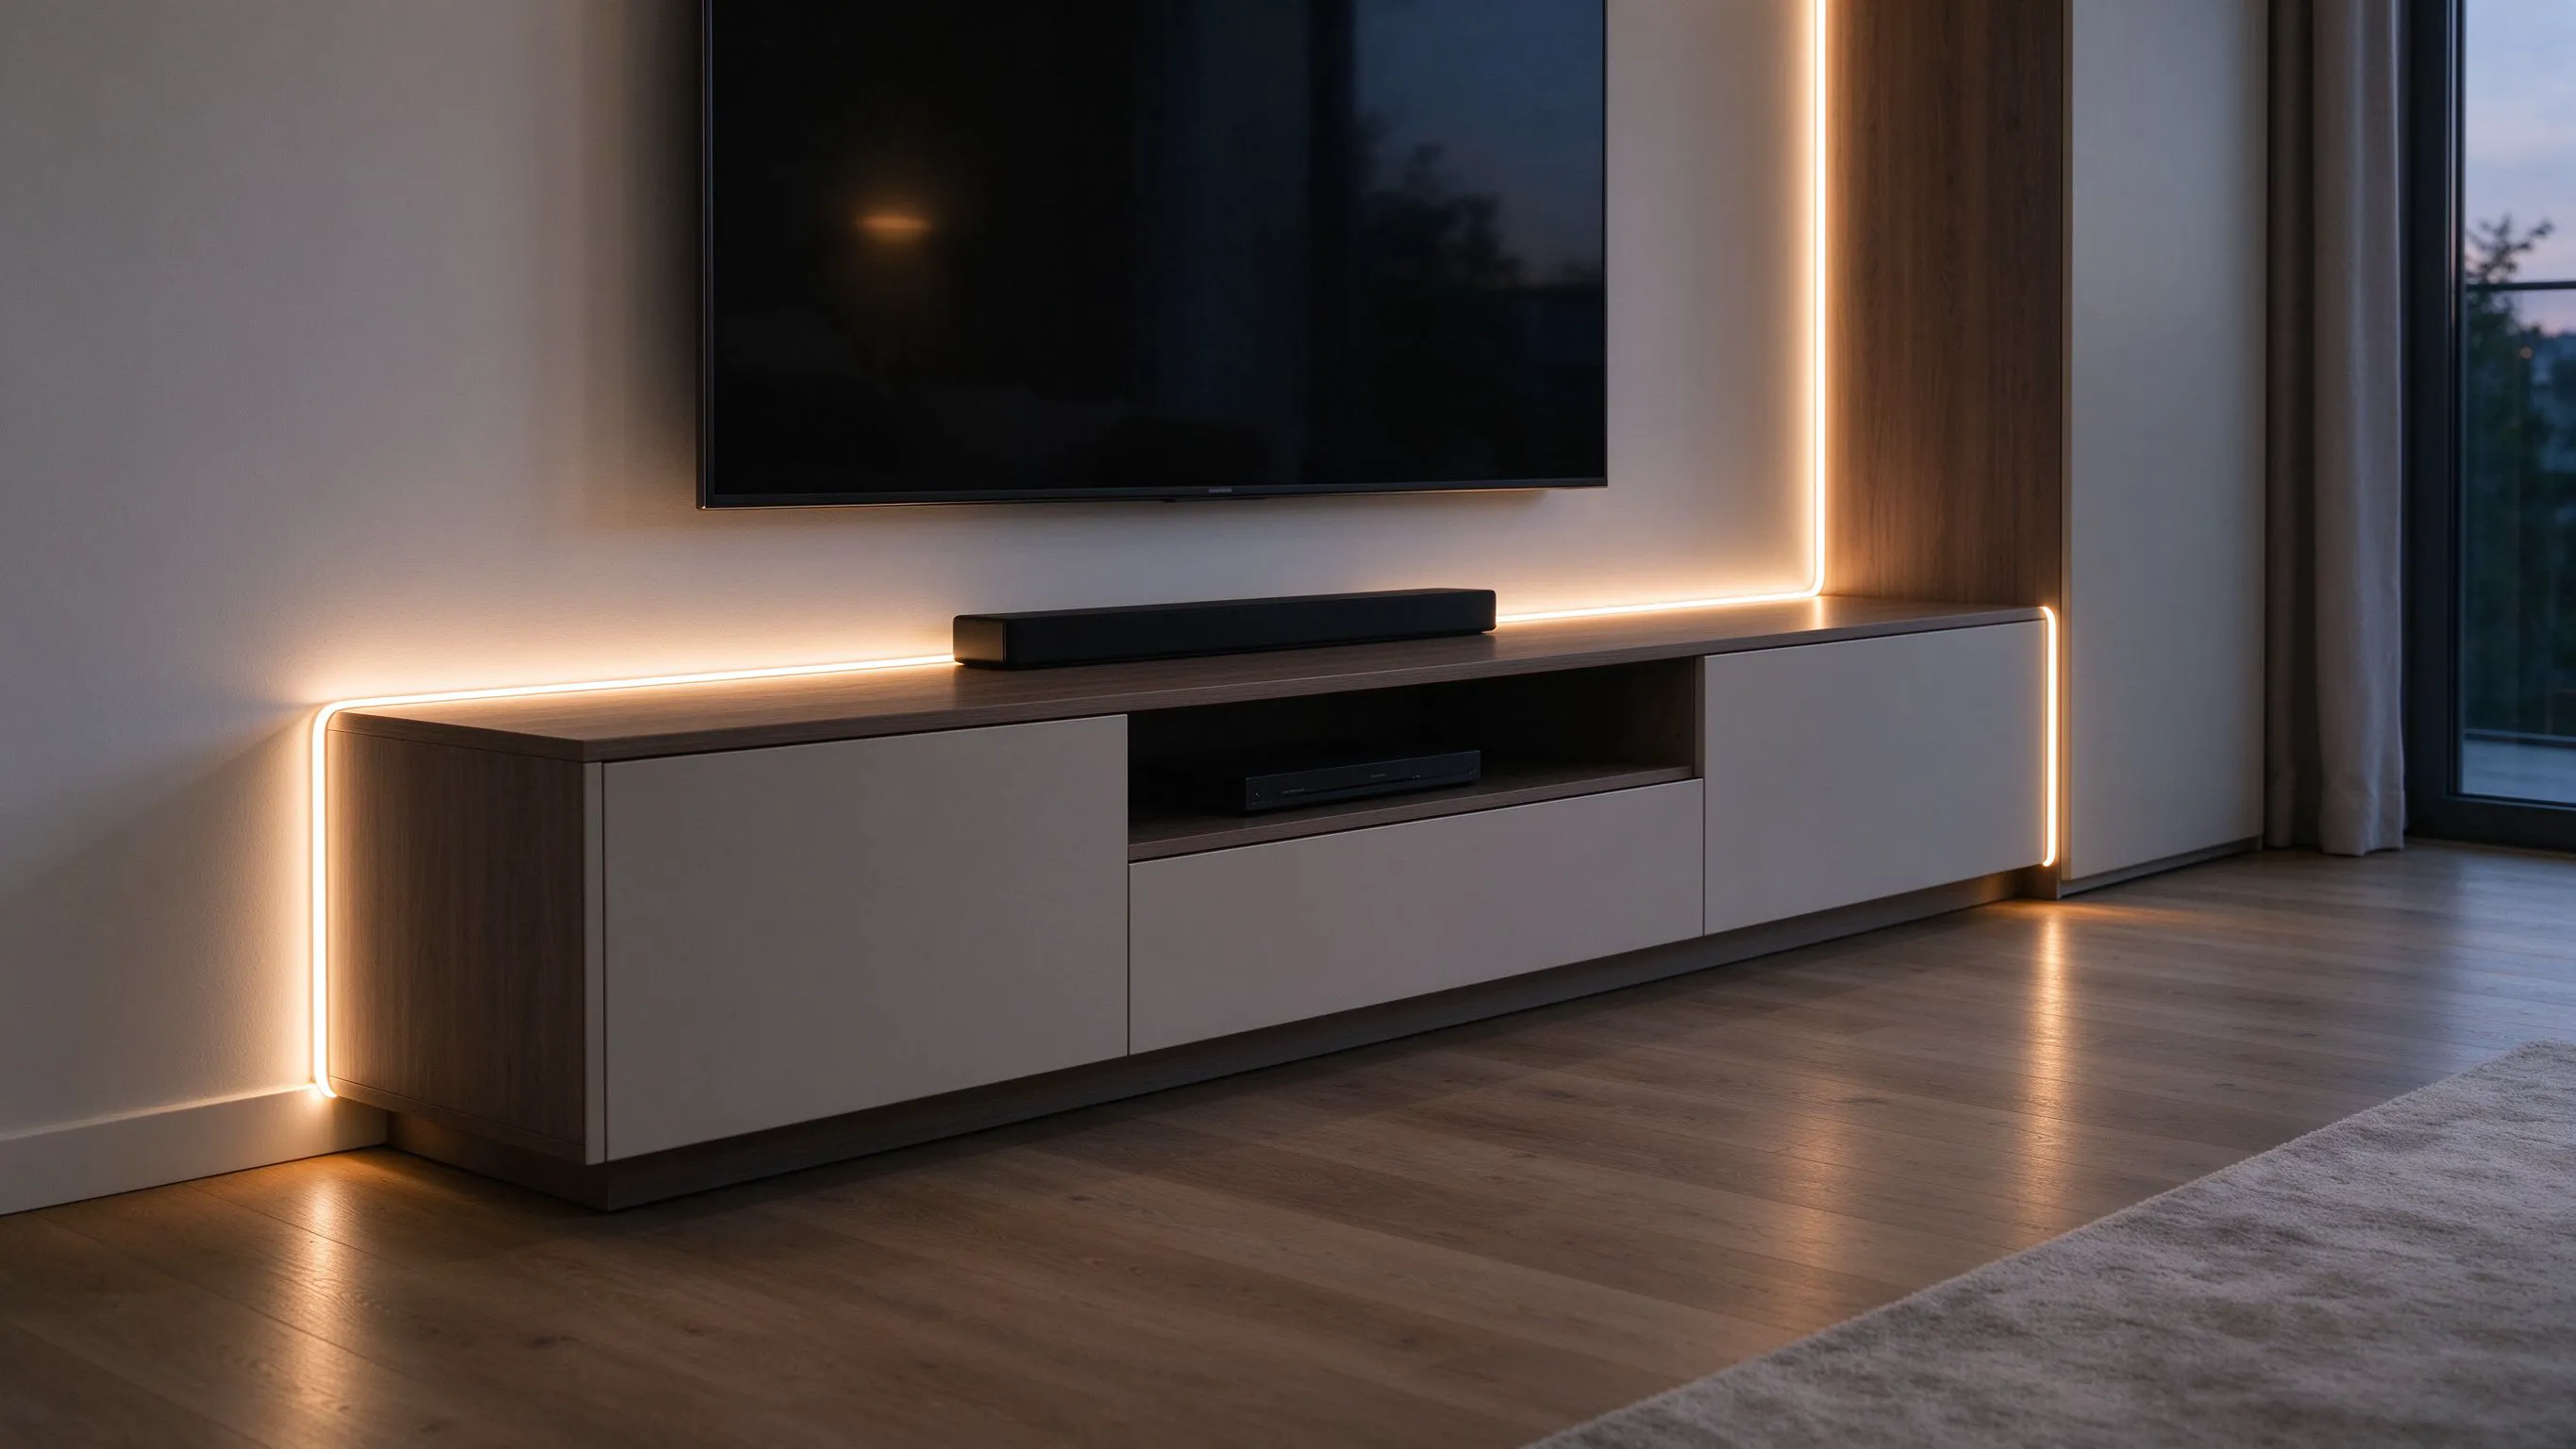
The Move Toward Invisible Light in Furniture
Furniture designers increasingly want the light without seeing the fixture: a thin glow along a handle recess, under a wall-hung cabinet, inside a wardrobe rail or around a bed headboard. A standard 10 mm neon tube destroys that illusion because it needs a visible channel. The effect only works when the light source itself is thin enough to hide.
That is the niche for a 2x6mm ultra-thin neon. At about 2 mm thick and 6 mm wide it disappears into a shadow gap that was always part of the joinery, so the furniture looks as though the glow was designed into it from the start.
Where a 2x6 Profile Fits
- Handleless kitchen rail lighting tucked into the recessed grip.
- Wardrobe hanging rails and shelf edges with minimal visible hardware.
- Bed headboards and bedside joinery as a soft ambient line.
- Display cabinets and vanity mirrors with a slim perimeter glow.
- Shadow gaps in wall panelling and skirting where a larger channel cannot be routed.
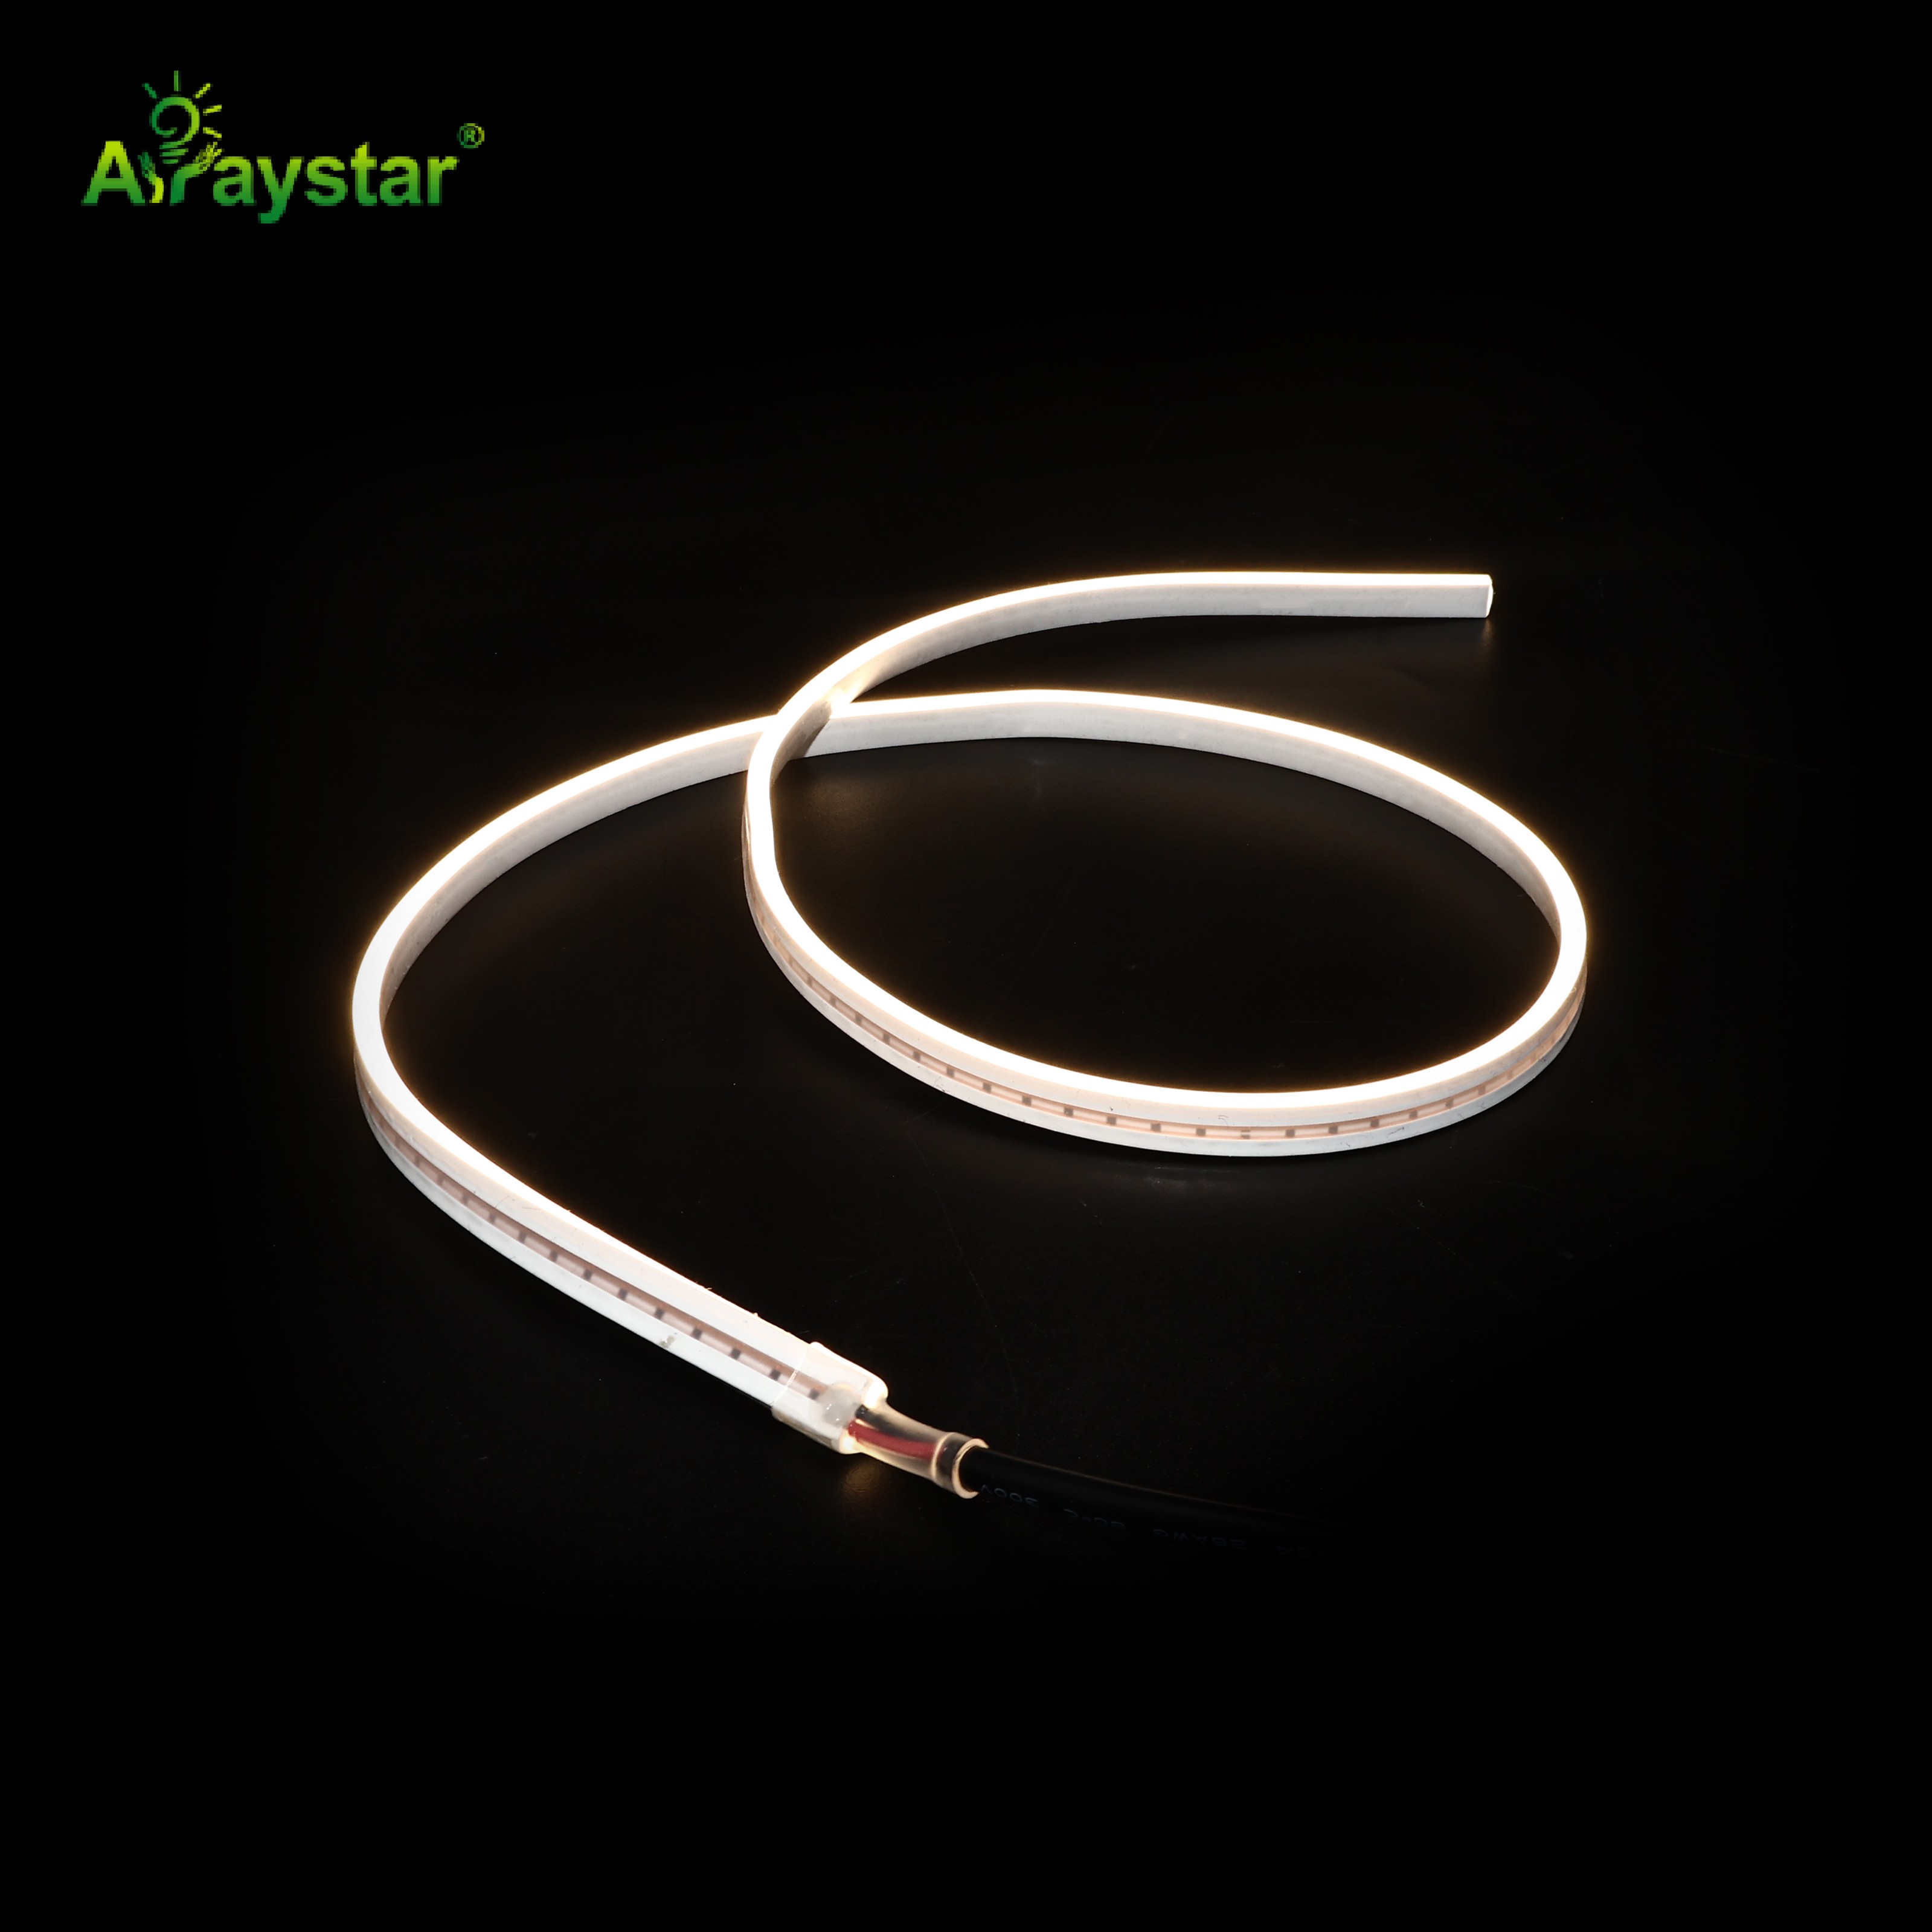
The Type-C Slim 2x6mm neon is the profile I specify for these joinery-led jobs. Its rectangular 2 mm thickness is what lets it sit inside a groove rather than on the surface, and that distinction is the whole aesthetic.
Designing the Groove Correctly
Because the strip is so thin, the routed groove dimension has to be precise. Too shallow and the neon sits proud and is visible; too deep and the light is trapped and cannot wash the intended surface. I work from the product drawing and cut a test groove in an offcut of the actual board before machining the furniture.
Always machine and light a test groove in the real material first.
| Groove aspect | Guidance |
|---|---|
| Width | A little over the strip width so it seats without forcing, with room for the adhesive |
| Depth | Enough to hide the strip when off while letting light escape toward the target surface |
| Edge finish | Clean, smooth groove edges prevent visible tear-out next to the glow |
| Corners | Route a small radius rather than a sharp internal corner to avoid pinching the strip |
Heat Dissipation in a Tiny Package
A strip this thin has very little material to carry heat away, so thermal discipline matters more than with a wide board. I never overdrive it to chase brightness, and I favour installing it against an aluminium or thermally conductive carrier where the run length or enclosed space suggests heat build-up. In solid timber or MDF with no carrier, I keep to the rated current and avoid sealing the groove airtight.
- Run at rated current; do not boost current to compensate for the small size.
- Use an aluminium carrier or extrusion for longer or enclosed runs.
- Avoid fully sealing the groove with no air movement, especially in warm furniture near appliances.
Corners, Ends and Wire Management
Turning corners
A 2x6 strip bends readily in its flat plane but should not be forced through a sharp sideways fold. I route generous radii or use small corner connectors rather than kinking the board at a right angle.
Hiding the wires
In fine furniture the wiring is often more visible than the light. I route leads through existing cabinet structure, use the smallest drivers that can be hidden in a plinth or behind a panel, and plan access for the driver from the start rather than leaving it loose inside a carcass.
The Optical Details That Sell the Job
- Keep the groove line consistent in depth; even a 1 mm variation shows as uneven brightness along a long run.
- Use a diffused or frosted slim profile where the viewing distance is very close, to avoid pinpoints.
- Match colour temperature to the timber and fabric; warm 2700K flatters wood, cooler whites suit modern gloss finishes.
- Dim the circuit for evening scenes; furniture ambient light rarely needs full output.
Specifying for a Joinery Project
I give the strip supplier the groove dimensions I can realistically machine, the board material, the run length and whether the strip will sit on timber or an aluminium carrier. Those facts confirm whether the 2x6 profile fits and how it should be powered. We supply the Type-C Slim 2x6 neon and can provide a sample and dimension drawing so the joiner can machine and test the groove on an offcut before committing a full set of cabinets.
Driver Placement and Control in Built-In Furniture
The light strip is the visible part of a furniture inlay, but the driver and control placement decide whether the piece is practical to live with. I have seen beautiful joinery ruined by a driver sealed inside a carcass with no access, buzzing transformer behind a headboard, or a sensor placed where it triggers every time someone walks past.
- Locate the driver in an accessible plinth, behind a removable panel or above the cabinet, never permanently sealed in.
- Choose a quiet, flicker-free driver for bedrooms and living areas where any hum is noticeable at night.
- Use a low-profile driver matched to the small load; oversized drivers waste space in compact furniture.
- Place touch or door sensors where they are genuinely triggered by use, not by passing traffic.
- Group zones sensibly so hanging rails, shelf edges and task lines can be switched or dimmed independently.
For wardrobes I favour door or proximity sensors that bring the light on only when the space is opened, which keeps the tiny strip running cool and saves power. For headboards and ambient joinery I use a small dimmer or scene control so the glow can sit well below full output in the evening. I also agree cable routes with the joiner before assembly, because feeding a lead through a finished carcass is where these jobs turn from clean to compromised. Deciding driver access and control at the design stage is what separates a factory-finished result from a retrofit that hums, mis-triggers or cannot be serviced.
Recommended Products
Frequently Asked Questions
How thin is the 2x6mm neon strip?
It is roughly 2 mm thick by 6 mm wide, small enough to recess into a routed furniture shadow gap or handle recess so the source is hidden when switched off. It is designed for joinery inlays rather than surface mounting.
What size groove do I route for a 2x6 neon strip?
Machine the groove slightly wider than the 6 mm strip with enough depth to hide it when off while still letting light wash the target surface. Always cut and light a test groove in an offcut of the actual board, and route small radii at corners rather than sharp internal angles.
Does such a thin neon strip overheat?
It can if overdriven or sealed into an unventilated groove, because the tiny body has little heat capacity. Run it at rated current, use an aluminium carrier on long or enclosed runs, and avoid trapping heat in solid timber furniture.
Can I bend a 2x6 strip around sharp furniture corners?
It bends easily in its flat plane but should not be forced through a sharp sideways fold, which kinks the board. Route generous radii or use small corner connectors, and plan wire routes through the cabinet structure so leads stay hidden.
What colour temperature suits furniture inlays?
Warm white around 2700K generally flatters timber and fabric and suits bedroom and living-room joinery, while cooler whites work with modern gloss or minimalist finishes. Because the line is viewed close, use a diffused slim profile and a dimmable driver for evening scenes.
Need help with your LED project?
Get factory-direct pricing, free samples and engineering support within 24 hours.
Email: info@arraystarled.com | Phone: +86-0755-2103-6746 | WhatsApp: 0086 1581 8514 077
Need to size your power supply? Use our LED Strip Power Calculator to find the right driver in seconds.







