3mm Super-Slim COB Strips for the Narrowest Channels
- 2026-10-09 18:40
- /
- Arraystar LED
Some furniture, jewellery and micro-architecture channels are only a few millimetres wide, and a standard 8 or 10 mm board simply will not fit. A 3mm super-slim COB strip is built for those spaces, delivering a seamless dot-free line where there is physically no room for anything wider. The trade-offs are real: narrow boards carry less copper and fewer LEDs, so they are about precision, not raw lumens.
The Problem Is Physical, Not Stylistic
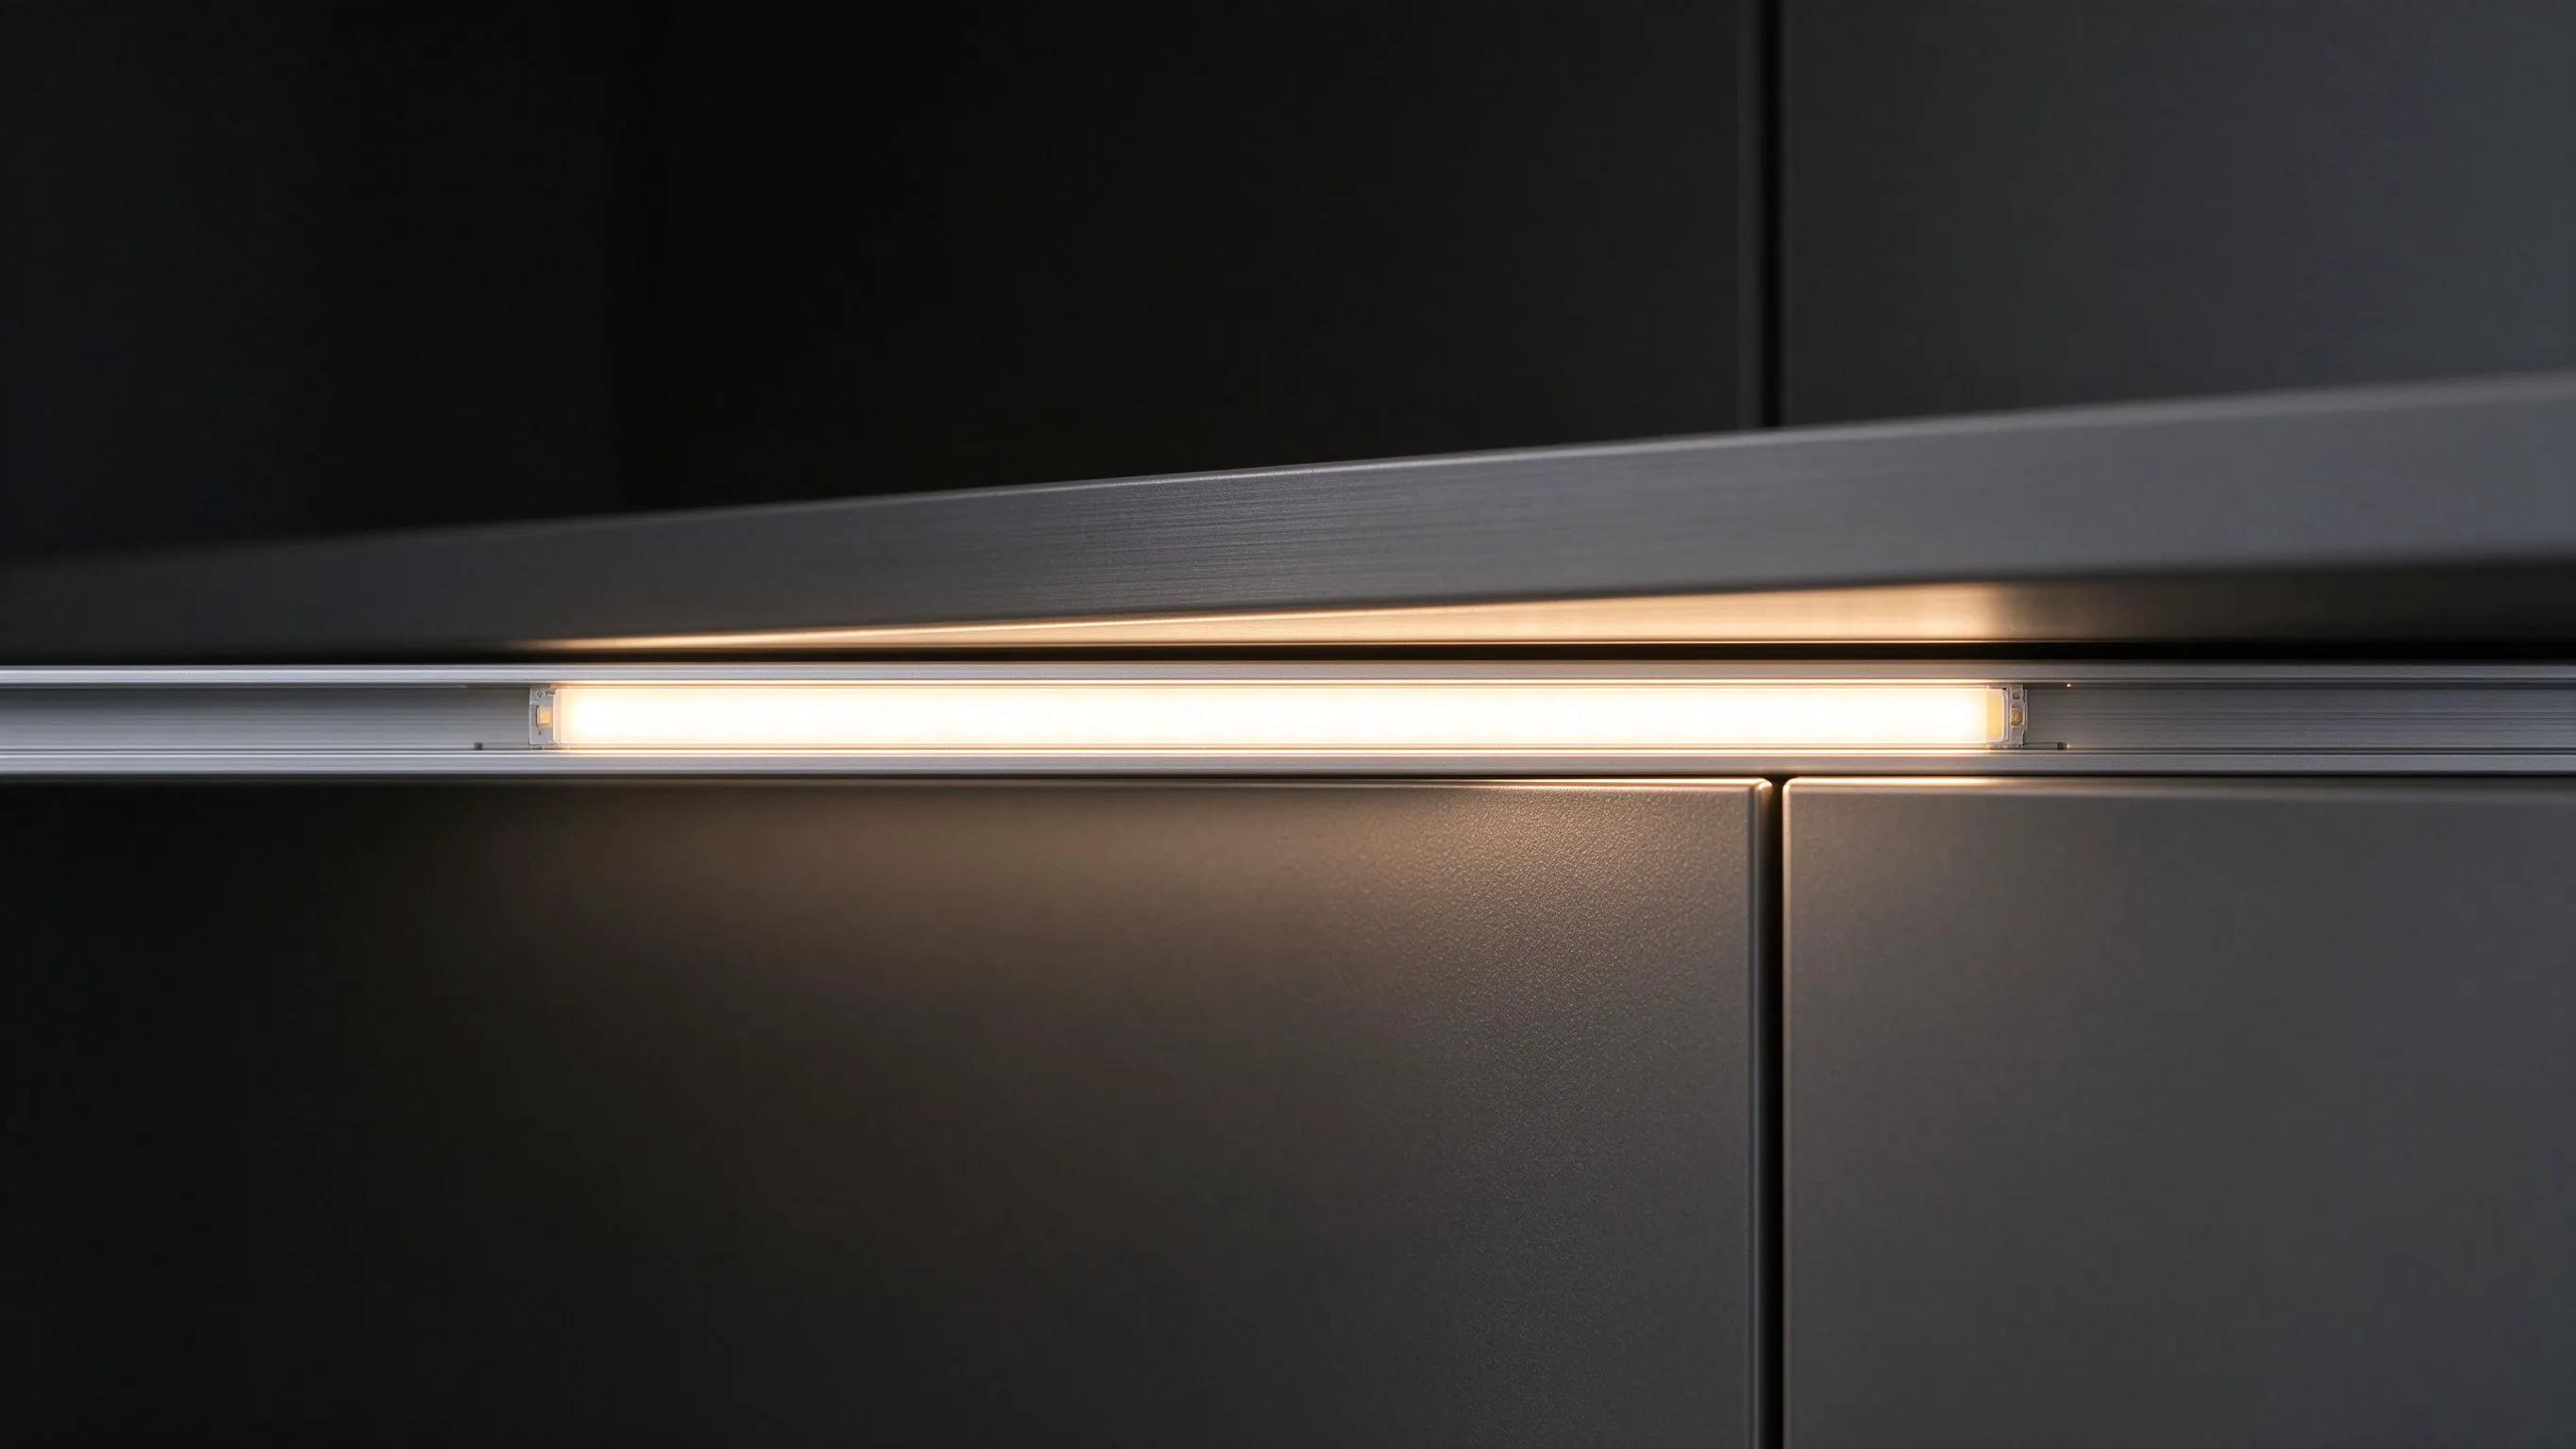
Most slim-strip requests start with a designer saying they want a thin line of light, but the genuinely demanding projects start with a dimension: a furniture groove, a display case reveal, a jewellery shelf edge or a scale-model channel that is only a few millimetres across. In those spaces the question is not which strip looks best, it is which strip physically fits without being cut, bent or forced.
A standard board, even a narrow 8 mm one, will not enter a 4 or 5 mm channel, and trimming the edges destroys the copper and the seal. When the channel defines the width, the strip has to be engineered to that width from the start.
What a 3mm COB Board Actually Is
- Around 3 mm board width to enter channels that reject standard strips.
- Chip-on-board construction for a continuous line with no visible individual LEDs.
- High LED count on a tiny footprint (the 480-LED class) so the line stays seamless.
- Low-profile glow suited to close viewing in furniture and display work.
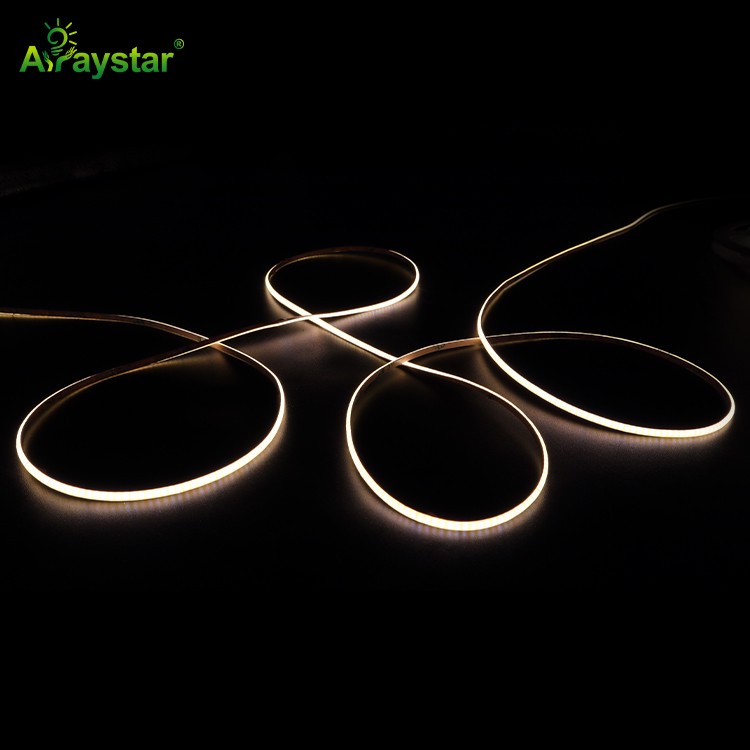
For the narrowest channels I use the 3mm super-slim COB ART-COB05-480. It is the product that fits when the millimetres are the hard constraint, and the COB construction keeps the line clean at the close viewing distances these pieces get.
Where the 3mm Profile Earns Its Place
Specify 3mm when the channel, not the look, sets the limit.
| Application | Why width is critical |
|---|---|
| Furniture grooves and handles | Channels are cut only a few mm wide |
| Jewellery and museum display cases | Fine shelves and reveals leave minimal room |
| Scale models and maquettes | Tiny architecture needs proportionate light |
| Slim signage strokes | Narrow letter strokes cannot house a wide board |
| Luxury joinery inlays | The light must read as a hairline detail |
The Honest Trade-offs of Going Ultra-Narrow
I never sell a 3mm strip as a high-output solution, because the same narrowness that makes it fit also limits it. A tiny board carries less copper, so voltage drop arrives sooner and power injection matters more on long runs. It also has less area for LEDs and heat, so lumen output per metre is modest compared with a wide board. These are not defects; they are the physics of a miniature product.
- Keep runs shorter or inject power more often to beat voltage drop.
- Treat it as a detail/accent light, not a room light source.
- Mount to a thermally suitable surface even at low power.
- Handle gently; a 3 mm board is less forgiving of rough bending and handling.
Bending and Installing a Hairline Board
Ultra-narrow boards follow tight curves more easily in one sense, but they are delicate to work with. I bend them slowly to a generous radius, avoid creasing the thin board, and use the narrowest compatible backing and channel rather than forcing a standard-width accessory. In furniture work I often seat the strip into a pre-routed groove with a thin diffuser or clear fill so the line is protected from cleaning and contact as well as diffused.
Install sequence for joinery
- Route the groove to the exact width and depth for the 3mm board and any diffuser.
- Dry-fit unpowered, then power-test the section before final assembly.
- Peel and press progressively to avoid trapping the thin board.
- Bring feeds out at joints or ends where they can be hidden in the furniture frame.
Diffusing a Very Thin Line
A bare 3mm COB is already dot-free, but in high-end furniture a shallow diffuser or translucent fill still helps: it softens the edge of the line, hides the board itself and protects it. The trade-off is that a diffuser over a very narrow source can widen the apparent line slightly, so I match the channel design to how fine the visible line needs to be. For a razor hairline I use minimal cover; for a soft glow I allow a little more diffuser depth.
Choosing Between 3mm, 5mm and Standard Widths
Pick the narrowest board that fits and still meets the brightness target.
| Board width | Best fit | Output / copper |
|---|---|---|
| 3 mm | Micro channels, jewellery, models | Lowest; shortest runs |
| 5 mm | Slim joinery and narrow letters | Low to moderate |
| 8-10 mm | General cove and signage | Moderate, the workhorse |
| 12-30 mm | High-lumen indirect and flood | Highest output and copper |
The rule I give designers is simple but counterintuitive: do not choose the thinnest strip for its aesthetic alone. Choose the widest board that physically fits the channel, because every extra millimetre buys copper, output and thermal headroom. Reach for the 3mm only when the channel genuinely excludes everything wider.
Specifying a Micro-Channel Project
Send the exact internal channel width and depth, the run length, whether the line needs a diffuser, and the desired brightness at viewing distance. I will confirm whether the 3mm COB fits and meets the output, where power feeds are needed on longer runs, and the best way to protect the strip inside the furniture. We supply the 3mm super-slim COB and recommend testing a short length in the actual routed groove before production, because at this scale a fraction of a millimetre decides whether the piece assembles cleanly.
A Jewellery Display Case That Only Had 4mm
A jeweller asked us to add accent lines to a set of wall-mounted display cases whose shelf reveals had been designed before lighting was considered. The routed groove measured 4 mm wide and 5 mm deep, and the glass sat millimetres above it. A standard 8 mm board would not enter without widening the groove, and widening it meant remaking laminated shelf panels the client had already finished.
The 3mm COB dropped into the existing groove with room for a hairline translucent fill. We ran short sections per shelf, bringing feeds back through the case frame so nothing crossed the display area, and powered each case from a small concealed driver because the individual runs were short but numerous. At full brightness the line was deliberately restrained; jewellery cases need the light to define the architecture, not compete with the pieces, and the COB's dot-free quality meant there was no visible texture reflected in the glass. The only adjustment after the first trial was adding a touch more diffuser depth on the top shelf, where a viewer standing close could just make out the board edge. That job is the clearest argument I have for keeping the 3mm product in the range: it rescued a finished piece of furniture that no standard strip could physically serve, and the narrowness that limits its output was irrelevant because the design called for a fine accent, not illumination.
Recommended Products
Frequently Asked Questions
What is a 3mm super-slim COB strip used for?
It is built for channels only a few millimetres wide that cannot accept a standard 8 or 10 mm board, such as furniture grooves, jewellery and museum display cases, scale models, narrow sign lettering and luxury joinery inlays. COB construction keeps the tiny line seamless and dot-free at close viewing distance.
Is a 3mm COB strip as bright as a normal strip?
No, and it is not meant to be. The narrow board carries fewer LEDs and less copper, so output per metre is modest and voltage drop arrives sooner. It is a precision detail and accent light; for high-lumen coves or room lighting use a wider board that fits the space.
Can I just trim a wider strip to fit a narrow channel?
No. Cutting the board edges destroys copper traces and any sealing and risks unreliable or dead sections. When the channel defines the width, use a strip engineered to that width from the start, such as a genuine 3mm board, rather than modifying a wider one.
How do you prevent voltage drop on a 3mm strip?
Because the narrow board has little copper, keep runs shorter and inject power more frequently than on a wider strip, sizing the driver for the loaded length. Bring feeds in at joints or ends where they can be hidden, and test each long section for even brightness before final assembly.
Should I use a diffuser with a 3mm COB strip?
The COB is already dot-free, but a shallow diffuser or translucent fill in furniture softens the line, hides the board and protects it from cleaning and contact. It slightly widens the apparent line, so use minimal cover for a razor hairline and a little more diffuser depth for a soft glow, matching the channel to the desired look.
Need help with your LED project?
Get factory-direct pricing, free samples and engineering support within 24 hours.
Email: info@arraystarled.com | Phone: +86-0755-2103-6746 | WhatsApp: 0086 1581 8514 077
Need to size your power supply? Use our LED Strip Power Calculator to find the right driver in seconds.