
Choosing an Aluminum LED Profile: Surface, Recessed, Corner, Plaster-In and Hanging Explained
- 2026-10-08 17:37
- /
- Arraystar LED
The aluminium profile is doing three jobs at once - heatsink, diffuser housing and architectural trim - so choosing it on price or looks alone is how you end up with visible dots, sagging strip and ragged cut edges. The selection comes down to four decisions: how it mounts (surface, recessed or corner), its width and depth for the strip and the dot-free distance you need, the diffuser finish (clear, frosted or opal) for the beam you want, and whether its thermal mass suits the strip wattage. Get the mounting style and cavity size right first, then match the cover and you get a clean line that stays cool and looks intentional rather than retrofitted.
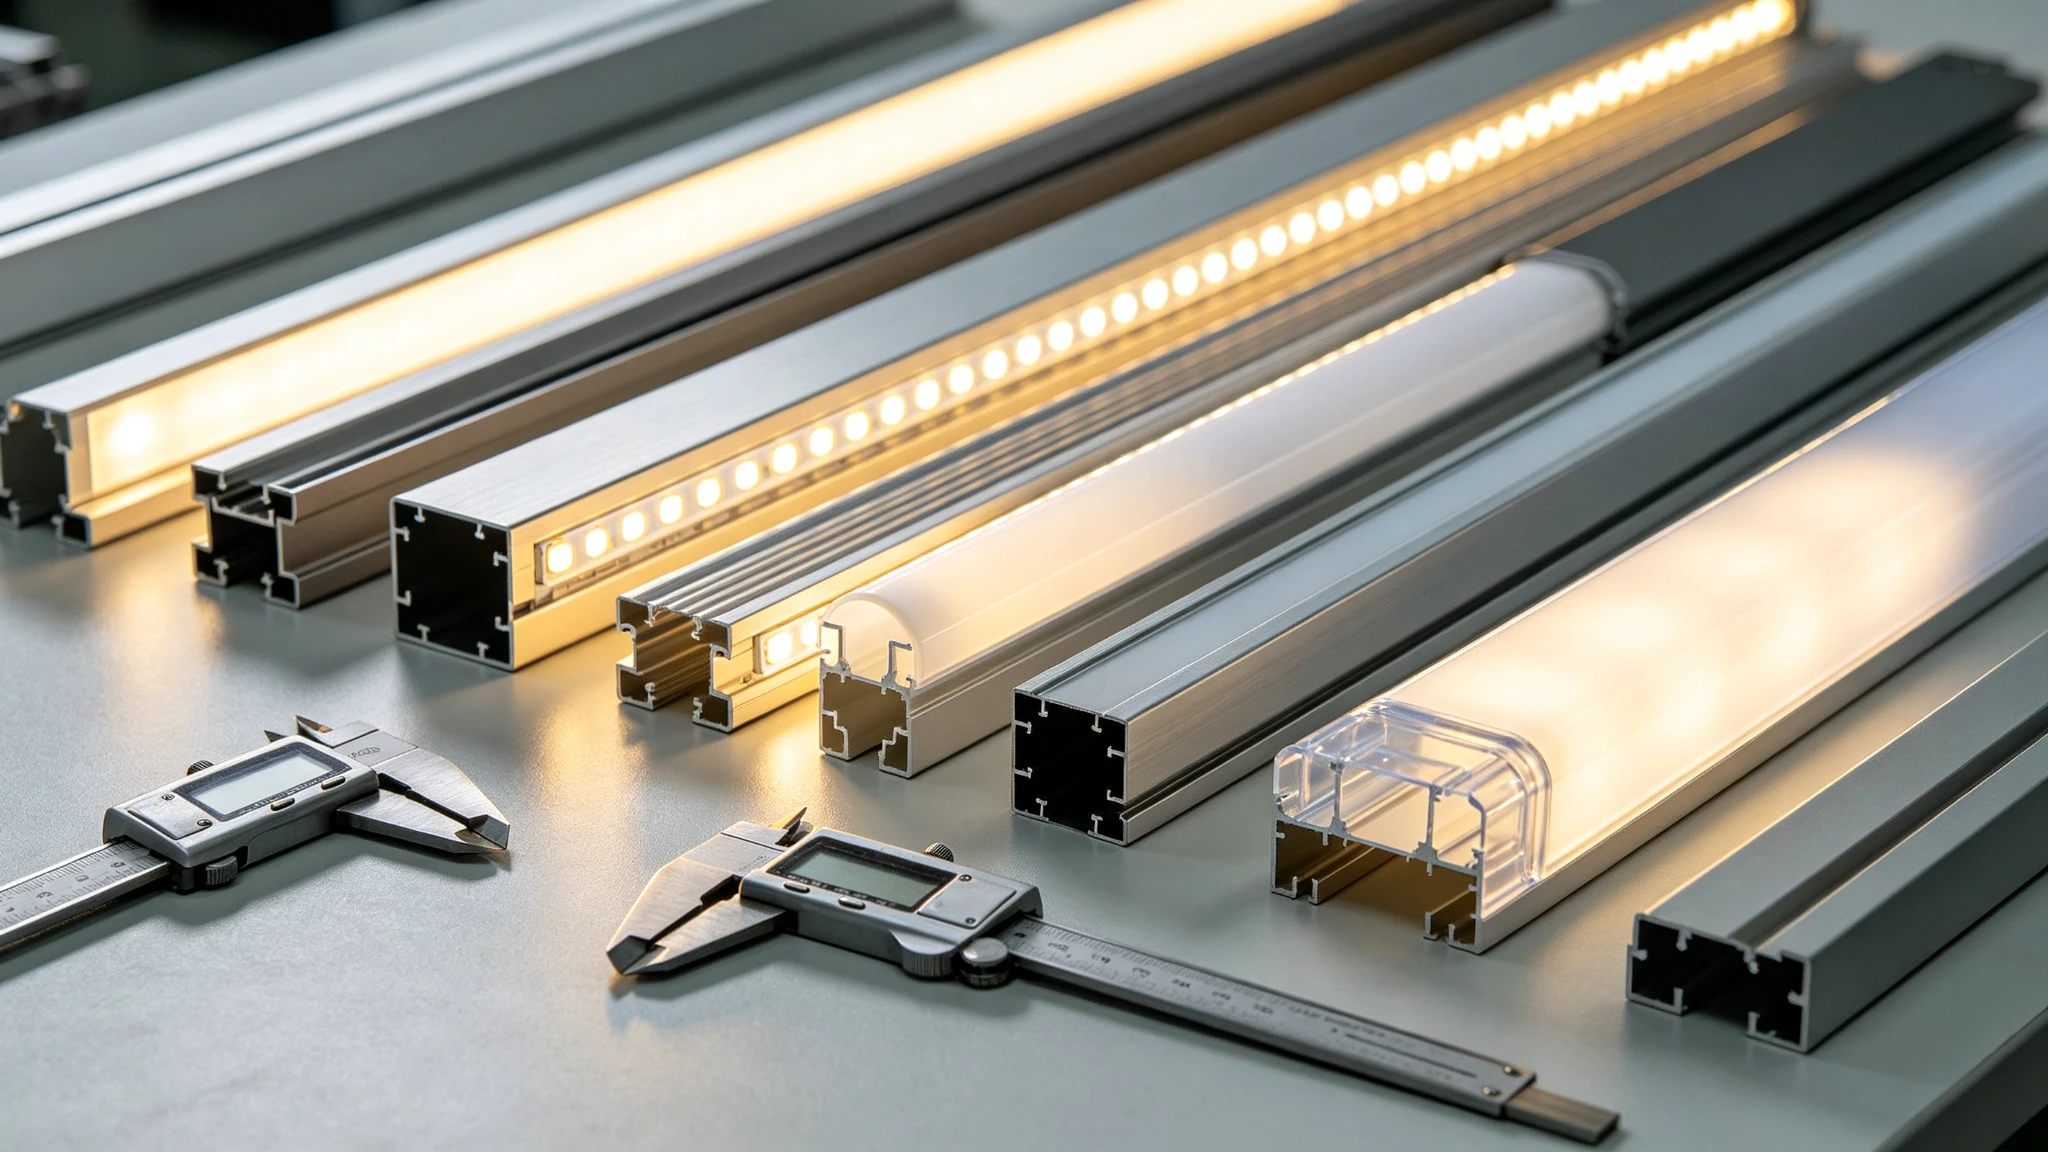
What the Profile Actually Does
A bare strip stuck to a surface has three problems the profile solves: the LEDs and resistors overheat because the adhesive is a poor heat path, the individual emitters are visible as dots, and the edge of the tape looks like exactly what it is - tape stuck on. An aluminium extrusion pulls heat away from the PCB to extend life, holds a diffuser that blends the points into a line, and presents a finished trim with clean end caps. On higher-density or higher-wattage strip the heatsinking is not optional; it is what keeps the LEDs in their rated temperature range.
- Heat sinking - aluminium spreads heat away from the PCB, protecting life and colour stability.
- Diffusion - the cover blends individual LEDs into a continuous line and controls glare.
- Protection - the channel shields the strip from knocks, dust and (with sealed versions) moisture.
- Trim - clean edges, corners and end caps make the install look built in.
- Mounting - clips and brackets give a mechanical fix far stronger than adhesive alone.
Anatomy: Width, Depth, Cavity and Cover
The cavity must physically fit the strip - a 12mm or wider PCB will not seat in a 10mm channel, and high-voltage or multi-row strip needs deeper, wider sections. Width and depth together set the minimum distance from LED to diffuser, which controls dot visibility: the deeper the cavity and the denser the strip, the more seamless the line. Shallow low-profile channels look sleek but need very high-density strip or you see scalloping through the cover. Check the internal width, the outer dimensions for the available space, and that the profile is sold with the cover, clips and end caps you need.
Fit the cavity to the strip and the depth to the dot-free distance before choosing style.
| Spec | What it decides | Rule of thumb |
|---|---|---|
| Internal width | Fits the PCB / multi-row strip | Cavity wider than PCB by a margin |
| Depth | LED-to-cover dot-free distance | Deeper = smoother, needs less density |
| Diffuser finish | Beam and dot hiding | Opal hides dots, clear maximises output |
| Wall thickness / mass | Heatsinking for wattage | Heavier for high-W/m strip |
| Mounting style | Surface / recessed / corner | Decide before you order anything |
Surface-Mount Profiles - The Workhorse
Surface channels screw or clip directly onto a face and are the default for shelves, cabinets, furniture, walls, signage and anywhere you cannot or do not want to cut a rebate. They install fast, are easy to service, and come in slim low-profile forms for discreet lines through to deep wide sections for high output. I use a standard surface profile with a frosted or opal cover for most accent and task work, with clips every 200-300mm so a long run cannot lift or bow.
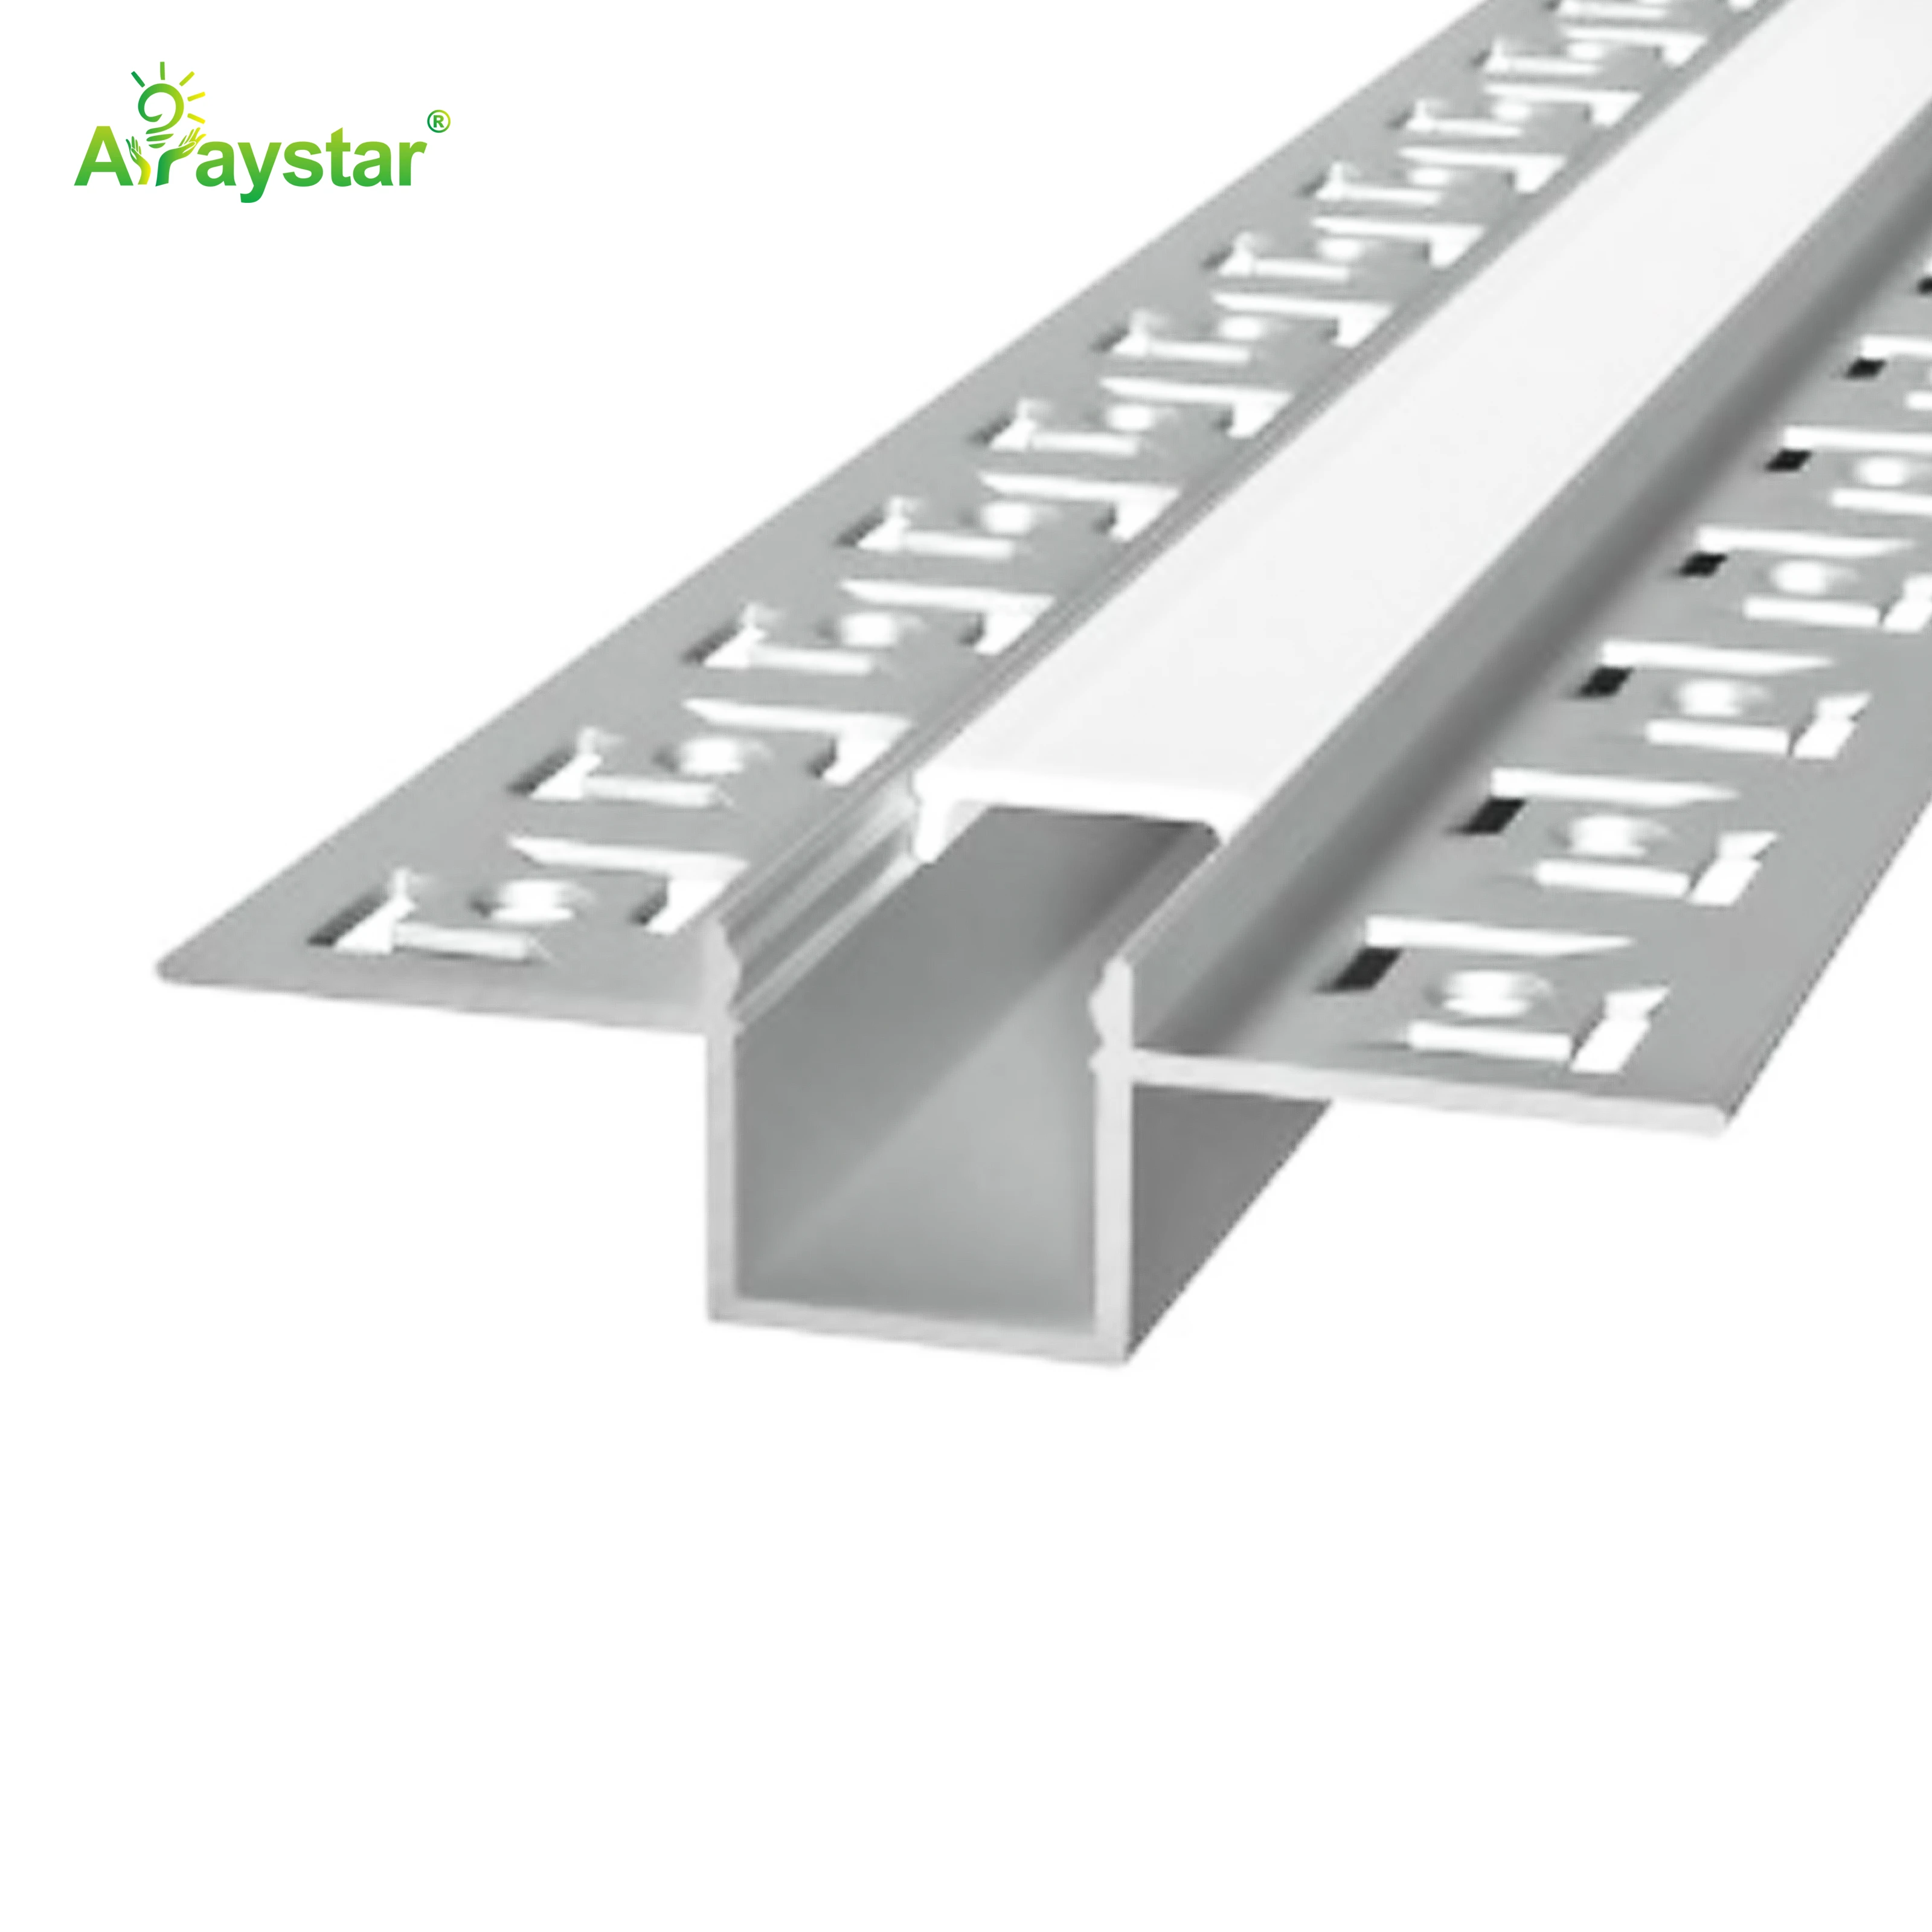
Where the channel will be touched or cleaned - kitchens, retail, furniture - prefer a flush-ended install with capped ends and a cover that sits level, so there is no lip to catch cloths or fingers.
Recessed Profiles for a Flush, Invisible Finish
When the light should appear to emerge from the surface itself - plaster ceilings and walls, joinery, stone, engineered flooring detail - a recessed (plaster-in or flush-mount) profile is set into a rebate so only the diffuser shows. Plaster-in flanges are skimmed over for a completely seamless ceiling line, while flush joinery profiles sit level with timber or board. These demand accurate routing and are unforgiving of uneven surfaces, so they are a first-fix decision, not a retrofit, and you must co-ordinate the channel depth with the plasterboard or panel thickness.
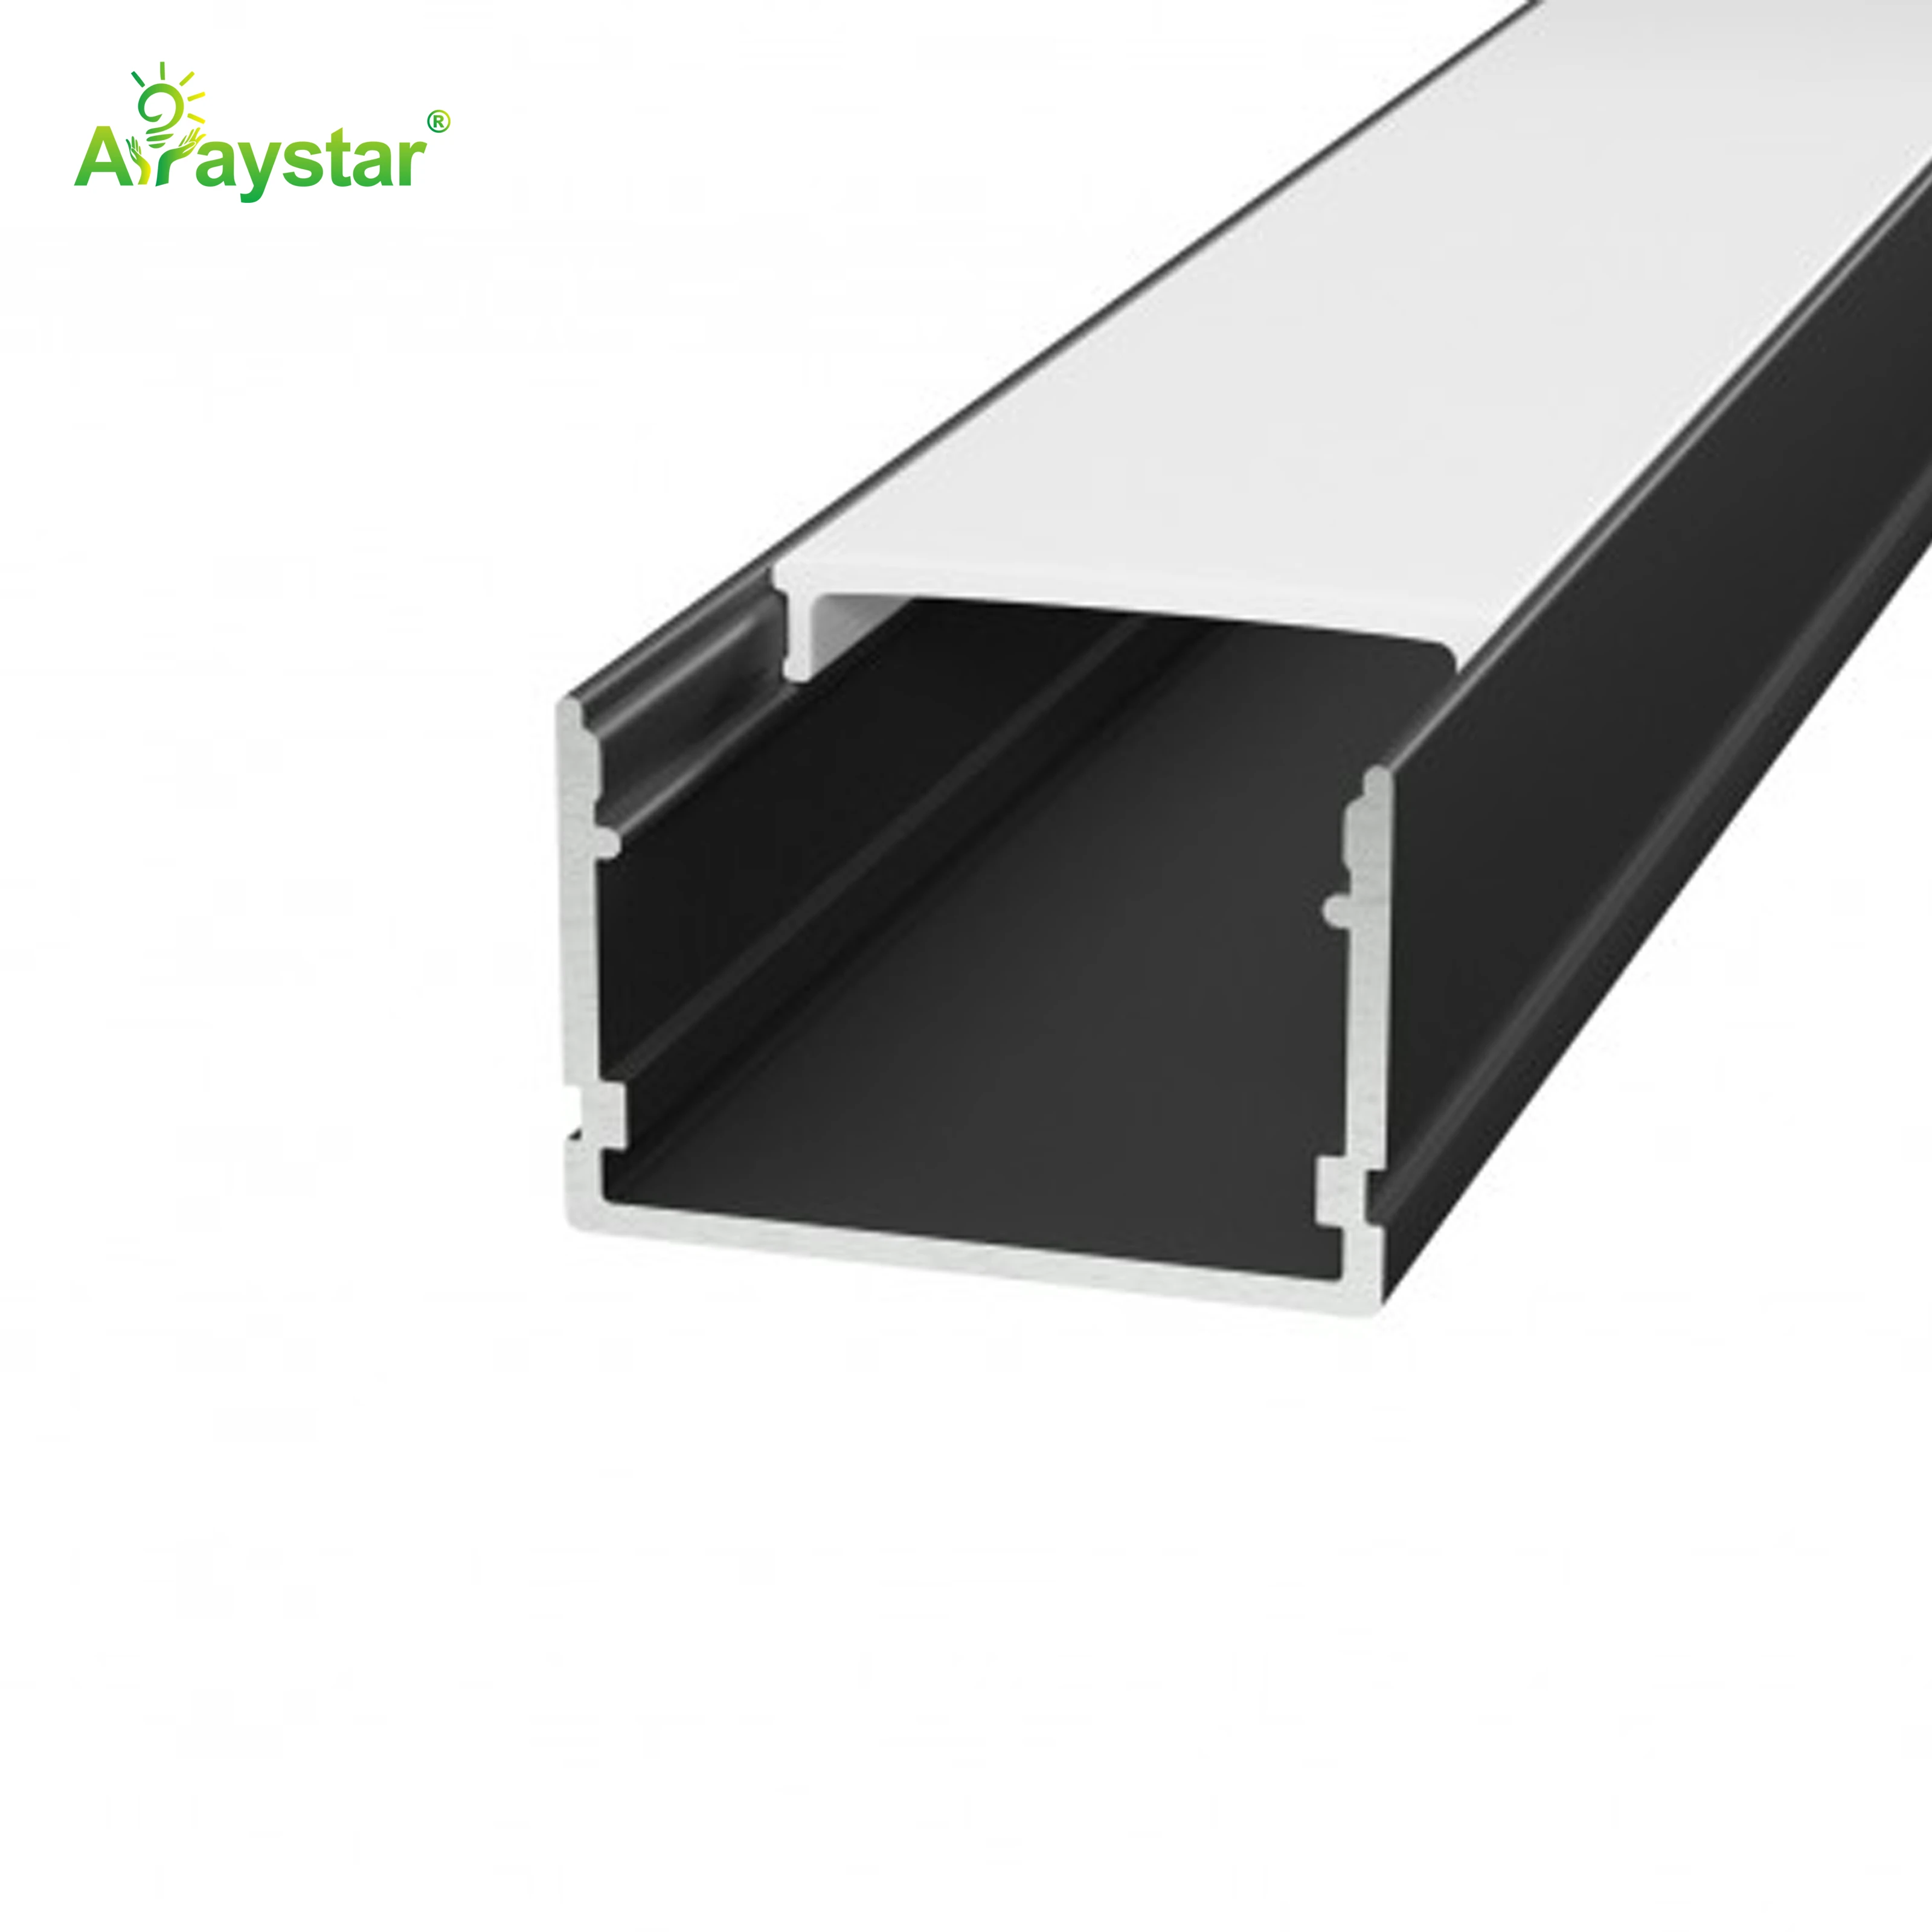
- Choose recessed early - it requires a routed rebate and first-fix coordination.
- Match flange and depth to plasterboard/panel thickness for a truly flush face.
- Use a deep enough cavity that mid-density strip still reads dot-free through the cover.
- Plan driver and strip access; a fully skimmed channel is not easily reopened.
Corner Profiles for Angles and Edges
Right-angle and edge profiles solve the geometry that flat channels cannot: inside and outside corners of cabinets and walls, stair nosing, shelf front edges, display cases and 45-degree cove washes. A 45-degree corner profile aimed across a ceiling is the classic cove-lighting tool, while V-shaped edge profiles protect and light the front lip of a shelf or step. Bending flat strip into a corner instead always looks compromised and stresses the solder joints - use the profile designed for the angle.
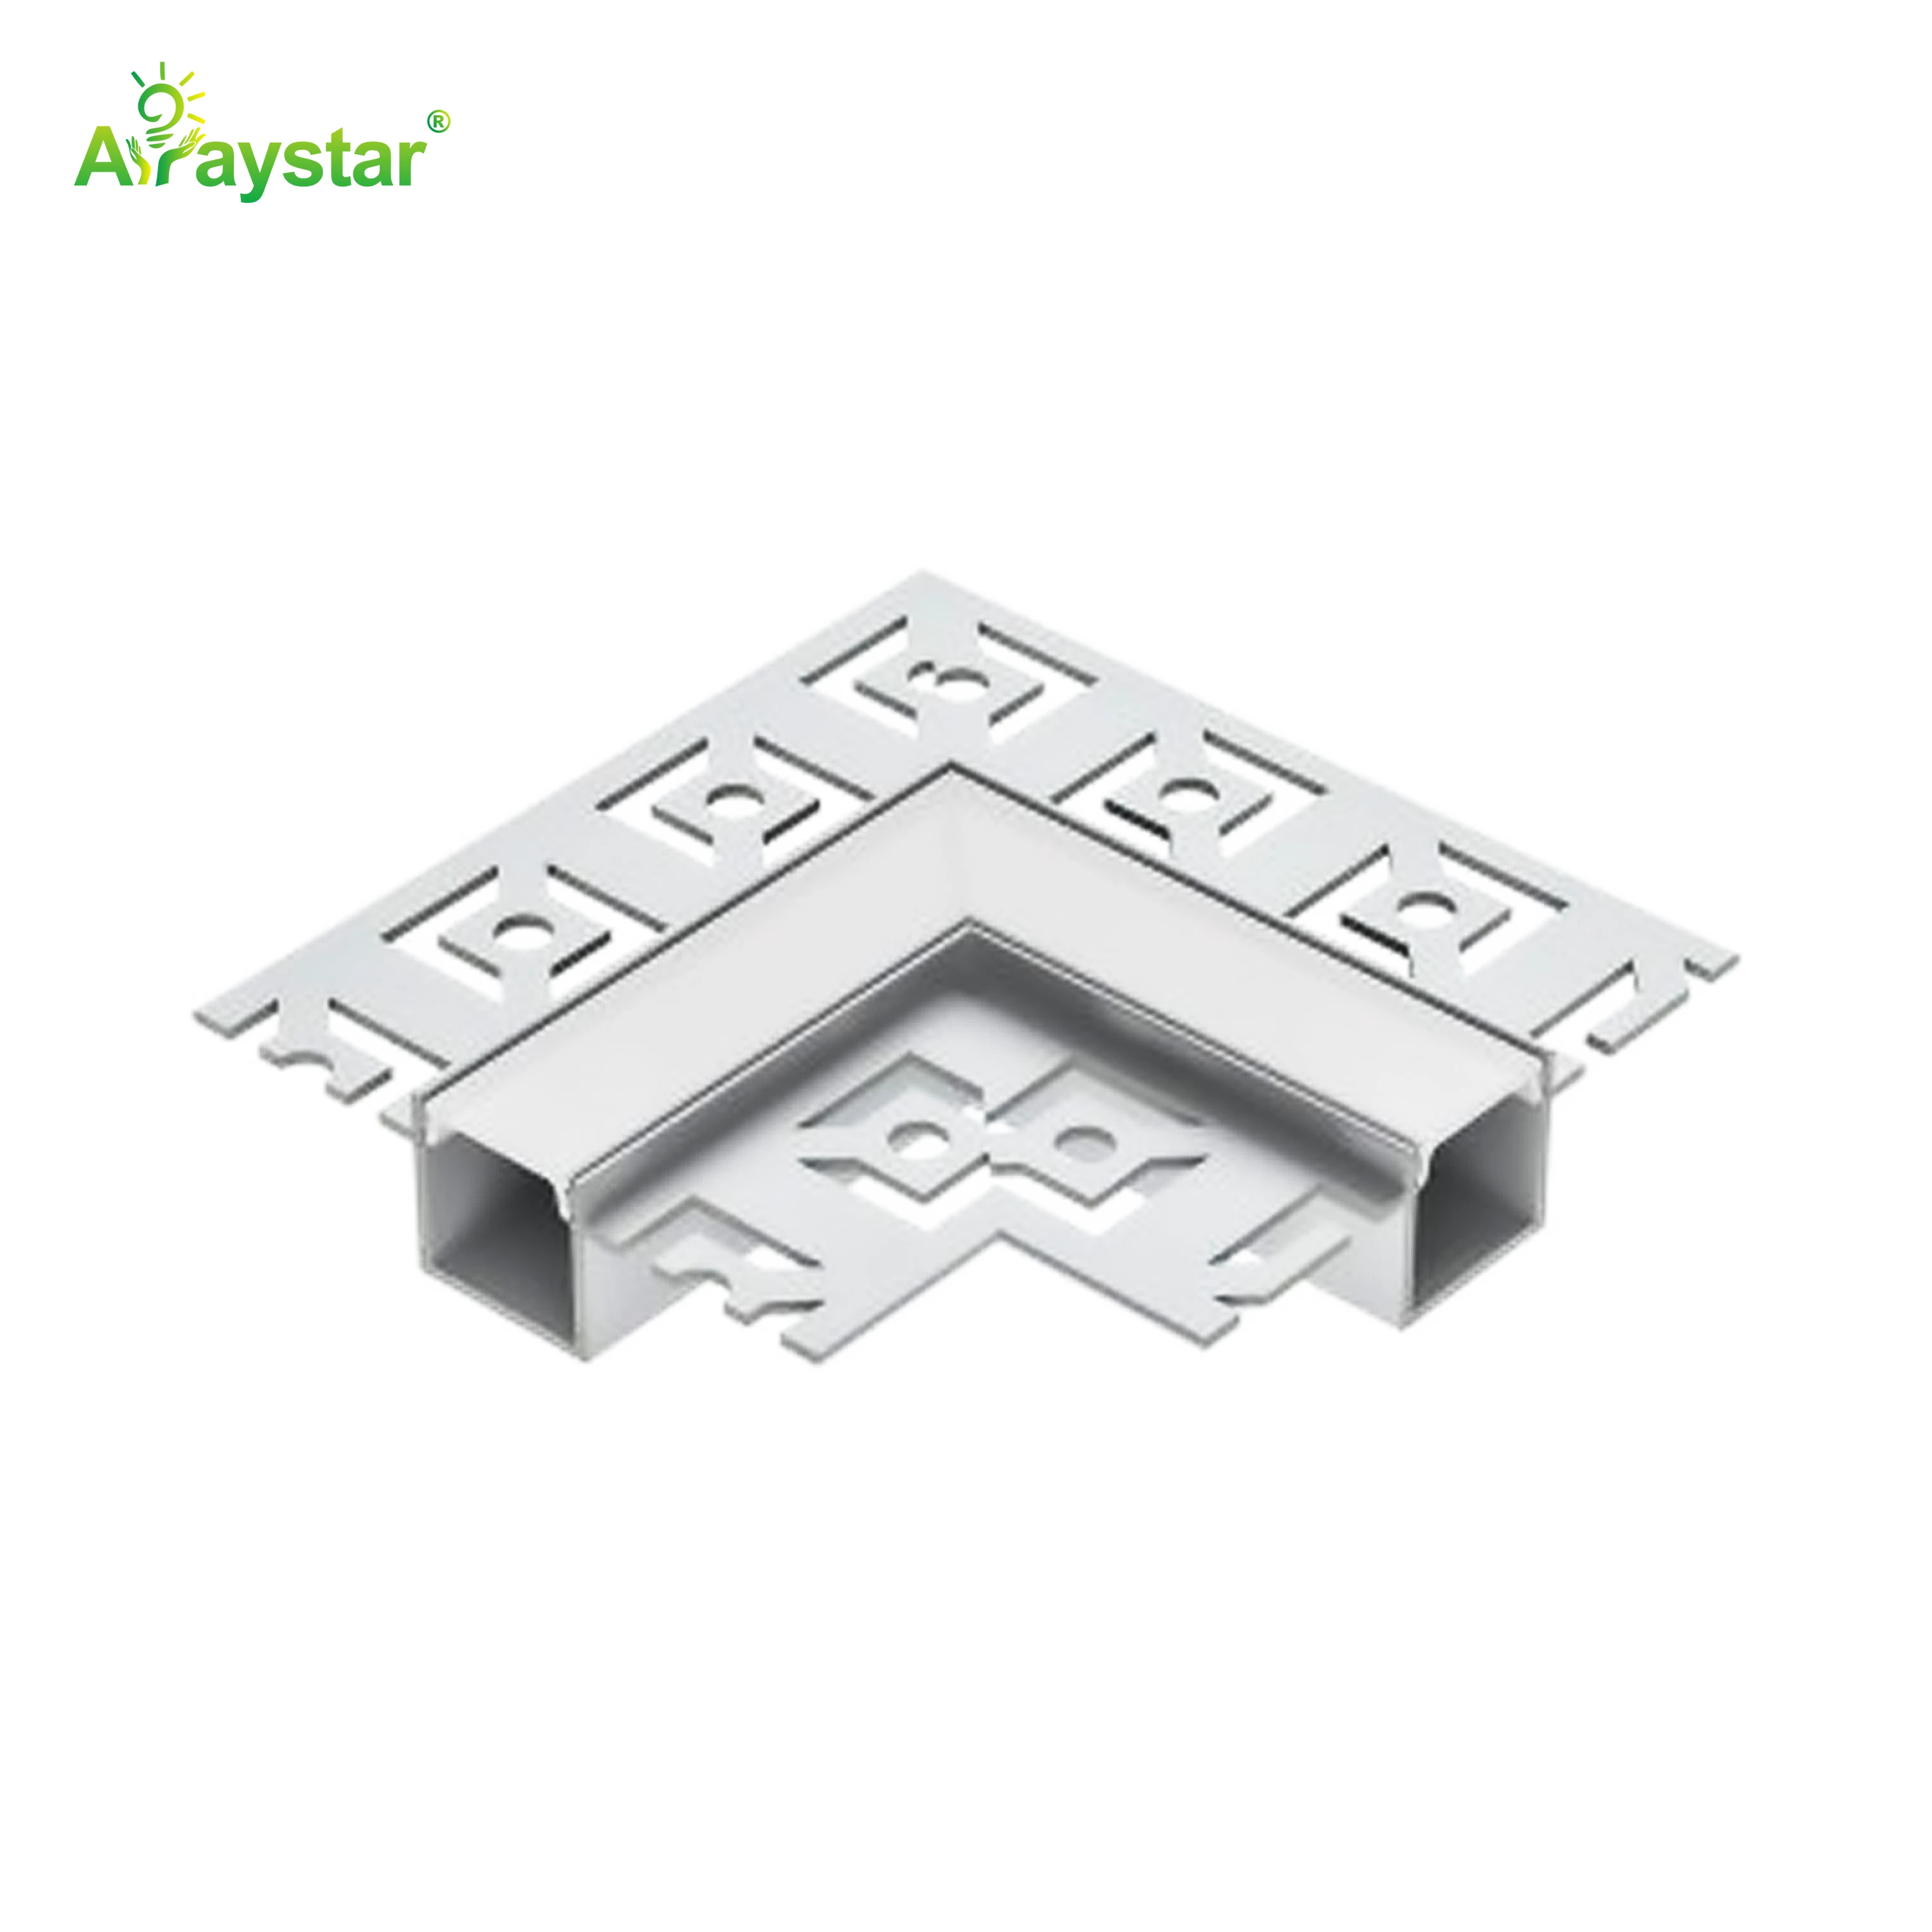
Pick the mounting geometry from the application, then size the cavity and cover.
| Application | Profile style | Cover |
|---|---|---|
| Shelf / cabinet / furniture surface | Slim surface channel | Frosted/opla |
| Plaster ceiling seamless line | Plaster-in recessed | Opal flush |
| Joinery flush detail | Recessed flush mount | Frosted |
| Ceiling cove wash | 45-degree corner profile | Frosted, aimed up |
| Stair / shelf edge | V-shaped edge / nosing profile | Opal, shatter-safe |
| High-output task / commercial | Deep wide surface channel | Frosted for glare control |
Diffuser Choice, Thermal Sizing and Corners
Diffuser finish is a trade-off between output and dot hiding: clear covers pass the most light but show emitters, frosted spreads a soft beam with modest loss, and opal hides dots completely at the cost of some output and a slightly softer edge. For shallow channels or lower-density strip, pay for opal; for deep cavities with dense strip, frosted is usually the sweet spot. On thermal sizing, if you run high-wattage strip in a tiny channel it will run hot and shift colour - size the metal mass to the W/m and, for continuous high-output runs, consider wider or finned sections and ventilation at runs.
- Use opal in shallow/low-density runs; frosted where depth and density already hide dots.
- Match profile mass to strip wattage - hot strip shifts colour and fails early.
- Join straight runs with the matching connectors and use purpose corner pieces, not bent strip.
- Space clips ~200-300mm and more often on warm or horizontal-upward runs where adhesive softens.
- Cap every visible end and order spare covers - diffusers are the part most often scratched.
Recommended Products
Frequently Asked Questions
How do I choose an aluminium LED profile?
Decide the mounting first - surface, recessed/plaster-in, or corner/edge - then confirm the internal width fits your PCB and the depth gives enough LED-to-cover distance for a dot-free line with your strip density. Choose the diffuser (opal hides dots, frosted is a balanced beam, clear maximises output) and size the metal mass to the strip wattage for heat sinking. Make sure clips, diffusers and end caps are included, and use purpose corner pieces rather than bending strip.
What is the difference between surface and recessed LED profiles?
Surface profiles clip or screw onto a finished face - quick, serviceable and ideal for cabinets, furniture, walls and signage. Recessed (plaster-in or flush) profiles sit in a routed rebate so only the diffuser shows, giving a seamless built-in line in plaster or joinery, but they require first-fix coordination and accurate routing and are hard to retrofit. Choose surface for speed and access, recessed for an invisible architectural finish.
How do I stop seeing individual LED dots through the diffuser?
Increase the LED-to-cover distance with a deeper profile, raise the strip density (more LEDs per metre), or use an opal diffuser - ideally a combination. Shallow low-profile channels need very high-density strip or opal covers to avoid scalloping, while deep cavities with dense strip read perfectly smooth through frosted covers. Match the strip density and profile depth together rather than buying them separately on price.
Clear, frosted or opal LED diffuser - which is best?
Clear passes the most light but shows individual LEDs and glare, frosted gives a soft even beam with modest loss and is the general sweet spot, and opal hides dots completely with a little more output loss and a softer edge. Use opal in shallow channels or with low-density strip, frosted for most accent and task work in adequate-depth profiles, and clear only where output matters and the channel is deep or strip very dense.
Does an LED strip need an aluminium profile for heat sinking?
For low-wattage accent strip on a thermally conductive surface it can run without one, but medium and high-density/high-wattage strip should be mounted in aluminium to pull heat off the PCB; adhesive alone is a poor heat path, and overheating shortens life and shifts colour. Size the profile mass to the watts-per-metre, use wider or finned sections for continuous high output, and ventilate long enclosed runs. The profile doubles as diffuser housing and trim, so it usually pays regardless.
Need help with your LED project?
Get factory-direct pricing, free samples and engineering support within 24 hours.
Email: info@arraystarled.com | Phone: +86-0755-2103-6746 | WhatsApp: 0086 1581 8514 077
Need to size your power supply? Use our LED Strip Power Calculator to find the right driver in seconds.







