
Everything You Need for an LED Strip Project: The Complete Parts List (Beyond the Reel)
- 2026-10-08 17:37
- /
- Arraystar LED
Most LED strip jobs do not fail because of the strip - they fail because the bill of materials stopped at the strip and forgot everything that makes it actually work. A complete BOM covers five groups: the light source itself, the power supply sized with headroom, the mechanical mounting (profiles, clips, end caps), the electrical connectors and wiring for every cut and join, and control plus the small consumables nobody orders until the installer is on site. Work through the project cut by cut, list every connection before you order, add spare couplers and a safety margin on wattage, and a job that usually ends in a midnight parts run becomes a clean one-trip install.
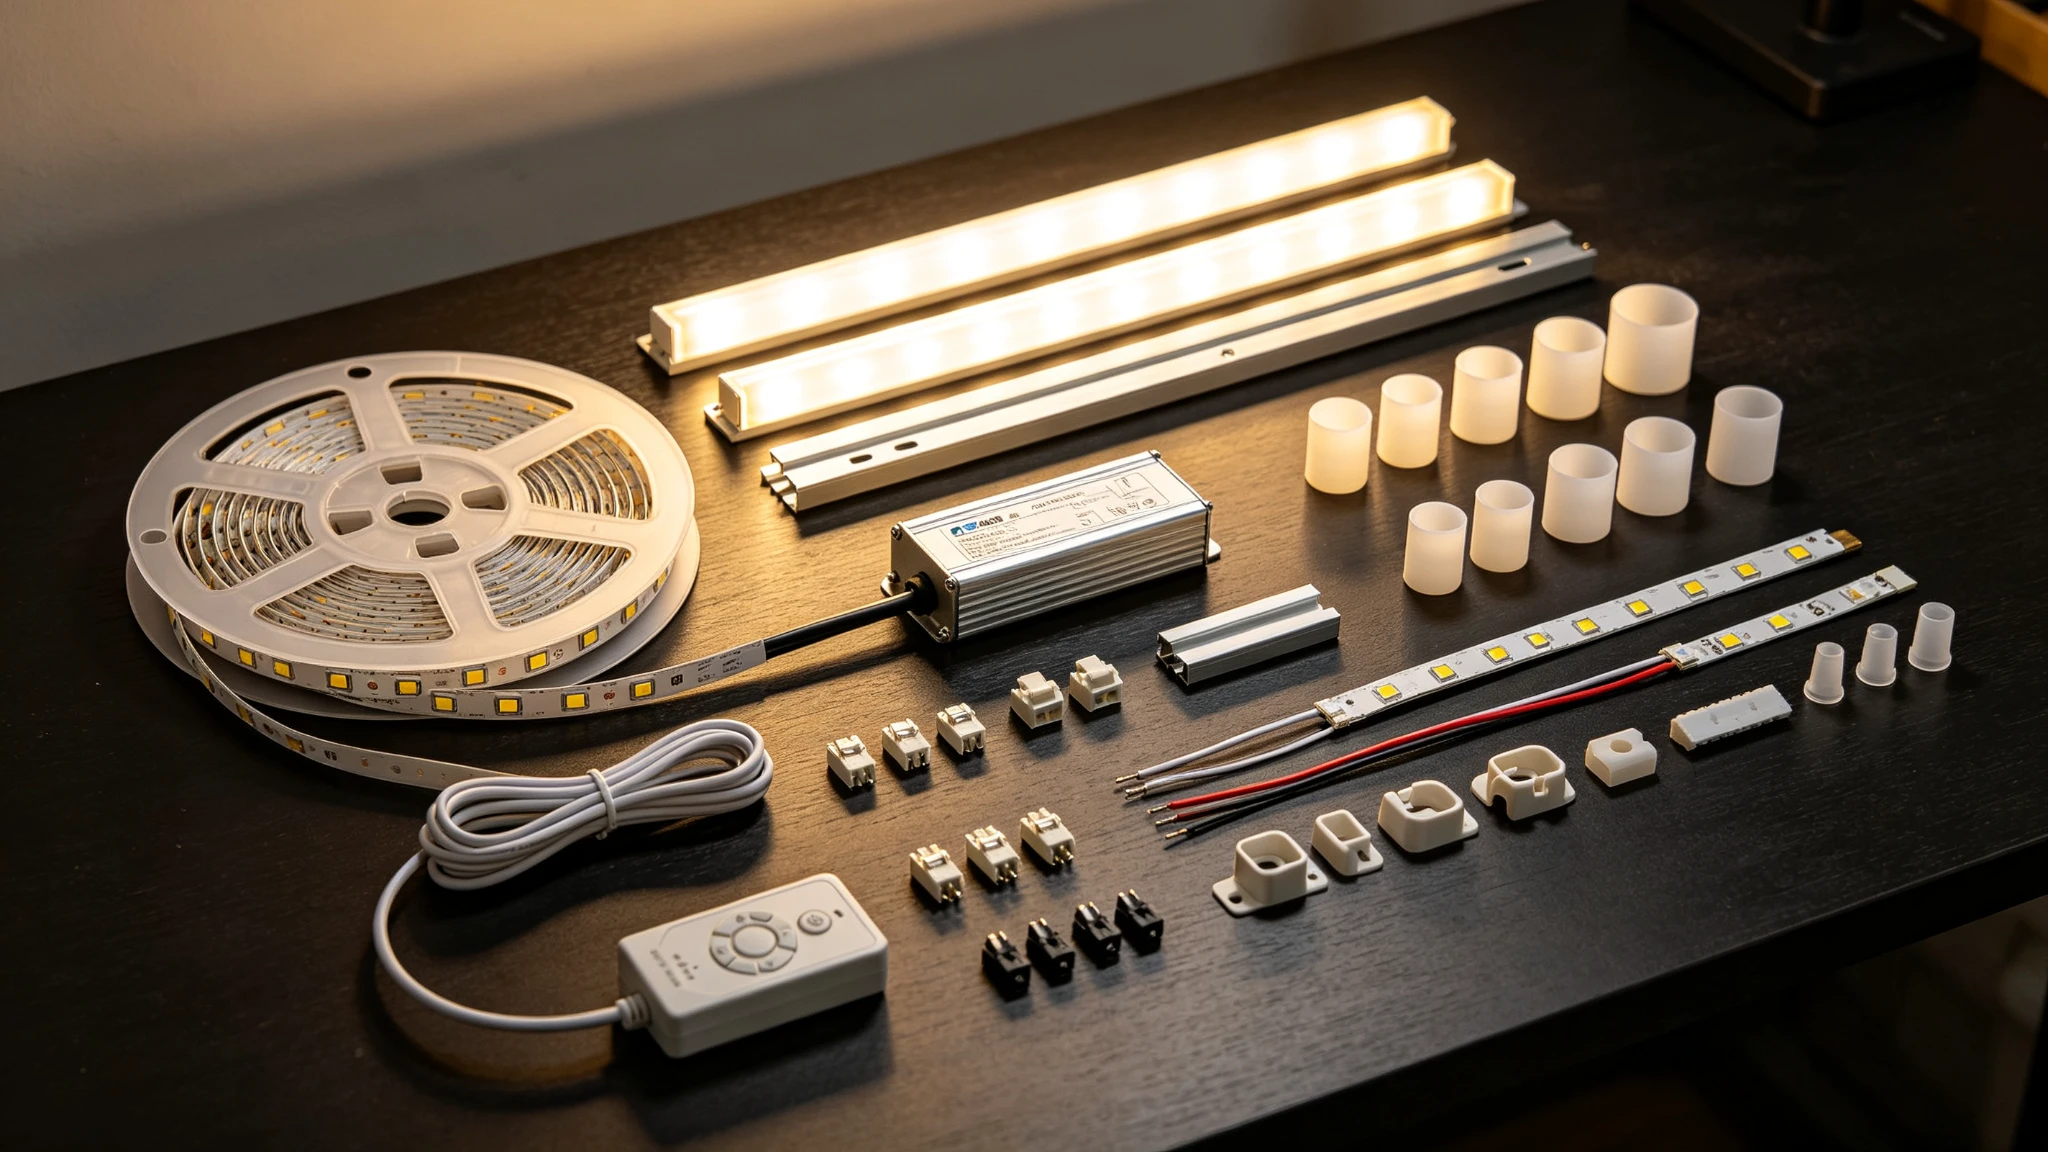
Why Projects Stall at the Parts Stage
A reel of strip is maybe a third of a working installation. The other two-thirds - drivers, profiles, connectors, wire, mounts and the odd adapter - is what turns a glowing sample on a desk into a reliable light in a wall. When those parts are not planned, the pattern is always the same: the installer cuts the strip, reaches for a connector that does not exist, finds the driver is 20 watts short, or discovers the profile was ordered without mounting clips. Every one of those is a stopped job and a return trip.
The fix is boring and effective: build the BOM by walking the physical layout cut by cut before ordering, and count connections rather than metres. Every cut end, every corner, every power feed, every join between reels is a line item.
The Five Groups of a Complete BOM
Walk the layout and make sure each group has a line item - strip alone is never a complete order.
| Group | Items | Common omission |
|---|---|---|
| 1. Light source | Strip (by reel/metre), correct CCT/CRI/IP rating | Ordering indoor IP20 for a wet zone |
| 2. Power | Driver(s) sized +20-25%, rainproof/IP rated as needed | Under-sizing, no headroom, indoor PSU outdoors |
| 3. Mounting | Aluminium profiles/channels, clips, brackets, end caps | Forgetting clips and end caps for the profile |
| 4. Connections | Solderless couplers, gap-pin connectors, feed cables, wire | No connectors for cut points; wire too thin |
| 5. Control & extras | Dimmer/controller/receiver, remote, terminals, screws | No way to dim; missing terminals and fixings |
Connectors and Wiring - Count Every Cut
Every time you cut strip you create two ends that need either a connector, a power feed, or an end cap. Solderless couplers must match both the strip width (common 8mm and 10mm PCB widths use different clips) and the type - single-colour 2-pin, RGB 4-pin, RGBW 5-pin. For clean joins between short sections I keep both strip-to-strip couplers and gap-pin connectors that bridge a corner or a gap with flying leads, plus pre-tinned feed cable for the first and last runs.
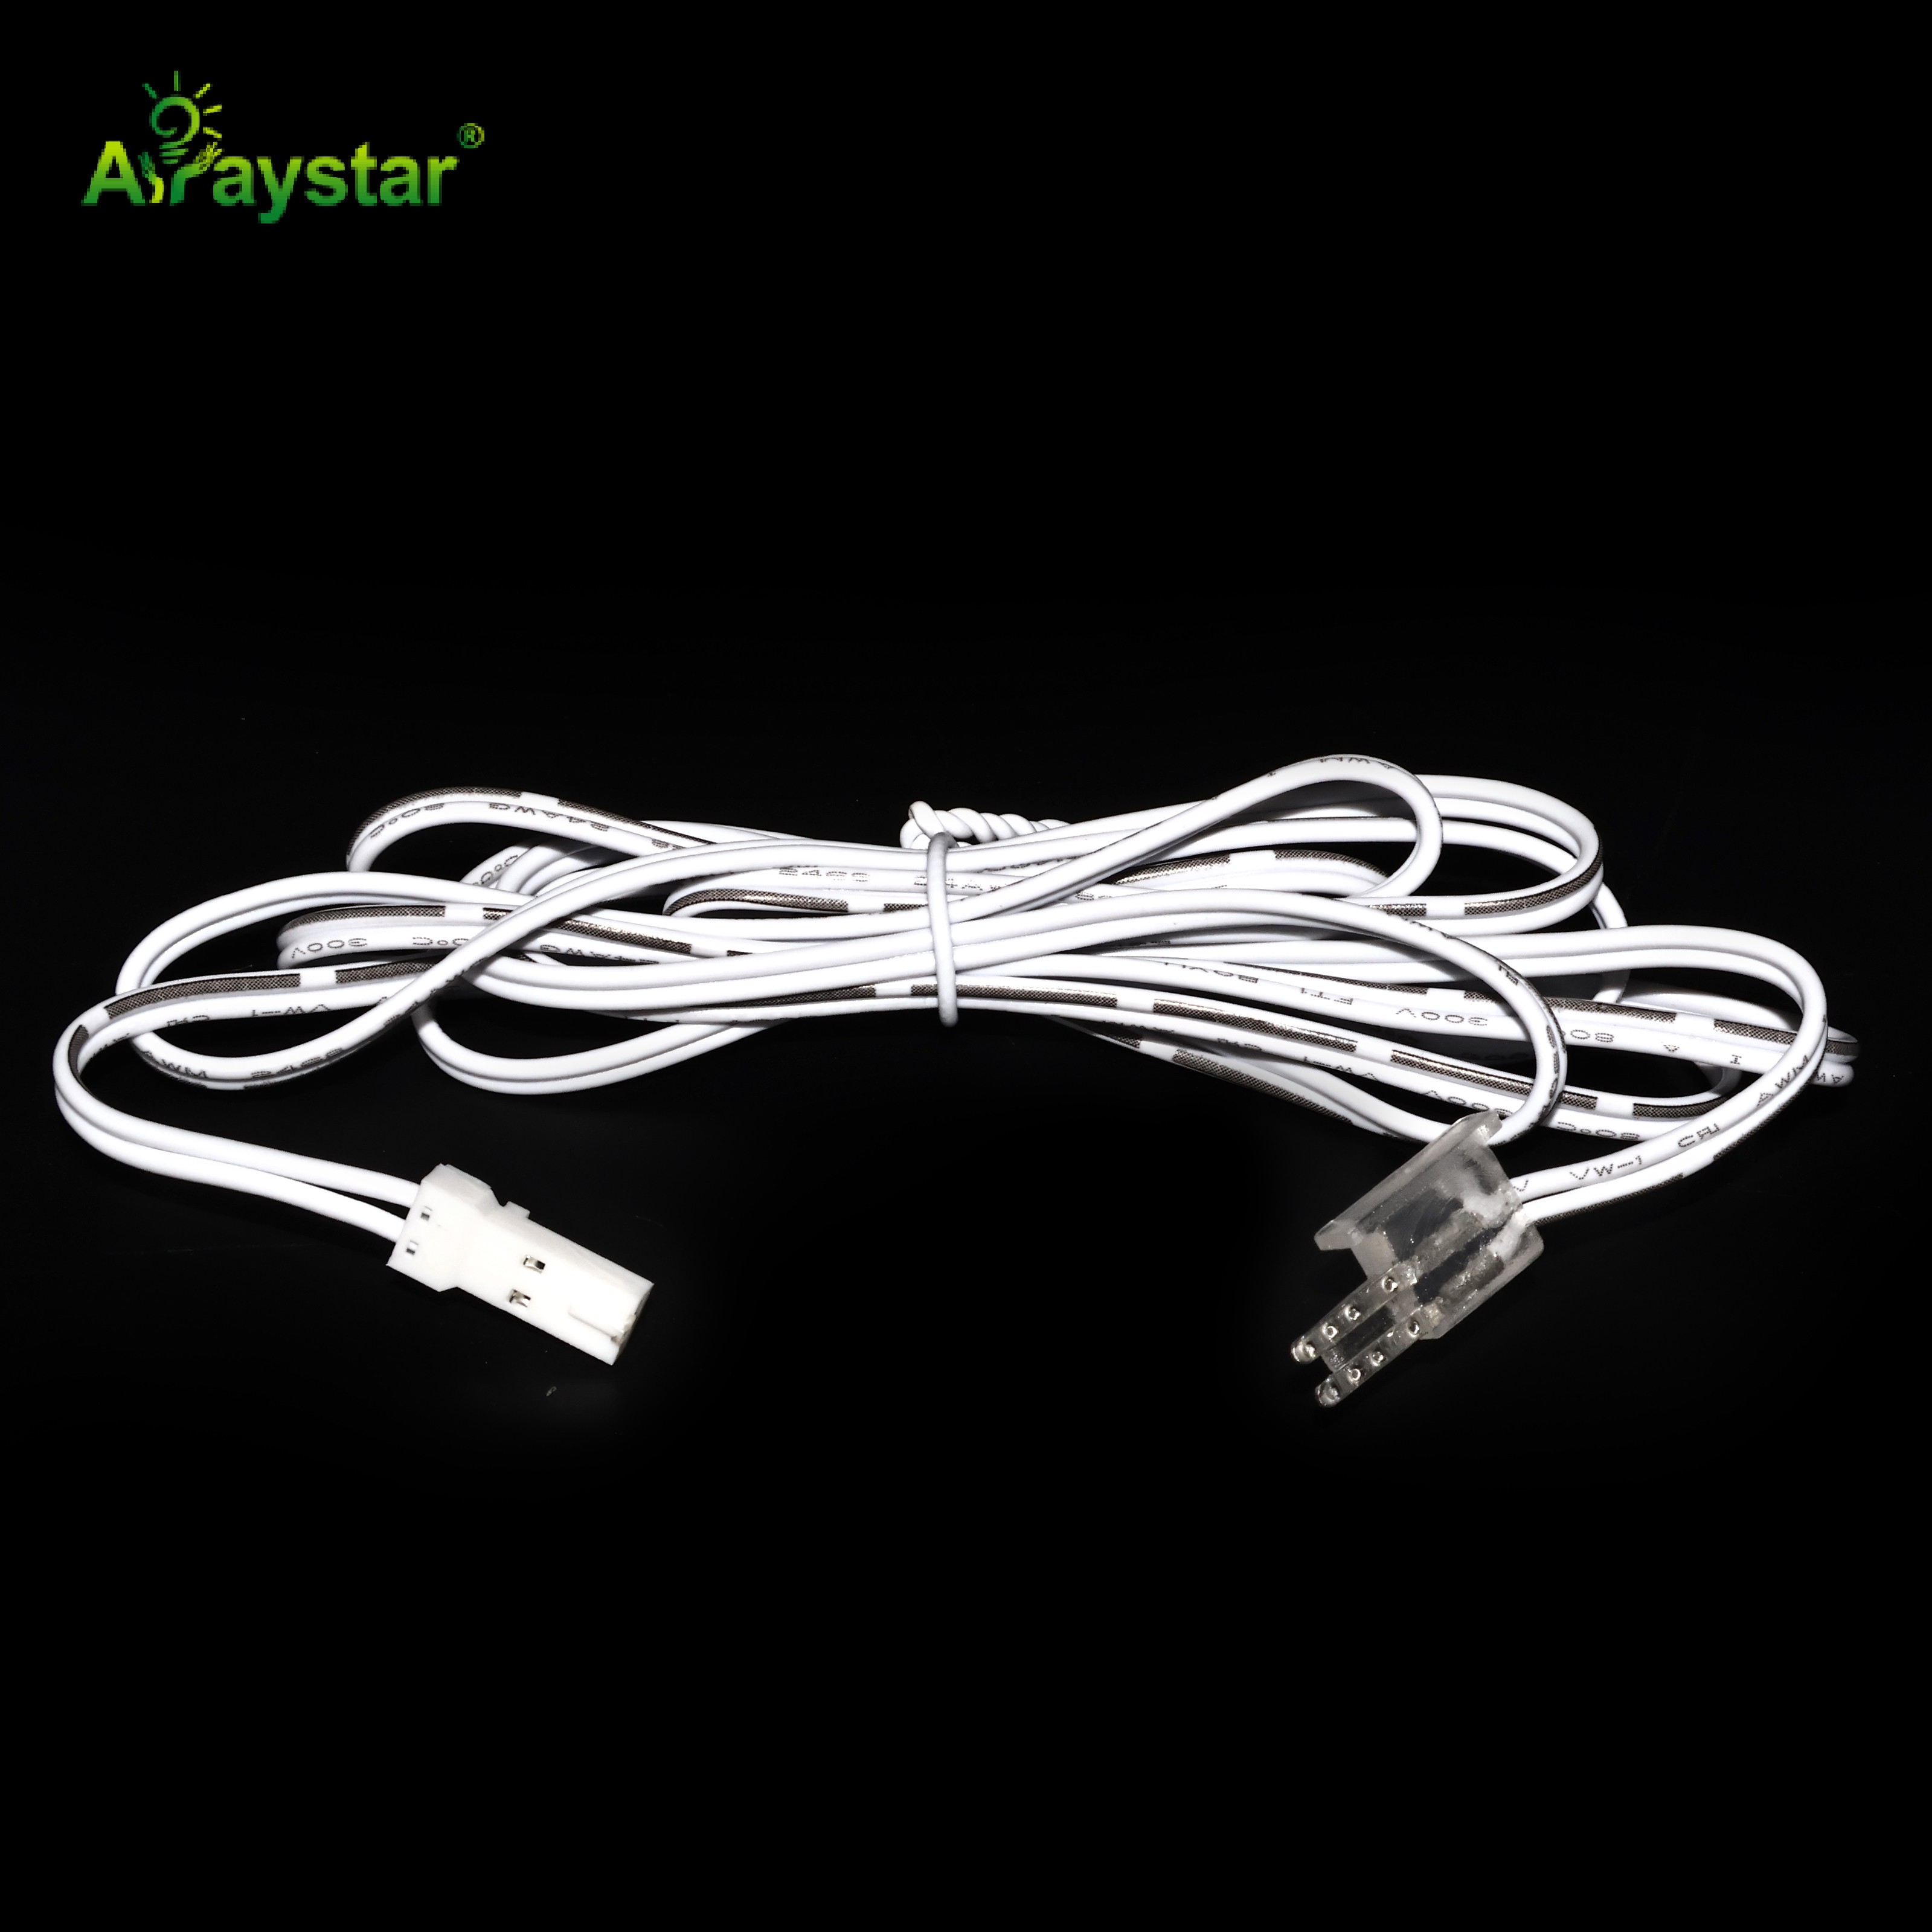
- Count cut points on the layout and order a connector or feed for each, plus 10-15% spares.
- Match couplers to exact PCB width and pin count - 8mm/10mm and 2/4/5-pin are not interchangeable.
- Specify wire gauge by current and distance; thin wire is a hidden voltage-drop cause.
- For permanent or concealed installs, soldered and heat-shrunk joins beat solderless clips.
- Add end caps for sealed runs and spare couplers - clips are the part most often dropped and lost.
Power Supplies - Size With Headroom
Add the per-metre wattage of every metre on a driver, multiply by the length, then add 20-25% headroom and run the driver at 80% of its rating or less - this keeps it cool, extends its life and prevents the dimming and early failure that come from running a supply flat-out. Choose the enclosure for the location: a slim indoor supply for furniture and dry ceilings, a rainproof IP-rated supply in attics, soffits and signage, and a fully waterproof supply outdoors. Long runs may need multiple smaller supplies placed near their loads rather than one oversized unit.
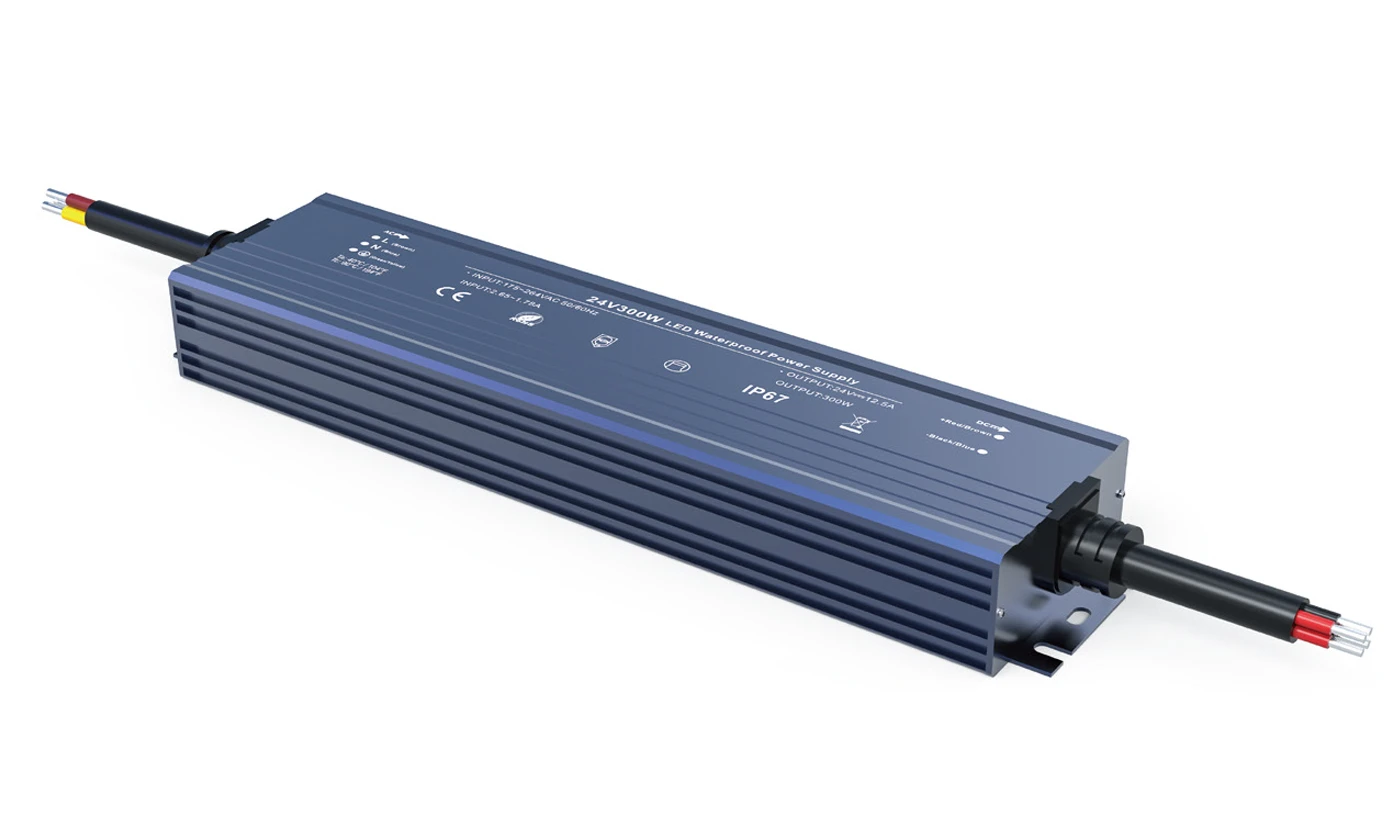
Quick sizing example
Fifteen metres of 14.4 W/m strip draws 216W. With 25% headroom you need roughly 270W of capacity, so a single 300W rainproof supply (run under its max) or two 150-200W supplies placed at each end of a long run both work; a 200W unit would be overloaded and a 350W unit run flat-out is wasted heat. Do this maths per driver, not for the whole project on one number.
Profiles, Mounting and the Small Consumables
The mechanical parts are where budget BOMs go thin. Every visible run wants an aluminium profile that acts as heatsink, diffuser and trim in one, and each profile needs its matching mounting clips or brackets, a diffuser cover, and end caps - these are often separate SKUs. For surface runs I spec a standard surface channel with clips; for plaster and cabinet work, the matching recessed or corner profile rather than making one channel do everything.
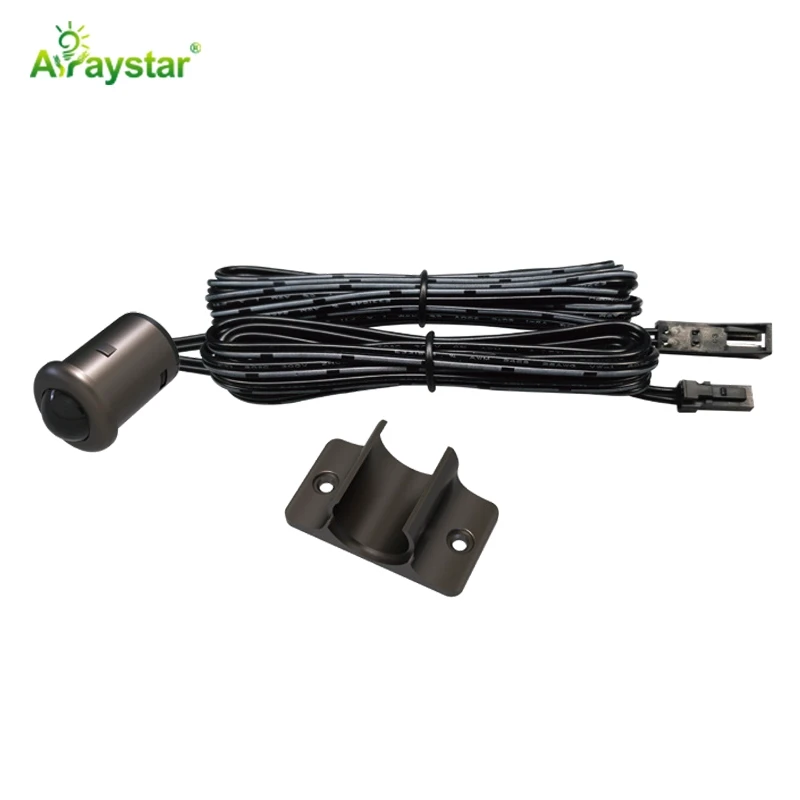
- Order clips/brackets, diffusers and end caps for every profile - they are frequently separate items.
- Include corner connectors and joining brackets for changes of direction and long straight runs.
- Add mounting screws, cable clips, terminal blocks, heat-shrink and self-adhesive backup for warm runs.
- For outdoor jobs add glands, sealant and stainless fixings; steel screws rust and stain surfaces.
- Keep one spare coupler, one spare end-cap set and a short offcut of strip per type used.
Pre-Order Checklist I Run Through Every Time
Before I place an order I mark up the layout and answer these in order: how many total metres and of which exact strip; how many cut points and therefore how many couplers, gap connectors and feeds; total watts per driver and where each driver physically lives; how many metres of profile with the matching clips, diffusers and caps; which controller, receiver and remote; and what fixings and consumables the surface and location demand. Then I add the spares. Ordering this way takes twenty minutes and it removes almost every mid-install stop.
If you are unsure of a connector match or a driver size, send the supplier your strip model and a marked layout - a factory that sells the full kit can confirm compatibility, and getting the BOM right up front is always cheaper than a second delivery and a delayed handover.
Label every driver and feed on a simple wiring diagram and physically tag the cables as you install, especially where several supplies feed one room - untangling an unlabelled ceiling of drivers costs far more than the five minutes of tagging. I also hand the client the project offcuts and spare couplers in a sealed bag with that diagram, so any future extension starts from a known parts list instead of guesswork.
Recommended Products
Frequently Asked Questions
What parts do I need for a complete LED strip installation?
Five groups: the strip itself; a power supply sized at the total wattage plus 20-25% headroom with the right IP rating; aluminium profiles with matching clips, diffusers and end caps; solderless couplers, gap connectors, feed cable and correctly gauged wire for every cut and join; and a dimmer/controller plus terminals, screws and consumables. Build the list by walking the layout cut by cut and counting every connection, then add spare couplers and caps.
How do I size an LED strip power supply?
Multiply the strip's watts-per-metre by the total metres on that driver, then add 20-25% headroom and run the supply at no more than 80% of its rating. For example 15m at 14.4W/m is 216W, needing about 270W of capacity - a 300W unit or two smaller supplies, never a 200W. Size each driver separately, choose rainproof/waterproof enclosures for the location, and place smaller supplies near long loads to limit voltage drop.
How do I know which LED strip connector to buy?
Match the connector to the exact PCB width (commonly 8mm or 10mm) and the pin count - 2-pin for single colour, 4-pin for RGB, 5-pin for RGBW - and to whether you need a strip-to-strip coupler or a flying-lead gap connector for corners. Count every cut point on the layout and order one connector or feed for each plus 10-15% spares. For permanent concealed installs, soldered and heat-shrunk joins are more reliable than clips.
Do LED aluminium profiles come with clips and end caps?
Often not - the channel, diffuser cover, mounting clips/brackets and end caps are frequently separate SKUs, so confirm each is on the order for every metre of profile, along with corner and joining pieces for changes of direction. Forgetting clips and caps is one of the most common BOM gaps and stops an install on site. The profile also acts as the heatsink and trim, so specify it as part of the light source, not an afterthought.
What extras are commonly forgotten in an LED strip order?
The repeat offenders are connectors for the cut points, correctly gauged feed wire, profile mounting clips and end caps, terminals and junction blocks, dimmers/controllers, and for outdoor work cable glands, sealant and stainless fixings. Spare couplers, end caps and a short offcut of each strip type save return trips. Walk the layout cut by cut and list every connection and penetration before ordering rather than buying just the reel.
Need help with your LED project?
Get factory-direct pricing, free samples and engineering support within 24 hours.
Email: info@arraystarled.com | Phone: +86-0755-2103-6746 | WhatsApp: 0086 1581 8514 077
Need to size your power supply? Use our LED Strip Power Calculator to find the right driver in seconds.







