
The Aluminum Channel Scratched the Painted Wall During Installation
- 2026-11-02 15:55
- /
- Arraystar LED
You are not imagining it: a sharp extrusion dragged once across fresh satin paint leaves a score line you can feel with a finger. I stopped letting the channel touch the wall during fitting, and the touch-up calls dropped to almost zero.
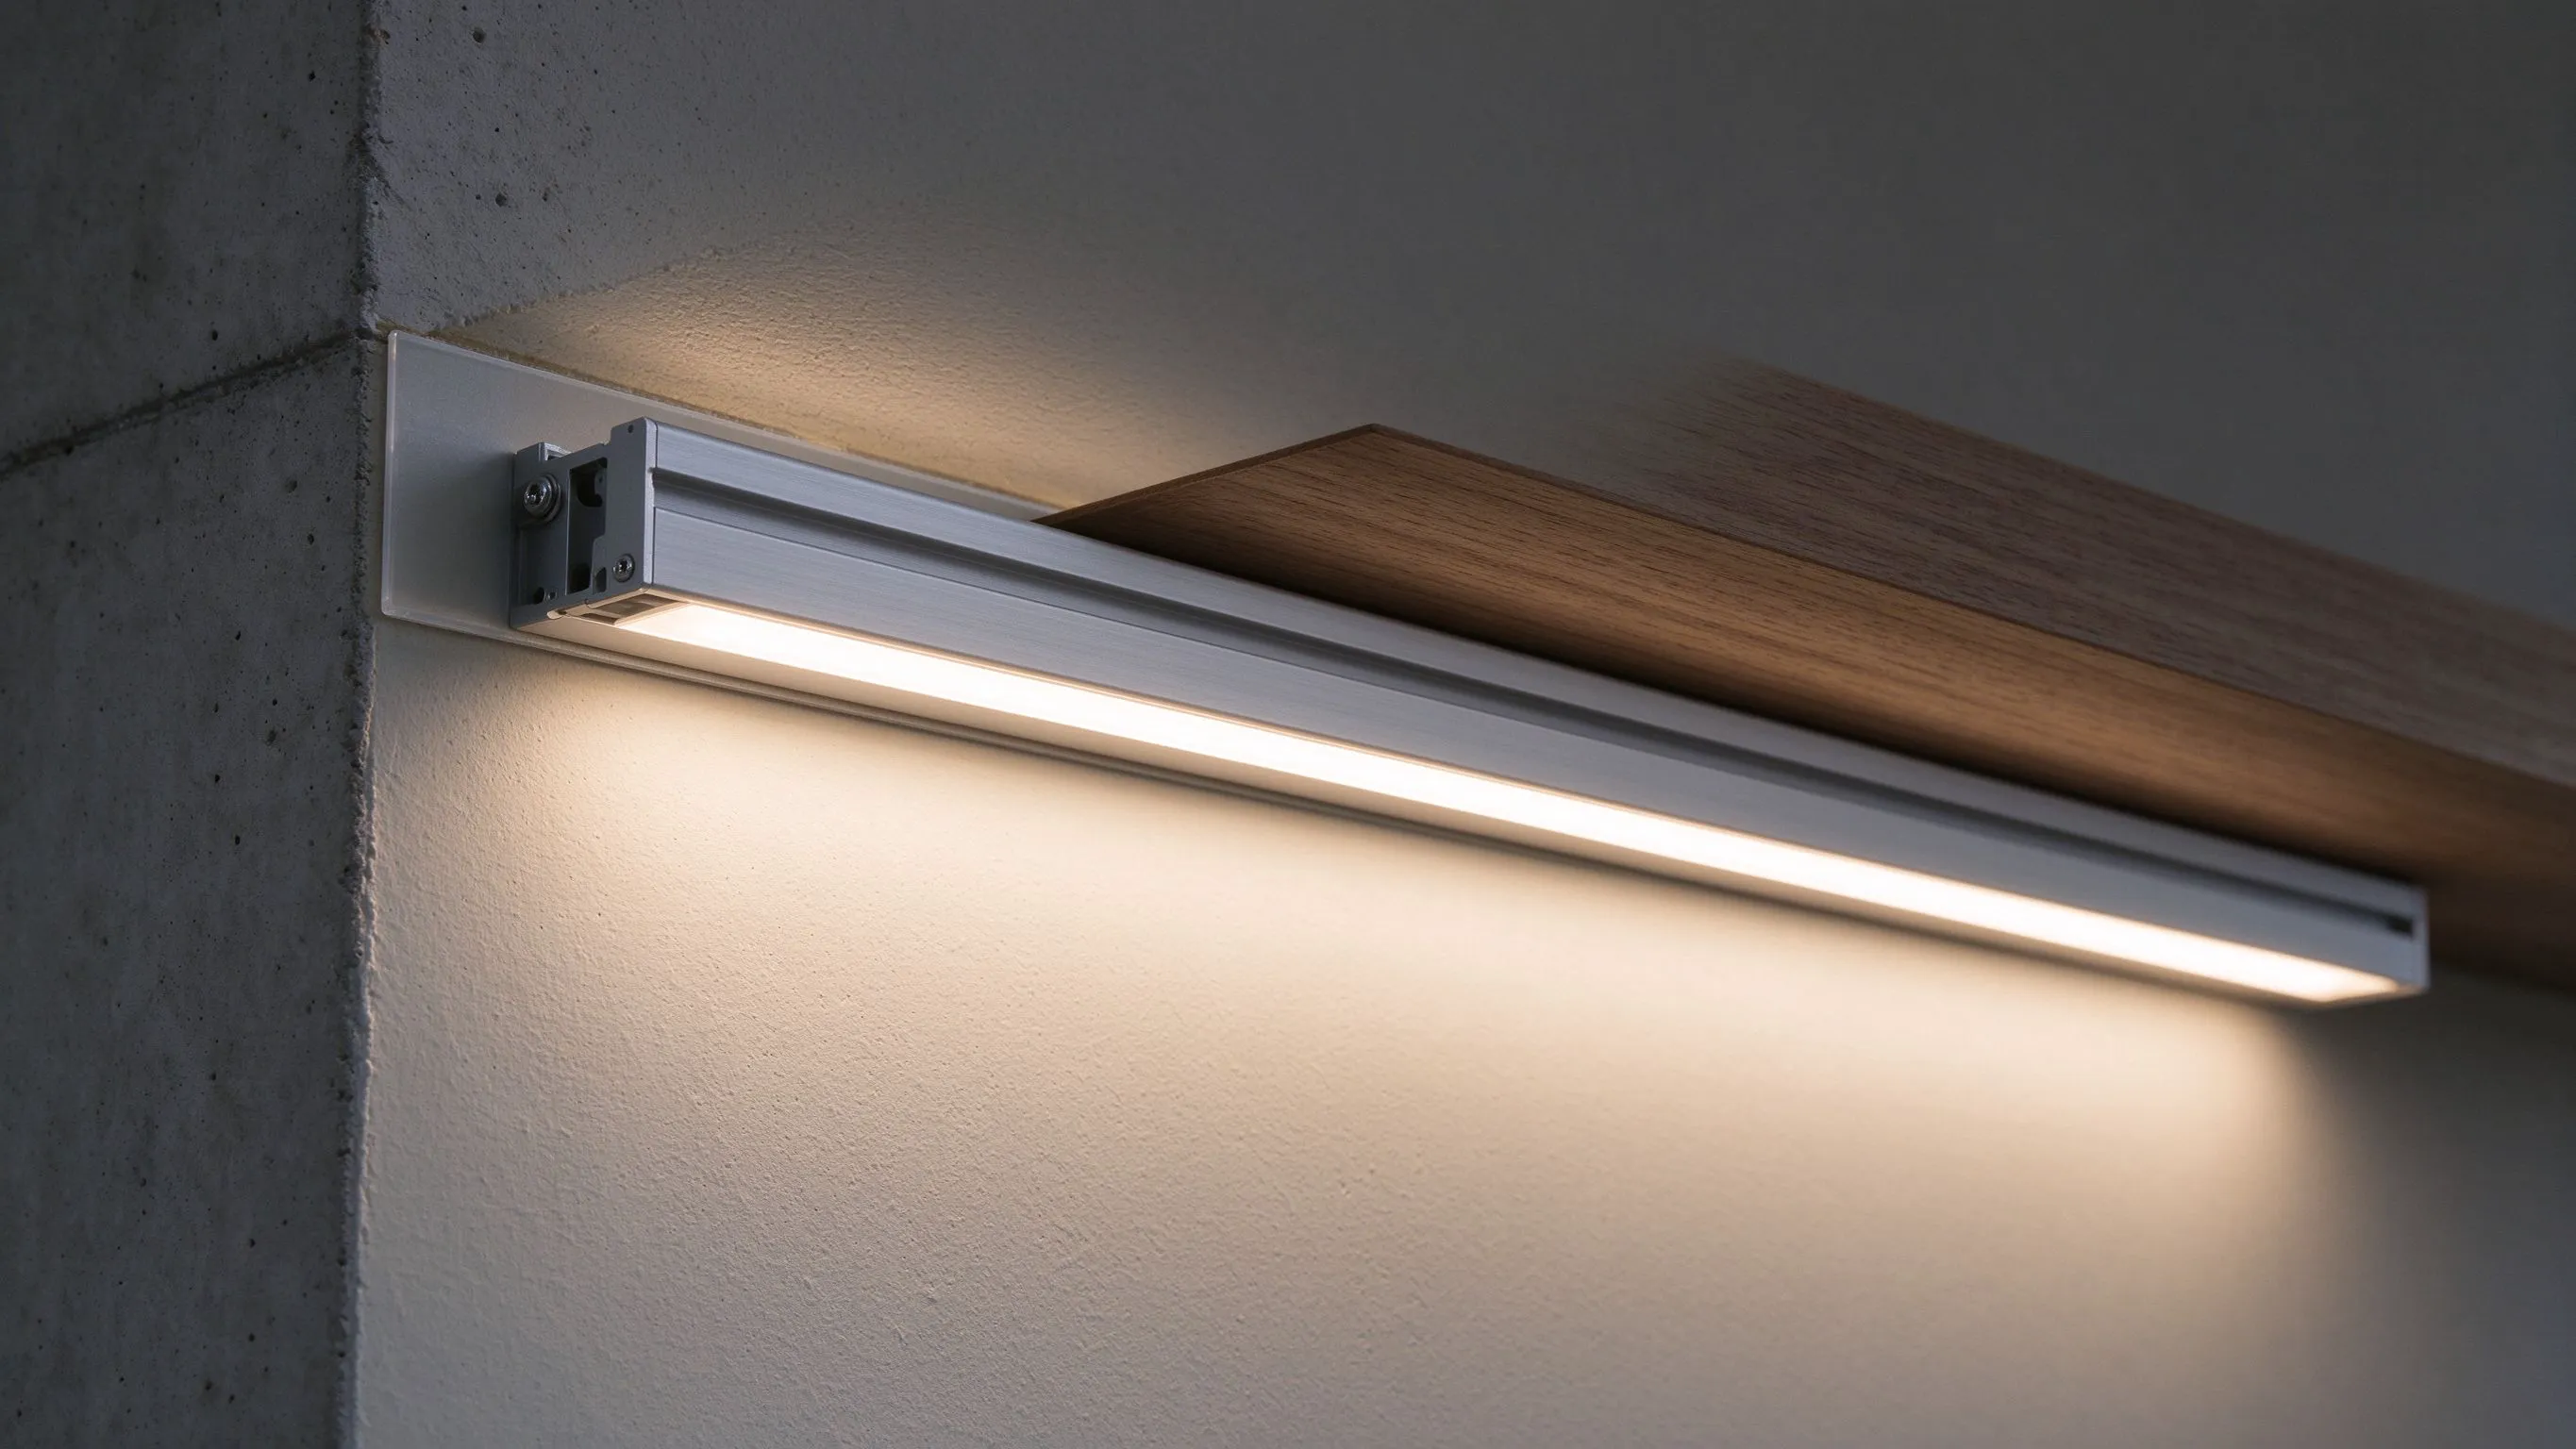
The score line that shows up only after the light is on
A client texts me a photo a week after install: a hairline groove running along the wall where the aluminium channel sat, catching the grazing light at dusk. It was not there on handover. The paint was dry to the touch the day I fitted the clips, but the binder had not fully cured, and the channel edge dragged a furrow through the still-soft topcoat.
Most of the damage happens in the thirty seconds you spend positioning the channel. You hold the extrusion up to the wall, slide it sideways to line it up, lift it off, try again. That sideways movement on a sharp anodised edge is what pulls the paint. The clips are not the problem; the dry-fit is.
- Wait at least seven days on fresh plaster or respray before you fix anything to it.
- Never slide an aluminium extrusion sideways on a painted surface; lift it straight off.
- Run a finger along the channel edge before fitting; any burr gets eased off with a fine file.
Why the extrusion edge is sharper than you think

Extrusions come out of the die with a natural chamfer, but cutting, machining and deburring in the factory often leave a tiny sharp wing along the long edge. That wing is softer than wet paint, and it bites. Anodising does not round it off; it just adds a harder skin over the burr.
I now take two minutes per run before I touch the wall. I lay the channel on a workbench, run a folded piece of fine sandpaper along both long edges once, and wipe it clean. That single pass removes the wing and turns the edge into something that will push, not cut. I also check the mitred corners; a sharp 45 is the worst offender because it concentrates the edge into a point.
Fit clips first, then drop the channel in without touching the wall
The method that cured this for me is to never let the channel ride on the painted surface at all. I fix the mounting clips to the wall with the channel held slightly out from the surface by a 1 mm shim, so the clips sit proud and the channel clips in above the paint plane. The channel floats; only the clip backs touch the wall.
Keep the extrusion off the paint plane from the first clip to the last.
| Stage | What touches the wall | Risk of a scratch |
|---|---|---|
| Clip fixing | Small clip base only | Low, if paint is cured |
| Dry positioning | Nothing; channel held off by hand | None |
| Final snap-in | Channel clips into proud mounts | None |
| Slide sideways on paint | Sharp extrusion edge | High, the classic score |
Spacers, shims and clip backs that save the finish

On high-end satin or silk walls I add a 0.5 to 1 mm foam backing pad under every clip base. The pad spreads the screw load, stops the clip rock from chipping the paint around the screw head, and gives me a tiny deliberate standoff. It is cheap insurance and invisible once the cover is on.
For fresh paint I also cheat: I line the channel groove with a 2 mm strip of self-adhesive felt along the section that would otherwise brush the wall at the end cap. If I have to lift and reseat once, the felt absorbs the contact instead of the paint doing it.
What to tell the client before you start, and how to fix a score
I set expectations up front. If the wall was resprayed in the last ten days, I offer to wait or to fit only the clips and come back in a week to drop the channel. Most clients take the wait once I explain that the score will show only at dusk. It is a two-minute conversation that removes a warranty call.
If a score has already happened, do not try to polish it out. Clean the groove, dab a matching touch-up with a microbrush, let it cure 48 hours, then fit the channel proud with the foam pad so the repair is hidden. Sanding the score flat before paint just spreads the damage and makes a dull patch you see at the same grazing angle.
Recommended Products
Frequently Asked Questions
How long after painting should I wait before fitting LED channel?
Seven days minimum for water-based satin or silk to harden enough to resist a clip edge. If the wall was primed and topcoated in one visit, give it ten days. You can fix clips on day three, but I leave the channel itself off and come back to clip it in once the binder is fully cured.
Can I just run masking tape along the wall while I fit?
Yes, and on high-gloss jobs I do. Low-temper painter tape along the channel line gives you a sacrificial surface to slide against, but peel it within twenty minutes or the adhesive bleeds. It stops a fresh score; it does not fix a channel edge that is still sharp, so deburr the extrusion anyway.
Which part of the channel actually scratches the paint?
The long die edge, especially after cutting and deburring in the factory. A sharp wing along that edge cuts softer paint on contact. Mitred corners are worse because the point concentrates force. A single pass of fine sandpaper along both long edges rounds the wing off and removes the risk.
Should the channel sit flat against the wall or on a standoff?
On a painted wall I deliberately stand it 0.5 to 1 mm off with foam pads under the clips. A flat channel that rocks on an uneven skim leaves contact marks and a score if it shifts. The standoff also lets heat escape and keeps the diffuser from rubbing the finish once the house settles.
How do I repair a score line already in the paint?
Clean the groove, dab matching touch-up with a microbrush, wait 48 hours, then clip the channel in on a foam pad so the repair hides under the diffuser. Do not sand the score flat first; that creates a dull patch that shows at the same grazing angle as the original line.
Need help with your LED project?
Get factory-direct pricing, free samples and engineering support within 24 hours.
Email: info@arraystarled.com | Phone: +86-0755-2103-6746 | WhatsApp: 0086 1581 8514 077
Need to size your power supply? Use our LED Strip Power Calculator to find the right driver in seconds.







