
COB Strip Behind a Bathroom Mirror: IP Rating and Heat at the Vanity
- 2026-10-28 10:03
- /
- Arraystar LED
Backlit mirror strips live in steam and heat. You need an IP65 strip, a driver mounted outside the steam zone, and a diffuser wide enough to spread the light evenly across the face. Get those three right and the mirror works; miss one and you get a damp, uneven glow.
What the vanity strip is actually doing
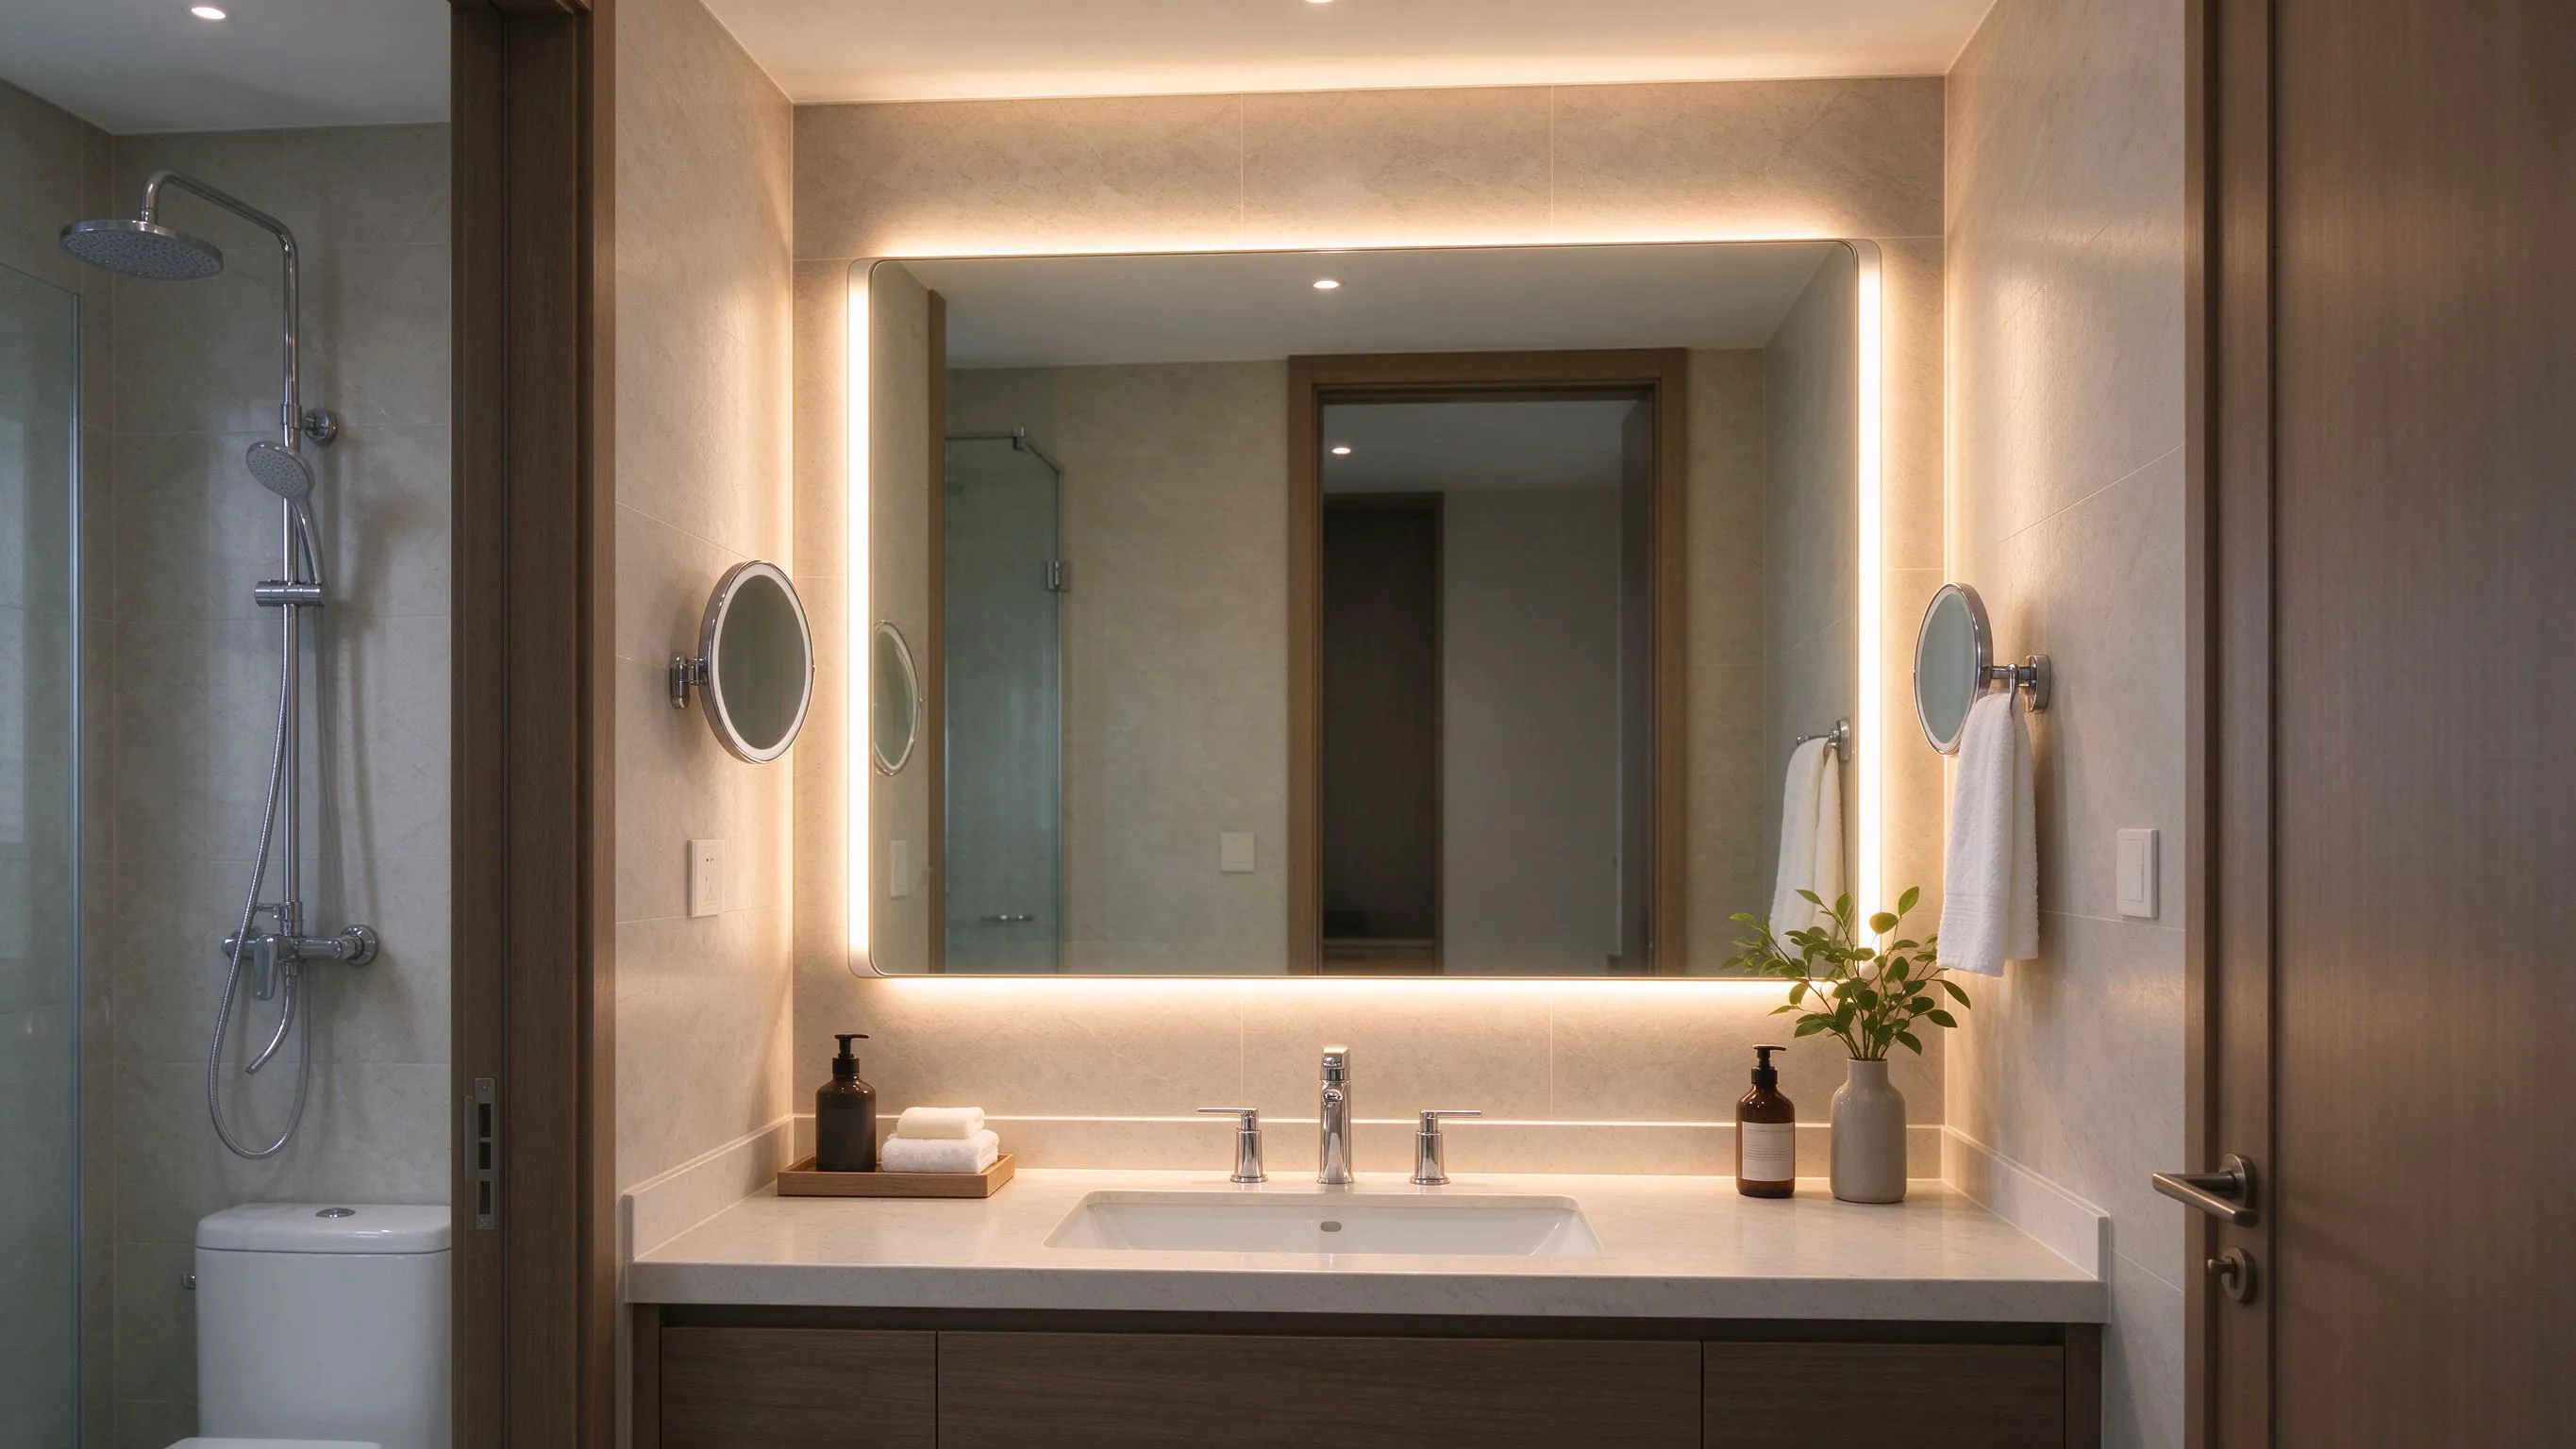
A strip behind a bathroom mirror is not a reading light and not a feature glow. It is a face-lighting layer for shaving, make-up and skincare. That means the light has to wrap around the sides of the face, not shine from one overhead point that casts shadows under the eyes. The strip on the rear edge of the mirror bounces off the wall and spills forward around the face.
The COB advantage here is uniformity. A low-density strip shows as dots on the wall behind the mirror; a high-density COB at 320 to 480 LEDs per metre gives a smooth halo. Run the strip on all four sides if you want a true softbox around the face, or at least on the left and right edges.
Pick the right IP rating
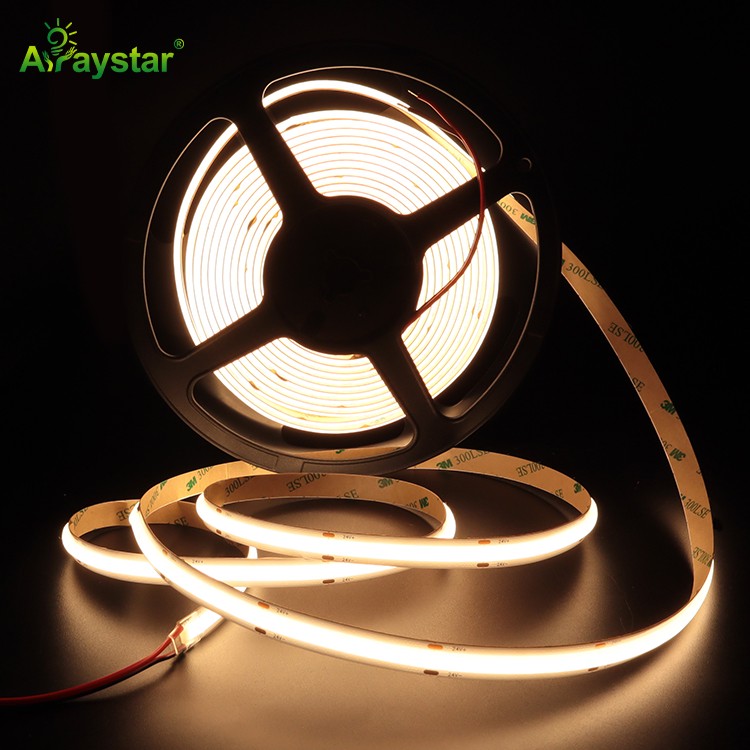
Bathroom zones matter. Within 0.6 m of the bath or shower, fittings must be IP67. Within 2.5 m, IP44 is the minimum for the strip itself, but in practice steam condenses on the cold wall behind the mirror, so spec IP65 or IP67 anyway. The extra rating costs a few pounds per metre and saves a failed install.
The driver is the weak point. A 24 V driver inside the steam zone will fail in months. Mount it in the airing cupboard, the loft, or the vanity cabinet outside the splash zone. Run a 2-core 18 AWG feed from the driver to the mirror junction box. If you cannot get the driver out of the bathroom, use an IP67 enclosed driver rated for bathroom use.
UK bathroom zone guidance, generic not certified.
| Position | Strip IP | Driver location | Notes |
|---|---|---|---|
| Directly above bath or shower | IP67 | Outside zone 1 | Silicone extrusion only |
| Above basin, 2.5 m from shower | IP65 | Vanity cupboard or airing cupboard | Standard silicone sleeve |
| Outside, open plan wet room | IP67 | Outside the wet zone | Double insulation required |
Do not seal the strip against the mirror back with no air gap. Heat builds up behind the mirror, cooks the adhesive, and the strip falls off in a year. Leave a 2 mm stand-off using small plastic spacers.
Heat and colour at the vanity
COB strips run warm, and a sealed mirror cavity is a small oven. At 30 to 35% output the strip barely warms; at 100% it can run 60 to 70 C on the substrate. Keep the loaded wattage around 8 to 12 W per metre rather than maxing out the strip, and choose a high-efficiency FCOB part that delivers more lumens per watt.
Colour temperature is a make-up decision. 3000 K makes skin look warm but washes out cool tones. 4000 K is the neutral make-up temperature that matches daylight from a north-facing window. If the client wears make-up, tunable white 2700 to 5000 K is worth the extra controller. CRI 90+ is non-negotiable; CRI 80 makes lipstick look wrong.
Layout and evenness
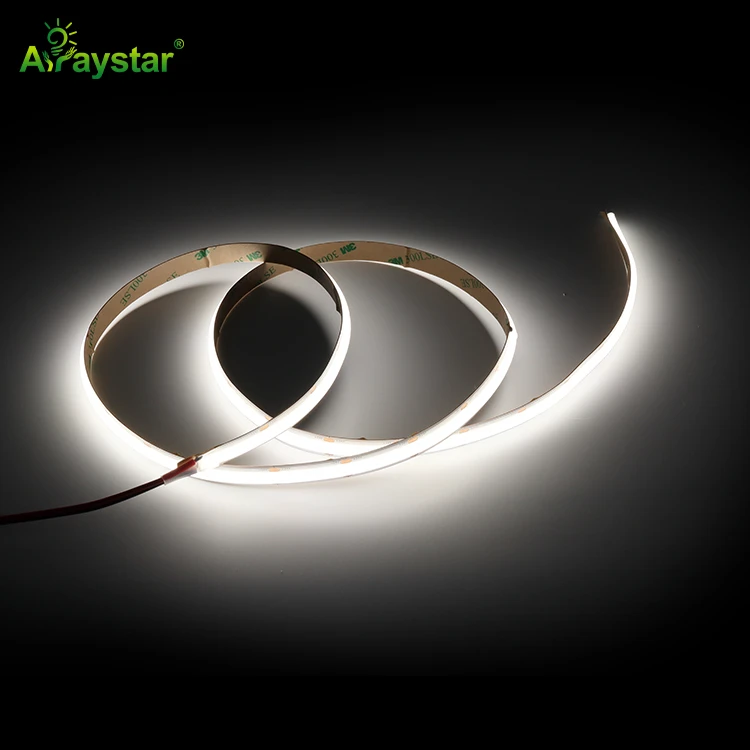
The common mistake is running the strip only along the top of the mirror. That lights the forehead and leaves the chin in shadow. Run it down the left and right vertical edges as well, with a return across the top, and omit the bottom edge so the light bounces upward off the wall.
Set the strip 20 to 30 mm back from the mirror edge. Too close and you see the chips through the glass; too far and the halo becomes a faint wall wash. On a 800 mm wide mirror, two vertical runs at the edges plus one horizontal run across the top is the standard layout. At 24 V, keep the total run under 5 m or feed both ends.
- Clean the mirror back with isopropyl before applying the strip; residual silicone adhesive from factory protectant kills adhesion.
- Use corner connectors rather than folding the strip at 90 degrees; a folded COB trace cracks.
- Fit a frosted diffuser sleeve if the mirror glass is clear; without it the chips show through the edge.
- Check the halo in daylight before siliconeing the trim; you cannot adjust it once the mirror is sealed to the wall.
Control and the final check
Dimming at the vanity should be smooth down to 5% without flicker. Use a TRIAC or 0 to 10 V driver rated for LED, and pair it with a trailing-edge dimmer. Cheap leading-edge dimmers buzz at low level. If you add tunable white, use a touch controller inside the bathroom rather than a phone; wet hands and phones do not mix.
After install, run the strip for 30 minutes, then touch the PCB through the mirror edge. It should be warm but not too hot to hold your finger on. If it is too hot to touch, drop the wattage or add ventilation. Steam the shower for ten minutes with the strip on, then check for condensation beads under the diffuser. Beads mean the seal failed and the strip will corrode.
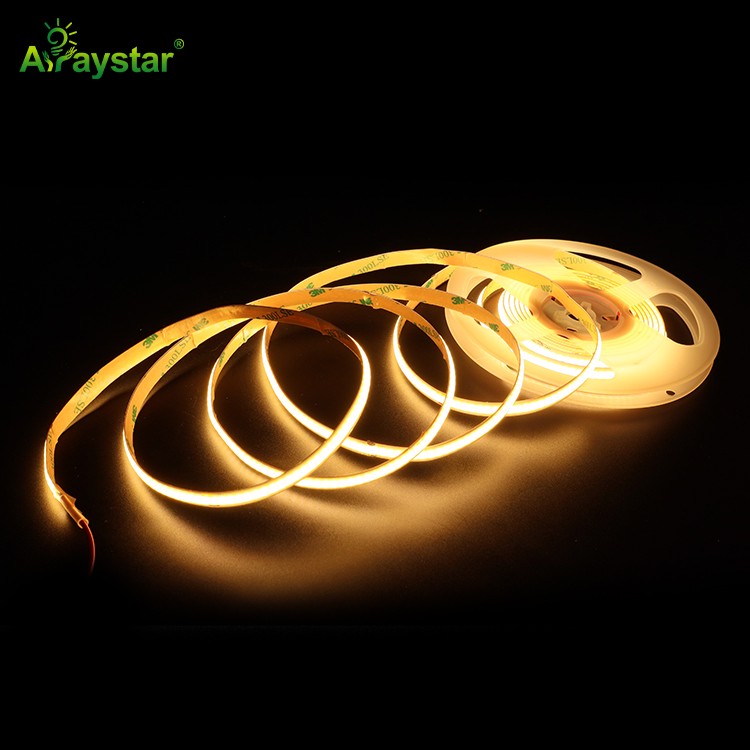
Sign the install off at the mirror, not at the wall. Sit on the stool the client will use, look into the mirror, and check that both sides of the face are lit evenly. A halo that looks good from two metres away can look wrong from 400 mm.
Recommended Products
Frequently Asked Questions
What IP rating does a bathroom mirror strip need?
IP65 minimum, and IP67 if the mirror is within 0.6 m of the bath or shower. Use a silicone-extruded strip. Keep the driver outside the steam zone entirely.
Can I put the driver inside the vanity cupboard?
Yes, as long as the cupboard is outside the splash zone and has airflow. Do not seal the driver in a solid box; it needs to breathe. Keep it off a heated towel rail.
What colour temperature is best for make-up?
Around 4000 K with CRI 90+. That matches north-facing daylight and renders skin and lipstick accurately. Tunable white 2700 to 5000 K is worth it if the client wants warm evening light too.
How many sides of the mirror should the strip run on?
At least the left and right vertical edges, plus a return across the top. Skip the bottom edge. Top-only lighting leaves the chin in shadow.
Why is my strip failing after six months?
Almost always heat or moisture. Either the driver is in the steam zone, the strip was sealed against the mirror with no air gap, or the IP rating was too low. Feel the substrate through the mirror edge; if it is too hot to hold, you are overdriving.
Need help with your LED project?
Get factory-direct pricing, free samples and engineering support within 24 hours.
Email: info@arraystarled.com | Phone: +86-0755-2103-6746 | WhatsApp: 0086 1581 8514 077
Need to size your power supply? Use our LED Strip Power Calculator to find the right driver in seconds.







