
COB Strip on Stair Nosing: Anti-Slip and Glare Considerations
- 2026-10-28 10:03
- /
- Arraystar LED
A COB strip on a stair nosing must light the tread without shining into the eyes of anyone looking up. The fix is a recessed diffuser, a low mounting height, and a narrow beam aimed down the tread, not across the eye line.
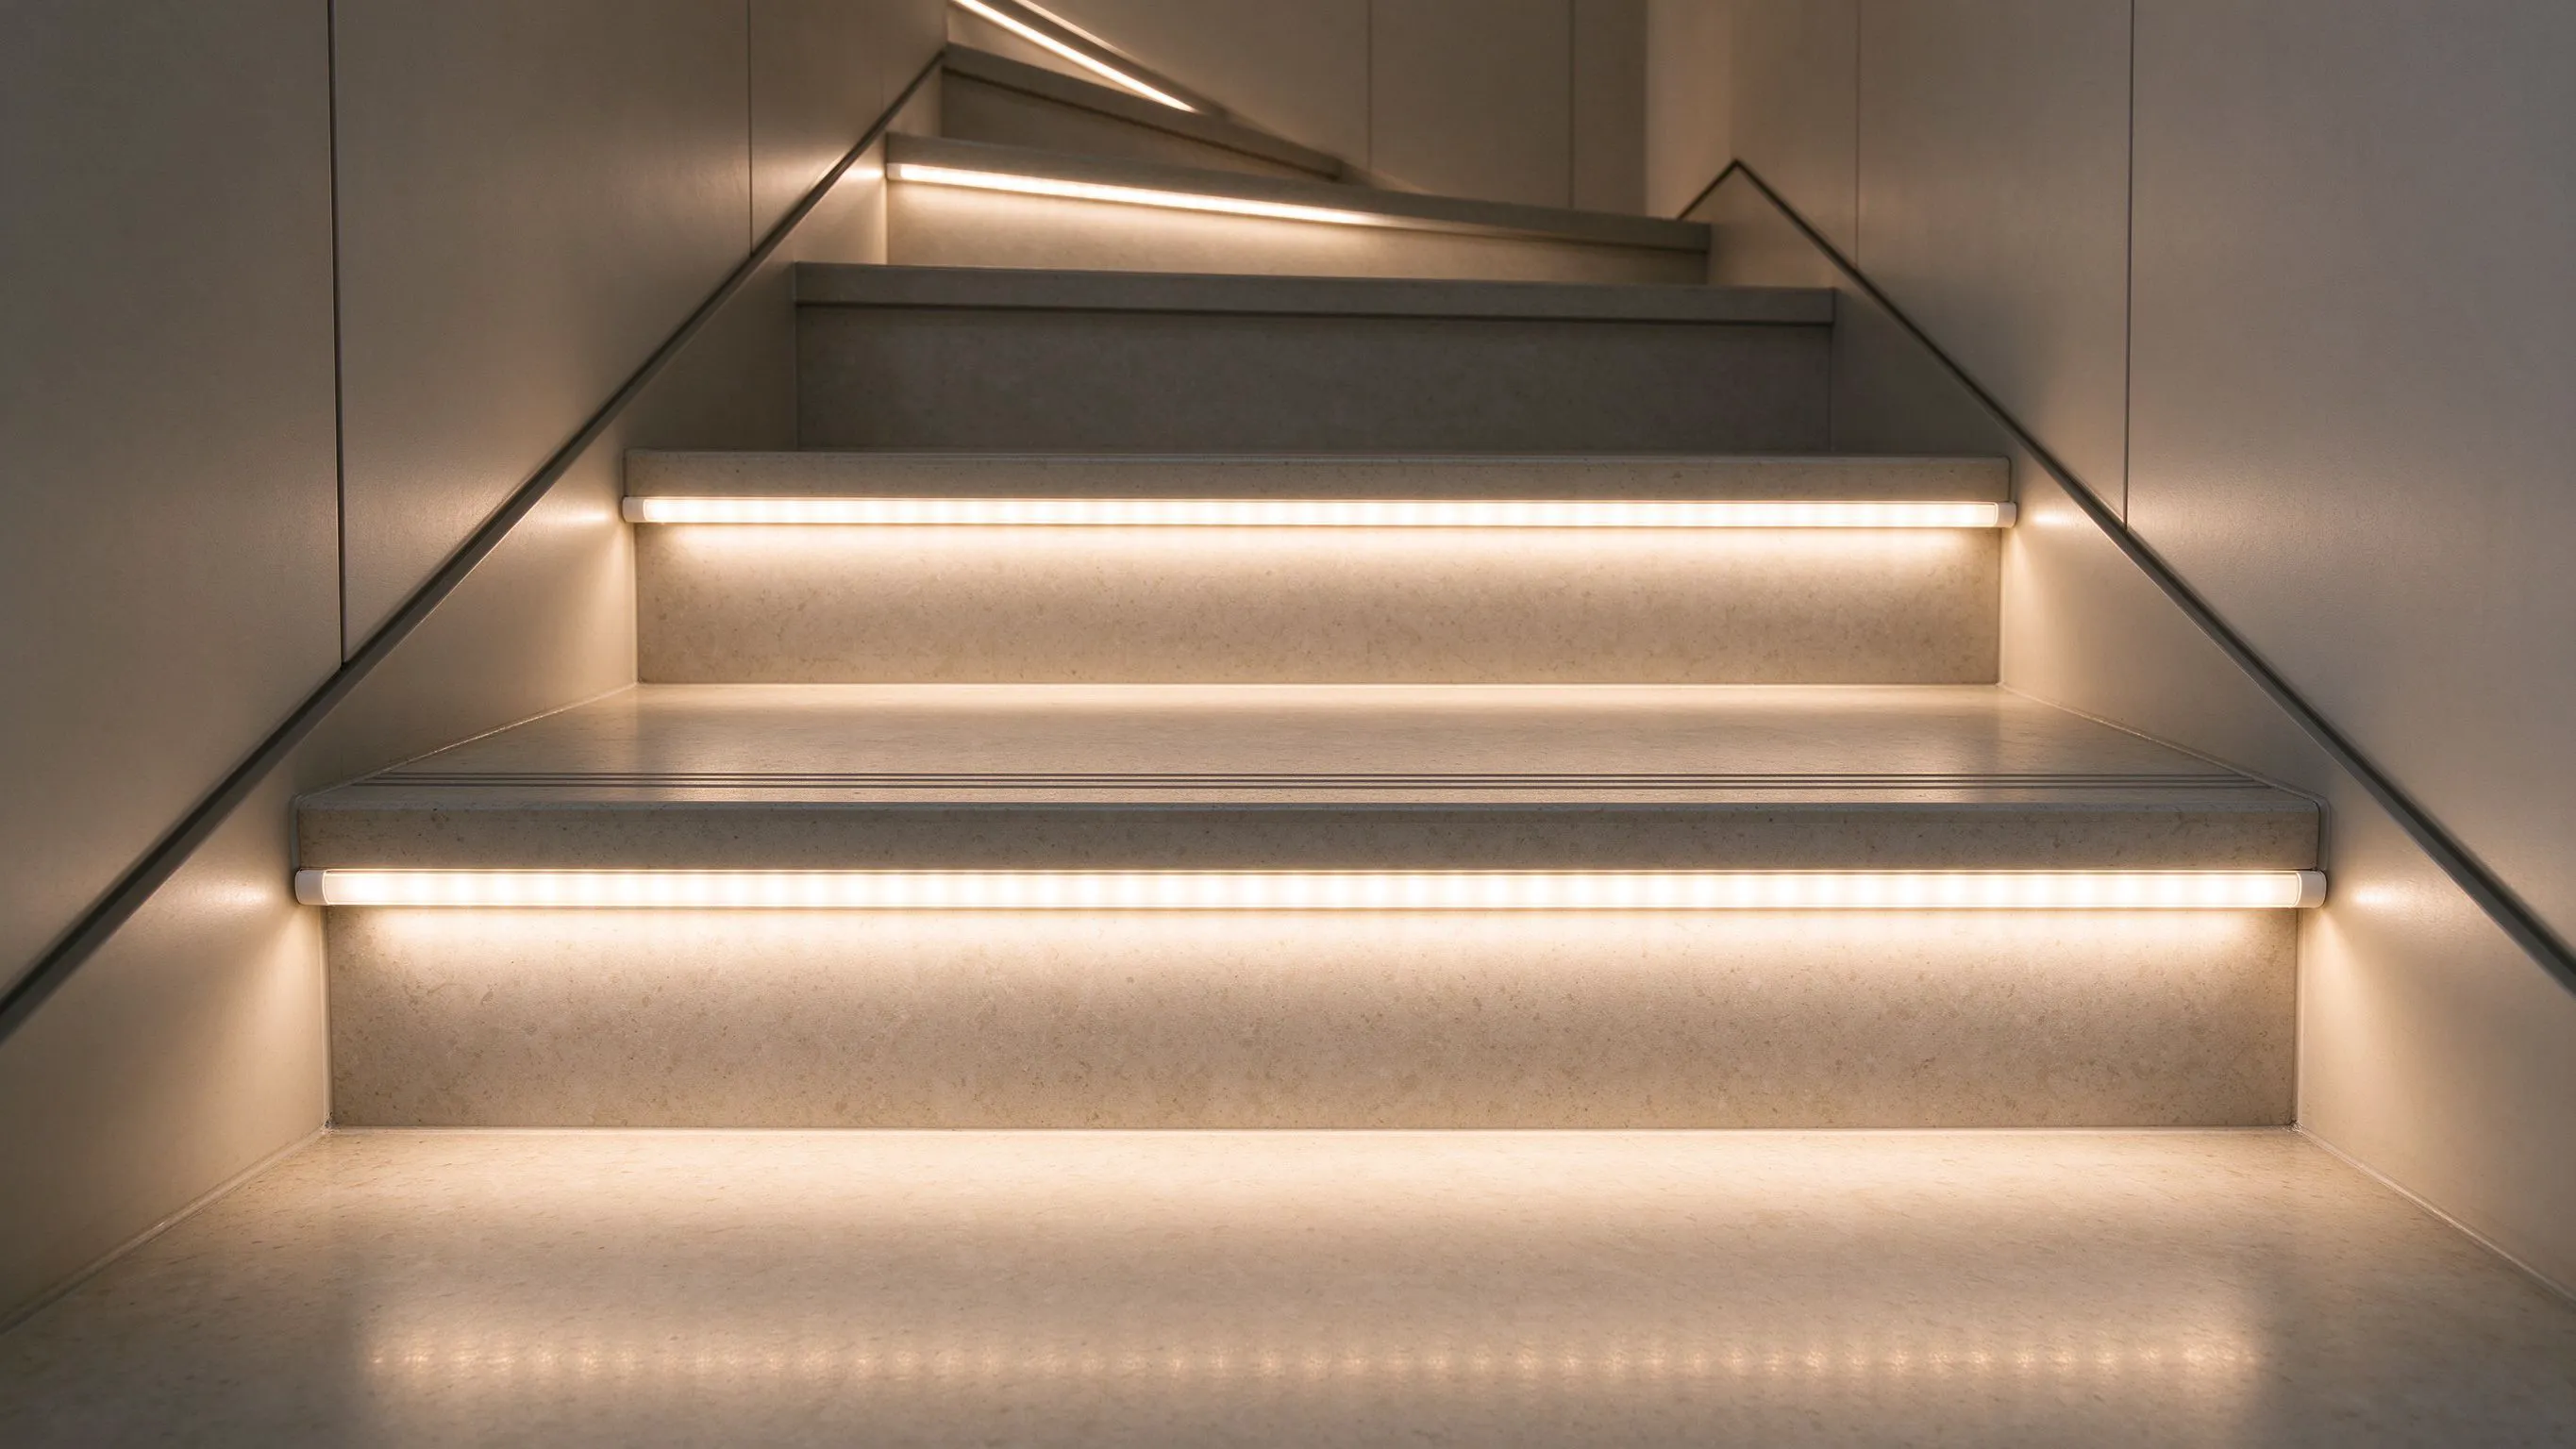
Why stair nosing lighting is different
Stair lighting is not decoration. It is a safety layer. The job of a strip on the nosing is to mark the edge of every tread so someone walking in low light can read the steps without switching on a landing light. That means the light must hit the tread surface, not the ceiling above, and never shine directly into the face of someone ascending.
A bare COB strip taped to the nosing looks neat on day one. By night, someone walking up stares directly into the row of chips. The effect is glare, shadow under the toe, and a trip hazard where the edge disappears into a bright line. This is the classic mistake.
Set the mounting height and aim
The strip should sit no higher than 30 mm above the tread nose, and ideally in a routed channel or a brushed aluminium extrusion that holds it below the top edge. That way the light spills forward onto the tread below rather than up into the next riser. Aim the beam at the centre of the tread one step down, not at the riser.
Aim it wrong and you get two errors. Aim up and the strip lights the riser, which looks pretty but tells you nothing about where the step edge is. Aim level and you blind the next person up. A 30-degree downward angle into the tread below is the target. Most aluminium profiles for stair lighting come with a wedge or a rotated lens to set this angle.
Starting numbers for a domestic or public stair.
| Parameter | Target range | Why |
|---|---|---|
| Strip height above tread | 15 to 30 mm | Hides the chips from the eye |
| Beam aim | 30 degrees down onto tread below | Lights the walking surface |
| Brightness | 80 to 150 lm per step | Enough to read the edge, not to glare |
| Colour | 2700 to 3000K, CRI 90+ | Warm, good skin and fabric rendering |
| Spacing | One run per nosing | No gaps between steps |
Kill the glare with a diffuser
A COB strip with no cover shows as a bright line, and on a stair that line lands in people eyes. Fit the strip into an aluminium channel with a frosted or opal diffuser, not a clear one. The diffuser spreads the line into a soft glow and lowers the surface brightness by a factor of three to five.
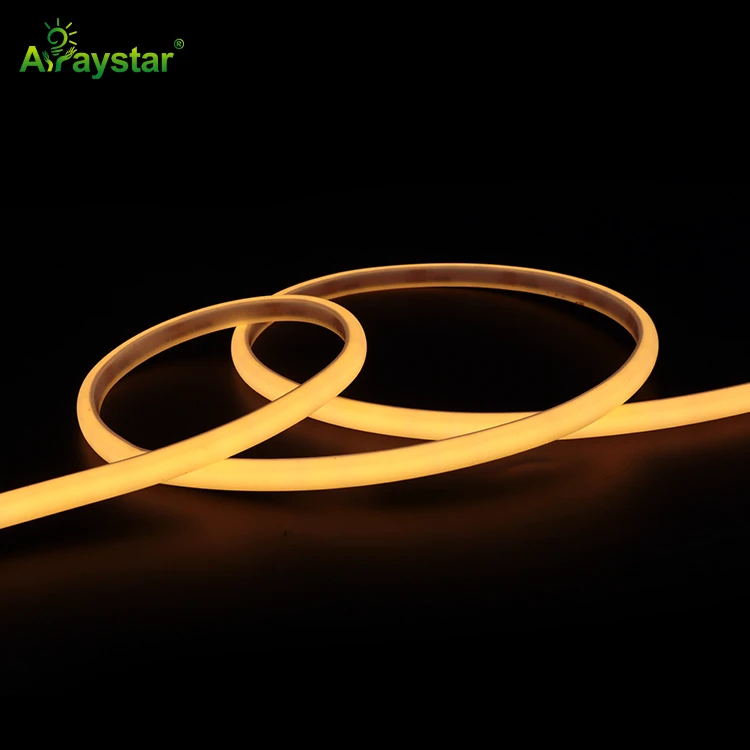
If you cannot use a channel because the nosing is already fitted, glue a slim silicone extrusion over the strip. An IP67 silicone-extruded COB strip is effectively its own diffuser and is the pragmatic retrofit choice. The cost is a small brightness loss, which you compensate by choosing a higher-output strip.

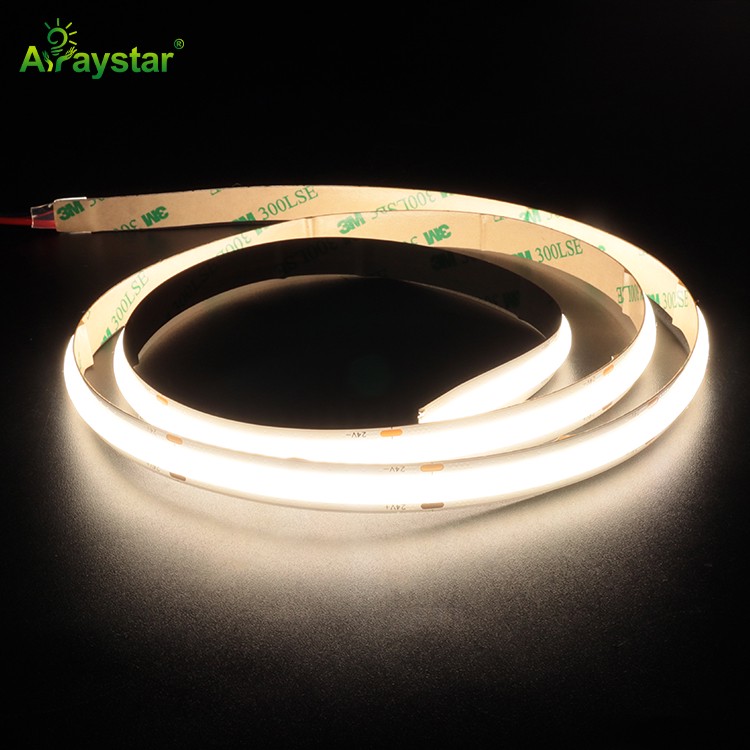
Do not rely on the 3M backing alone on a stair. People brush against the nosing with shoes, handrails and bags. Use mechanical clips or end caps in the aluminium channel, plus a bead of neutral-cure silicone behind the strip.
Anti-slip and electrical safety
A stair nosing is also a walk-on edge. Any fitting you add must not raise the surface above 2 mm, otherwise it becomes a trip in itself. Rout the strip into the nosing or use a flush extrusion rated for foot traffic. Never stick a bare strip on top of a non-slip nosing pad; the pad will peel the strip off within months.
Run the whole stair circuit at 24 V, never 12 V, and never mains. At 24 V the touch risk is negligible, and you can run longer cable distances before sag. Add a residual-current device on the mains side of the driver, and fit the driver in a locked cupboard rather than under the stair itself.
- Choose IP65 or IP67 if the stair is outdoors, leads to a pool area, or is in a public wash-down zone.
- Route the feed cable through the riser, not along the tread, so no cable is stepped on.
- Use corner connectors at the newel post instead of a sharp 90-degree fold; a folded COB strip cracks.
- Test each step as you install, not after the whole run is done.
Control and dimming
Stair lighting is usually on a PIR or a microwave sensor, not a phone app. Set it to come on at 10 to 20% brightness on approach and ramp to full over two seconds. Full brightness at midnight wakes the house; 150 lm per step is plenty to walk by. Leave a low-level constant-on mode of 5 to 10% for night navigation if the client wants it.
Wire the strip so that each flight is a separate zone. A 24 V flight of twelve steps draws maybe 20 W, so a single 100 W driver can handle two or three flights. Keep the run under 5 m per feed; longer than that and the top steps dim below the bottom ones.
Final check: walk the flight at night with your eyes adjusted. If you can read the strip as a bright line rather than as a soft glow on the tread, add a deeper diffuser or lower the brightness. The test that matters is the one you run in the dark.
Recommended Products
Frequently Asked Questions
Can I put LED strip directly on a metal stair nosing?
Yes, but route it into an aluminium channel or a silicone extrusion first. Bare strip on a raw metal edge flexes with every step and the backing fails. Also keep the 24 V supply double-insulated so a fault in the metal cannot energise the nosing.
What brightness is right for stair lighting?
Plan on 80 to 150 lumens per step. Bright enough to read the edge in low light, not so bright that it glares. On a PIR setup, hold at 10 to 20% idle and ramp to full on movement.
Should the strip light the tread or the riser?
The tread. Aim the beam 30 degrees down onto the tread below. Lighting the riser looks pretty but does not help you find the step edge, which is the whole point of the install.
What IP rating do outdoor stairs need?
IP67 at minimum, ideally a silicone-extruded COB rated for water immersion. The driver stays indoors or in a weatherproof enclosure. Do not use IP20 strip outdoors; it will fail within one season from condensation.
How long can one 24 V stair run be?
Keep each feed under 5 m. A flight longer than that should be fed from both ends, or split into two parallel runs. Twelve to sixteen steps is normally under 5 m, so a single feed is fine.
Need help with your LED project?
Get factory-direct pricing, free samples and engineering support within 24 hours.
Email: info@arraystarled.com | Phone: +86-0755-2103-6746 | WhatsApp: 0086 1581 8514 077
Need to size your power supply? Use our LED Strip Power Calculator to find the right driver in seconds.







