
Washing a Ceiling Cove with COB: Setback, Spacing and Brightness
- 2026-10-28 10:03
- /
- Arraystar LED
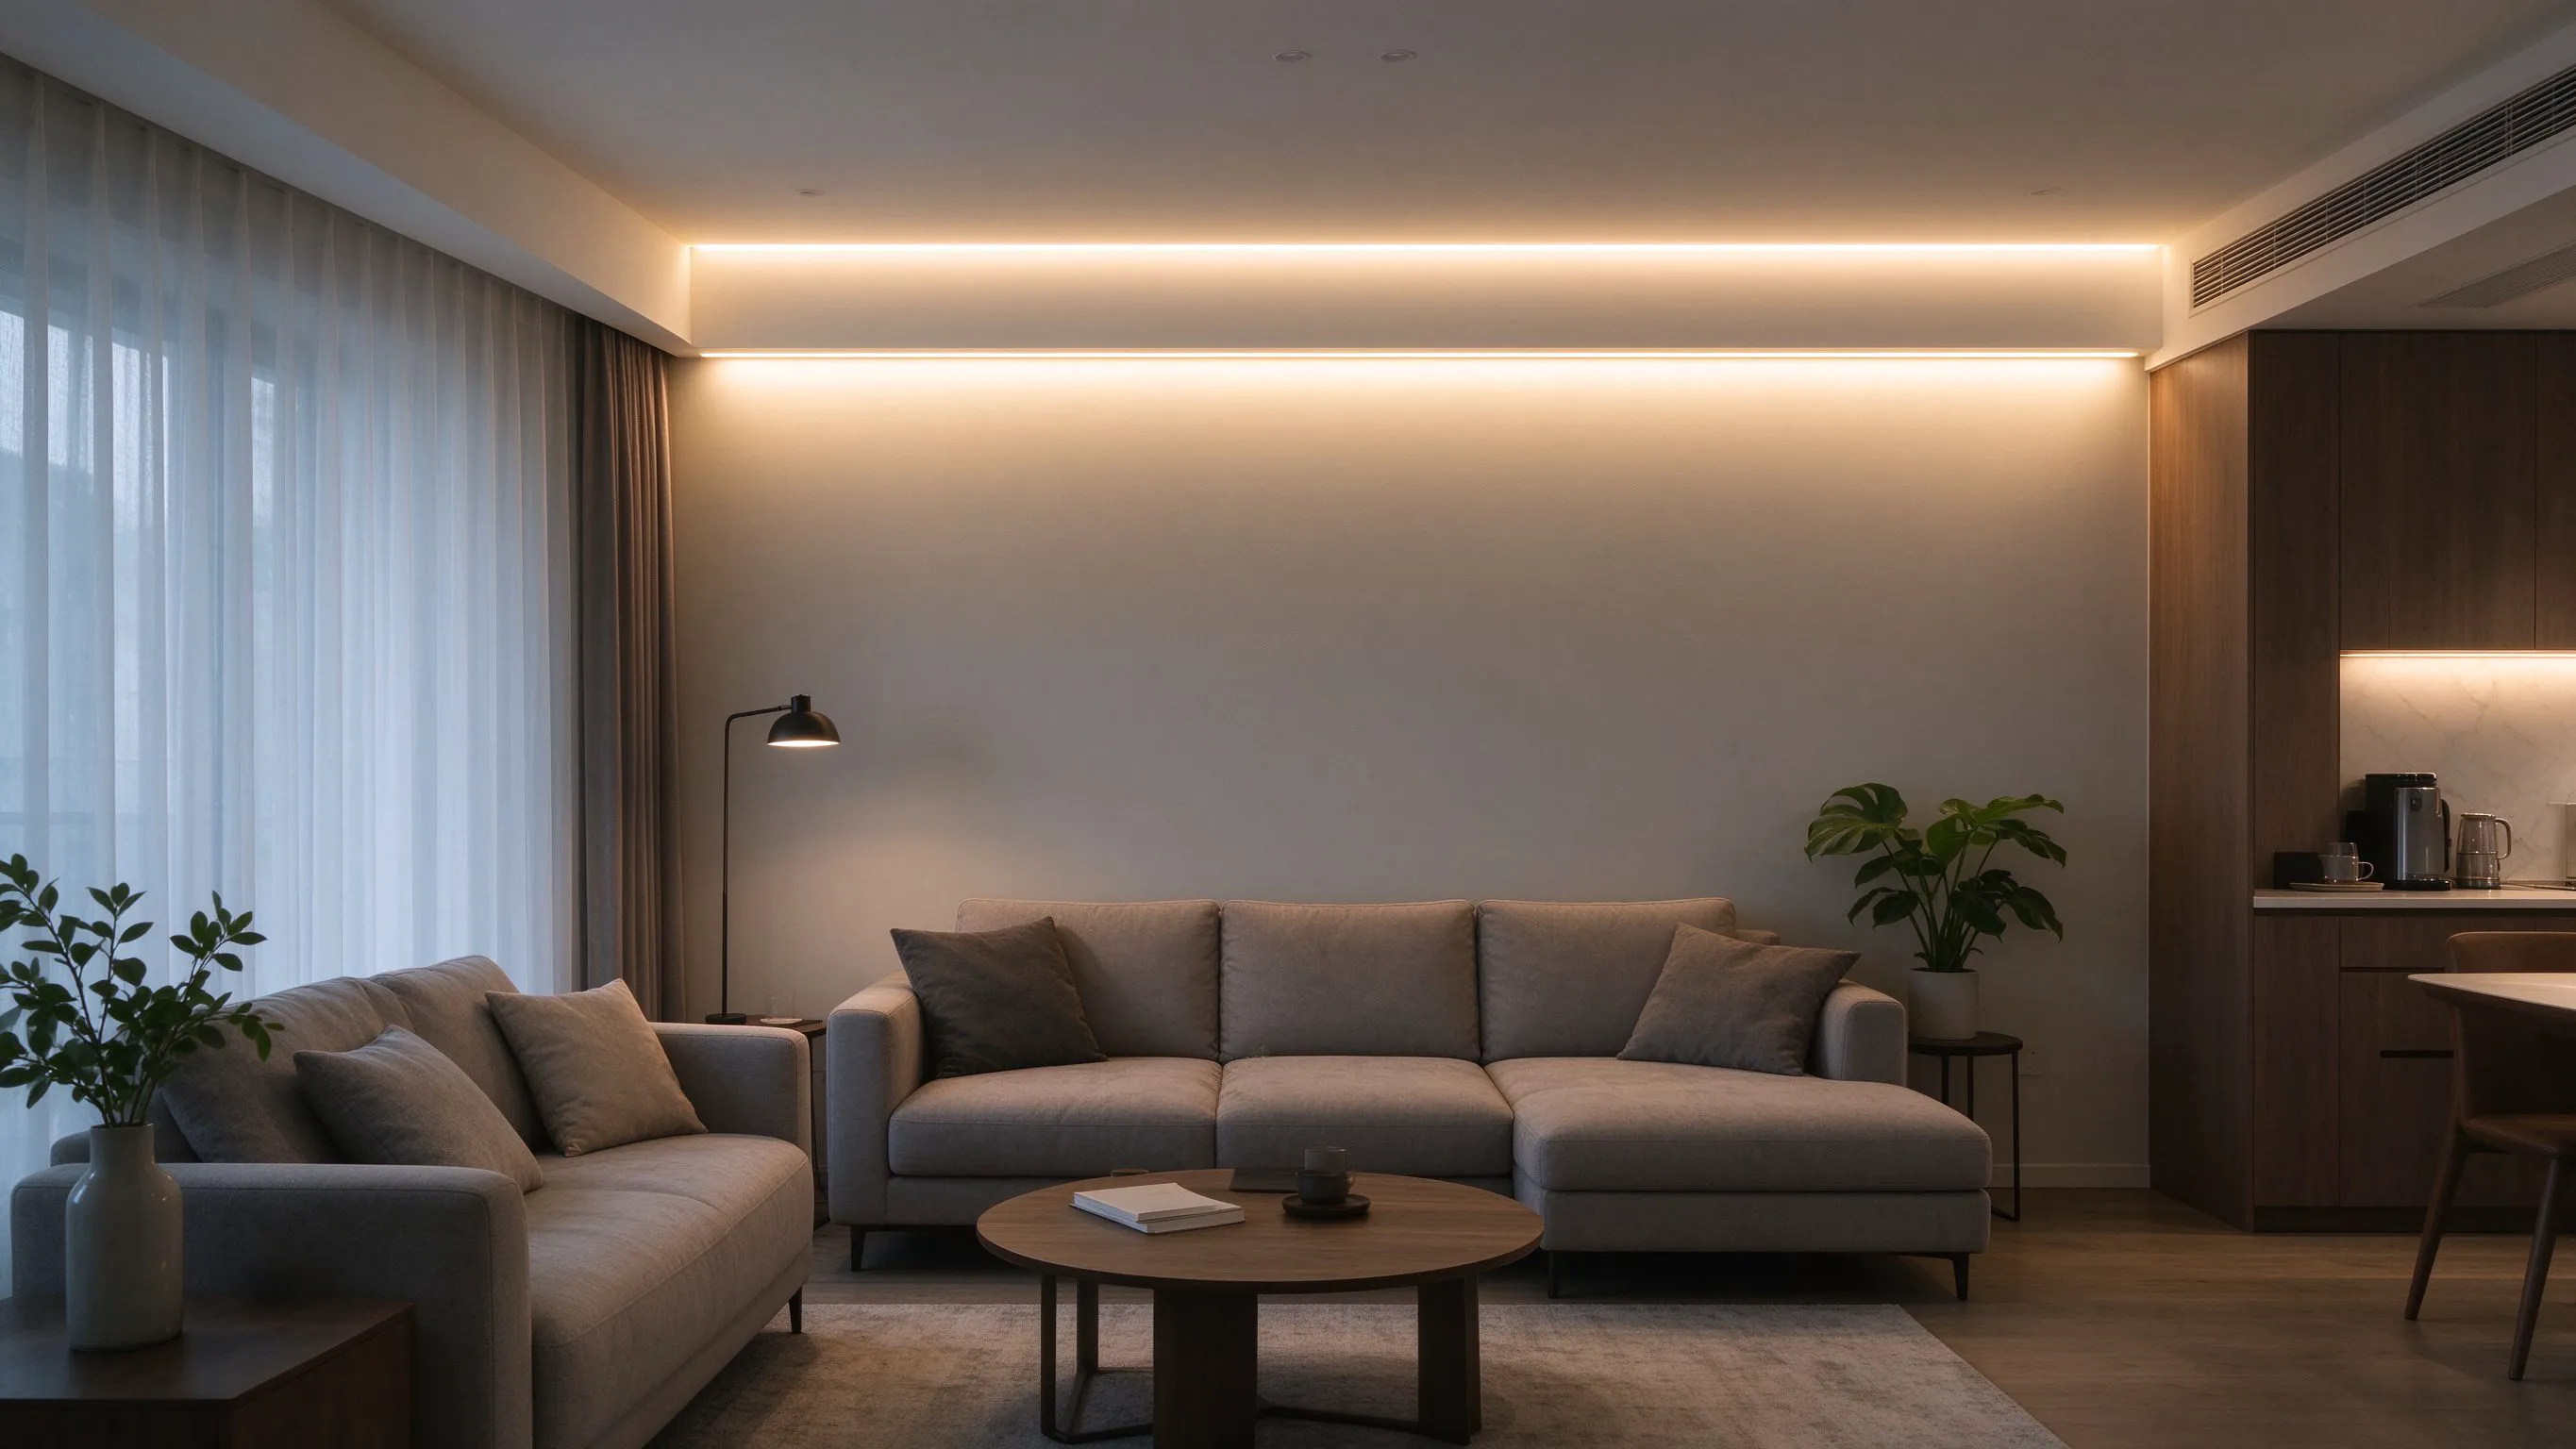
A cove that shows dots, dark bands or a bright line is a setback and spacing problem, not a brightness problem. Set the strip back 100 to 150 mm from the lip, space runs correctly, and pick a lm/m range that gives a smooth ceiling wash.
Why coves look wrong
A ceiling cove is meant to throw a soft, even glow up onto the ceiling and hide the light source itself. When it fails, it fails in predictable ways: you see the individual chips as dots, you see a bright line at the cove lip, or you see a dark band where the light does not reach. Every one of those is a geometry problem, not a power problem. Cranking up the watts makes the dots brighter; it does not hide them.
The fix is setback. The strip has to sit far enough behind the lip that the ceiling wash spreads out before it reaches view. Too close and the strip is visible; too far and the ceiling goes dark at the edge. The sweet spot is 100 to 150 mm back from the front lip, depending on the cove depth.

Setback, spacing and row count
Set the strip back from the cove lip to match the cove depth. On a shallow cove 150 mm deep, set the strip 100 mm back. On a deeper cove 250 to 300 mm deep, set it 150 mm back. Test it: sit in the room at normal eye height, and you should not see the strip itself. If you can see the line of chips, push it back another 20 mm.
For a wide ceiling cove, one row of strip is often not enough. A single row at 100 mm setback washes about 600 mm of ceiling. If you need a wider wash, add a second row 150 mm behind the first, aimed at the next 600 mm. Two rows give roughly 1.2 m of even wash. Three rows on a deep cove can cover 1.8 m.
Starting setback by cove depth.
| Cove depth | Setback | Rows | Wash width |
|---|---|---|---|
| 100 to 150 mm | 80 to 100 mm | 1 | about 400 to 600 mm |
| 200 to 250 mm | 100 to 120 mm | 1 to 2 | about 600 to 900 mm |
| 300+ mm | 120 to 150 mm | 2 to 3 | about 1.2 to 1.8 m |
Pick the right lm/m and density
A cove wash wants roughly 400 to 700 lumens per metre of strip, depending on ceiling height and wall reflectance. On a 2.4 m ceiling in a white room, 400 lm/m is enough. On a 3 m ceiling or a darker room, go to 600 to 700 lm/m. A high-density COB at 630 to 768 LEDs per metre gives the smoothest wash because the chips are so close that the diffuser blends them.
If you can still see dots, two things help. First, move to a denser strip (560 to 768 LEDs/m). Second, add a frosted diffuser in an aluminium channel. A bare strip on a flat ledge shows chips; a strip in a diffused channel reads as a soft glow. On a visible cove lip, the channel is not optional.

Voltage sag matters on long coves. At 24 V, runs over 5 m show a dimmer far end. Feed from both ends on runs over 5 m, or split the cove into 5 m parallel segments. A 10 m cove fed from one end will look obviously brighter at the feed point.
Corner joins and dark spots
Corners are where coves fail. A folded strip at 90 degrees cracks the trace and goes dark. Use L-shaped corner connectors, or cut and solder short pigtails around the corner. Leave a 5 mm gap at the corner so the strip can breathe. Never force a 5 mm wide COB strip around a tight internal corner; it will kink.
Dark spots between runs usually mean the cut points are mismatched. COB strips cut every 25 to 50 mm, depending on the part. Plan the run length so it lands on a cut line, not halfway through a segment. Buy an extra reel and trim on site; guessing the length is the classic mistake.
- Use L-connectors at every corner; do not fold the strip.
- Leave 5 mm expansion gap at corners and at every feed point.
- Plan cut lines before sticking the strip down.
- Feed 24 V from both ends on runs over 5 m.
- Walk the cove from every seat in the room; defects show up off-axis.

Dimming and sign-off
Cove lighting is mood light, so it should dim smoothly down to 5%. Use a TRIAC or 0 to 10 V driver rated for LED, and pair it with a trailing-edge dimmer. Set the cove at 20 to 30% as a baseline and reserve full brightness for when the room needs it. A cove at 100% all night glares and defeats the point of indirect lighting.
Sign-off test: switch the cove on at night with all other lights off. Walk the room and look for dots, dark bands, visible strip, or uneven corners. Sit in each chair in the room. If you can see the strip itself from a normal seat, push the setback out. If the wash has a dark patch, add a second row or extend the existing row.
Check the driver load. Total strip watts plus 20% margin, never run a driver above 80% nameplate. A cove that hums at dim level is usually an under-sized or cheap driver, not the strip. Spend the money on a good driver; the strip will outlast three cheap ones.
Recommended Products
Frequently Asked Questions
How far back should the strip sit from the cove lip?
100 to 150 mm, depending on cove depth. On a shallow cove around 100 mm, go 100 mm back. On a deep cove over 250 mm, go 150 mm back. The test: from a normal seat, you should not see the strip itself.
Why can I still see dots on the cove?
Either the strip density is too low, the setback is too small, or you have no diffuser. Move to 560 to 768 LEDs/m, push the strip back another 20 mm, and add a frosted channel.
How many rows of strip do I need?
One row washes roughly 600 mm of ceiling. Two rows on a deep cove cover 1.2 m. Three rows cover 1.8 m. Match the row count to how wide a wash the ceiling needs.
Why is my cove dim at the far end?
Voltage sag. At 24 V, runs over 5 m drop brightness at the far end. Feed both ends or split the cove into 5 m parallel segments. Up-size the feed cable to 18 AWG.
What brightness should a cove wash run at?
400 to 700 lumens per metre of strip, depending on ceiling height and wall colour. On a 2.4 m white ceiling, 400 lm/m is enough; on a 3 m or darker room, go to 600 to 700 lm/m.
Need help with your LED project?
Get factory-direct pricing, free samples and engineering support within 24 hours.
Email: info@arraystarled.com | Phone: +86-0755-2103-6746 | WhatsApp: 0086 1581 8514 077
Need to size your power supply? Use our LED Strip Power Calculator to find the right driver in seconds.







