
Shadow-Free Garage Worklight with COB Strip Layout
- 2026-10-28 10:03
- /
- Arraystar LED
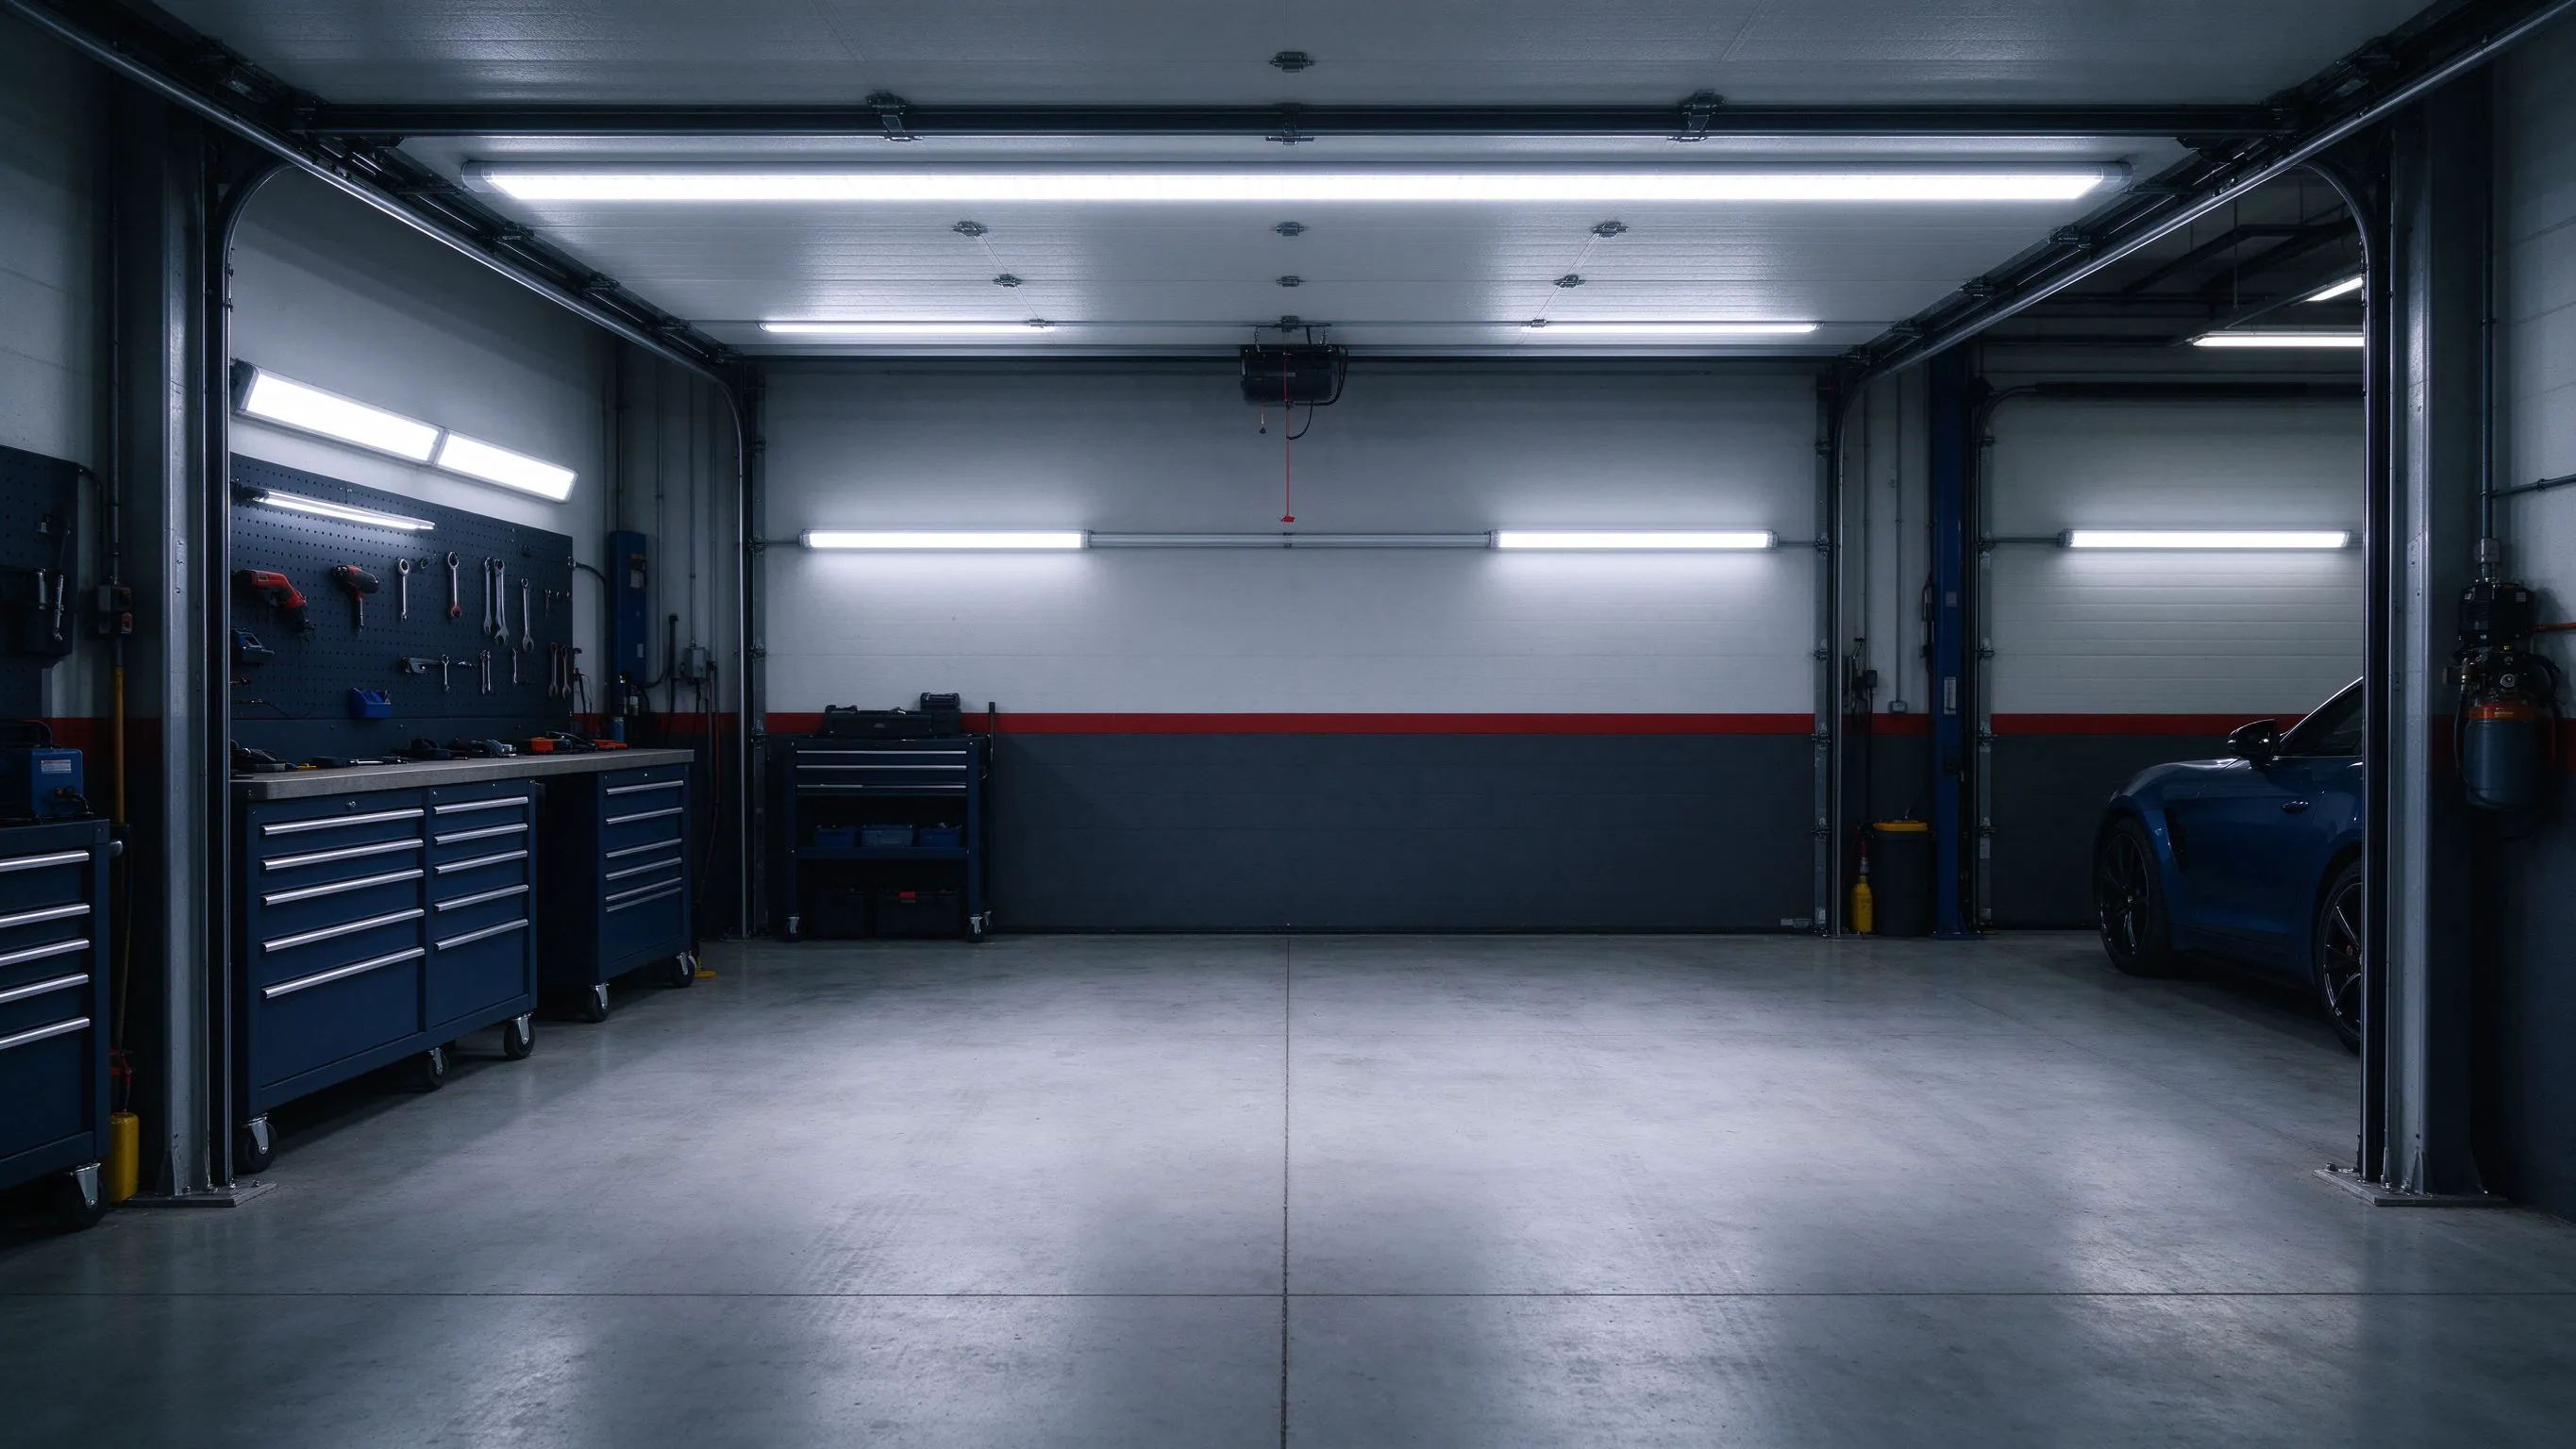
One strip over a workbench casts a shadow under every object you pick up. Lay two angled COB runs on either side of the bench, aim them at the work surface from opposite sides, and the shadow flattens. This is the garage lighting upgrade that actually matters.
Why one strip is never enough
Most garage workbenches get a single strip light bolted to the ceiling dead-centre above the bench. That gives plenty of raw lumens, but every small part you pick up casts a long shadow on the side facing away from the light. You end up leaning around the shadow to read a label or see a thread. The problem is geometry, not brightness.
The fix is to light the bench from two sides at once. Two COB runs, mounted on the wall above the bench on the left and right, aimed inward at 30 to 45 degrees, cancel each other shadows. The result is a flat, shadow-free work surface with no hotspot.
Lay out the two runs
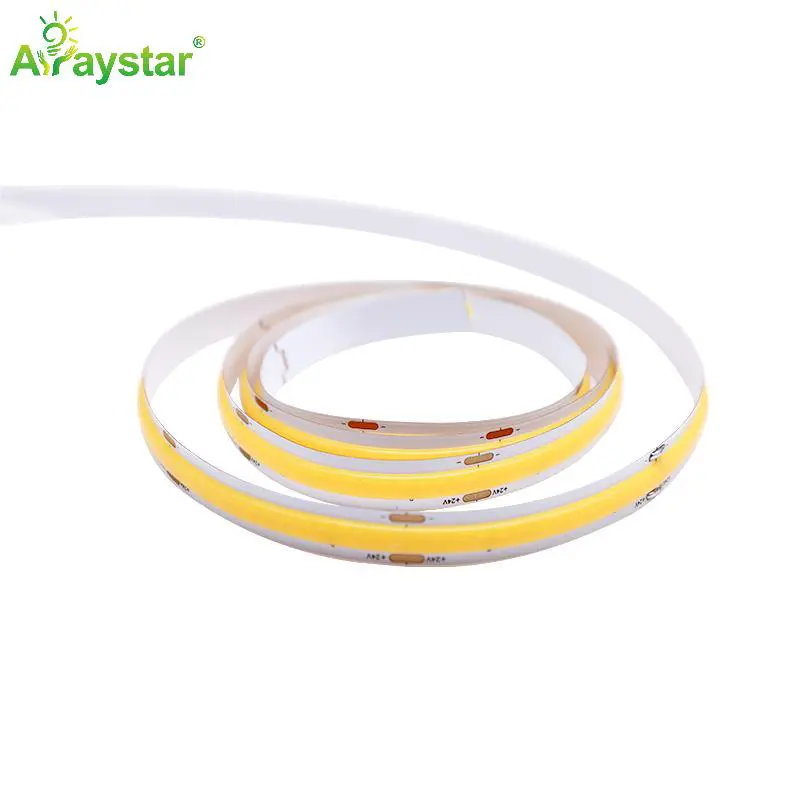
Mount the first run on the left wall, 400 to 500 mm above the bench surface, in an aluminium channel aimed at the centre of the bench. Mount the second run on the right wall at the same height, aimed at the same centre point. The two beams cross on the work surface. For a 1.2 m bench, two 1.2 m runs work. For a 2.4 m bench, extend each run to 2.4 m.
If you only have one wall, mount the second run on the ceiling rafters above the bench front edge, aimed down at the work surface. You lose some symmetry but still kill the side shadow. Keep both strips at least 300 mm back from the bench front edge so your head does not block the light when you lean in.
Layout by bench size.
| Bench width | Strip position | Aim | Total length |
|---|---|---|---|
| 1.2 m | Left plus right wall | 35 degrees inward | 2 x 1.2 m |
| 1.8 m | Left plus right wall | 35 degrees inward | 2 x 1.8 m |
| 2.4 m | Left wall plus ceiling lip | 35 degrees inward | 2 x 2.4 m |
| Over 2.4 m | Both walls plus centre pendant | Crossfire | 3 runs |
Pick the strip and driver
A garage bench wants bright, neutral light: 4000 K, CRI 90+, around 600 to 800 lux on the work surface. A high-output COB at 480 to 640 LEDs per metre runs 12 to 18 W per metre. On a 2.4 m bench that is roughly 30 to 40 W per run, so a single 100 W 24 V driver handles both runs with margin. Keep the driver on the wall near the consumer unit, not above the bench where drill dust lands on it.
IP rating for a dry garage is IP20. If the garage is unheated and sees condensation in winter, step up to IP54. Avoid IP67 on a dry bench; the silicone diffuser reduces brightness by 10 to 15% and you do not need the seal.
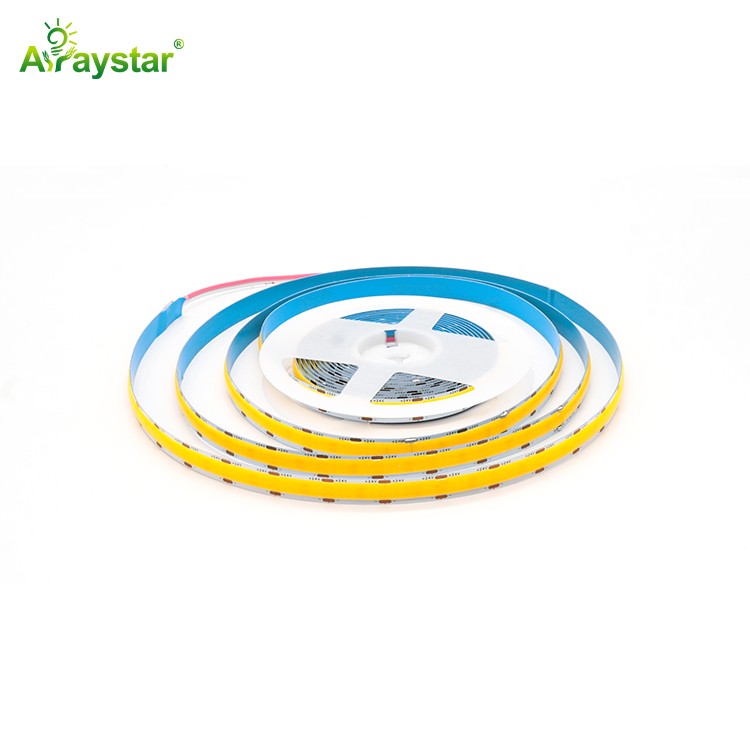
Wire both runs in parallel from the driver, not in series. Series wiring means one bad strip kills the whole bench. Use 18 AWG cable for runs under 5 m, 16 AWG over 5 m, so voltage sag does not dim the far end.
Kill the shadows under the shelf
A bench under a wall cabinet has a second shadow problem: the cabinet itself blocks the overhead light and leaves a dark strip at the back of the work surface. Fit a third short strip under the cabinet lip, aimed forward at 20 degrees. That run is short, often 0.8 to 1.2 m, and runs at lower brightness because it is only filling a shadow band.
Do not over-light the under-shelf. At 5 W/m it is enough. Run it on the same switch as the wall strips or on a separate low-power switch if you want it as task light when the bench light is off.
- Mount the wall strips 400 to 500 mm above the bench, not on the ceiling.
- Aim both strips at the centre of the bench so their beams cross on the work surface.
- Keep the bench front edge 300 mm clear of the strip path so your head does not block light.
- Add an under-cabinet strip at low wattage to kill the back-of-bench shadow.
Control and sign-off
Run the bench lighting on a single switched circuit, with a separate switch for the under-cabinet strip. Add a motion sensor if the garage door opens onto the bench, so the light comes on when you carry in boxes. Dimming is optional; most garages want full brightness when they work, and a cheap dimmer adds a failure point.
Sign-off test: hold a 50 mm block on the bench. The shadow under it should be faint, soft and centred. If the shadow is sharp and falls to one side, one strip is either too dim, too high, or aimed wrong. Adjust before you silicone the channels down.
Run the bench lights for 20 minutes and touch the aluminium channel. It should be warm, not hot. Hot channels mean the strip is overdriven; drop to the lower wattage strip or add a heatsink extrusion. A garage workshop gets hot enough in summer without adding a heated light strip.
Recommended Products
Frequently Asked Questions
Why is one ceiling strip not enough over a bench?
It lights the bench but casts a sharp shadow on the far side of every object. Two strips on opposite walls, aimed inward at 35 degrees, cancel each other shadows and give a flat work surface.
What brightness do I need on a garage workbench?
600 to 800 lux on the work surface. That is roughly 12 to 18 W per metre of high-output COB, across two runs. More is not better; glare off metal tools becomes a problem above 1000 lux.
What colour temperature for workshop lighting?
4000 K neutral white, CRI 90+. It renders metal, paint and plastic colours accurately. 3000 K looks warm but makes it hard to match paint colours; 5000 K is too blue and harsh for long sessions.
Do I need IP67 in a garage?
No. IP20 is fine for a heated dry garage. Step to IP54 if the garage is unheated and sees winter condensation. Reserve IP67 for wash-down areas or outdoor eaves.
Can I add RGB to the workbench strip?
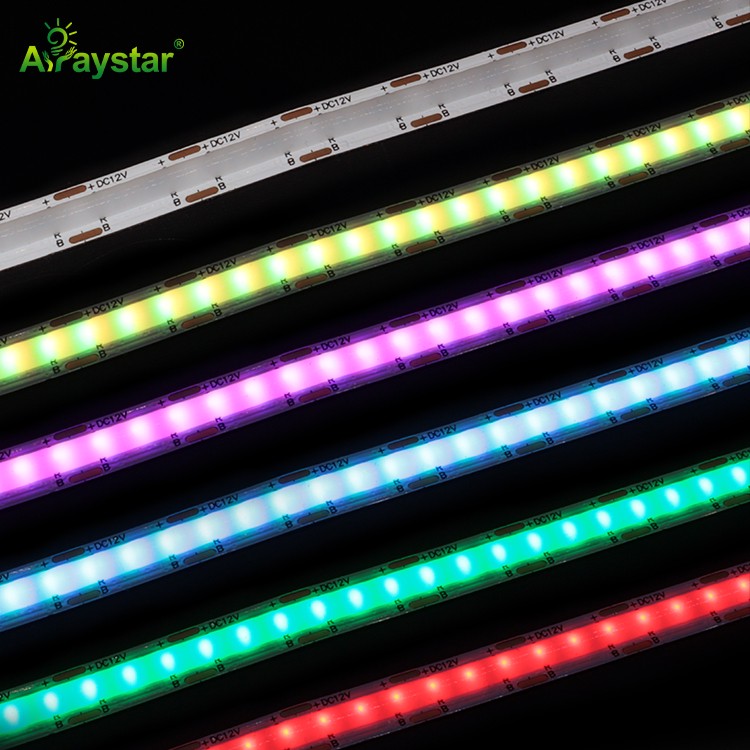
Not for task lighting. RGB washes out colour accuracy on parts you are matching. Run RGB on a separate circuit for evening ambience, and keep the 4000 K white strips on their own switch for actual work.
Need help with your LED project?
Get factory-direct pricing, free samples and engineering support within 24 hours.
Email: info@arraystarled.com | Phone: +86-0755-2103-6746 | WhatsApp: 0086 1581 8514 077
Need to size your power supply? Use our LED Strip Power Calculator to find the right driver in seconds.







