
Reusing COB Strip from a Demo: What to Inspect Before Re-installing
- 2026-10-28 10:03
- /
- Arraystar LED
Pulling a COB strip out of a demo stand and re-fitting it is normally fine, but you must inspect the solder pads, the diffuser surface and the backing adhesive before it goes up again. Skip those checks and the second install fails in weeks.
Why a demo strip fails its second life
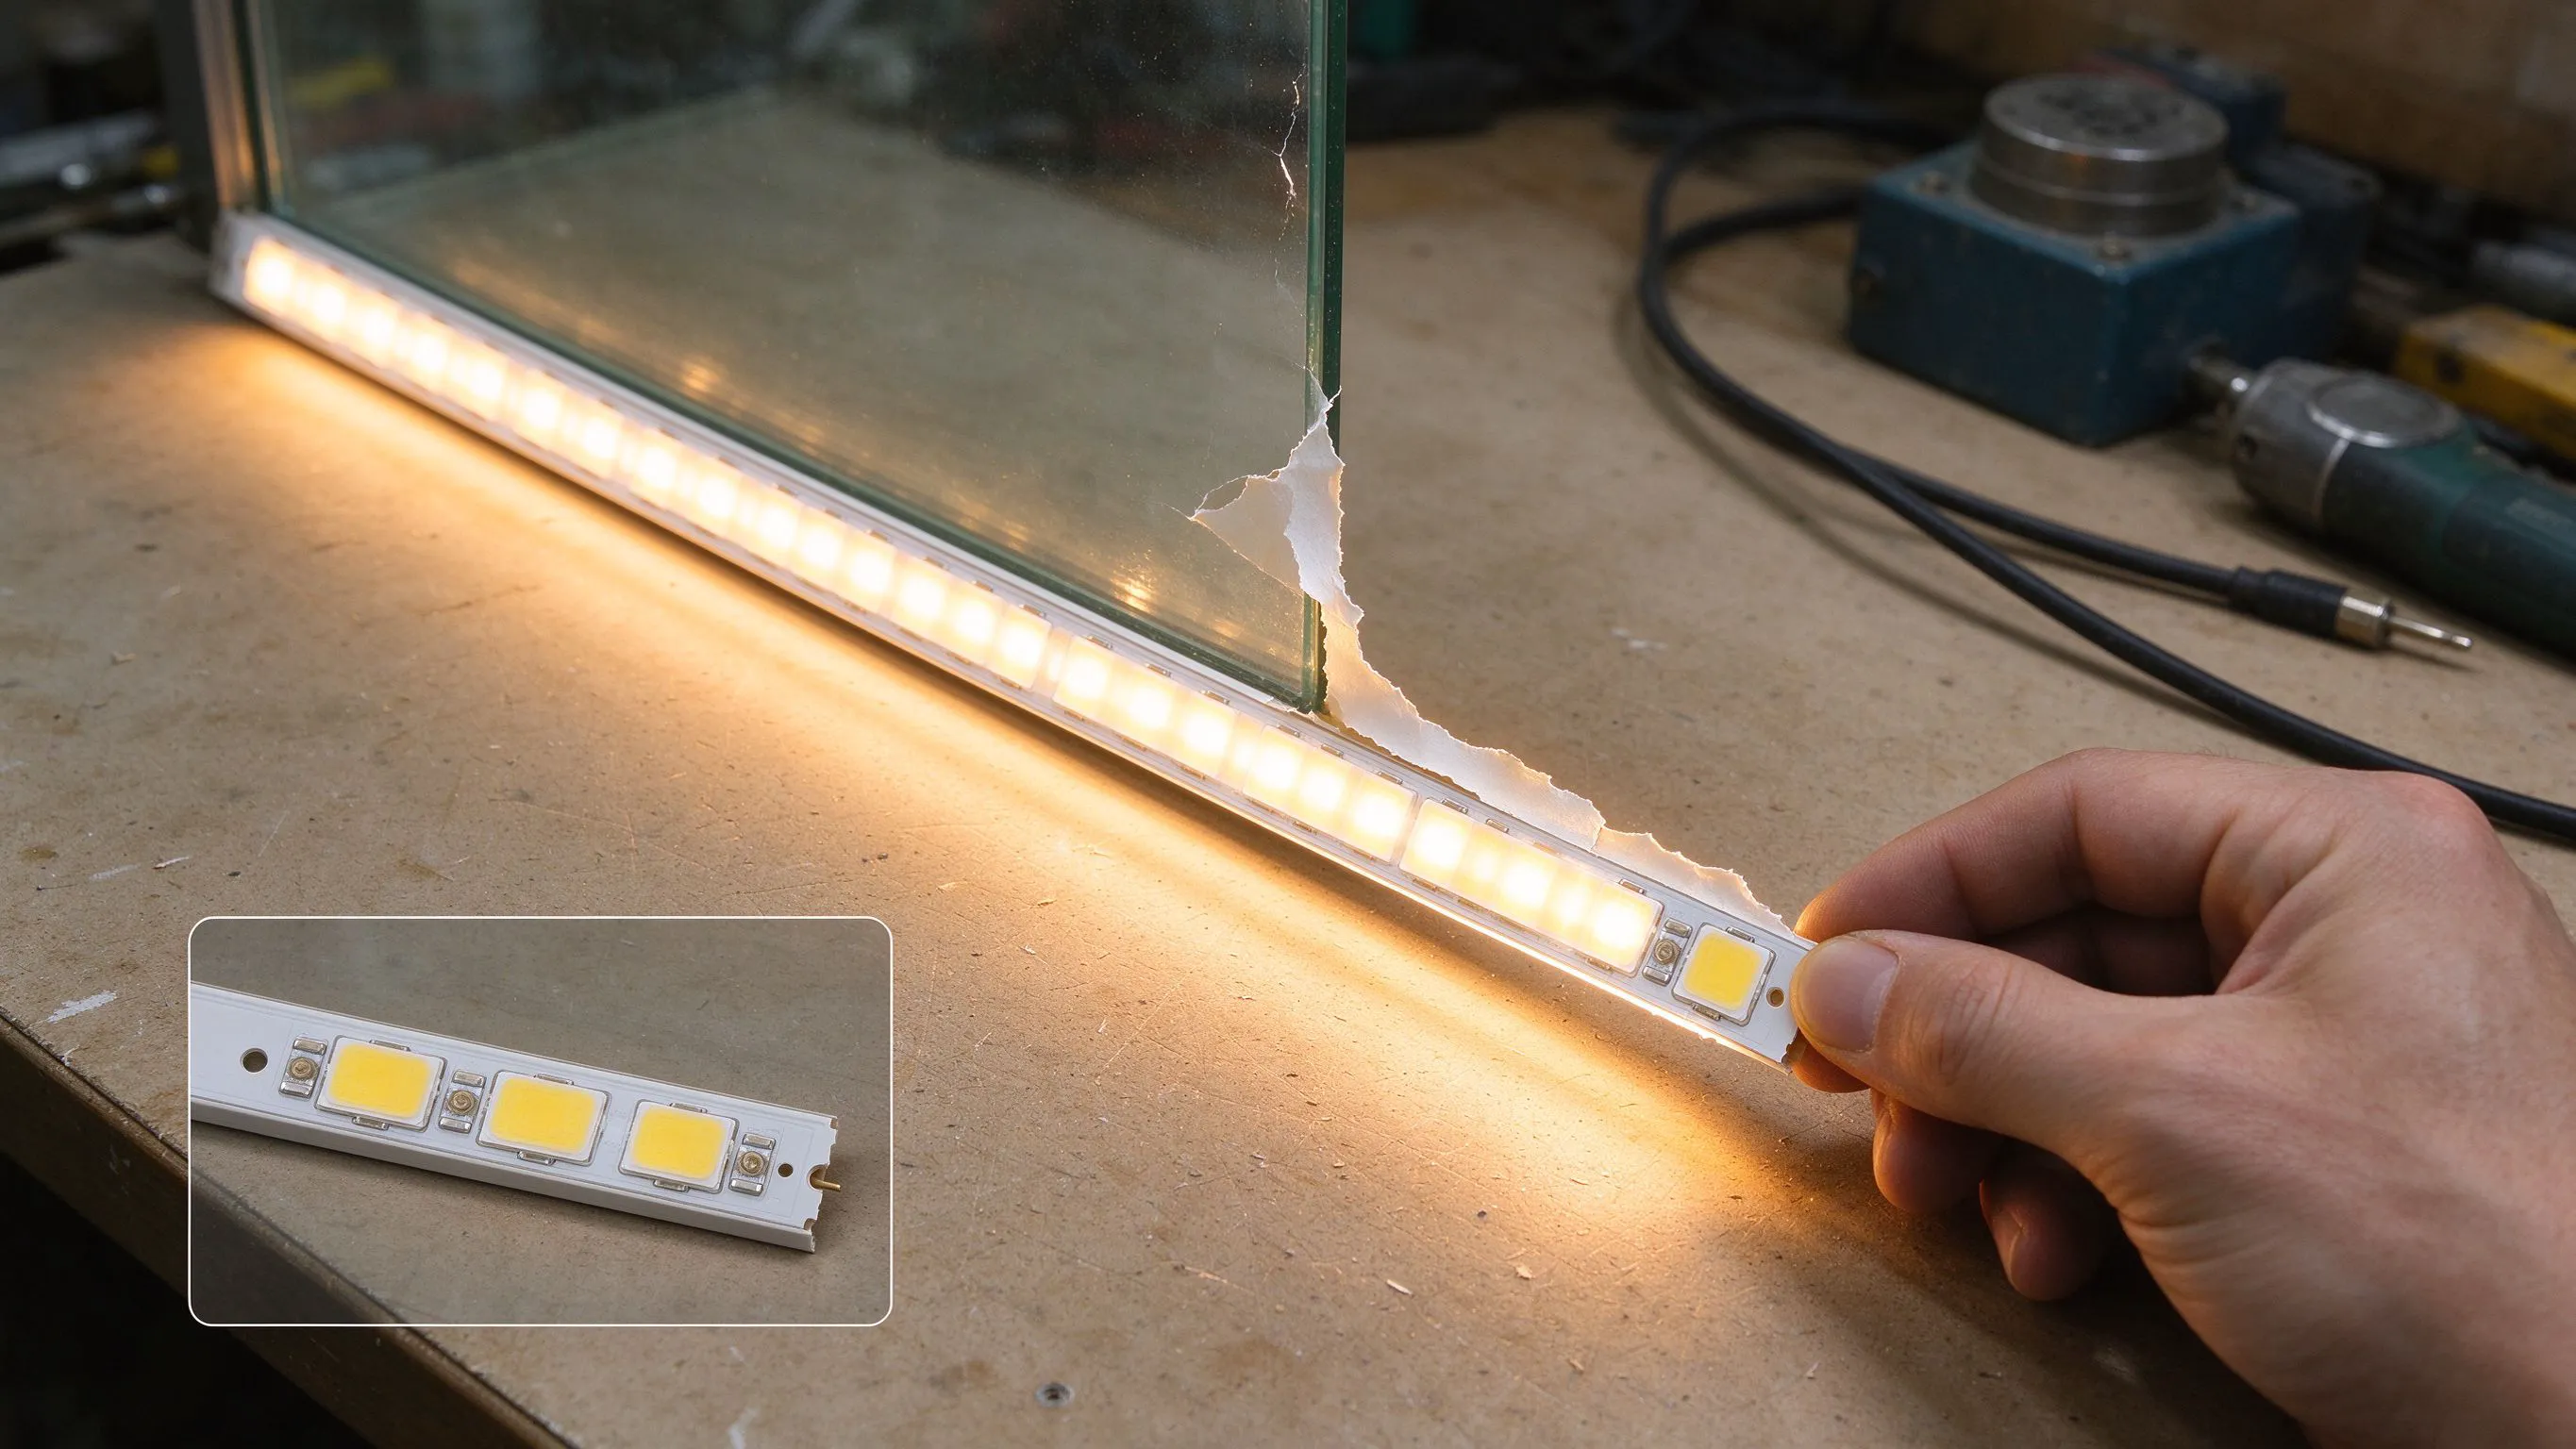
A demo booth strip lives a hard life. It is stuck onto an acrylic stand, peeled off at pack-down, rolled back onto its reel, tossed in a crate, and transported. Every peel flexes the PCB along the copper traces, every crease cracks the diffuser, and every dust particle on the backing reduces adhesion on the next fit. A strip that looked perfect on day one can be micro-cracked by day four.
The good news: COB chips are bonded under resin and rarely fail from flex. The weak points are always the solder joints at the cut points, the end-to-end power cables, and the self-adhesive backing. Inspect those three and you have caught 90% of the problems.
Inspect the solder pads and cut points
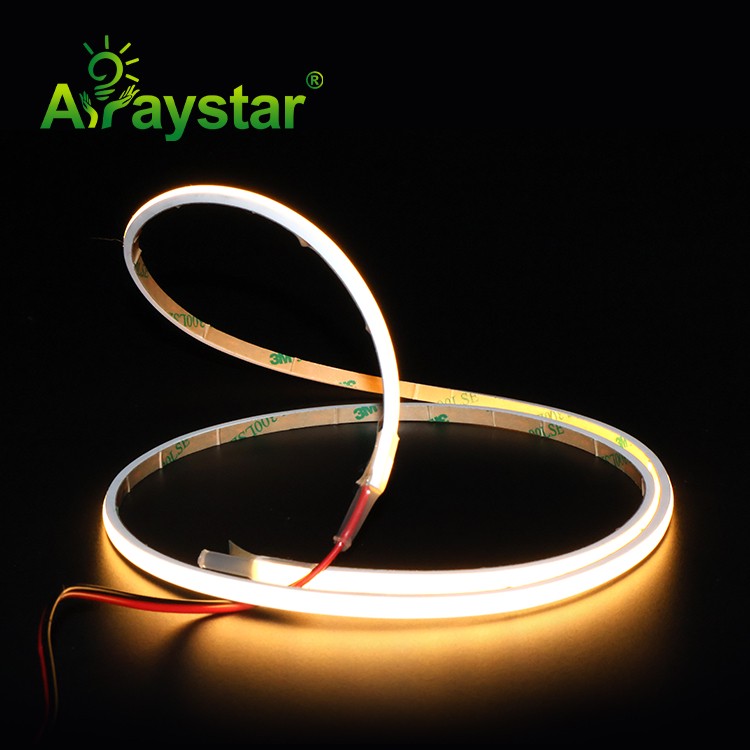
Lay the strip flat on a bench and run your eye along every cut line. COB strips cut every 25 to 50 mm, and each cut line has two or three copper pads. Look for a pad that has lifted from the PCB, a hairline crack radiating from a via, or dull grey solder that has gone brittle. Any of those means that section will drop out as soon as you power it.
Flex each cut point gently by hand, bending the strip through 30 degrees. If you hear a faint crackle or see a dark line forming, the trace is separating. Cut that section out and discard it rather than trying to save it. A failed 10 cm section is cheap; a failed install during a client demo is not.
Bench checklist before the strip goes back up.
| Check | Good | Reject |
|---|---|---|
| Solder pads | Shiny, flat, bonded to PCB | Pale grey, lifted, cracked |
| Flex at cut line | Soft bend, no crackle | Audible crackle or dark line |
| End power cable | Strain relief intact, no exposed copper | Wire pulled out of solder lug |
| Diffuser surface | Smooth, no crease | Cracked or milky white line |
| Backing adhesive | Tacky on peel | Dry, dusty, leaves no residue |
Re-solder any end-power joints that look doubtful. Use 63/37 leaded solder at 350 C, and tin the pads before fitting the cable. Do not rely on plug-in connectors on a reused strip; the connector pins rarely bite a second time.
Inspect the diffuser and the light output
COB light is carried through a phosphor layer on top of the chips. If the strip has been folded tightly, the phosphor can crack and show as a dark line or a yellow patch when lit. Power the whole reel on a bench supply at 24 V and run it for ten minutes. Walk the line at arm's length and look for dim sections, colour shifts, or dark bands.
Compare against a fresh reel if you have one. A reused strip should be within 5% in brightness and show no obvious banding. If a section has drifted 200 K in colour from the rest, that phosphor layer is done and that segment gets cut out.
Fix the backing adhesion
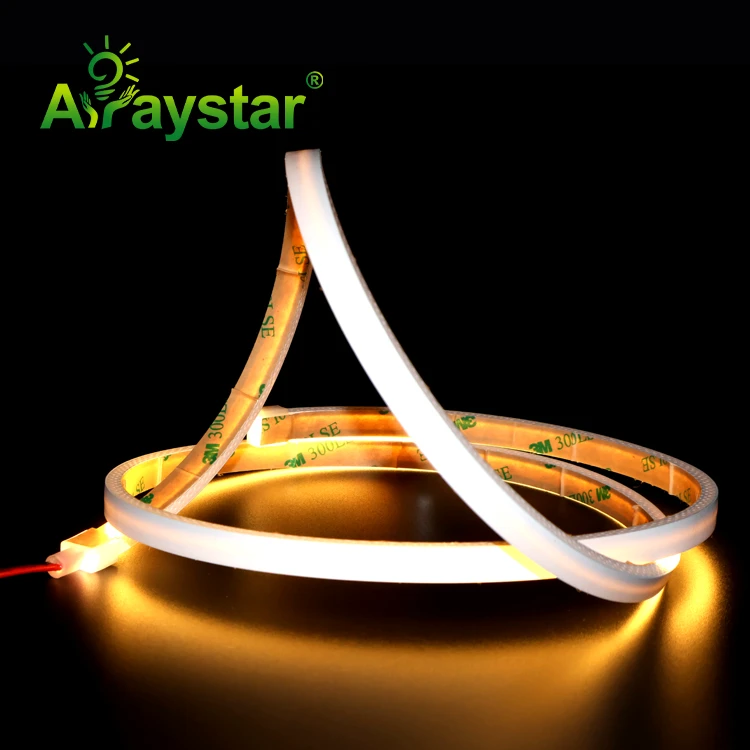
The original 3M adhesive on a demo strip is single-use. Once peeled it loses tack, and trying to stick it straight back onto a wall is the number-one reason a re-fitted strip falls off. You have two clean options. First, run the strip into an aluminium channel with end clips; the mechanical clips hold it, not the glue. Second, clean the surface with isopropyl alcohol and apply a thin bead of clear neutral-cure silicone along the rear of the strip before pressing it into place.
Do not use double-sided foam tape as a patch. The foam compresses, the strip lifts at the edges, and dust gets under the diffuser. If you must tape, use 5 mm wide acrylic VHB tape applied in short 10 cm strips, not one long run, so thermal expansion has somewhere to go.
- Wipe the mounting surface with 99% isopropyl and let it dry fully before applying the strip.
- Degrease with a rag first if the surface has finger marks or silicone residue from a previous install.
- Press the strip down section by section with a plastic squeegee, starting from one end.
- Wait 24 hours before powering on so the adhesive or silicone cures fully.
Power and load check on the second install
A reused strip may have lost a segment, so its wattage per metre changes. Recalculate the driver load before you switch it on. Measure the remaining length, multiply by the rated watts per metre from the original spec sheet, and make sure the driver is loaded to between 40% and 80% of its nameplate. Overloading a driver with a second-hand strip is a common and avoidable fire risk.
Also check the 24 V feed distance. If the new install places the driver 6 m from the strip, voltage sag will be visible. Move the driver closer, or upsize the feed wire from 20 AWG to 18 AWG. A reused strip has no warranty, so a driver fault that it causes on the second install is yours to fix.

Log what you throw away. Mark each bad cut section with tape and note the length removed, so the next person who reuses the reel knows the safe segments. A reused strip with a hand-drawn map on the reel bag is worth twice one without.
Recommended Products
Frequently Asked Questions
Can any peeled COB strip be reused?
A strip that was stuck and peeled within 72 hours, on a clean smooth surface, reuses well. A strip that spent months on a rough or dusty surface, or that was folded sharply at a corner, usually has hidden trace cracks.
Do I need to replace the adhesive backing?
Yes. The factory 3M adhesive is single-use. Either run the strip into an aluminium channel with mechanical clips, or clean the surface and apply a thin bead of neutral-cure silicone or short VHB tape strips.
How do I test a reused strip before installing?
Lay it on a bench, power it from a 24 V supply, and run it for ten minutes. Walk the line looking for dark segments, colour drift and visible banding. Flex each cut point by hand to listen for crackle.
What if the strip has a few dark LEDs?
On a COB strip, dark LEDs usually mean a row failure caused by a cracked trace, not a single dead chip. Cut out the bad section, re-solder the joins, and re-test. Do not run a strip with a half-row out; the remaining LEDs in series will overdrive and fail next.
Can I reuse the original driver with the old strip?
Yes, but recalculate the load. If you removed segments, the strip draws less current, so the driver may now be lightly loaded, which some cheap drivers handle poorly. If the driver hums or the strip flickers at low dim, swap in a properly rated constant-voltage unit.
Need help with your LED project?
Get factory-direct pricing, free samples and engineering support within 24 hours.
Email: info@arraystarled.com | Phone: +86-0755-2103-6746 | WhatsApp: 0086 1581 8514 077
Need to size your power supply? Use our LED Strip Power Calculator to find the right driver in seconds.







