
Cove Lighting That Doesn't Spot: Setback, Slot Depth and Baffle Dimensions That Work
- 2026-10-08 17:37
- /
- Arraystar LED
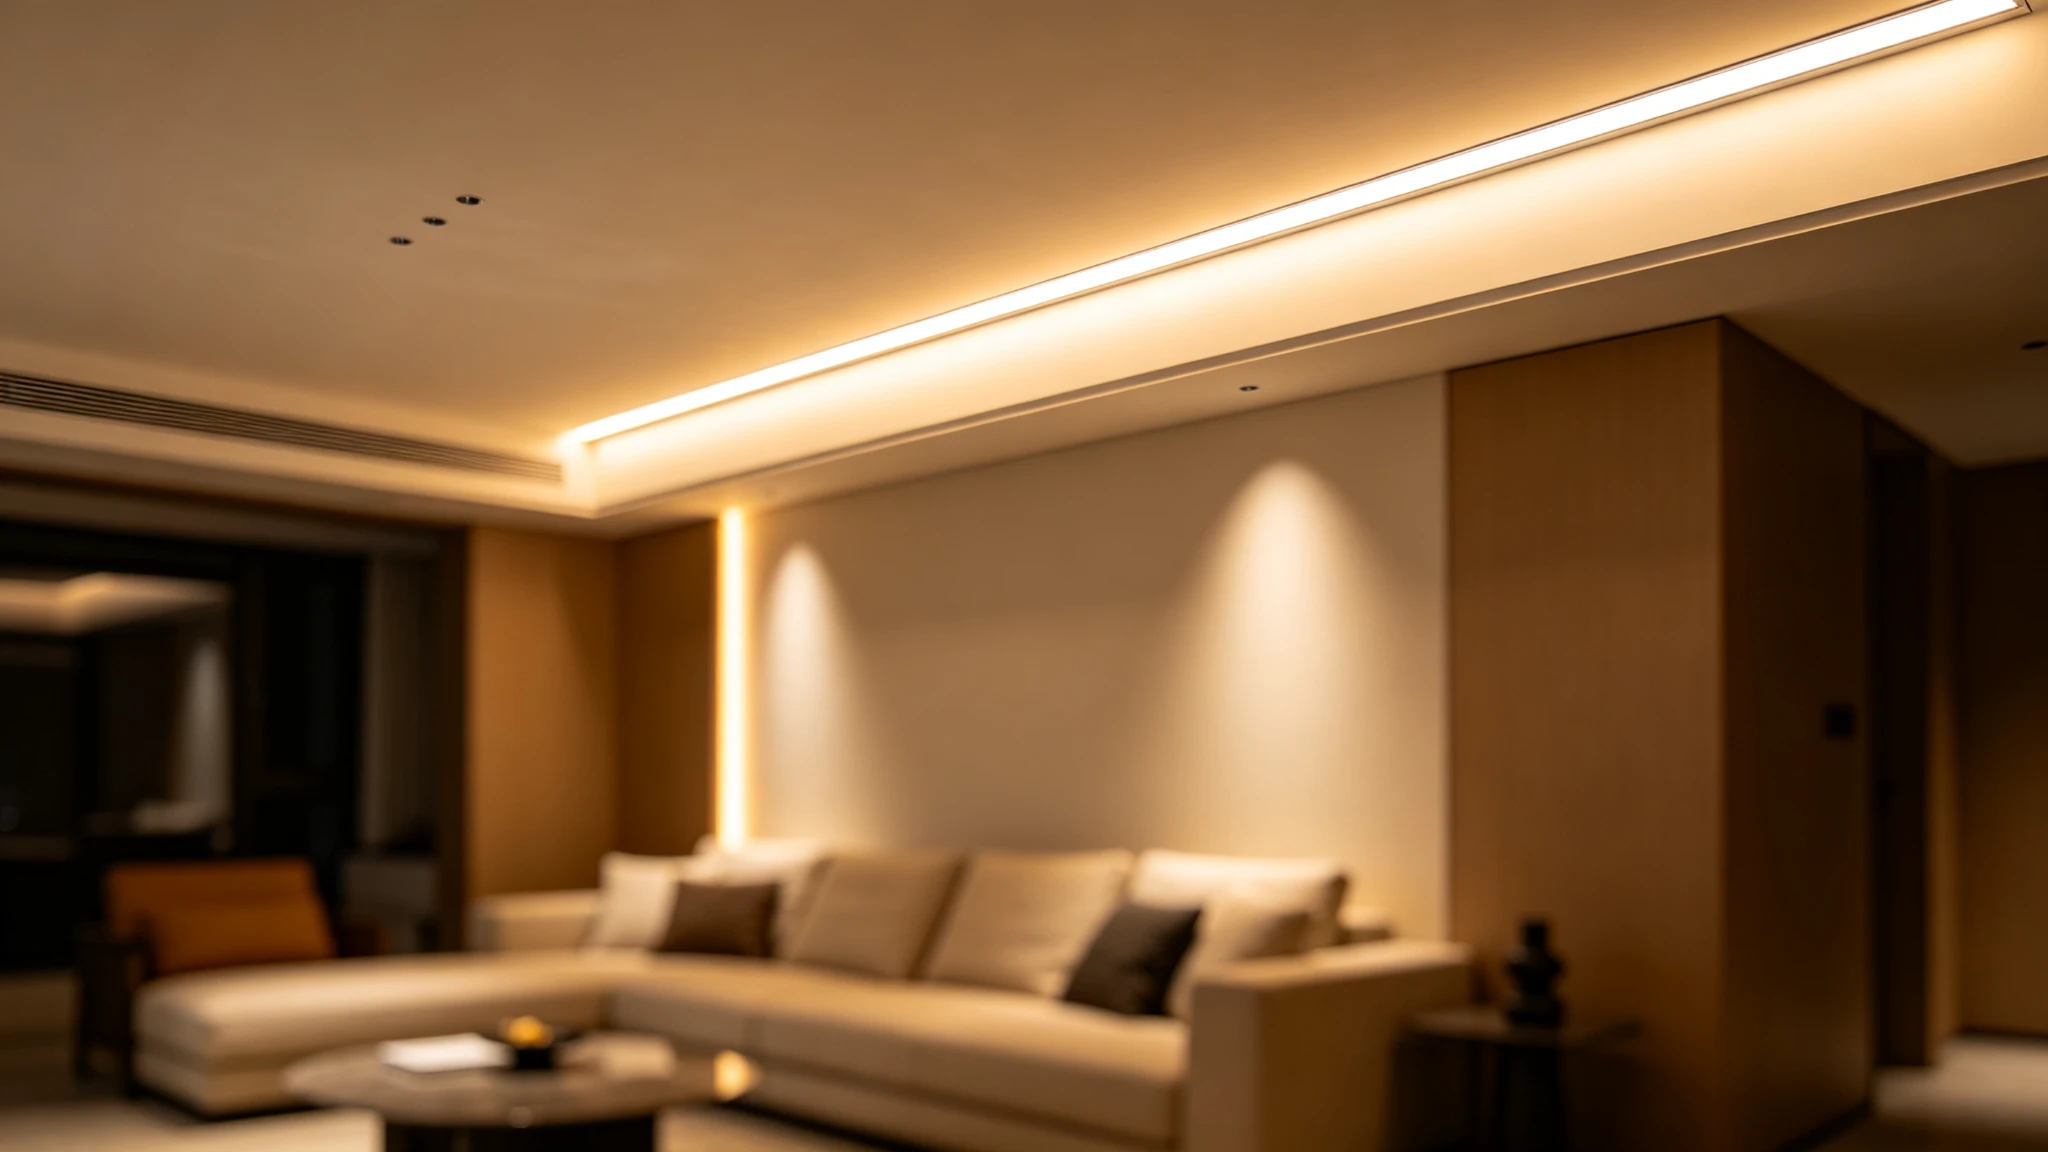
Cove lighting looks effortless only because the geometry has been worked out: the glow is light thrown onto a surface from a hidden source, so the setback, the lip height, the cavity depth and the strip density together decide whether you get a smooth even wash, a bright band with a dead patch, or visible dots reflected on the ceiling. The core rules are to aim the strip across the surface rather than straight at it, give the light enough throw distance to blend (usually 75-150mm from the lit surface with a continuous high-CRI source), hide the LED behind a lip from every normal viewing angle, and paint the cove interior matte white. Get the dimensions right on a mock-up before first fix and a cove becomes a seamless source of soft light; get them wrong and no amount of premium strip will rescue the hot spots.
How a Cove Actually Makes Its Glow
A cove is an indirect fixture: the strip is concealed behind a ledge, cornice or recessed channel and aimed at the ceiling or upper wall, which becomes the visible luminous surface. Because you never see the LED directly, the quality depends entirely on geometry - how far the source sits from the lit surface (setback/throw), how high the hiding lip is, and how continuous and dense the source is. The ceiling then diffuses the light into the room. Treat the cove as a small lighting instrument aimed at a reflector, not as a strip hidden in a gap.
- Aim light across the ceiling/wall, never straight out into the room.
- Hide the source behind a lip from all standing and seated viewing angles.
- Provide enough throw distance for adjacent beams to blend into one wash.
- Use a continuous high-CRI source and a matte-white cove interior for even reflection.
- Mock up and tune the angles before the joinery or plaster is finalised.
The Key Dimensions: Setback, Lip and Throw
Three measurements do most of the work. The setback is the horizontal distance from the strip to the wall or the lit surface; the throw (or cavity depth) is the distance the light travels before hitting the ceiling; and the lip height is how much material stands between the LED and the viewer's eye. As a starting point for a ceiling cove, mount the strip roughly 75-150mm below and set it back from where you want the brightest band, angled up across the ceiling, with a lip tall enough to block the direct view of the chips. Too little throw and you get a narrow bright streak near the wall; too much setback with weak strip leaves the centre of the ceiling dark.
Starting figures only - always verify on a full-size mock-up for the actual ceiling height.
| Dimension | Typical starting point | Effect if wrong |
|---|---|---|
| Strip-to-ceiling throw | ~100-150mm | Too small = tight streak; too far = weak wash |
| Setback from wall | ~75-150mm | Wrong = bright edge band or dark ceiling centre |
| Hiding lip height | Blocks chips at eye level | Too low = visible dots/glare; too high = blocks light |
| Strip aim angle | 30-45deg across surface | Straight up/at viewer = hotspot or glare |
| Run continuity | Continuous COB, no gaps | Gaps in strip = gaps in the ceiling wash |
Ceiling height changes the numbers: taller rooms need more throw and often brighter or denser strip to reach across the ceiling, while low ceilings need the source closer and the lip carefully tuned so the cove does not become the only thing you see. A 2.4m residential ceiling and a 4m lobby ceiling are not the same fixture.
Purpose-Built Cove Profiles Remove the Guesswork
Rather than improvising a timber ledge on site, purpose aluminium cove profiles hold the strip at the correct 45-degree aim with an integrated hiding lip, which makes repeatable results far easier. A dedicated cove/extrusion profile gives the heat sinking, the fixed angle and the clean edge in one part, so every metre of a long run aims identically - the single biggest reason site-built coves look uneven is that hand-fixed strip drifts in angle along the run.
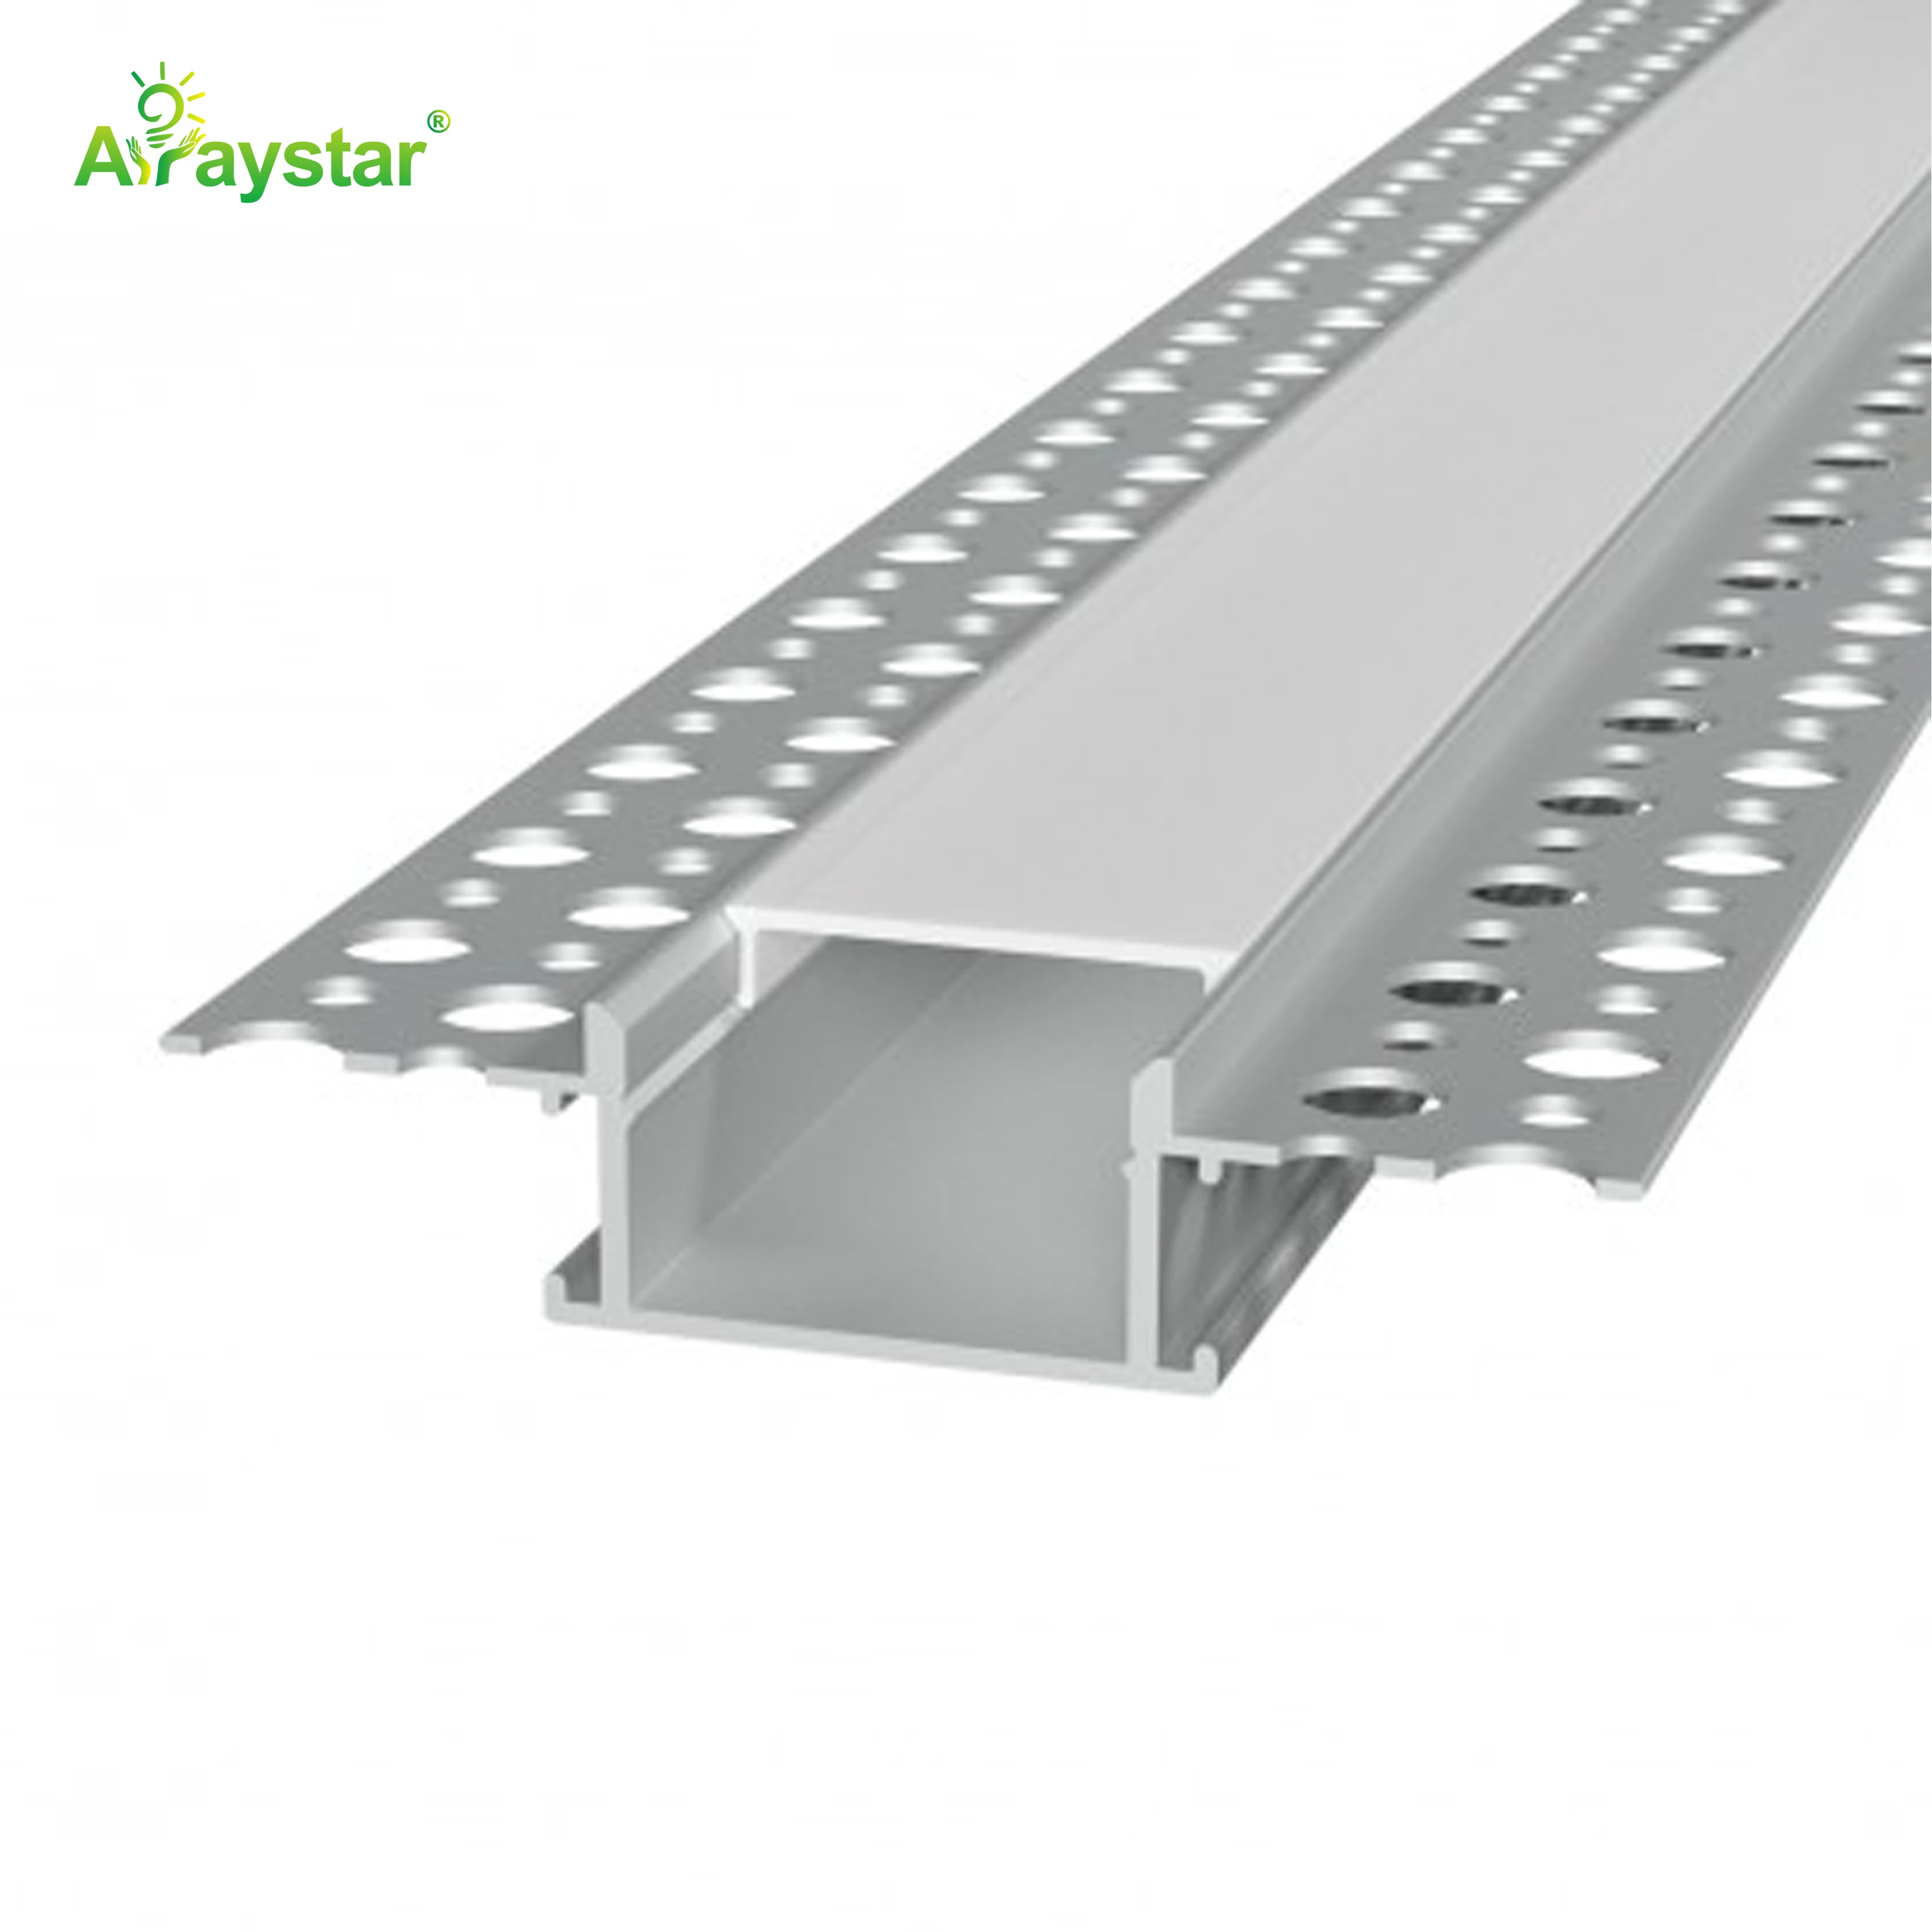
For plaster ceilings a plaster-in version is skimmed flush so only the glow remains; for retrofit and joinery, surface cove extrusions clip behind a cornice or shelf lip. Choose the profile whose fixed angle and depth match the ceiling height and the band of light you want.
Recessed Wide Profiles for Broad Washes
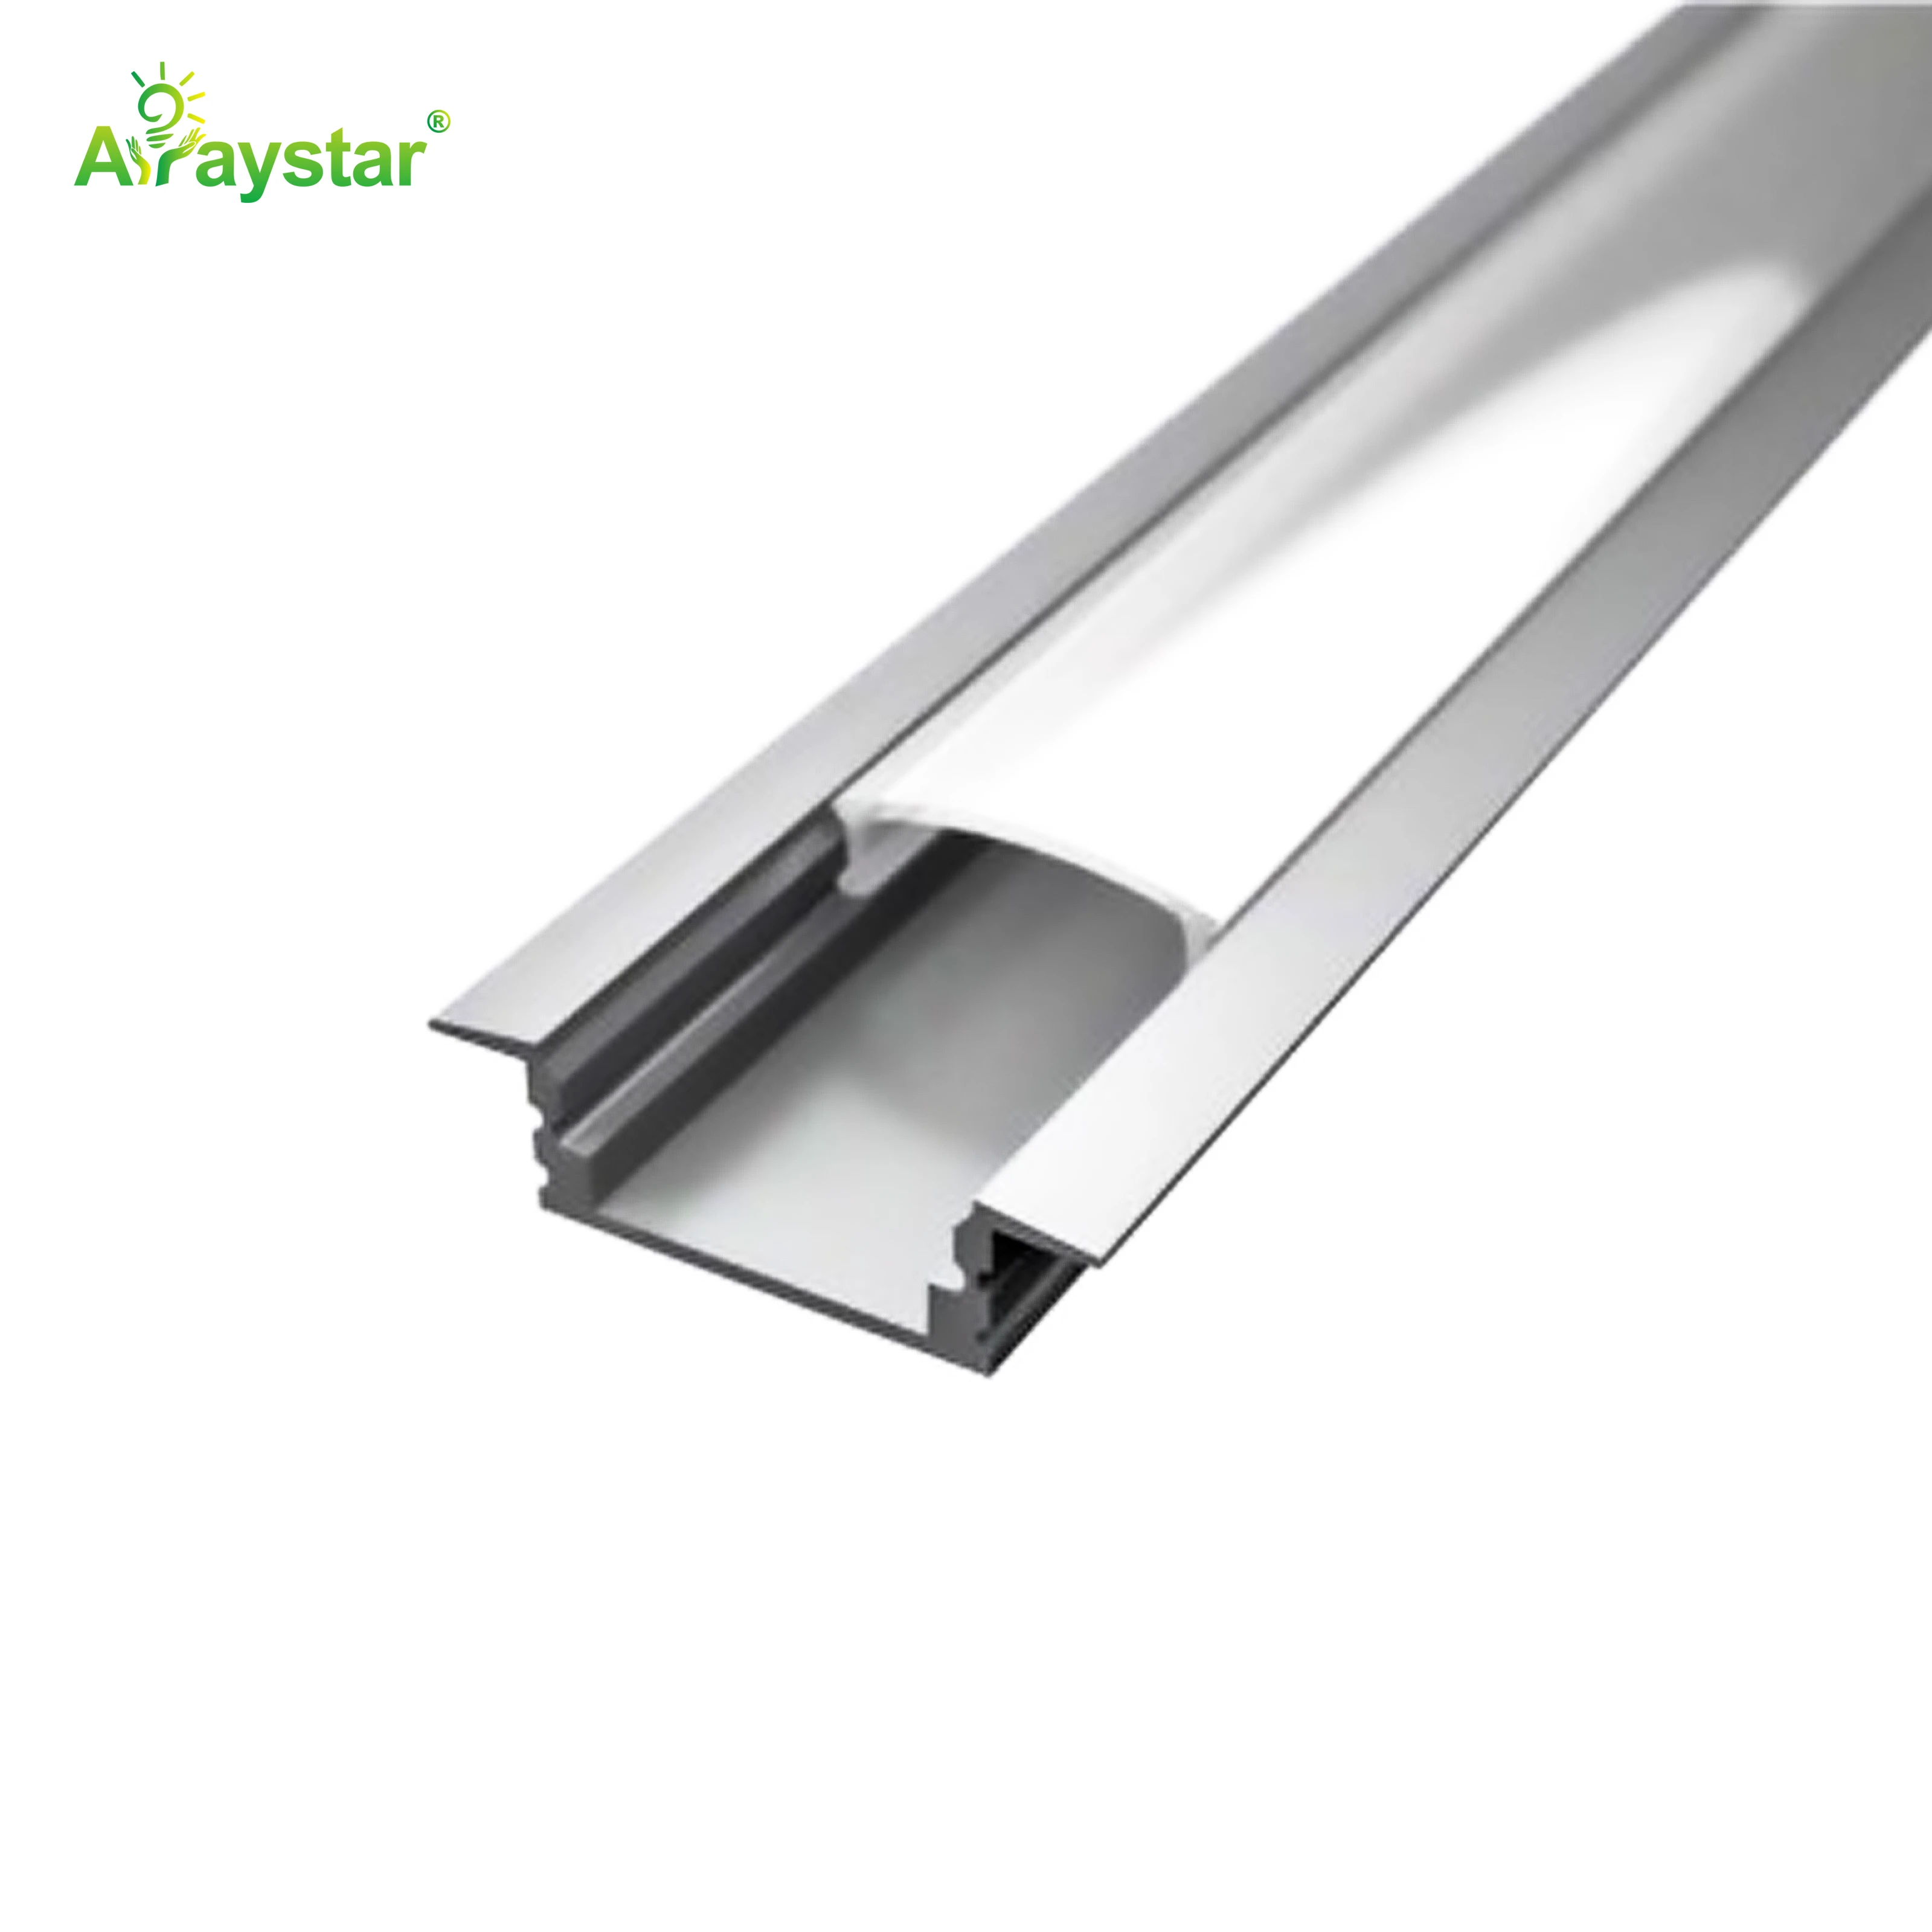
Where you want a broad soft wash rather than a defined edge - a wide coffer, a tray ceiling, a wall-wash pelmet - a wide recessed profile with room for the light to spread gives the smoothest gradient. The wider opening and deeper cavity let adjacent beams overlap before they reach the surface, eliminating the scalloped bands that narrow coves produce. These are specified at first fix because the recess dimensions drive the plasterboard or joinery build-up around them.
The Light Source: Continuous, High-CRI and Dimmable
Because the ceiling reflects the source, any gap or colour variation in the strip is magnified onto a large pale surface - the most unforgiving possible place for cheap tape. Use continuous COB with no physical gaps between sections, a high CRI (90+) so the reflected light renders the room's colours naturally, and consistent colour temperature along the whole run. Warm 2700-3000K is the classic cove choice for calm ambient light; neutral 4000K suits modern and commercial spaces. Put it on flicker-free dimming so the cove can be a soft night-time base or a brighter ambient layer.
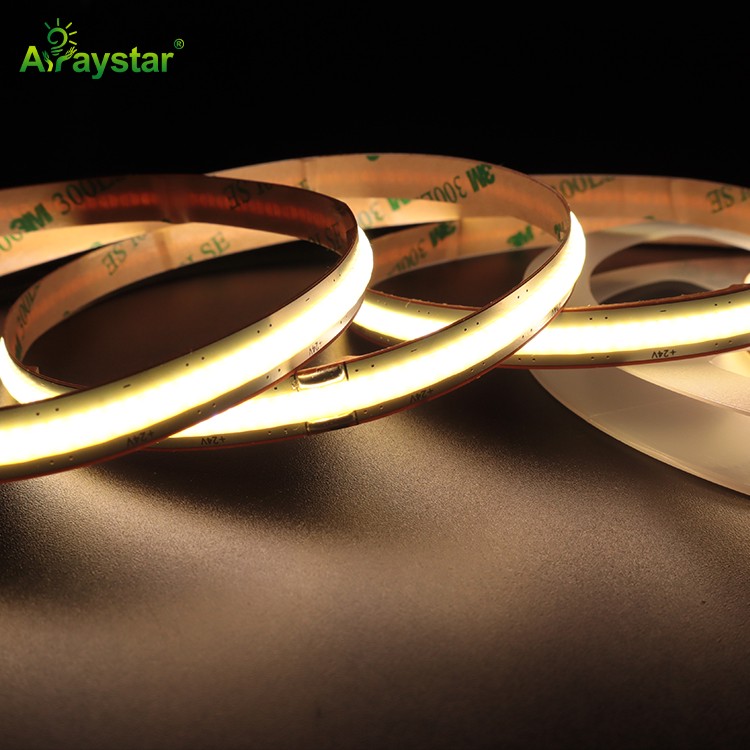
- Continuous COB with no gaps - the ceiling amplifies every break in the source.
- CRI 90+ and one consistent CCT bin so the reflected colour is even and natural.
- Flicker-free dimmable drivers; coves are usually dimmed, so test the low end.
- Paint the cove interior matte white to bounce light; gloss causes uneven highlights.
- Run strip in the aluminium profile for cooling and a fixed, repeatable aim.
Common Failures and the Mock-Up Habit
The failures I see repeatedly are visible chips because the lip is too short, a bright streak hugging the wall with a dark ceiling beyond because the throw is too small, scalloped bands from sparse strip or a narrow cavity, and colour streaks from mixed-batch tape. Almost all are avoidable with one discipline: build a one-metre mock-up at the real ceiling height with the actual profile, strip and paint, power it at night, and adjust the setback, lip and angle until the wash is smooth from every seat in the room. Lock those dimensions, then replicate them consistently along the run. The ten minutes spent on the mock-up is the difference between a cove that looks designed and one that looks installed.
Recommended Products
Frequently Asked Questions
What are the correct dimensions for LED cove lighting?
As a starting point for a ceiling cove, mount continuous strip about 100-150mm from the ceiling (throw) and 75-150mm set back from the wall, angled 30-45 degrees across the ceiling, with a hiding lip tall enough to block direct view of the chips from standing and seated eye level. These are starting figures only - ceiling height and room size change them, so always build a one-metre mock-up at the real height and tune setback, lip and angle before fixing the joinery or plaster.
How do I stop seeing LED dots in a cove?
Increase the throw distance so the beams blend before reaching the ceiling, use a continuous high-density COB source rather than sparse strip, add or raise the hiding lip so the chips are never in direct view, and paint the cove interior matte white to spread the reflection. A purpose 45-degree cove profile fixes the aim and hides the source consistently. If dots persist on a mock-up, deepen the cavity or raise the density before installing - do not fix it after plaster.
What LED strip is best for cove lighting?
Continuous high-CRI (90+) COB strip with no physical gaps, in one consistent colour-temperature bin - warm 2700-3000K for calm residential ambient, neutral 4000K for modern or commercial spaces - run in an aluminium cove profile on flicker-free dimmable drivers. The ceiling magnifies gaps and colour variation, so avoid cheap sparse or mixed-batch tape. Density can be moderate because the throw distance blends the light, but continuity and colour consistency are essential.
Why is my cove lighting a bright streak near the wall with a dark ceiling?
The throw distance is too small and/or the strip is aimed too steeply, so the light hits the ceiling close to the wall instead of washing across it. Increase the gap between the strip and the ceiling, reduce the setback slightly if needed, and angle the strip 30-45 degrees across the surface rather than straight up. Taller rooms need more throw and often denser or brighter strip to carry the wash to the centre of the ceiling.
Should cove lighting be installed before or after plastering?
Recessed and plaster-in cove profiles are first-fix items: the channels and recess dimensions go in before plasterboarding and skimming so the finished line is flush and seamless. Surface cove extrusions and retrofit joinery coves can be fitted later behind cornices or shelf lips. Either way, build and approve a lit one-metre mock-up at the real ceiling height before first fix, because changing setback or lip height after plaster means opening up the ceiling.
Need help with your LED project?
Get factory-direct pricing, free samples and engineering support within 24 hours.
Email: info@arraystarled.com | Phone: +86-0755-2103-6746 | WhatsApp: 0086 1581 8514 077
Need to size your power supply? Use our LED Strip Power Calculator to find the right driver in seconds.







