
DMX512 Wiring, Termination & Addressing: A Hands-On Setup Guide for LED Strips
- 2026-09-30 17:38
- /
- Arraystar LED
DMX512 is a rugged, decades-old standard that works flawlessly when you respect three rules - correct daisy-chain wiring with a terminator, unique addressing per fixture, and a clean common ground - and behaves mysteriously (flicker, lag, channels controlling the wrong lights) when you don't. Most 'DMX problems' I get called for aren't defective fixtures, they're missing terminators, star wiring, duplicated addresses or ground loops. Get the bus topology, termination and addressing discipline right and DMX is rock solid for running strip and fixtures together.
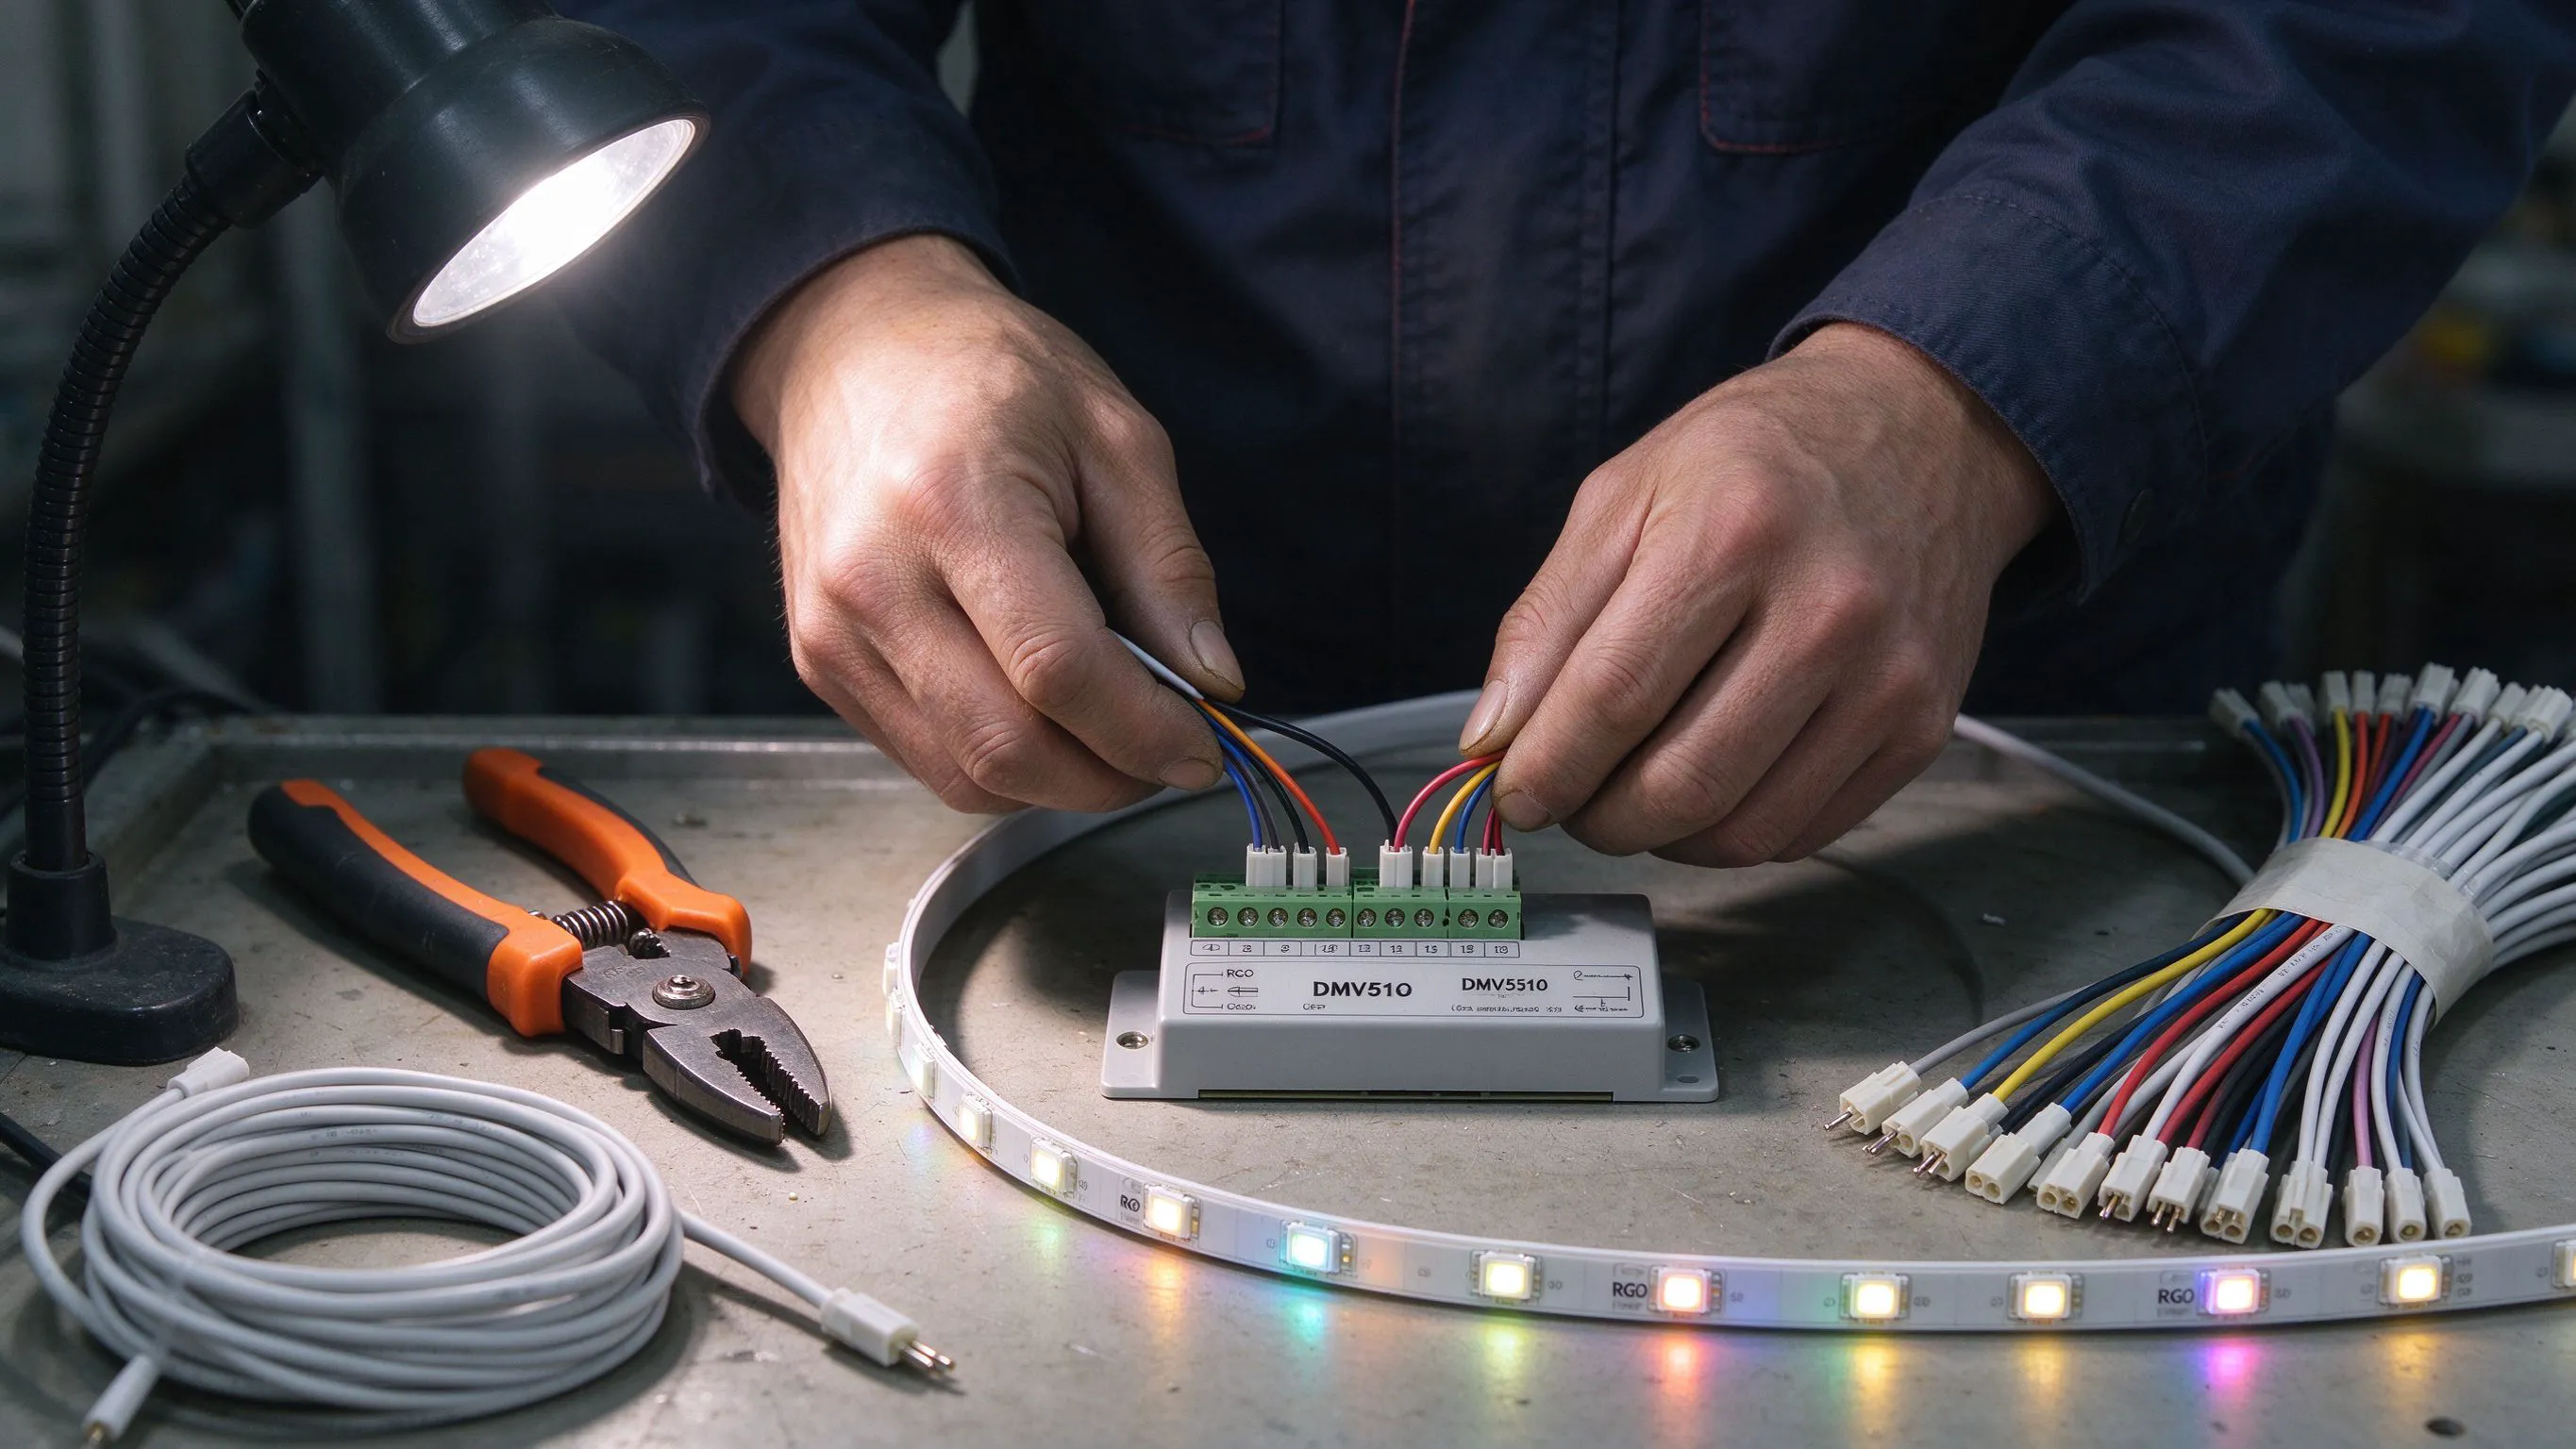
DMX Is a Bus, Not a Star - Wire It Like One
DMX512 sends up to 512 control channels as a serial data stream over a daisy-chained bus from the controller/console to fixture after fixture, each with an IN and an OUT (or thru) connector. The single most common wiring mistake is treating it like audio or network cable and running a 'star' with multiple branches from one point, which causes signal reflections and erratic behavior.
Run DMX as one continuous daisy chain: controller OUT to first fixture IN, that fixture's OUT/thru to the next, and so on. Use proper DMX cable (characteristic impedance 120 ohm - microphone cable is not DMX cable despite looking identical), keep runs within the standard's distance guidance, and avoid cheap adapters that break the characteristic impedance.
Termination: the 120-Ohm Cap Everyone Forgets
A DMX bus must be terminated at the very last fixture with a 120-ohm resistor between the data pair (data+ and data-). Without the terminator, the signal reflects back from the open end of the line and collides with incoming data - producing flickering, random channel changes, fixtures responding late or not at all, and problems that mysteriously appear only with certain scenes.
Many fixtures have a termination switch or include a terminator plug; otherwise fit a 120-ohm terminator cap on the last device's OUT. Terminate only the physical end of the chain - one terminator per bus, not every fixture. If a long or split install genuinely needs branches, use an optically isolated DMX splitter/booster rather than improvising a star.
- Daisy-chain IN-to-OUT; never branch a DMX line into a star.
- Fit a single 120-ohm terminator at the last fixture on the bus.
- Use real 120-ohm DMX cable, not mic cable or generic signal wire.
- Use an opto-splitter/booster for genuine branches or very long runs.
- Keep DMX data away from mains and dimming cables to reduce interference.
Decoders: Turning DMX Into Strip Output
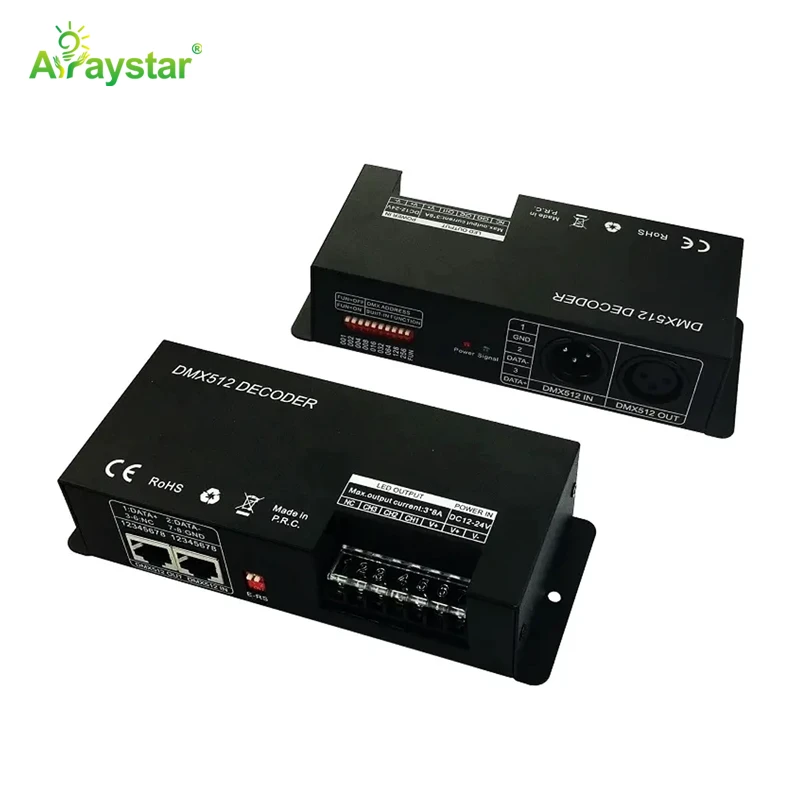
LED strip doesn't speak DMX directly - a decoder receives DMX channels and outputs the PWM (or SPI data) that drives the tape. A 4-channel DMX512 decoder controller handles single-color, CCT, RGB or RGBW strip by mapping DMX channels to output channels, and is the bridge between the console bus and a run of constant-voltage tape.
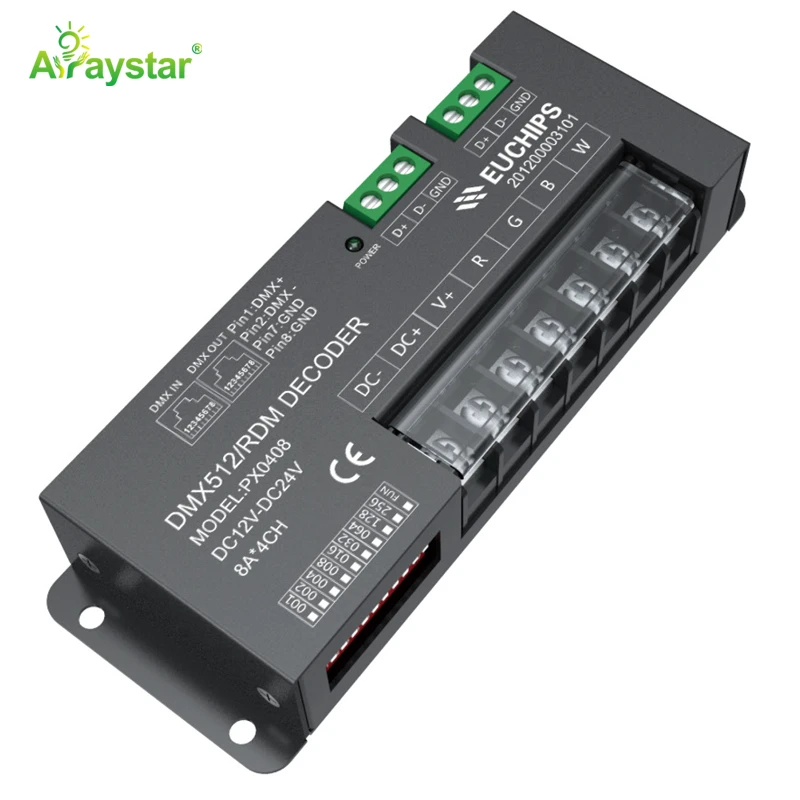
The DMXCM 4-channel decoder is the standard bridge for conventional PWM strip, while the PX0408 DMX512/RDM RGBW decoder adds RDM (remote device management), which lets the console remotely discover and address fixtures - a big time-saver on large installs. Each decoder occupies a block of consecutive DMX channels (4 for RGBW, plus any master/control channels), so plan channel allocation as you add devices.
Addressing and Channel Allocation
Every fixture or decoder on a DMX bus must have a unique starting address (1-512) telling it which channels to listen to. Two devices set to the same address respond identically - which is why duplicated addresses cause lights to 'follow' each other unintentionally. Set addresses sequentially without overlap, accounting for how many channels each device consumes.
Worked allocation: an RGBW decoder starting at address 1 consumes channels 1-4; the next RGBW decoder must start at 5 (consuming 5-8); an RGB decoder after that starts at 9. Document the address map as you build - on a big show an undocumented address scheme costs hours of troubleshooting. RDM-capable decoders can be addressed remotely from the console, avoiding trips to each fixture.
Sequential DMX address allocation with no overlap.
| Device type | Channels used | Example start addresses |
|---|---|---|
| Single-color dimmer | 1 | 1, 2, 3 ... |
| CCT tunable white | 2 | 1, 3, 5 ... |
| RGB decoder | 3 | 1, 4, 7 ... |
| RGBW decoder | 4 | 1, 5, 9 ... |
DMX-Ready Strip and Grounding
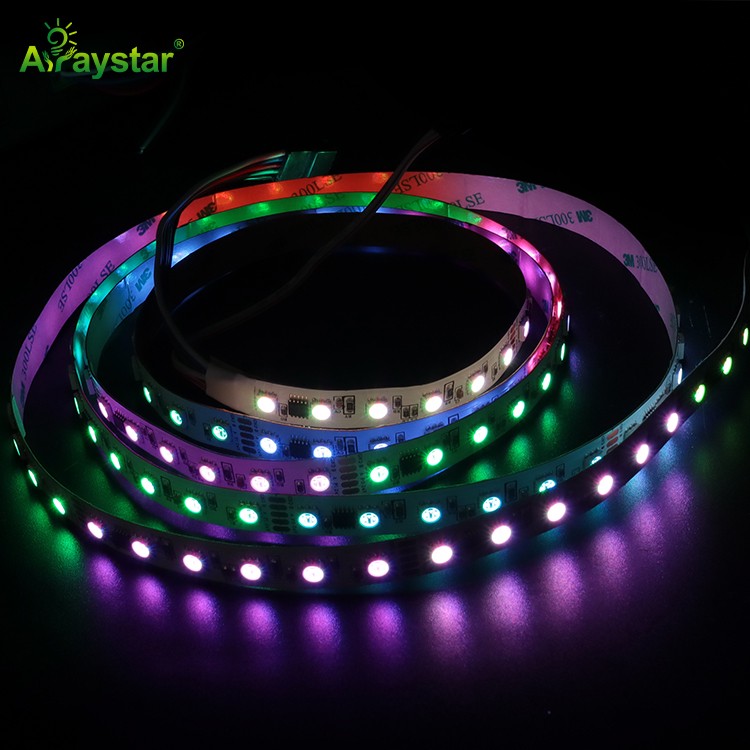
For pixel-style strip that natively consumes DMX, products like the DMX512 5050 IC strip have the decoder IC built in along the tape, so each segment is addressed directly from the DMX bus rather than through a separate decoder - useful for linear DMX runs and fixtures where external decoders would be cumbersome.
Finally, grounding: connect the data reference (common/ground) consistently through the chain and keep the DMX ground referenced to the system; ground loops between separately powered sections cause the same flicker as a missing terminator. Opto-isolated splitters and decoders break ground loops between mains-fed zones while passing the data cleanly.
Recommended Products
Frequently Asked Questions
How do you wire DMX512 correctly?
Daisy-chain the controller to each fixture IN-to-OUT using proper 120-ohm DMX cable (not mic cable), no star branches, and fit a single 120-ohm terminator at the last fixture. Keep data away from mains cables, use opto-splitters for genuine branches or long runs, and maintain a consistent common ground.
Why do DMX lights flicker or respond erratically?
The usual causes are a missing 120-ohm terminator (signal reflections), star wiring instead of a daisy chain, incorrect/non-DMX cable, duplicated fixture addresses, or ground loops between separately powered sections. Check termination and topology first - most 'faulty fixtures' are actually bus problems, not hardware failures.
How do I set DMX addresses on LED decoders?
Give every decoder a unique starting address (1-512) with no overlap, advancing by the channels each device uses: 1 for single-color, 2 for CCT, 3 for RGB, 4 for RGBW (so RGBW decoders start at 1, 5, 9...). Document the map. RDM-capable decoders like the PX0408 can be discovered and addressed remotely from the console.
What is the difference between a DMX decoder and DMX-built-in strip?
A DMX decoder (like the DMXCM 4-channel or PX0408) is a separate box that receives DMX and outputs PWM/SPI to ordinary constant-voltage strip. DMX-built-in strip (like the DMX512 5050 IC tape) has the decoder IC embedded along the strip, so segments are addressed directly on the bus without external decoders - handy for linear DMX fixtures.
What is RDM and do I need it?
RDM (remote device management) lets a controller discover, address, configure and monitor compatible fixtures remotely over the same DMX wiring, in both directions. It's a major labor-saver on large installs with many decoders (the PX0408 supports it), removing the need to physically visit each device to set dip-switches. It's optional on small shows but valuable at scale.
Need help with your LED project?
Get factory-direct pricing, free samples and engineering support within 24 hours.
Email: info@arraystarled.com | Phone: +86-0755-2103-6746 | WhatsApp: 0086 1581 8514 077
Need to size your power supply? Use our LED Strip Power Calculator to find the right driver in seconds.







