How to Install LED Strip Lights: Step-by-Step Guide for Beginners
- 2026-09-09 15:28
- /
- Arraystar
Quick Answer
Installing LED strip lights is straightforward: 1) Plan your layout and measure lengths, 2) Clean the mounting surface with alcohol, 3) Cut strips at marked cut points if needed, 4) Peel adhesive backing and press firmly onto surface, 5) Connect strips to power supply (observe polarity), 6) Test before final mounting, 7) Use connectors or soldering for joins. Always disconnect power before making connections, and use appropriate voltage power supplies.
Tools and Materials Needed
Essential tools: LED strip lights, power supply (correct voltage/wattage), scissors or utility knife, rubbing alcohol and clean cloth, tape measure, optional: LED controller/dimmer, connectors (wire-to-strip, strip-to-strip), soldering iron and solder (for permanent connections), heat shrink tubing, mounting clips or aluminum channels, wire strippers, electrical tape. Having all tools ready before starting makes the installation smooth and efficient.
Step 1: Planning and Measurement
Before cutting or installing, carefully plan your layout. Measure the total length needed. Identify where you will place the power supply and controller. Note any corners or obstacles—strips can bend gently but cannot be folded at sharp angles (use corner connectors instead). Calculate your power supply size: total watts = W/m × meters, then add 20% headroom. For runs longer than 5m (12V) or 10m (24V), plan for power injection at both ends.
Step 2: Surface Preparation
Proper surface preparation is critical for adhesive-backed strips to stay mounted long-term. 1) Clean the surface thoroughly with rubbing alcohol to remove dust, grease, and residue. 2) Ensure the surface is completely dry. 3) For porous surfaces (wood, drywall), consider using mounting clips or aluminum channels instead of adhesive. 4) For surfaces that get warm (above 40°C), adhesive may fail—use mechanical mounting. 5) Ideal surfaces: smooth metal, glass, plastic, painted wood. Avoid: textured surfaces, wallpaper, fabrics, dirty or oily surfaces.
Step 3: Cutting and Connecting
Cutting: LED strips can only be cut at designated cut points (marked with copper pads and scissors icon). Cutting elsewhere will damage the circuit and that section will not work. Use sharp scissors or a utility knife for a clean cut. Connecting: There are two methods—connectors (quick, reversible, good for beginners) and soldering (permanent, reliable, better for high-current or outdoor). When connecting, always match polarity: positive (+) to positive, negative (-) to negative. Reversing polarity will not damage the strip but it will not light up. For RGB strips, match R, G, B, and common (+ or -) pins.
Step 4: Mounting and Testing
Mounting: Peel the adhesive backing gradually as you press the strip onto the surface. Press firmly along the entire length, especially at the ends and near connectors. For best adhesion, apply pressure for 30 seconds per section. If using aluminum channels, insert the strip into the channel before mounting. Testing: BEFORE permanently mounting all sections, connect everything and test! Verify all sections light up, check for correct color (if RGB), test dimming/controller functions, and check for any flickering or dim sections (indicates voltage drop or poor connection). Only after confirming everything works should you complete the final mounting.
Common Installation Mistakes to Avoid
| Factor | Option A | Option B |
|---|---|---|
| Brightness | Medium-High | High |
| Efficiency | Good | Excellent |
| Cost | Lower | Higher |
| Best For | General applications | Premium installations |
Recommended Products
ART-4020 Stainless Steel Flexible Mounting Clips / Profile Channel for LED Strips, 50m/Carton Bulk Pack
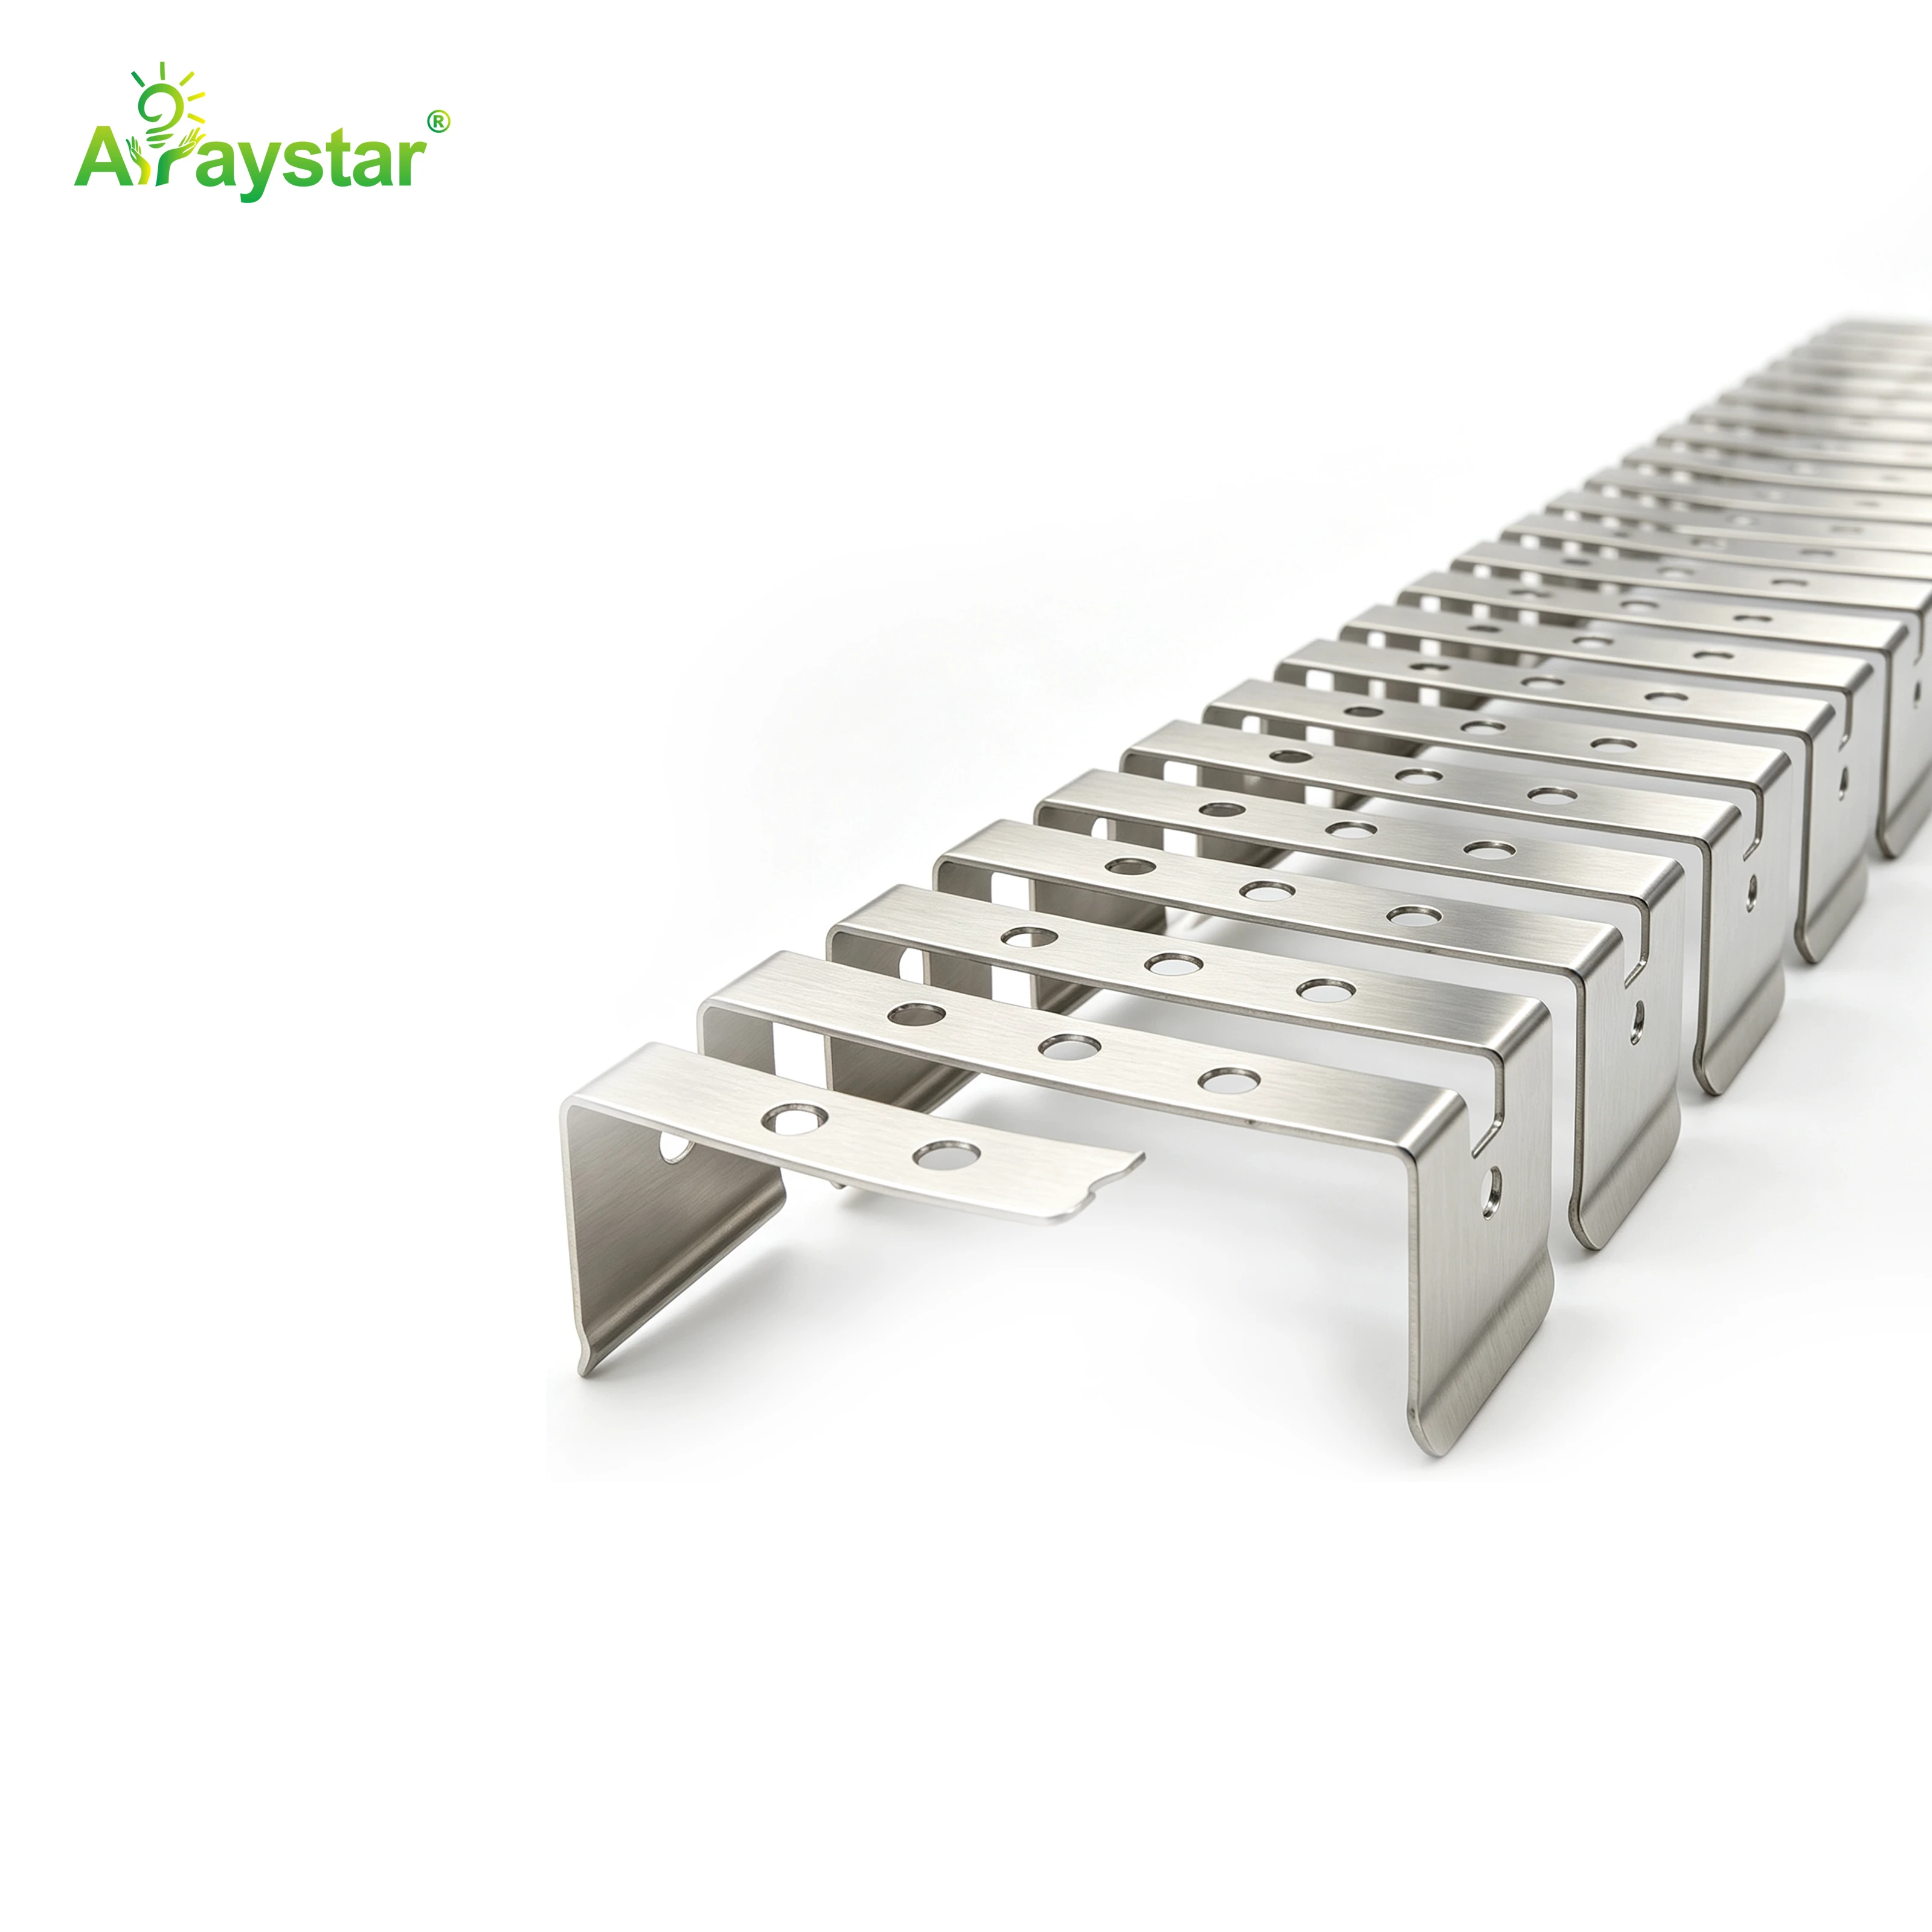
ART-4020 stainless steel flexible mounting clips for LED aluminum profile channel. Easy installation for LED strip extrusion systems. From Arraystar LED.
220V AC High Voltage Flexible COB Strip
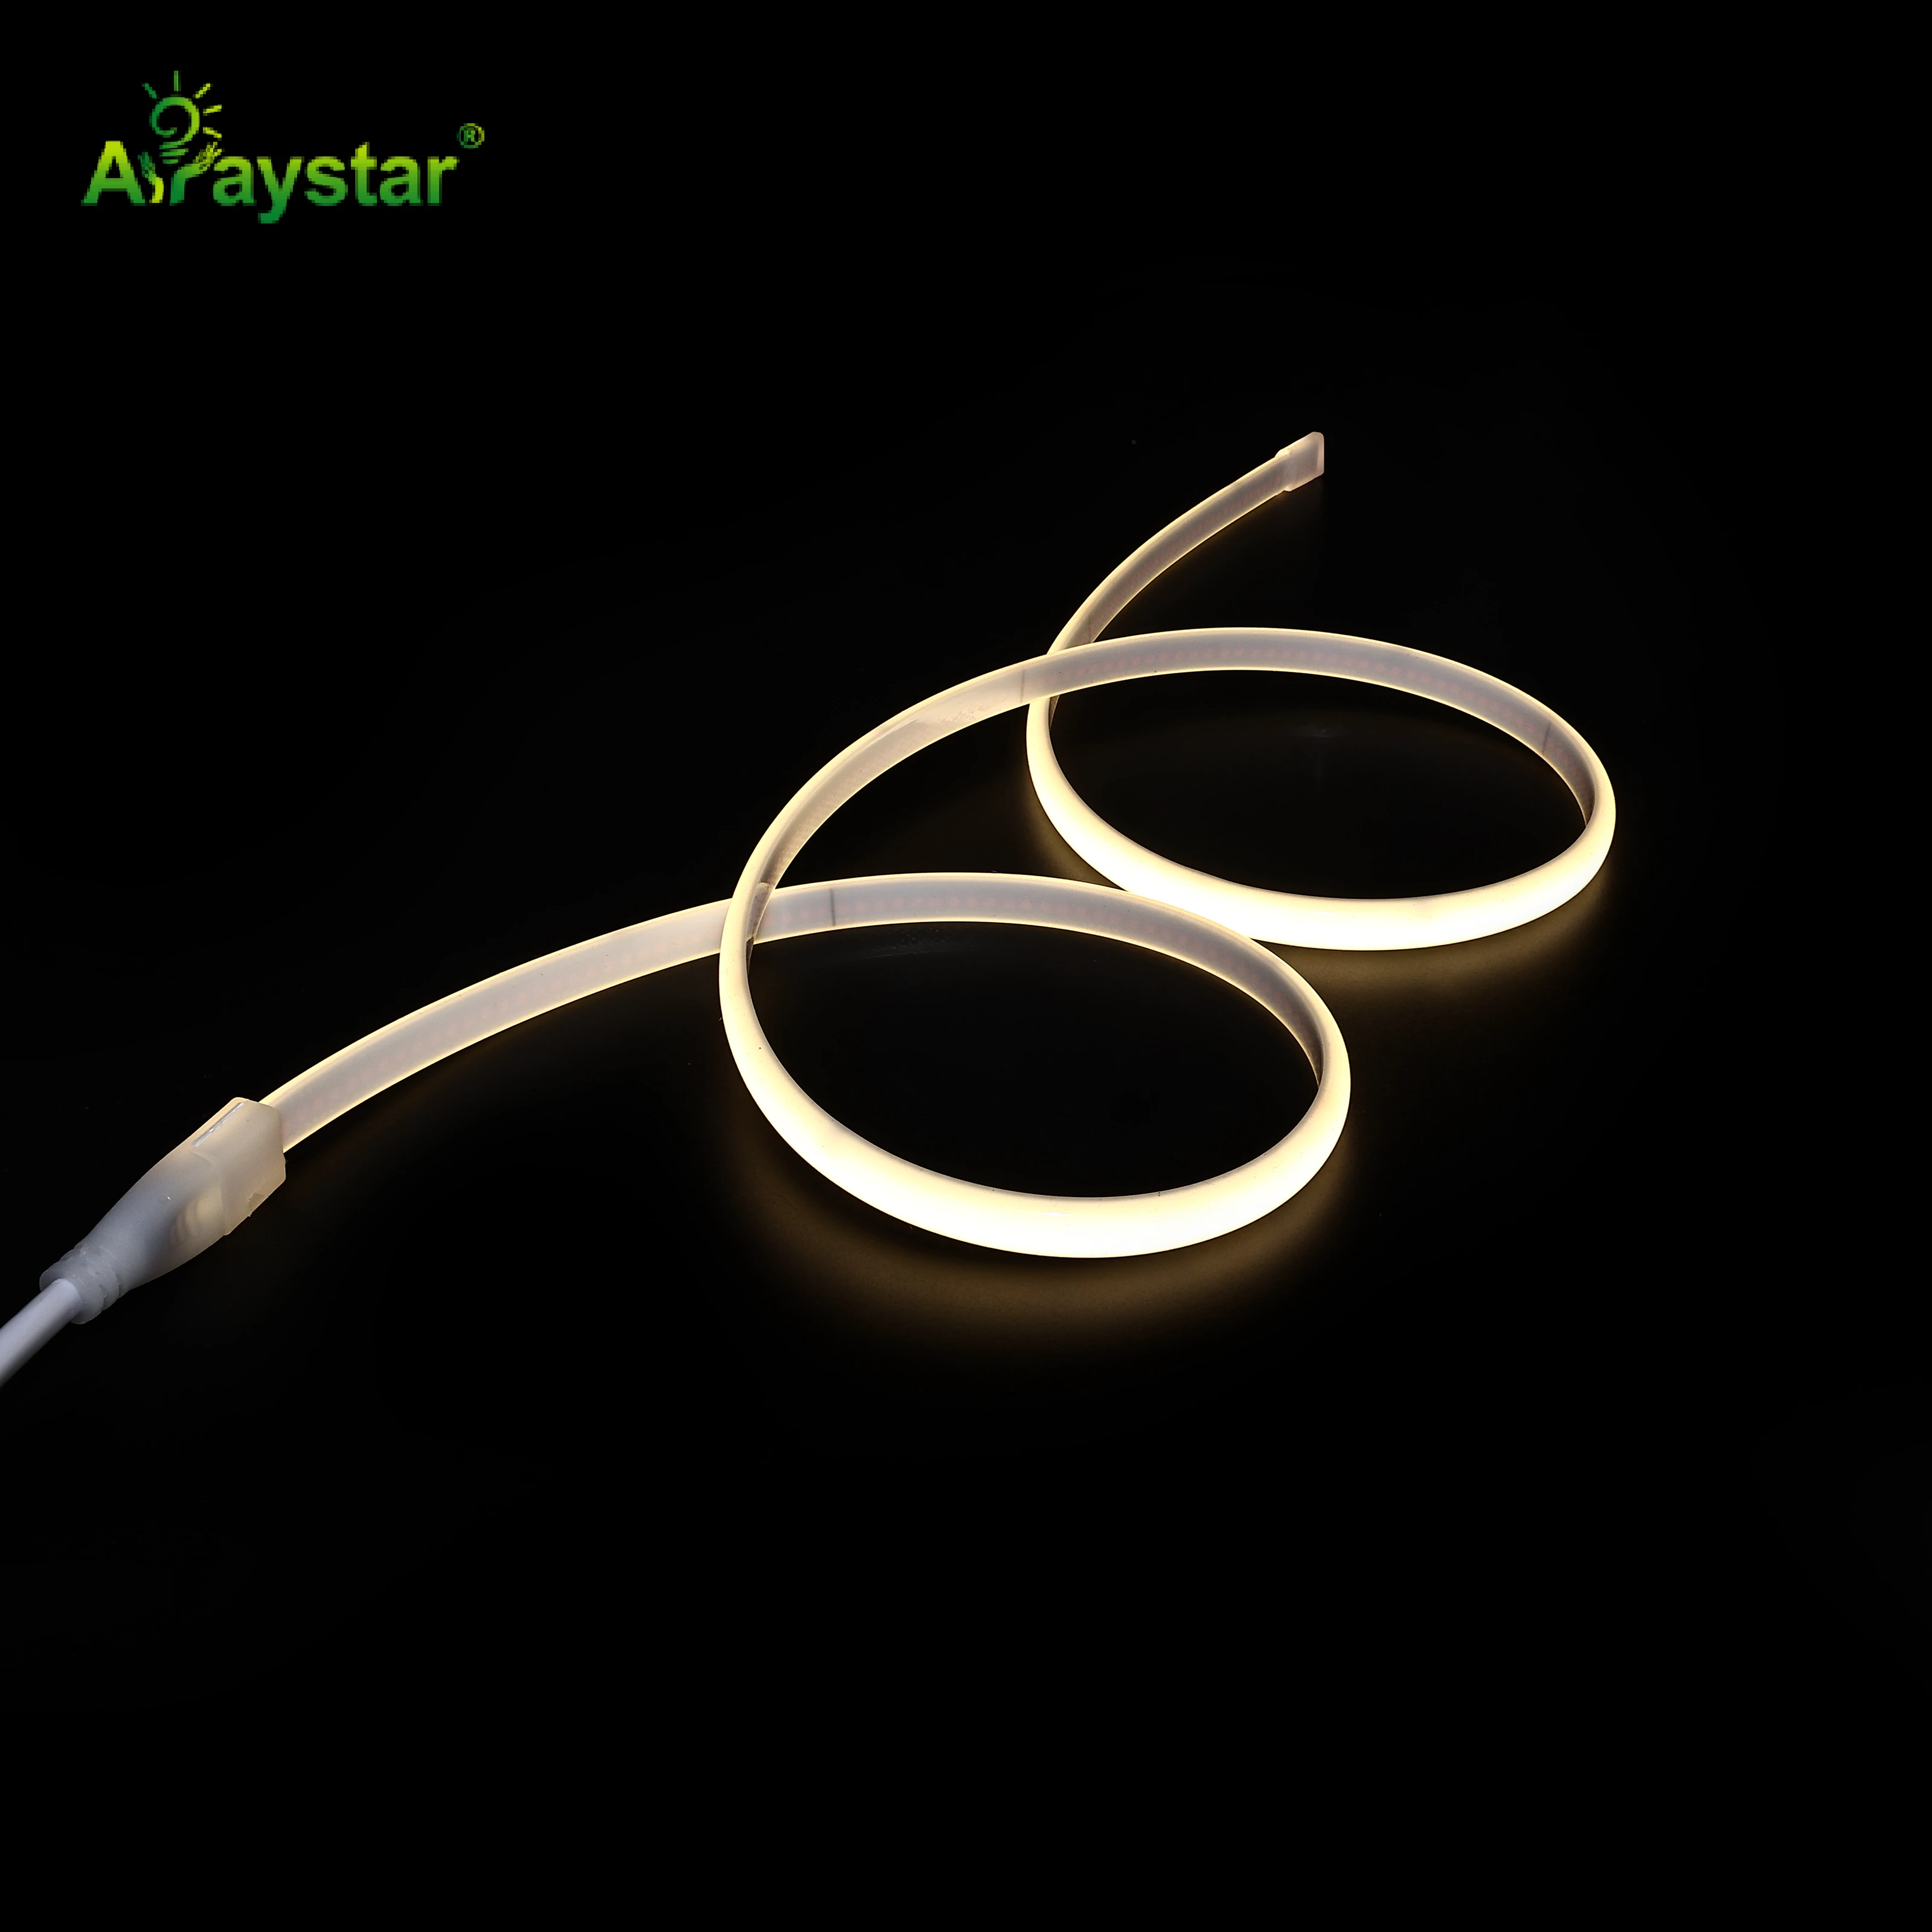
Model Color Voltage Power LED Type CRI LED Qty Lumen ART-COB-296-SWW-220V 2700K AC220V 10W/m SMD2018 >80 296 LEDs/m >110 lm/W ART-COB-296-WW-220V 3000K AC220V 10W/m SMD2018 >80 296 LEDs/m
Frequently Asked Questions
Q: Can s-shaped neon mounting channel be used outdoors?
A: Only IP65 or higher rated strips are suitable for outdoor use. IP65 for covered/splash areas, IP67 for exposed outdoor, IP68 for underwater/submersion. Always use waterproof connectors and properly seal all connections for outdoor installations.
Q: How do I calculate the power supply size for s-shaped neon mounting channel?
A: Multiply the strip's wattage per meter by total length, then add 20% headroom. For example: 5m × 14.4W/m = 72W + 20% = 86.4W, so choose a 100W power supply. Always use a power supply rated for LED applications.
Q: What should I consider before buying s-shaped neon mounting channel?
A: Key factors include: required brightness (lumens/m), color temperature, voltage (12V/24V/48V), IP rating for environment, LED density, CRI requirement, dimming compatibility, and total run length. Calculate total wattage to size your power supply correctly.
Q: How do I dim s-shaped neon mounting channel?
A: Multiple dimming options available: 0-10V, PWM, TRIAC, DALI, DMX512, and wireless (WiFi/Zigbee/Bluetooth). Ensure your dimmer is compatible with the strip's voltage and current. COB strips dim especially smoothly due to uniform light output.
Q: What is the maximum run length for s-shaped neon mounting channel?
A: This depends on voltage and copper weight. 12V strips typically max 5m, 24V up to 10m, 48V up to 20m. For longer runs, use power injection at both ends or intermediate points to prevent voltage drop and color shift.
Conclusion
Installing LED strip lights is straightforward: 1) Plan your layout and measure lengths, 2) Clean the mounting surface with alcohol, 3) Cut strips at marked cut points if needed, 4) Peel adhesive backing and press firmly onto surface, 5) Connect strips to power supply (observe polarity), 6) Test before final mounting, 7) Use connectors or soldering for joins. Always disconnect power before making connections, and use appropriate voltage power supplies. Arraystar LED offers 15+ years of LED strip manufacturing experience with full OEM/ODM capabilities, CE/RoHS/ERP certification, and 3-year warranty. Contact our team for a free consultation and custom quote for your project.
Ready to start your project? Contact us today for expert guidance and competitive pricing.
About the Manufacturer
ArrayStar LED is a professional LED strip manufacturer in Shenzhen, China since 2010, serving 80+ countries. We support custom OEM/ODM projects (custom CCT, CRI, PCB, logo, packaging) and wholesale supply for distributors and contractors worldwide.