
How to Re-thread a Neon Tube Sleeve on an Existing Sign
- 2026-10-09 18:39
- /
- Arraystar LED
A yellowed, cracked or cloudy neon sleeve can usually be replaced without rebuilding the sign or even removing the LEDs. Re-threading fresh silicone tube over the working strip is fast once you know the lubrication, feeding and sealing tricks; the jobs that go wrong are the ones where someone forces a dry tube or reuses a sleeve with the wrong inner size. When the LEDs themselves are degraded, the strip has to come out too.
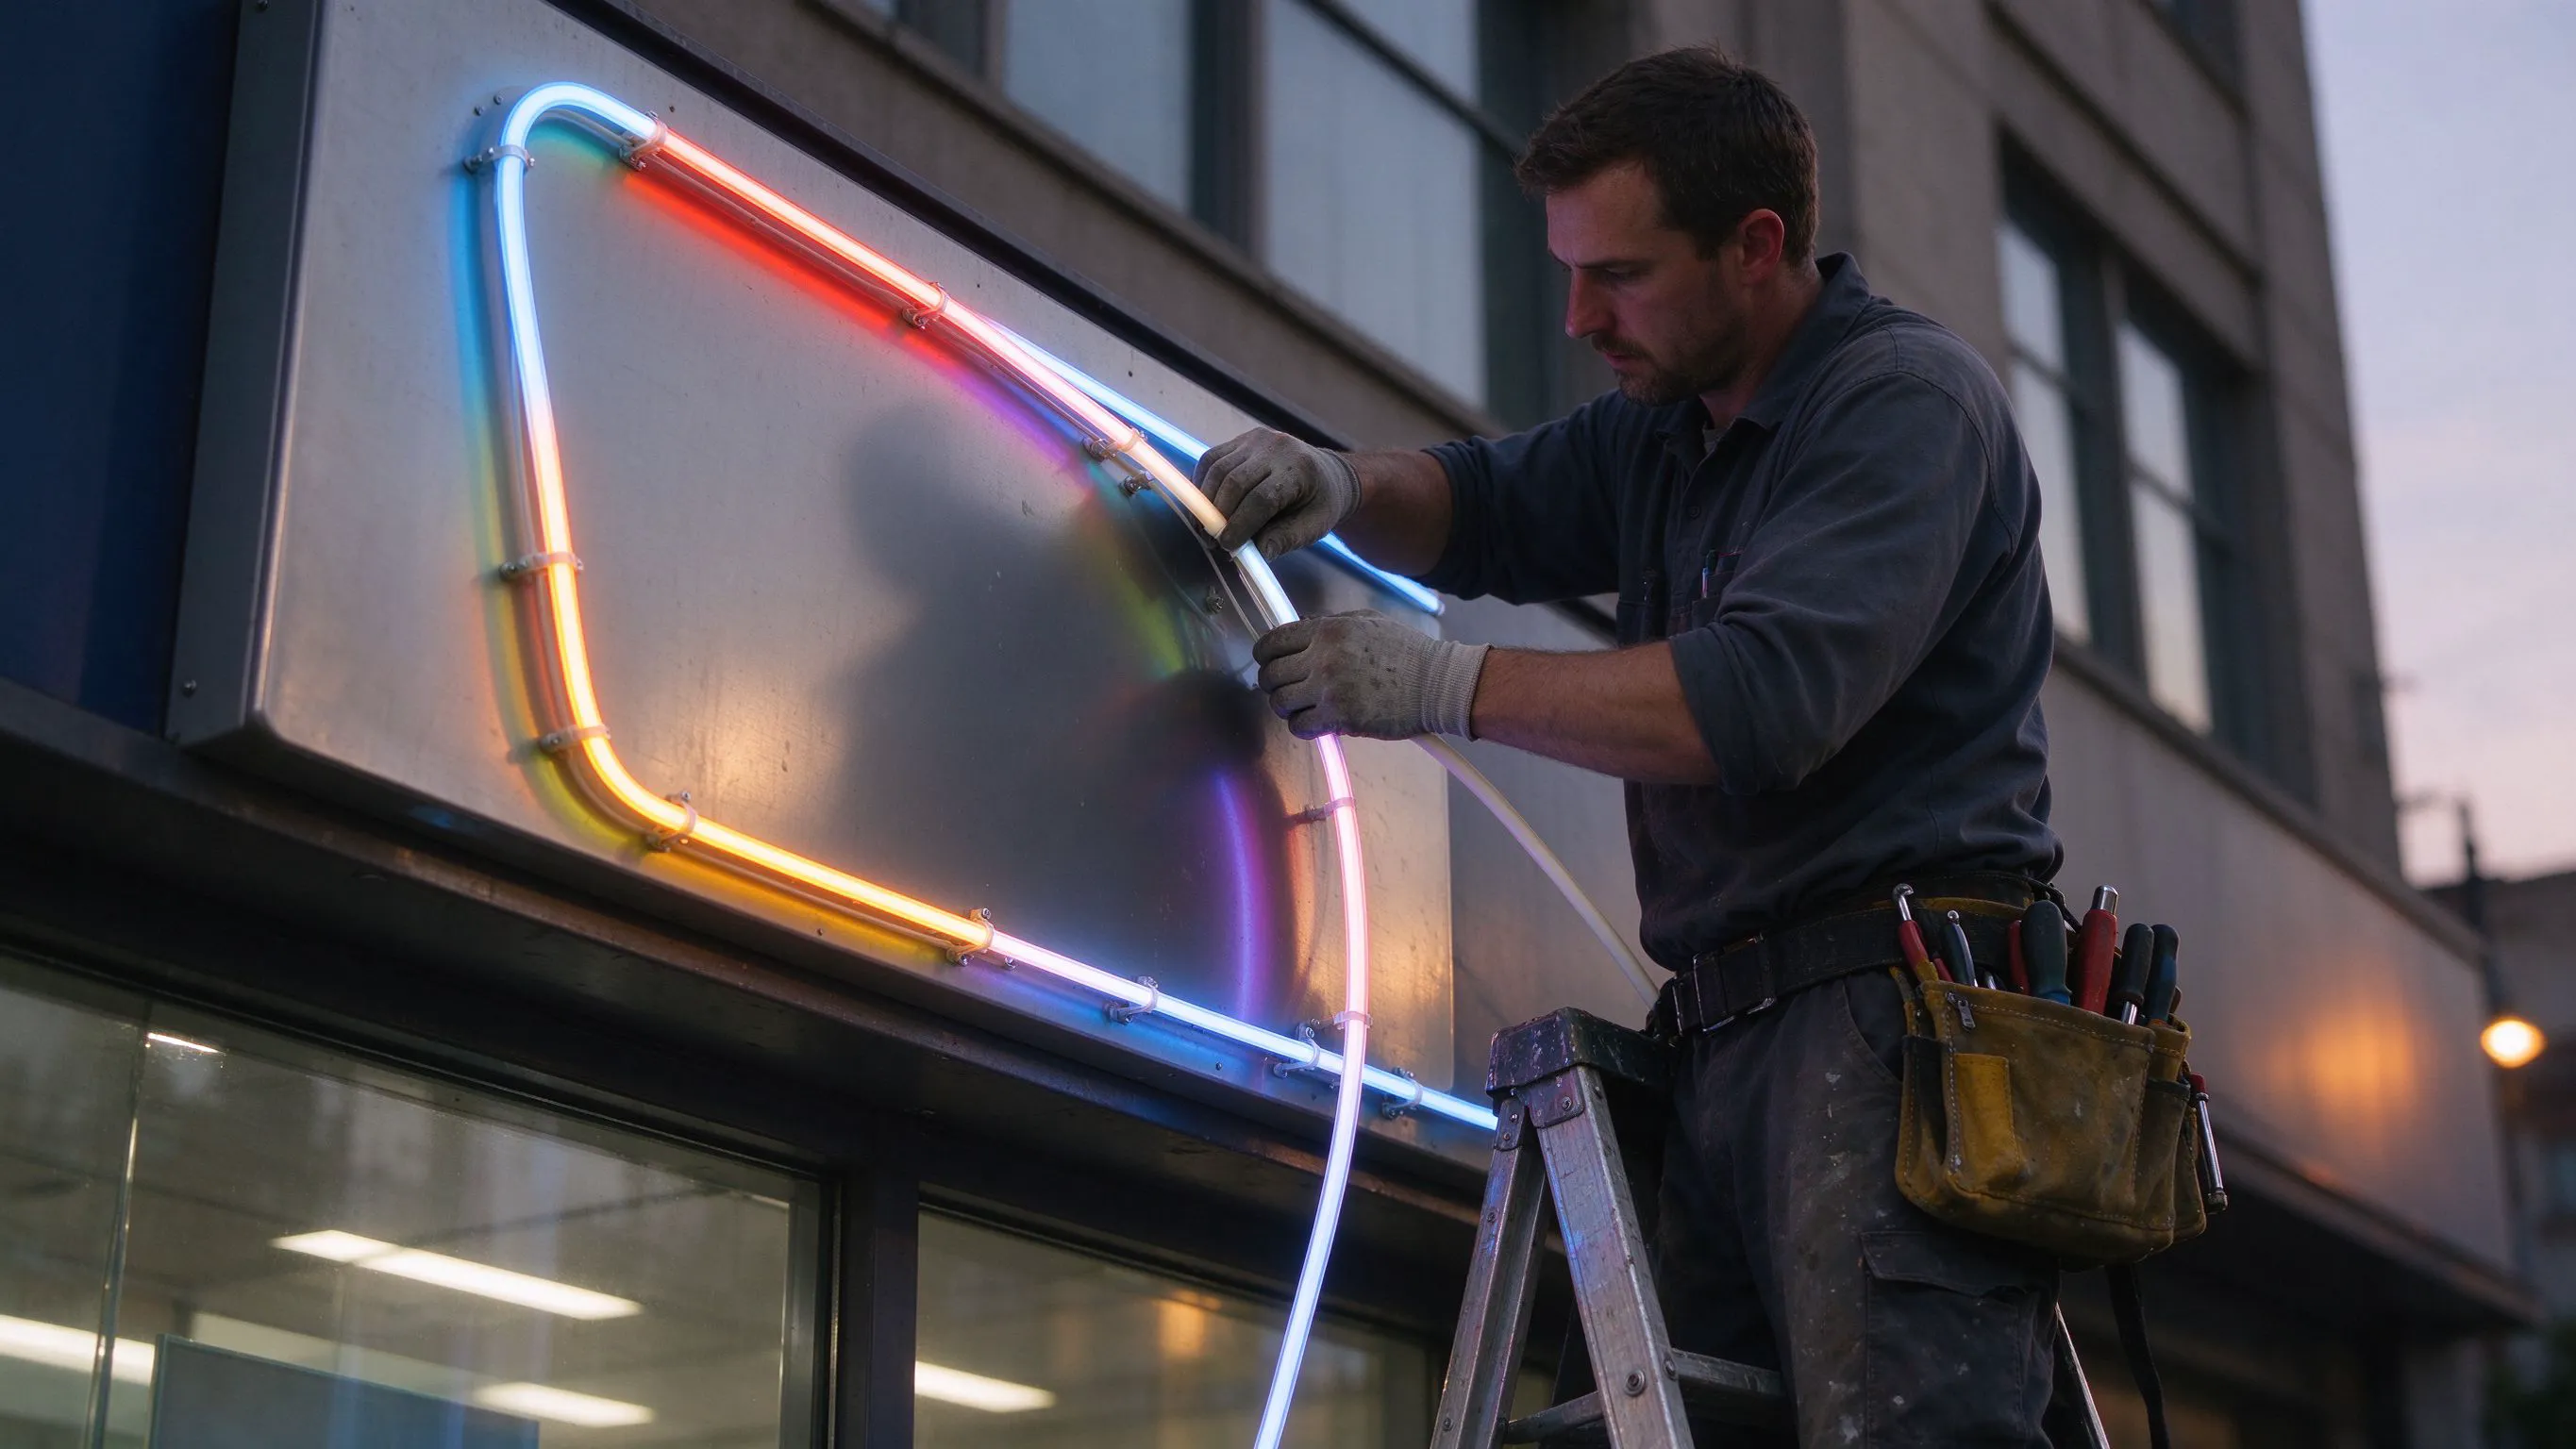
Decide Whether It Is Just the Sleeve
Before I order replacement silicone I diagnose what actually failed. If the LEDs light cleanly and evenly but the tube is yellowed, chalky, torn or cloudy, only the sleeve needs replacing. If there are dark segments, flickering, colour shift or water-corroded board, the strip is at end of life and re-sleeving alone is a waste of labour.
Diagnose before you order parts.
| Symptom | Likely fault | Action |
|---|---|---|
| Tube yellow/brown, LEDs even | UV-aged or cheap sleeve | Re-thread new tube only |
| Cracked or torn silicone, LEDs fine | Mechanical or heat damage | Replace sleeve; check heat cause |
| Dark or flickering sections | Failed LEDs / water ingress | Replace strip (and sleeve) |
| Moisture or corrosion inside | Failed sealing | Replace strip and sleeve, reseal |
Order the Correct Replacement Tube
The new sleeve must match the strip width and the original cross-section. A tube with too small an inner channel will not feed over the strip or will grip so tightly that it overheats; one that is too loose leaves the strip able to twist, which shows as uneven light and rubbing.
- Identify the existing profile size (for example a common 1515 body) and order the matching inner channel.
- Match the bend type: top-bend, side-bend or a multi-directional tube, depending on the sign geometry.
- Choose the correct grade for the location: UV-stable or PET-film outdoors, standard silicone indoors.
- Order a little extra length for practising the first feed and for trimming the ends.
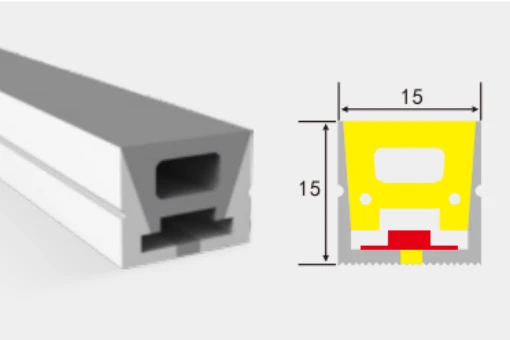
The ART-NT1515 is one of the most common sizes I keep as a replacement because a huge installed base of signs was built around it. If you are unsure of the original profile, send a 20 mm cross-section offcut and the strip width and match it physically rather than guessing from a photo.
Tools and Preparation
- The new silicone tube, cut slightly long.
- A suitable lubricant: a small amount of soapy water or a manufacturer-recommended silicone-safe lubricant; never use oil-based products that attack silicone.
- Fresh end caps, sealant and any clips that are brittle or corroded.
- Side cutters, a clean cloth, isopropyl alcohol and, for long runs, a second pair of hands.
Work with the sign accessible and, ideally, powered off while you handle the strip. On high-mounted or rooftop signs, do the re-sleeve at ground level if the run can be removed; if not, plan safe access before you start pulling tubing around in the air.
The Re-Threading Step-by-Step
1. Remove the old sleeve
Cut away the damaged silicone lengthwise with care not to nick the strip, then peel it off. Inspect and clean the exposed LEDs with alcohol and let them dry fully.
2. Prep the new tube
Dampen the inner channel lightly with the lubricant. The goal is a thin film that lets the tube slide, not a flooded sleeve that traps moisture. Blow or wipe any excess out of the far end.
3. Feed the strip in
Start the strip squarely into the tube opening and push rather than pull where possible, gathering the silicone onto the strip like a sleeve. For long runs, one person feeds while the other guides and prevents twisting. Keep the strip centred so the LEDs face the emitting window.
4. Work the bends
At corners, flex the tube in its designed bend direction and feed a little at a time. Do not twist a top-bend tube sideways to clear a corner; that kinks the body and misaligns the light.
5. Trim and seal
Trim the ends square, fit fresh end caps and seal outdoor runs so water cannot wick in. Reinstall clips, power up and check the full length for even light before closing the sign.
The Three Mistakes That Ruin a Re-Sleeve
- Forcing a dry tube. No lubrication means high friction, stretched silicone and a strip that rolls inside the sleeve. Take the two minutes to lubricate.
- Wrong inner size. A tube that is too tight overheats the LEDs; too loose and the strip twists and rubs. Match the channel exactly.
- Reusing old seals. If you have opened an outdoor sleeve, fit new end caps and sealant. Reusing the old seals is how water gets straight back in.
When to Stop and Replace the Whole Run
Re-threading is a repair, not a resurrection. If the strip shows corrosion, repeated dark sections, failing waterproofing or LEDs that have shifted well toward blue or dim, sleeve it in fresh silicone and it will still fail from the inside. At that point replacing the strip and the sleeve together, with new seals, is cheaper than repeating the labour. I also replace the whole run rather than patch a section when the old and new silicone grades would visibly differ on the same face.
We can supply matching replacement sleeves in the common 1515 and many other cross-sections, along with end caps and seals. Send an offcut and a photo of the strip label and we will confirm the exact tube so the repair fits the first time.
Recommended Products
Frequently Asked Questions
Can I replace a yellowed neon sleeve without removing the LEDs?
Usually, yes. If the LED strip still lights evenly, cut and peel off the old silicone and re-thread a new matching tube over the strip in place. If the LEDs are dark, flickering or corroded, replace the strip as well rather than re-sleeving a failing run.
What lubricant can I use to feed neon tube over the strip?
Use a light film of soapy water or a lubricant the tube manufacturer confirms is silicone-safe, then wipe out any excess. Never use oil-based or petroleum lubricants, which can attack and discolour the silicone and trap moisture.
How tight should the replacement tube fit?
It should slide on with light lubrication and then hold the strip centrally without it being able to twist. Too tight causes friction and overheating; too loose lets the strip roll and rub. Match the new inner channel to the strip width and original profile.
Do I need to replace end caps when re-sleeving outdoor neon?
Yes. Once an outdoor sleeve has been opened, fit fresh end caps and new sealant rather than reusing the old ones. Reusing aged seals is the most common way water wicks back into a freshly re-sleeved run.
Can I patch just one damaged section of sleeve?
You can mechanically, but on a visible face the new silicone grade and age will often differ from the old section, showing as a colour or brightness patch. For a clean result I replace the whole run, and I always replace the strip too if there is any corrosion or failed sealing.
Need help with your LED project?
Get factory-direct pricing, free samples and engineering support within 24 hours.
Email: info@arraystarled.com | Phone: +86-0755-2103-6746 | WhatsApp: 0086 1581 8514 077
Need to size your power supply? Use our LED Strip Power Calculator to find the right driver in seconds.







