How to Troubleshoot LED Strip Problems: Complete Diagnostic Guide
- 2026-09-09 15:48
- /
- Arraystar
Quick Answer
Common LED strip problems and solutions: 1) Strip won't turn on—check power supply, connections, polarity, fuse; 2) Flickering—check loose connections, incompatible dimmer, voltage drop, faulty power supply; 3) Uneven brightness/color—caused by voltage drop on long runs, fix with power injection or higher voltage; 4) Some LEDs not working—dead LEDs from manufacturing defect or physical damage, cut out bad section and reconnect; 5) Color inconsistency—poor quality control or mixed batches, buy from same batch; 6) Overheating—poor ventilation or over-driven, add heat sinking or reduce current. Systematic troubleshooting saves time and avoids unnecessary replacements.
Systematic Troubleshooting Approach
When LED strip problems occur, a systematic approach saves time and avoids unnecessary replacements. Follow these steps: 1) Identify the problem: Is the strip completely off, flickering, dim, discolored, or partially working? 2) Isolate the issue: Is it the strip, power supply, controller, wiring, or connections? Test components individually. 3) Check the obvious first: Power is on? Connections secure? Polarity correct? Settings correct? 4) Use tools: Multimeter for voltage testing, visual inspection for damage, infrared thermometer for heat issues. 5) Replace one component at a time: When testing, change only one variable at a time to identify the cause. 6) Document: Take photos and notes of the issue and solution for future reference. Most LED strip problems are caused by simple issues (loose connections, wrong polarity, power supply failure) that are easy to diagnose and fix.
Problem 1: Strip Won't Turn On
Most common problem. Causes and solutions: 1) No power: Check that power supply is plugged in and switched on. Test power supply output with multimeter (should read 12V or 24V). If no output, power supply is faulty—replace. 2) Polarity reversed: LED strips are polarity-sensitive—connecting + to - and - to + means the strip won't light (but usually won't be damaged). Double-check all connections: red wire to +, black/white to -. For RGB strips, check that common (+ or -) is connected correctly. 3) Loose/disconnected: Check all connections—strip-to-wire, wire-to-power supply, controller connections. Re-seat connectors or re-solder connections. 4) Blown fuse: Some power supplies and controllers have fuses. Check and replace if blown. 5) Faulty controller: If using a controller/dimmer, bypass it and connect strip directly to power supply. If strip works, controller is faulty—replace or reset. 6) Damaged strip: Inspect strip for physical damage (cuts, punctures, burnt spots). If damaged near the beginning, the entire strip may not work. Cut off damaged section and test remaining strip. 7) Overload protection: Quality power supplies have overload protection that shuts down if overloaded. Disconnect some strips and see if power supply resets. If so, you need a larger power supply or split the load. Diagnostic process: Test power supply output → Check polarity → Bypass controller → Check connections → Inspect strip for damage.
Problem 2: Flickering
Flickering can be annoying and may indicate a serious issue. Causes and solutions: 1) Loose connections: The most common cause of flickering. Vibration or temperature changes can cause connections to loosen. Check and re-secure all connections—solder for permanent installations. 2) Incompatible dimmer: If using a dimmer, flickering at low brightness often indicates dimmer/driver incompatibility. Use dimmers specifically rated for LEDs, and check manufacturer compatibility lists. Try a different dimmer or dimming method (PWM instead of TRIAC). 3) Voltage drop: On long runs, voltage drop at the far end can cause flickering, especially with low-quality strips. Use power injection or higher voltage strips. 4) Faulty power supply: A failing power supply may output unstable voltage, causing flickering. Test power supply output with multimeter—if voltage fluctuates, replace power supply. 5) PWM frequency too low: Low-quality PWM controllers may use low frequency (<100Hz), causing visible flicker, especially noticeable on camera or to sensitive individuals. Use controllers with PWM frequency >1000Hz. 6) Overheating: LEDs running too hot may flicker as protection kicks in. Check strip temperature—if >70°C, improve ventilation/heat sinking or reduce current. 7) Incompatible controller: Some WiFi/smart controllers may cause flickering due to poor PWM implementation or signal interference. Try a different controller or update firmware. Diagnostic: Check connections first → Test without dimmer → Test power supply → Check for voltage drop → Try different controller.
Problem 3: Uneven Brightness or Color
Causes and solutions: 1) Voltage drop (most common): On long runs, the far end of the strip is dimmer and may appear warmer/yellower. Solution: Use power injection at both ends or intermediate points. Use higher voltage strips (24V instead of 12V). Limit run length to manufacturer recommendations. Use thicker copper PCB (2oz+). 2) Mixed LED batches: LEDs from different manufacturing batches may have slight color temperature or brightness differences. Solution: Always buy strips from the same batch/reel for a single installation. If mixing, use strips from the same manufacturer and binning specification. 3) Poor quality control: Budget strips may have inconsistent LED placement or binning, resulting in uneven brightness along the strip. Solution: Invest in quality strips with consistent binning (3-step or 5-step MacAdam ellipse). 4) Heat variation: If parts of the strip are in enclosed spaces and others are ventilated, temperature differences can cause brightness/color variation. Solution: Ensure consistent heat management along the entire strip. Use aluminum channels for uniform heat dissipation. 5) Diffuser issues: If using channels with diffusers, uneven diffuser seating or dirty diffusers can cause uneven light. Solution: Ensure diffusers are properly seated and clean. Use opal diffusers for maximum uniformity. Diagnostic: Measure voltage at both ends of strip (if different = voltage drop) → Check if strips are from same batch → Inspect for heat variation → Check diffuser installation.
Problem 4: Some LEDs Not Working (Dark Spots)
Causes and solutions: 1) Manufacturing defects: A small percentage of LEDs may be defective from the factory. Quality strips have defect rates <0.1%; budget strips may have higher rates. Solution: If under warranty, contact manufacturer for replacement. If not, cut out the bad section and reconnect. 2) Physical damage: Bending strips too sharply, pulling on strips, or puncturing can damage LEDs or solder joints. Solution: Handle strips carefully, avoid sharp bends (minimum bend radius 5cm for most strips), and don't pull on strips. Cut out damaged sections. 3) Solder joint failure: Vibration, temperature cycling, or poor soldering can cause solder joints to fail, creating dark spots. Solution: Re-solder failed joints or cut out bad sections. Use quality soldering techniques. 4) Water damage: In wet areas, water ingress can corrode LEDs and solder joints, causing failure. Solution: Use properly rated IP65+ strips for wet areas. Ensure all connections are waterproof (soldered + heat shrink). Inspect regularly for water damage. 5) Electrostatic discharge (ESD): Static electricity can damage LEDs, especially during installation. Solution: Handle strips by the PCB edges, avoid touching LED chips directly. Ground yourself before handling strips in dry environments. How to repair dark spots: 1) Locate the failed section (usually 1-3 LEDs). 2) Cut the strip at the nearest cut points on both sides of the failed section. 3) Use a strip-to-strip connector or solder to bridge the gap with a new section of strip (or simply reconnect the two good ends if the gap is small). 4) Ensure polarity is correct. 5) Test the repaired section.
Problem 5: Color Inconsistency or Wrong Color
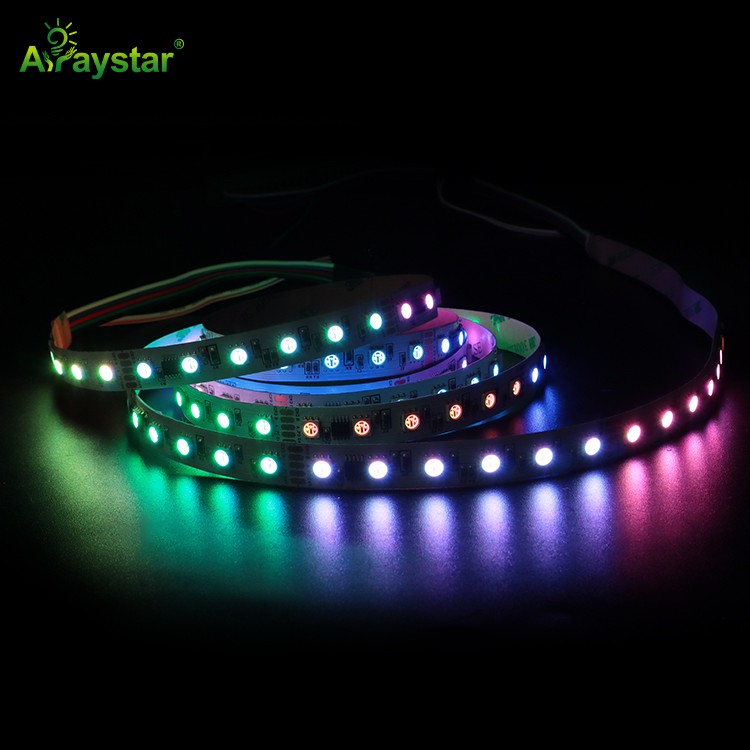
Causes and solutions: 1) RGB wiring order: For RGB strips, if colors are wrong (e.g., red shows green), the R/G/B wires may be connected in wrong order. Solution: Check wiring order—match R to R, G to G, B to B. If using a controller, check that controller output order matches strip order. 2) Common wire mismatch: For common-anode RGB strips (+ common), all colors share the + terminal. For common-cathode (- common), all share the - terminal. Using the wrong type with a controller can cause incorrect colors. Solution: Verify strip type (common anode vs cathode) and use compatible controller. 3) Mixed color temperatures: White strips from different batches or manufacturers may have different color temperatures, causing inconsistency. Solution: Use strips from same batch/manufacturer. Specify exact color temperature when ordering (e.g., 3000K ±100K). 4) Controller settings: Some controllers have color calibration or white balance settings that may be misconfigured. Solution: Check controller settings and reset to default if needed. 5) Degradation: Over time, LEDs may shift color due to phosphor degradation, especially if over-driven or overheated. Solution: Replace degraded sections. Run strips at rated current with proper heat sinking to prevent premature degradation. Diagnostic: Check RGB wiring order → Verify common anode/cathode type → Check controller settings → Compare strips from same/different batches → Check for degradation.
Troubleshooting Quick Reference Table
| Factor | Option A | Option B |
|---|---|---|
| Brightness | Medium-High | High |
| Efficiency | Good | Excellent |
| Cost | Lower | Higher |
| Best For | General applications | Premium installations |
Recommended Products
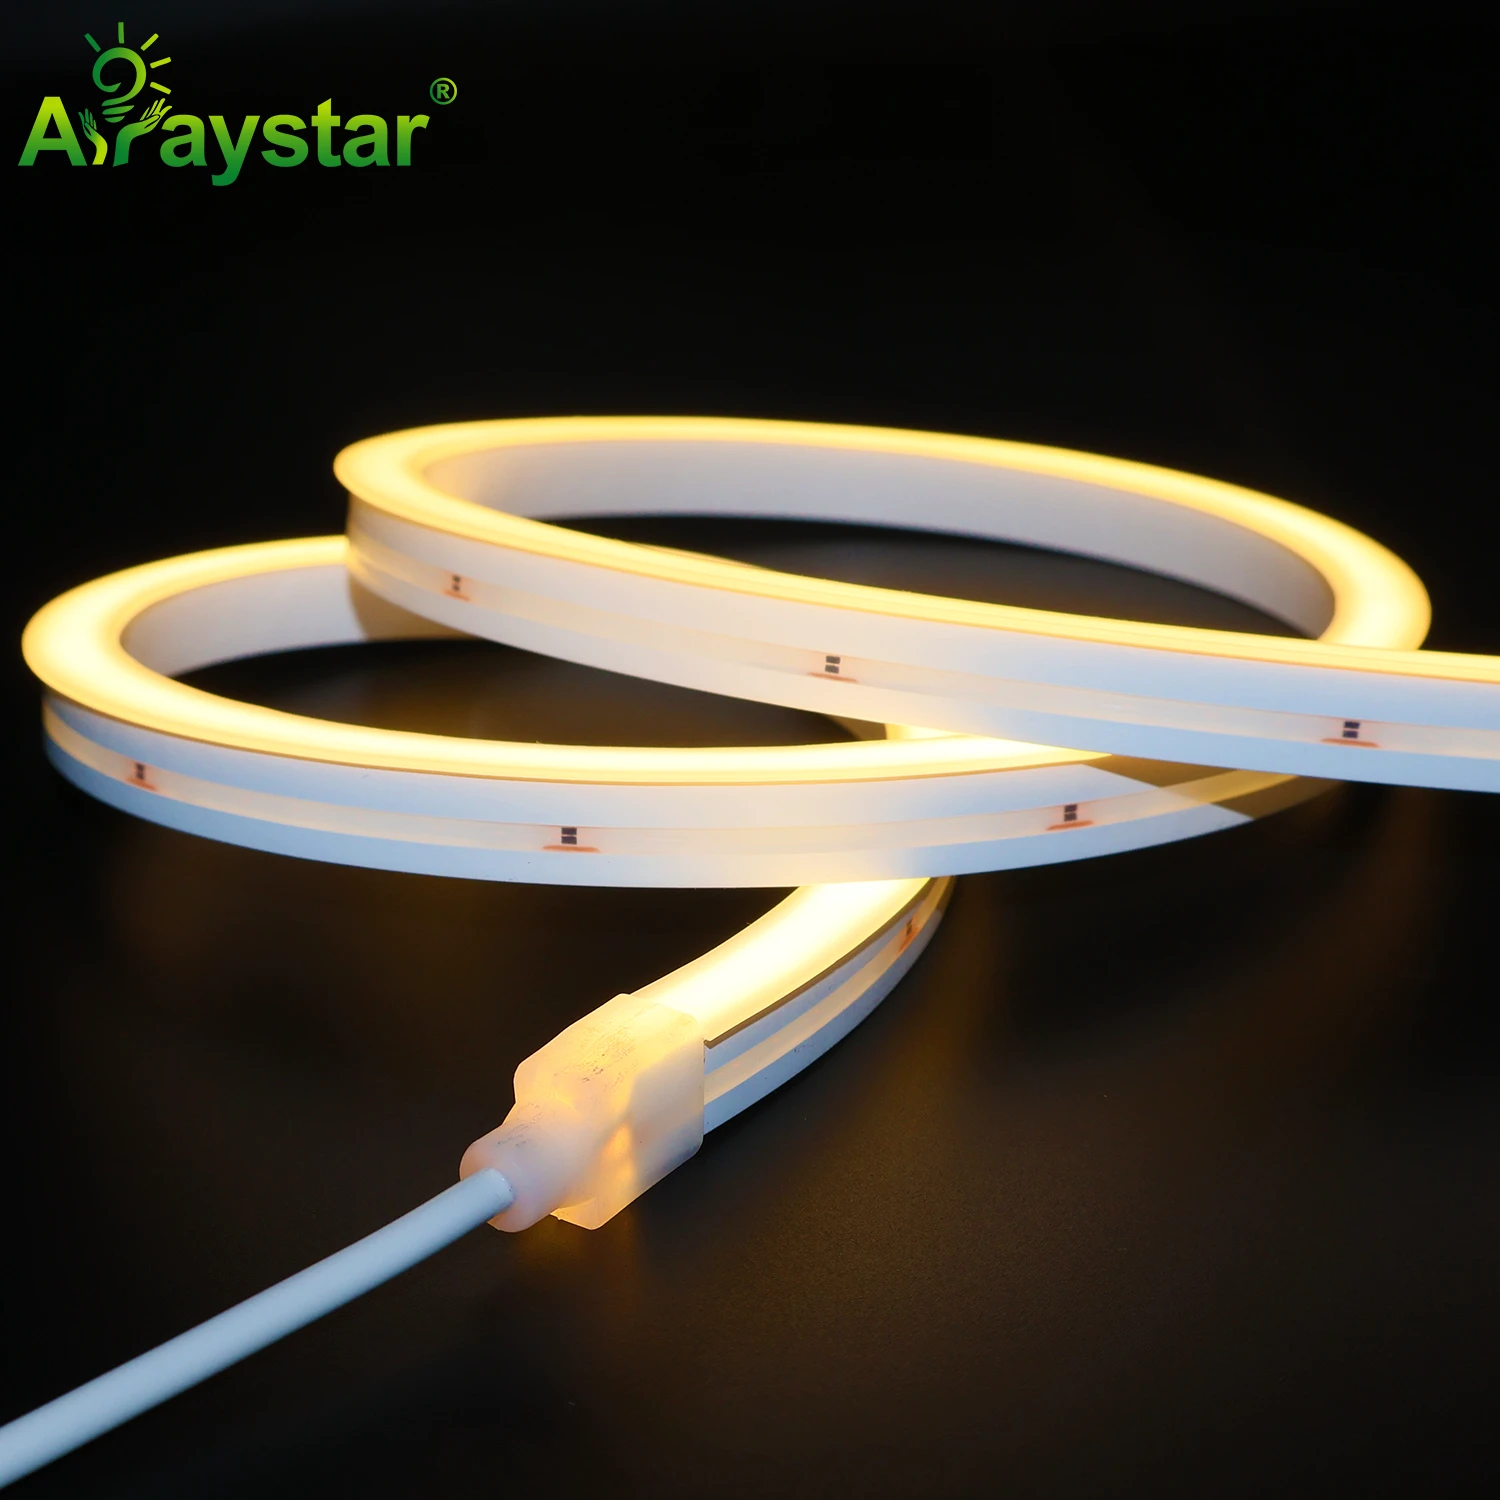
IP67 Silicone Extrusion COB LED Strip 480 LED 4*8mm
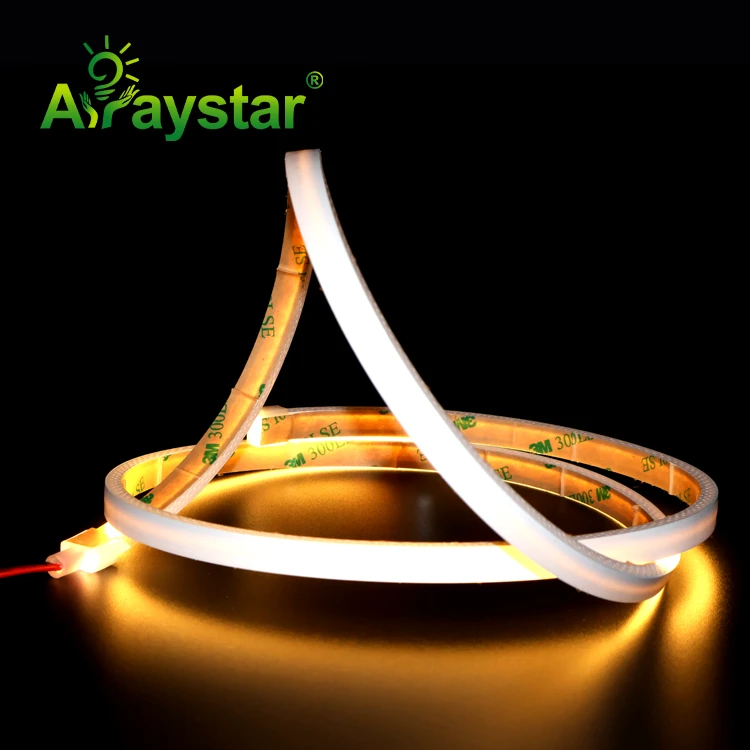
IP67 COB Light Strip Voltage Power LED Type CCT/Color LED Qty/m CRI IP Rating Lumen/m Cut Size ART-COB04SE-480-SWW-24 DC 24V 7W/m COB LED 2700K 480 LEDs/m 90 IP67 40~50 lm/W 25 mm
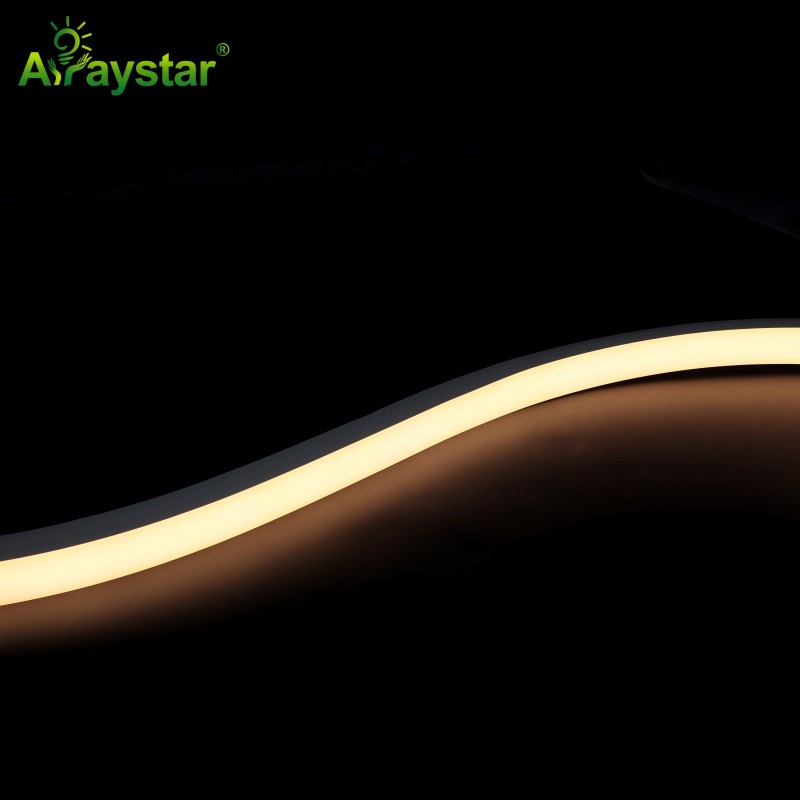
Long Run LED Neon Strip ART-NS0612
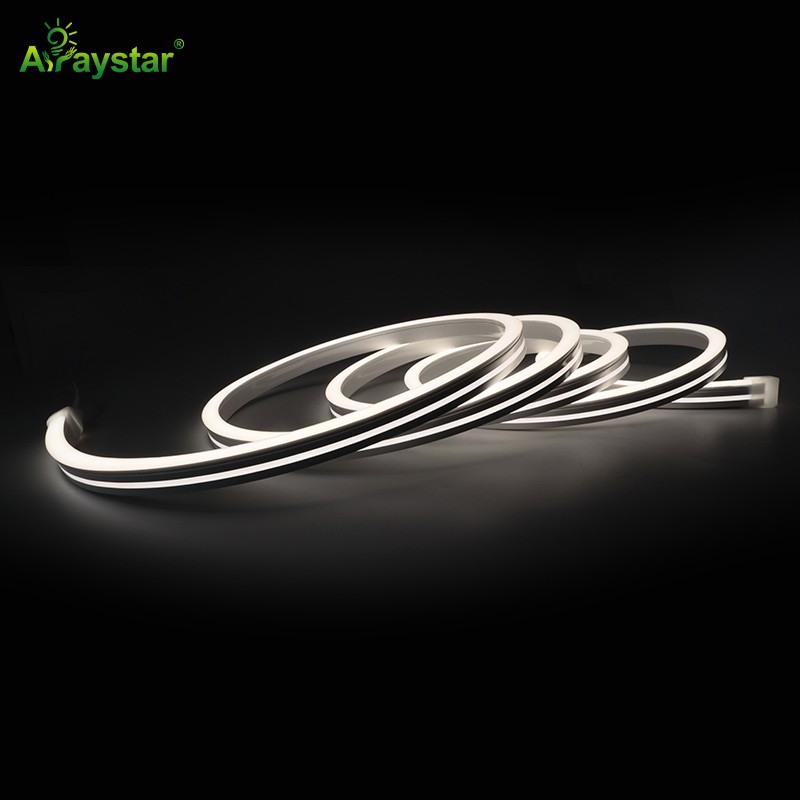
Ultra Long Neon LED Strip CCT/Color Voltage Power(W/M) LED Type LED Qty/m Cut Size Max. run IP Rating CRI Lumen(lm/M) ART-NS0612 1800K, 2700K, 3000K, 4000K, 6000K 24V DC 10W/M 2835 120leds/m
Frequently Asked Questions
Q: How do I calculate the power supply size for waterproof cob led strip?
A: Multiply the strip's wattage per meter by total length, then add 20% headroom. For example: 5m × 14.4W/m = 72W + 20% = 86.4W, so choose a 100W power supply. Always use a power supply rated for LED applications.
Q: What should I consider before buying waterproof cob led strip?
A: Key factors include: required brightness (lumens/m), color temperature, voltage (12V/24V/48V), IP rating for environment, LED density, CRI requirement, dimming compatibility, and total run length. Calculate total wattage to size your power supply correctly.
Q: What is the maximum run length for waterproof cob led strip?
A: This depends on voltage and copper weight. 12V strips typically max 5m, 24V up to 10m, 48V up to 20m. For longer runs, use power injection at both ends or intermediate points to prevent voltage drop and color shift.
Q: Can waterproof cob led strip be used outdoors?
A: Only IP65 or higher rated strips are suitable for outdoor use. IP65 for covered/splash areas, IP67 for exposed outdoor, IP68 for underwater/submersion. Always use waterproof connectors and properly seal all connections for outdoor installations.
Q: How do I dim waterproof cob led strip?
A: Multiple dimming options available: 0-10V, PWM, TRIAC, DALI, DMX512, and wireless (WiFi/Zigbee/Bluetooth). Ensure your dimmer is compatible with the strip's voltage and current. COB strips dim especially smoothly due to uniform light output.
Conclusion
Common LED strip problems and solutions: 1) Strip won't turn on—check power supply, connections, polarity, fuse; 2) Flickering—check loose connections, incompatible dimmer, voltage drop, faulty power supply; 3) Uneven brightness/color—caused by voltage drop on long runs, fix with power injection or higher voltage; 4) Some LEDs not working—dead LEDs from manufacturing defect or physical damage, cut out bad section and reconnect; 5) Color inconsistency—poor quality control or mixed batches, buy from same batch; 6) Overheating—poor ventilation or over-driven, add heat sinking or reduce current. Systematic troubleshooting saves time and avoids unnecessary replacements. Arraystar LED offers 15+ years of LED strip manufacturing experience with full OEM/ODM capabilities, CE/RoHS/ERP certification, and 3-year warranty. Contact our team for a free consultation and custom quote for your project.
Ready to start your project? Contact us today for expert guidance and competitive pricing.
About the Manufacturer
ArrayStar LED is a professional LED strip manufacturer in Shenzhen, China since 2010, serving 80+ countries. We support custom OEM/ODM projects (custom CCT, CRI, PCB, logo, packaging) and wholesale supply for distributors and contractors worldwide.