
LED Modules & Strips for Lightboxes, Menu Boards & Backlit Signage: A Brightness & Spacing Guide
- 2026-09-29 12:07
- /
- Arraystar LED
Uneven backlighting - hotspots, dim corners and visible LED dots - is the mark of an amateur lightbox. The whole job comes down to matching the light source to the box depth, spacing LEDs so their beams overlap before they hit the diffuser, and driving them at a steady current with the right driver tucked inside the cabinet. Modules suit deep cabinets and sign letters; high-density strip suits shallow SEG fabric and menu boards.
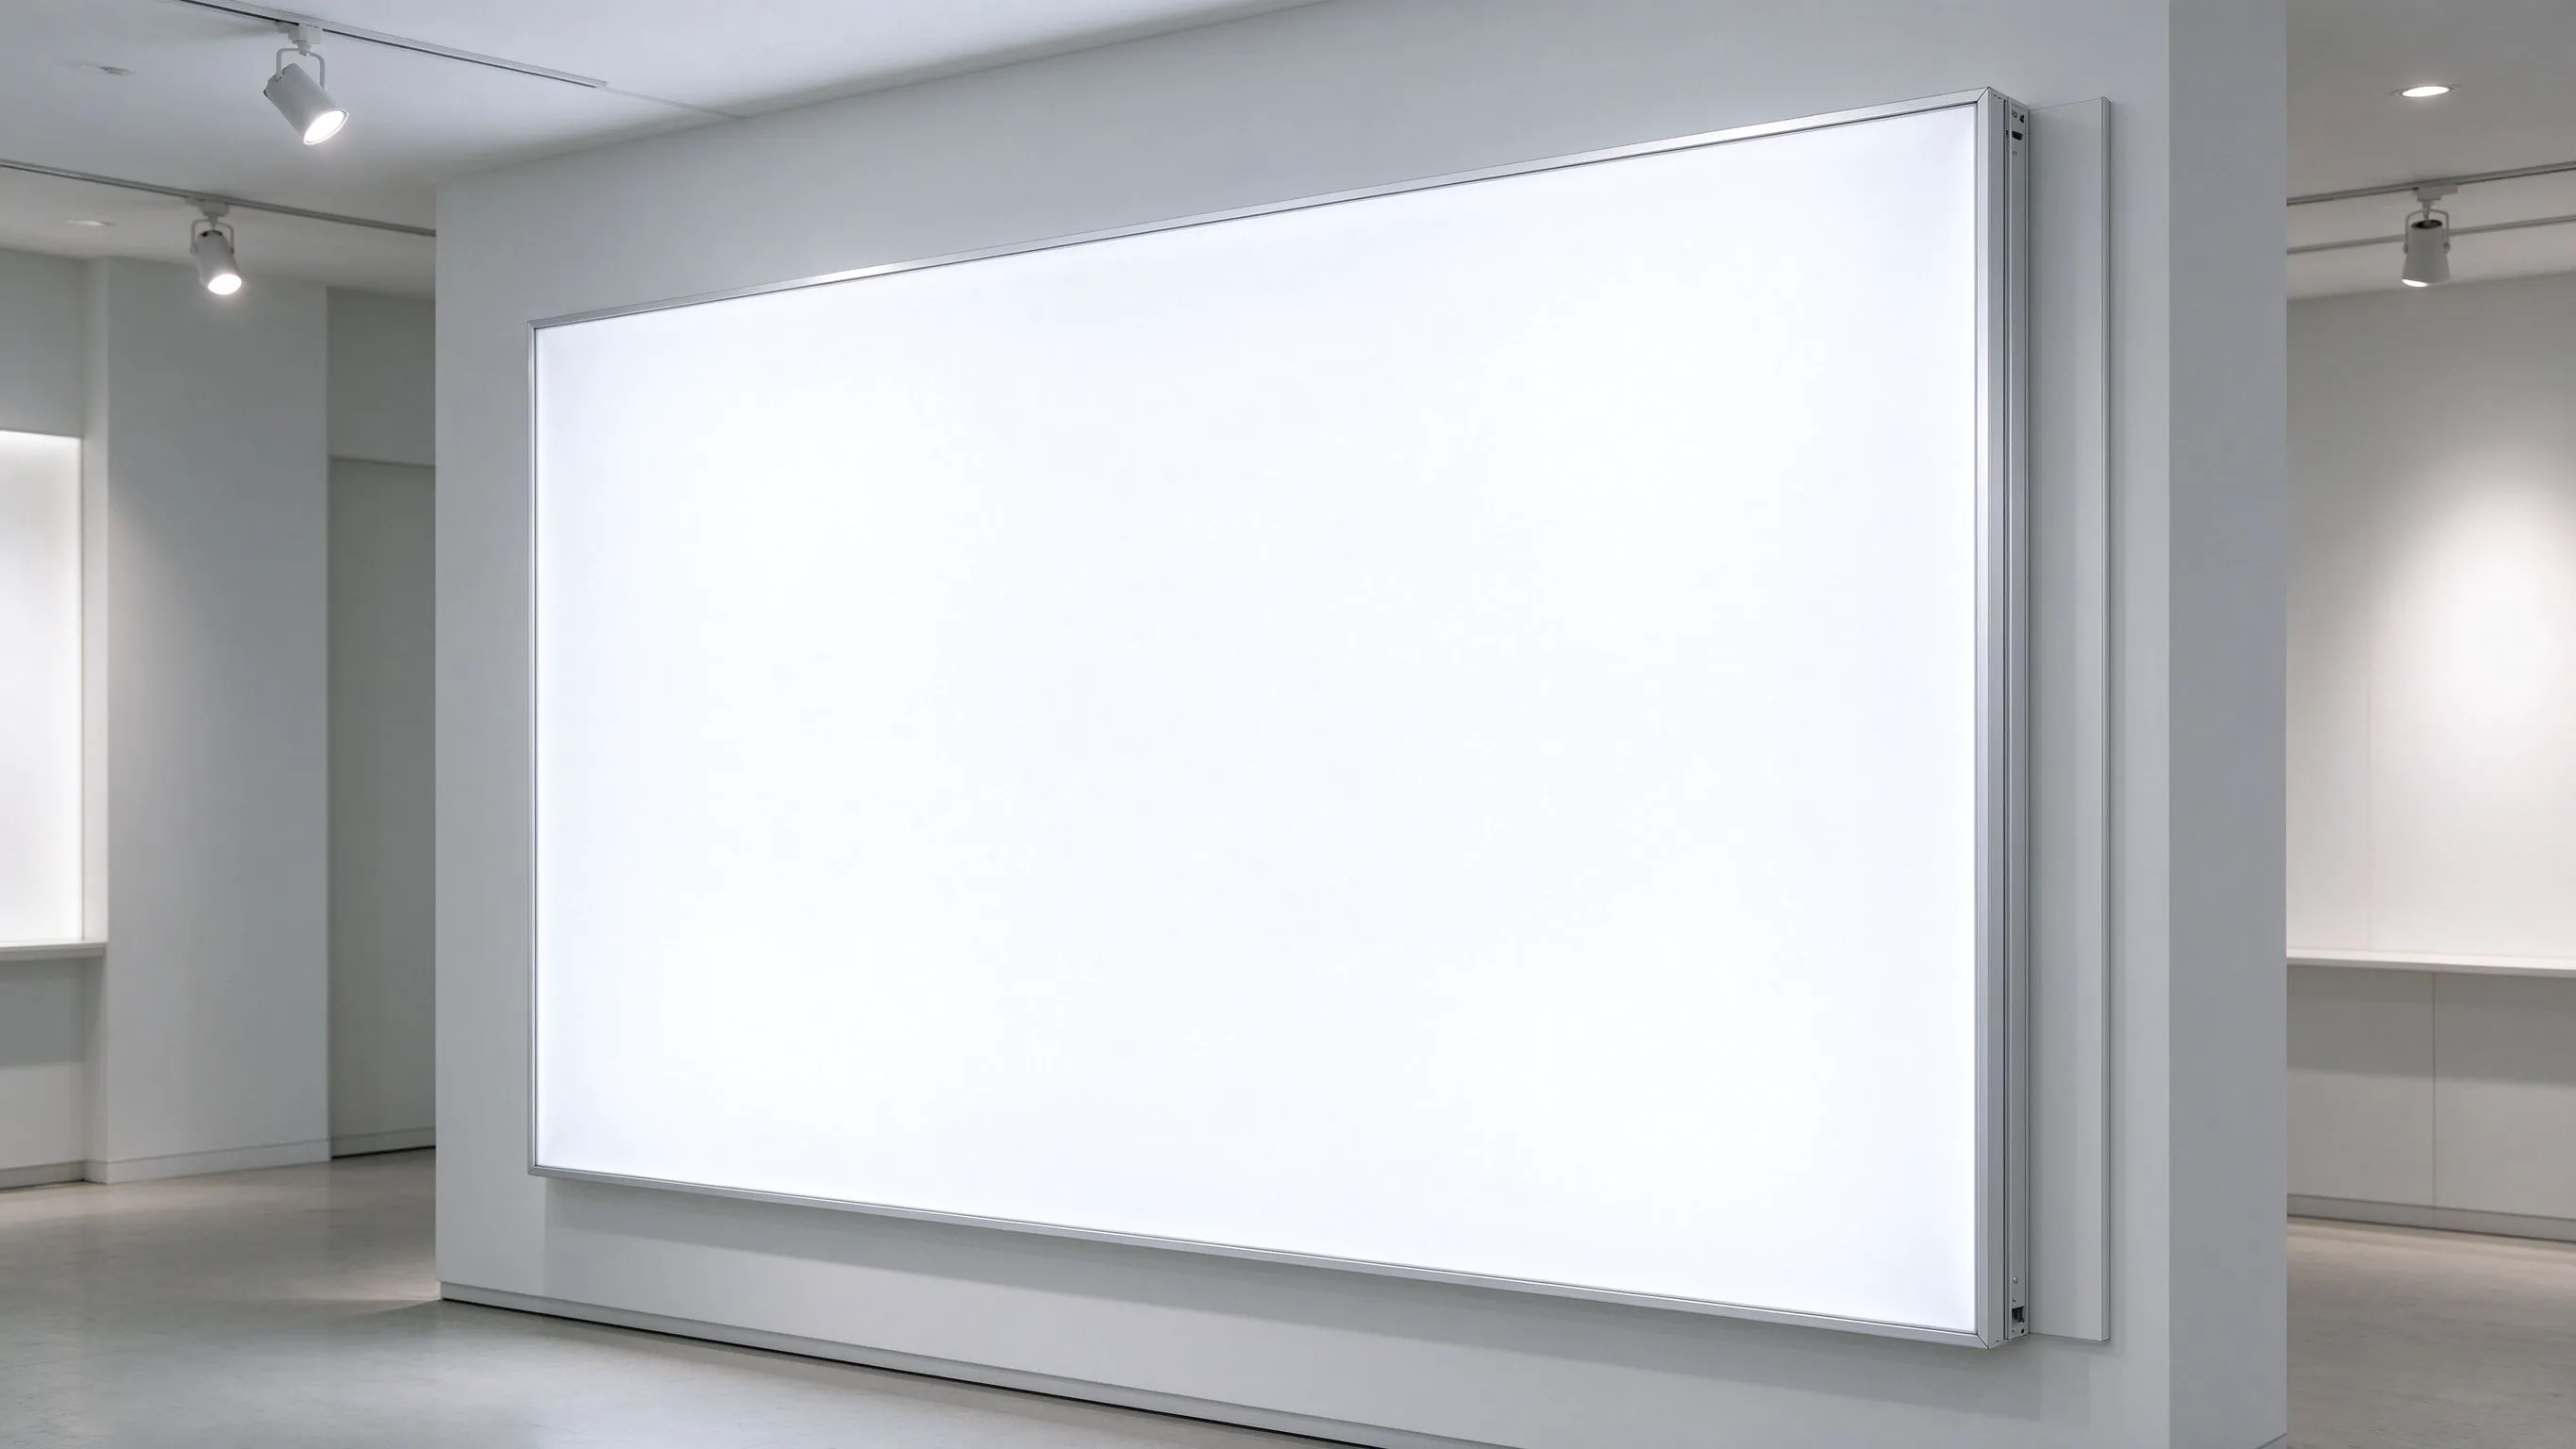
Two Backlight Tools: LED Modules vs High-Density Strip
When you open a professionally built sign cabinet you see one of two things: a grid of individual LED modules clipped or screwed in rows, or continuous high-density strip. They aren't interchangeable. Modules are compact, beam-lensed pucks designed to throw light across a deep (100-200mm) cabinet or into channel letters. Continuous strip, often COB or high-LED-count SMD, is built for shallow lightboxes and SEG fabric frames where the diffuser sits close to the source.
Choosing modules or strip by cabinet type.
| Application | Preferred source | Typical depth / spacing |
|---|---|---|
| Deep sign cabinet / pylon | Injection LED modules | 100-200mm depth, 100-200mm grid |
| Channel letters | Small 2-3 LED modules | One or more per letter stroke |
| Shallow SEG fabric lightbox | High-density COB/SMD strip | 60-100mm depth, closely spaced |
| Menu board (thin) | High-density strip on rails | 40-80mm depth |
| Double-sided / hanging box | Modules aimed both ways | Center spine mounting |
Spacing Is the Whole Secret to Evenness
Hotspots happen when the light from adjacent LEDs doesn't overlap before reaching the diffuser. Each LED has a beam angle (commonly 120-160 degrees on sign modules); the shallower the box, the tighter you must space the LEDs - and the wider the beam you need. As a rough rule, LED-to-LED spacing should be no more than roughly 1 to 1.5 times the throw distance from LED to diffuser for a smooth panel.
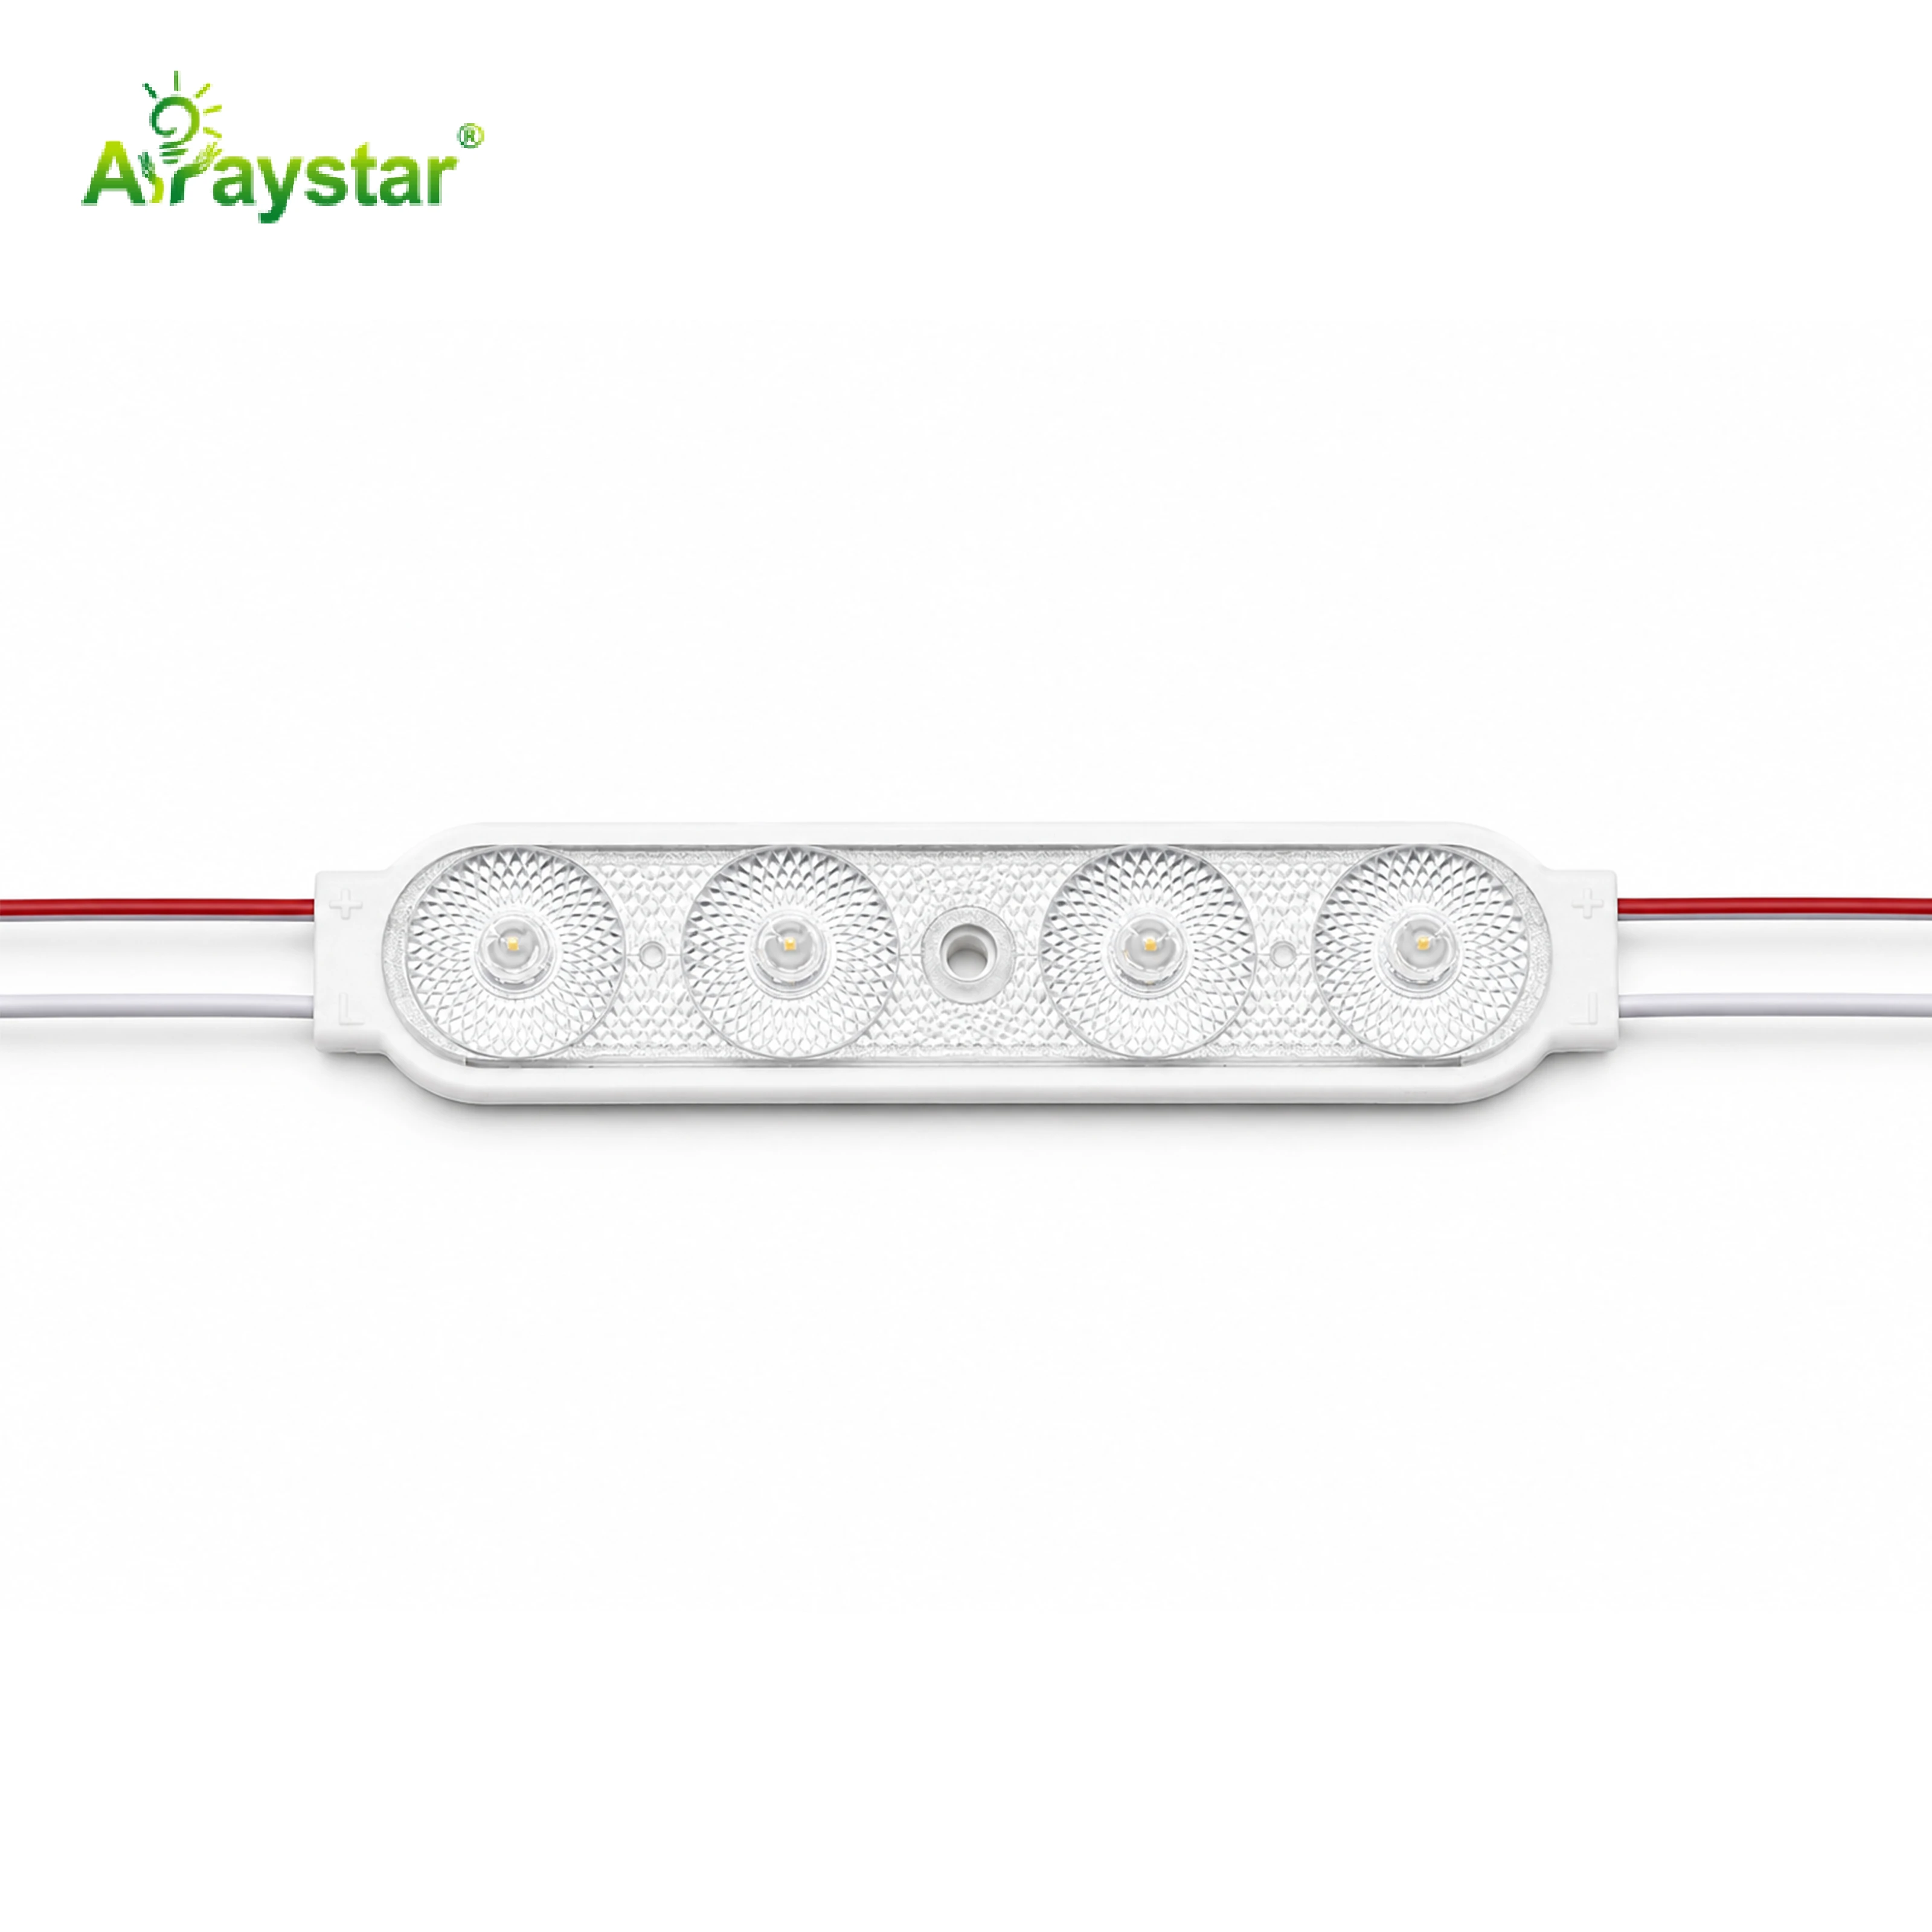
- Deep box (long throw): modules can be spaced further apart in a grid.
- Shallow box (short throw): use wide-beam modules or dense strip, spaced tightly.
- Edges and corners need extra LEDs - the center of a box is easy, the corners go dim.
- Back the box with white reflective material to recycle stray light and even the panel.
Build a small test section at the real depth before committing to a full grid - it's far cheaper to correct spacing on one square meter than on a storefront of menu boards.
Channel Letters and Small Signs
Illuminated channel letters are a different problem: you're filling a narrow stroke, not a flat panel. Small 2- or 3-LED modules fit inside the letter return, with placement following the stroke so wide letters get more modules and narrow characters fewer. Keep LEDs off the very face to avoid hotspots, and use the smaller modules for thin strokes.
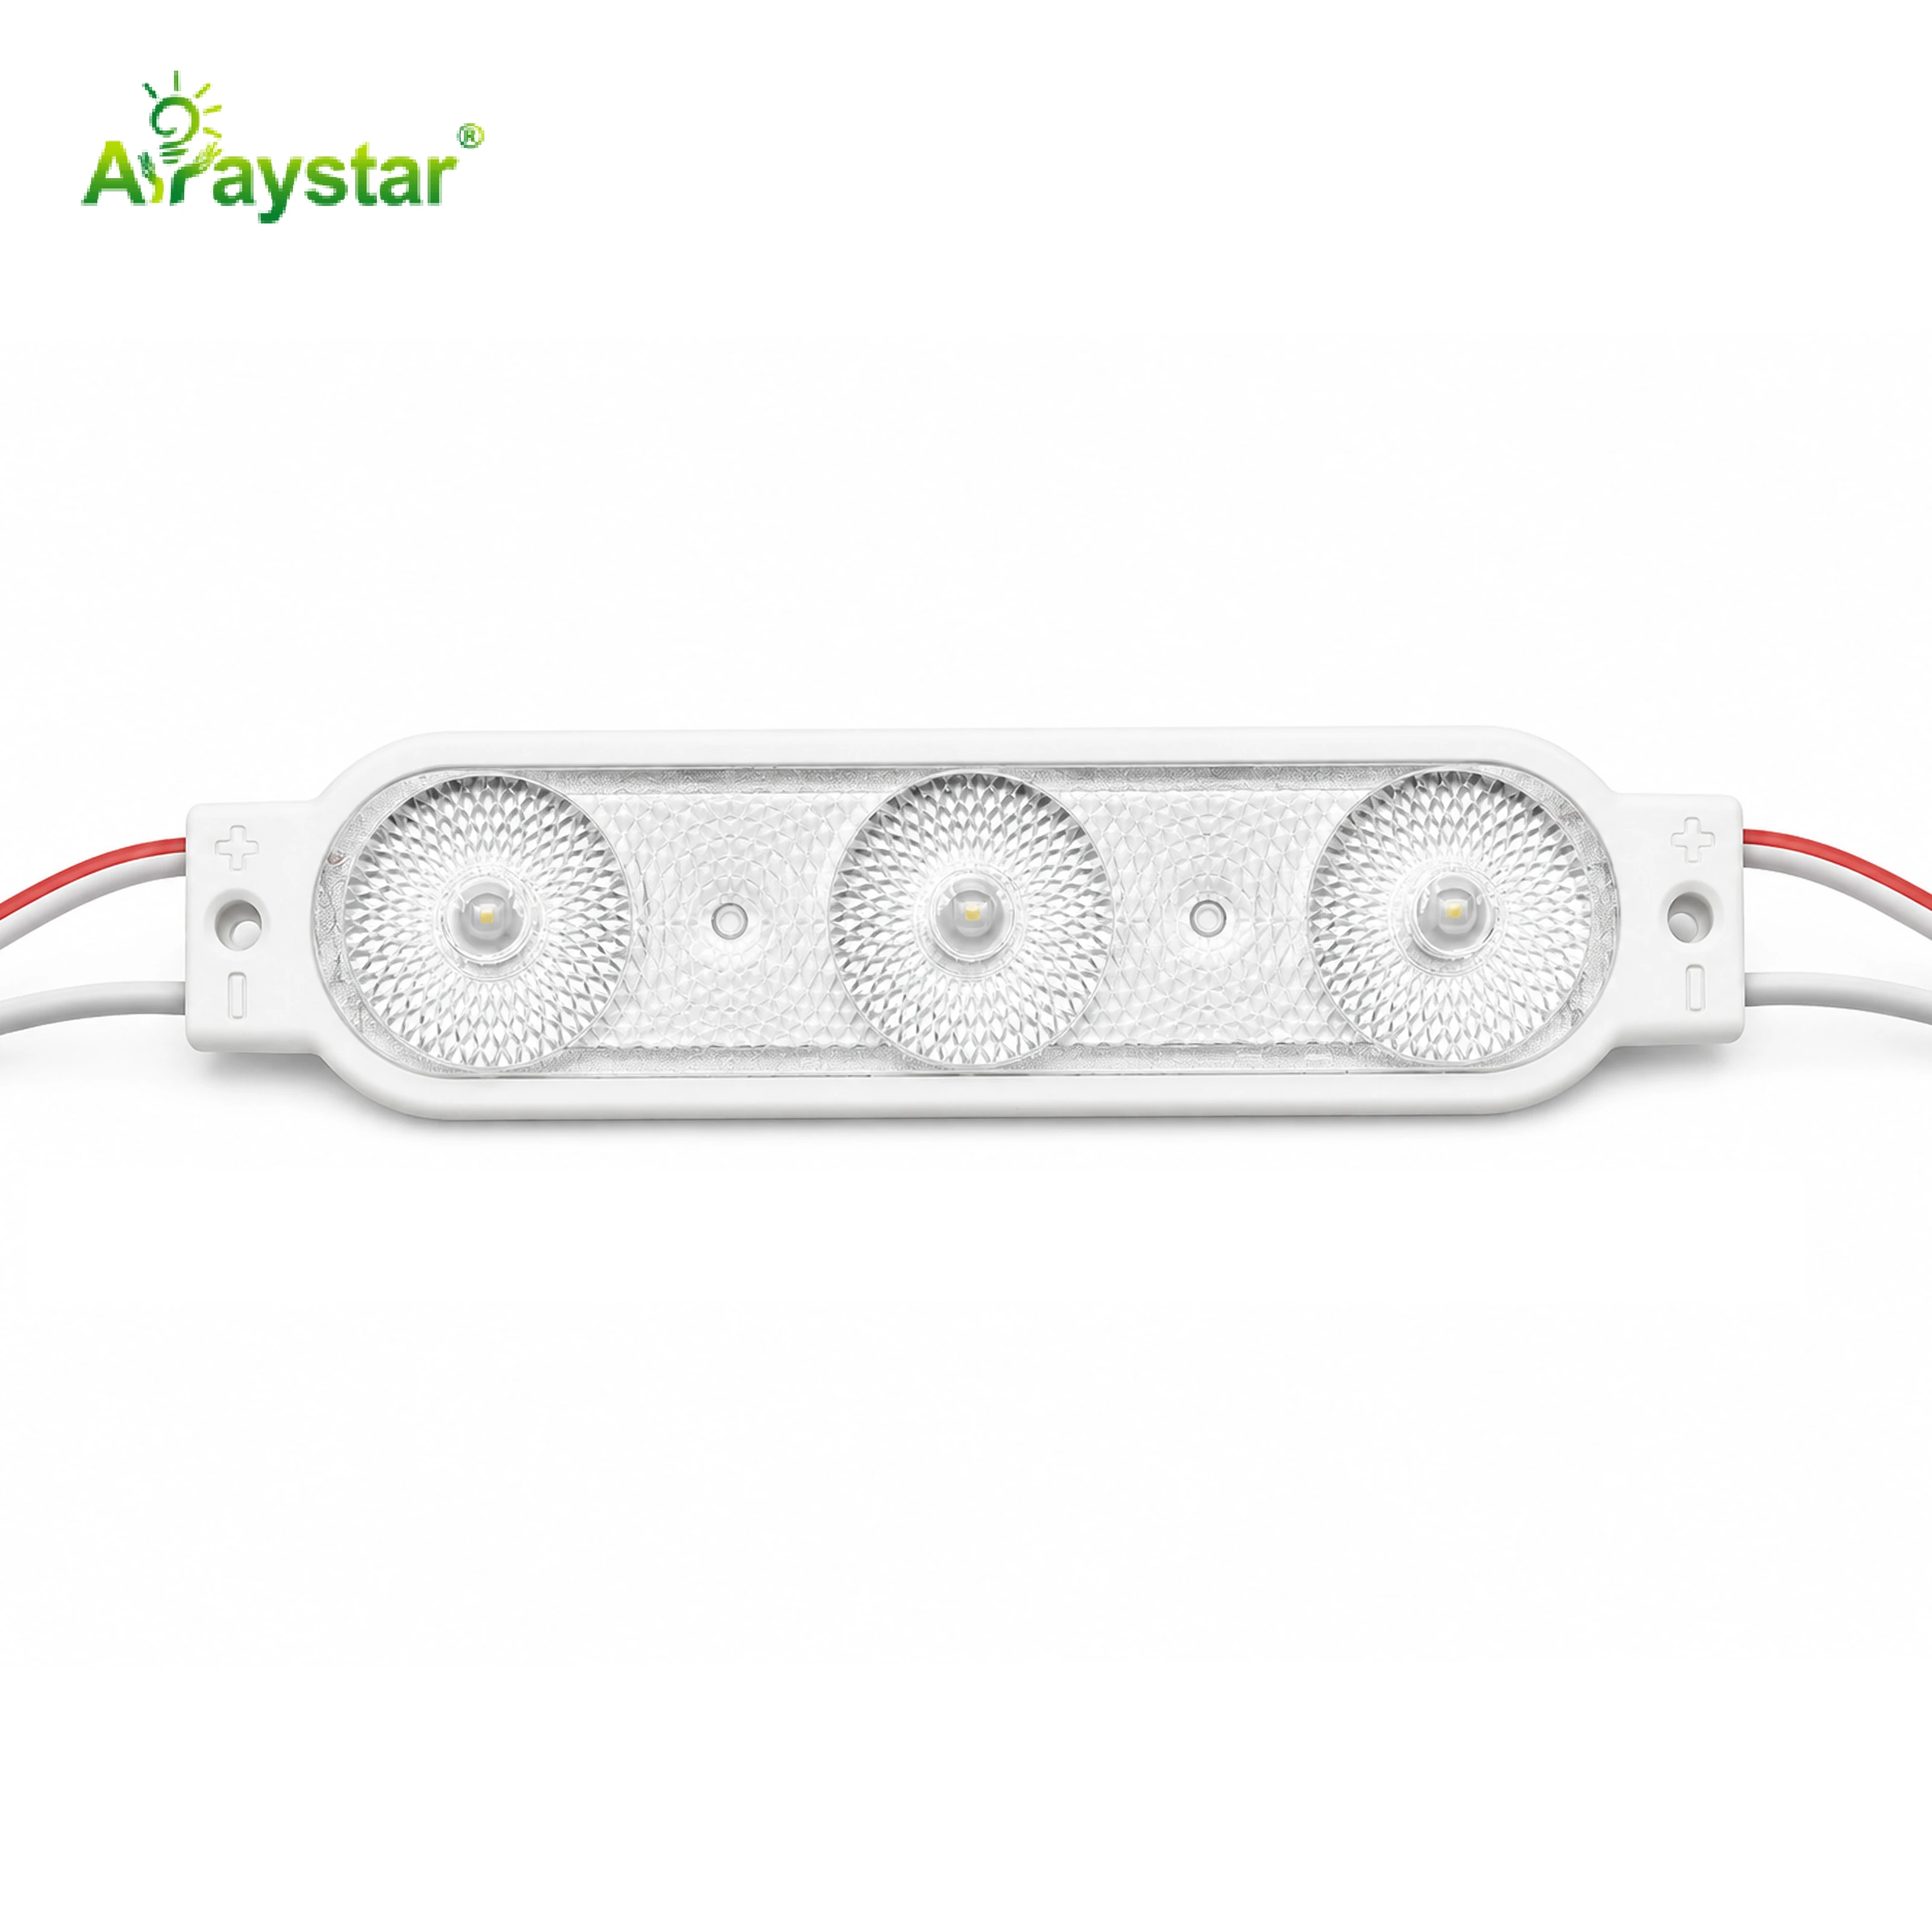
- Space modules along the stroke centerline; add clusters at wide bowl areas like O and B.
- Aim for a consistent number of LEDs per unit of face area across all letters.
- White or reflective interior paint dramatically improves uniformity inside letters.
- Route and secure wiring so it can't sag against the face in hot weather.
Shallow SEG Fabric and Menu Boards
Silicone-edge-graphic (SEG) fabric frames and slim menu boards put the diffuser just 40-100mm from the LEDs, which rules out sparse modules - you'd see every puck. High-density COB or dense SMD strip mounted on a grid of rails or ribs gives the smooth photographic backdrop that retail menu and exhibition graphics need. The fabric itself is an excellent diffuser, but only if the LED pitch behind it is tight enough.
- Run strip on parallel rails spaced to match the throw distance, usually 50-120mm apart.
- COB's continuous emitter line is the safest way to avoid dotting in the shallowest frames.
- Keep brightness consistent across rails - mix batches and you'll see stripes.
- For double-sided lightboxes, mount strip on a central spine aimed both directions.
Color, Brightness and Dimming for Readable Menus
Menu boards have a job: be legible and make food look good. Use high-CRI white (90+) with good reds so photography prints look appetizing, and set brightness appropriate to ambient - an outdoor-facing board in daylight needs far more nits than an indoor mall board. Too bright at night glares and washes out the print; too dim in daylight disappears in reflections.
- CRI 90+ so food and brand colors match the printed graphic.
- Daylight/night dimming or a photocell for boards facing windows or the street.
- Specify a consistent color bin across a multi-panel menu wall.
- Avoid colored backlight behind photographic food - neutral white sells best.
Power, Heat and the Driver Hidden in the Cabinet
Lightboxes run for long hours in sealed, often sun-warmed cabinets, so heat and driver sizing matter. Total the LED wattage and size the constant-voltage driver at ~80% load with ventilation; outdoor menu pylons need a waterproof driver. Mount the driver where it can dissipate heat and be serviced - not glued flat against the back panel with no airflow.
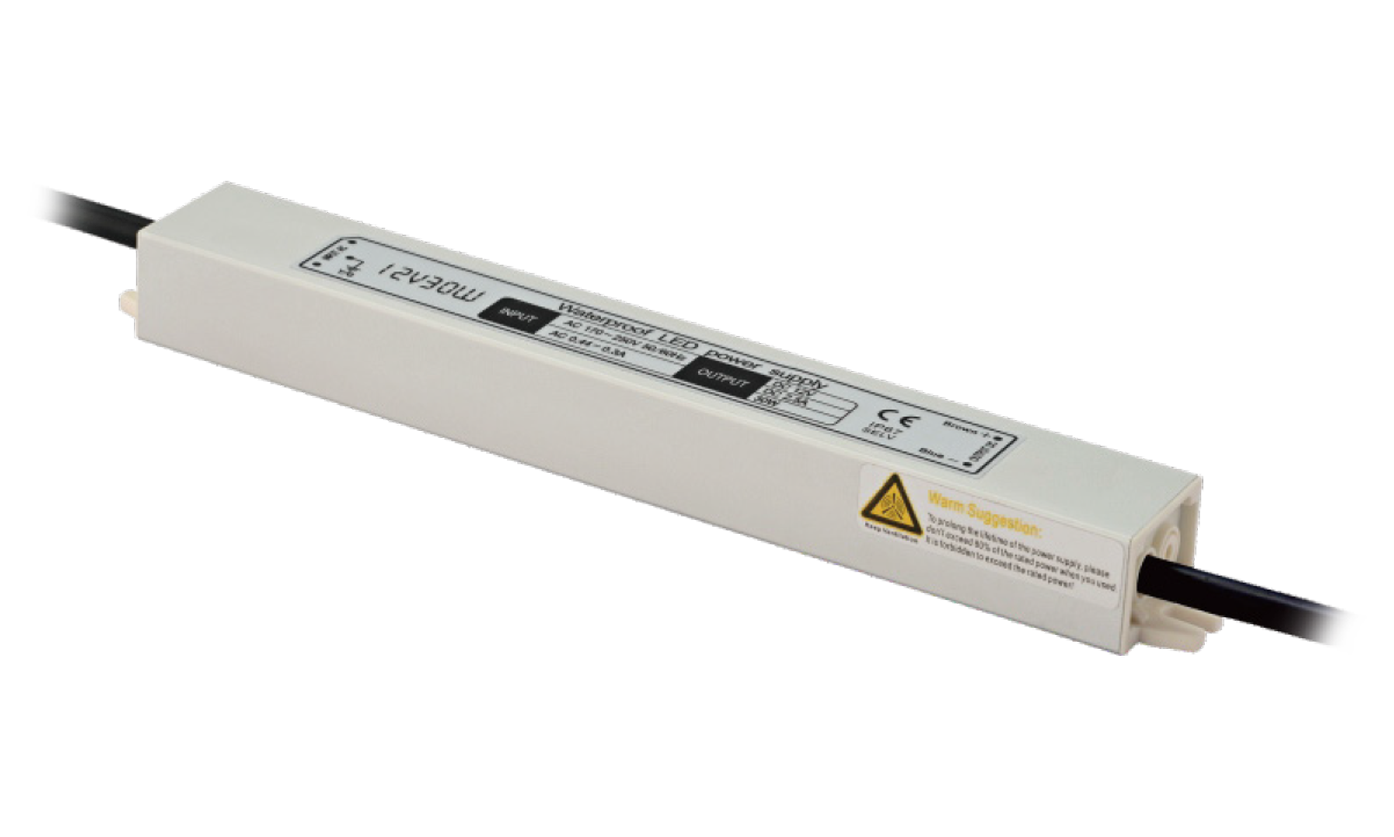
- Derate driver to ~80% of rated watts for long life in a warm sealed box.
- Provide ventilation or drainage in outdoor cabinets; trapped heat kills LEDs fast.
- Use a single adequately sized driver per cabinet rather than overloaded small ones.
- Keep spare drivers and same-batch modules for future panel replacement.
Recommended Products
Frequently Asked Questions
Should I use LED modules or LED strip for a lightbox?
Use injection LED modules for deep sign cabinets, pylons and channel letters where the diffuser is 100-200mm away and the modules throw light across a cavity. Use high-density COB or SMD strip for shallow SEG fabric frames and thin menu boards (40-100mm deep) where sparse modules would show as dots.
How far apart should LEDs be in a backlit sign?
As a rule of thumb, keep LED-to-LED spacing to roughly 1-1.5 times the throw distance from the LED to the diffuser, using wide-beam sources in shallow boxes and adding extra modules at corners and edges. Always test a section at the real depth before building the whole cabinet.
Why does my lightbox have bright spots and dark corners?
Hotspots mean the LEDs are spaced too wide for the box depth or have too narrow a beam so light doesn't overlap before the diffuser; dark corners mean under-placement at edges. Tighten spacing, use wider-beam LEDs, add corner modules and line the cabinet with reflective white material.
What CRI and brightness do menu board lights need?
CRI 90+ with good red rendition so food photography looks appetizing, with brightness matched to ambient - much higher for outdoor-facing daylight boards and dimmer for indoor or night viewing, ideally on daylight/night dimming. Keep a consistent color bin across multi-panel menu walls.
How do I choose a driver for an LED lightbox?
Total the LED wattage and use a constant-voltage driver at about 80% of its rated load, a waterproof model for outdoor cabinets and pylons, mounted where it can dissipate heat and be serviced, with ventilation or drainage in the sealed cabinet to avoid heat buildup.
Need help with your LED project?
Get factory-direct pricing, free samples and engineering support within 24 hours.
Email: info@arraystarled.com | Phone: +86-0755-2103-6746 | WhatsApp: 0086 1581 8514 077
Need to size your power supply? Use our LED Strip Power Calculator to find the right driver in seconds.







