
My Microwave Sensor Switches on the Light in the Next Room
- 2026-11-02 15:55
- /
- Arraystar LED
You are not imagining a ghost in the cabinet: a radar microwave sensor on one side of a drywall wakes the light on the other side, because 5.8 GHz waves pass straight through plasterboard. The fix is range and mounting, not a better sensor.
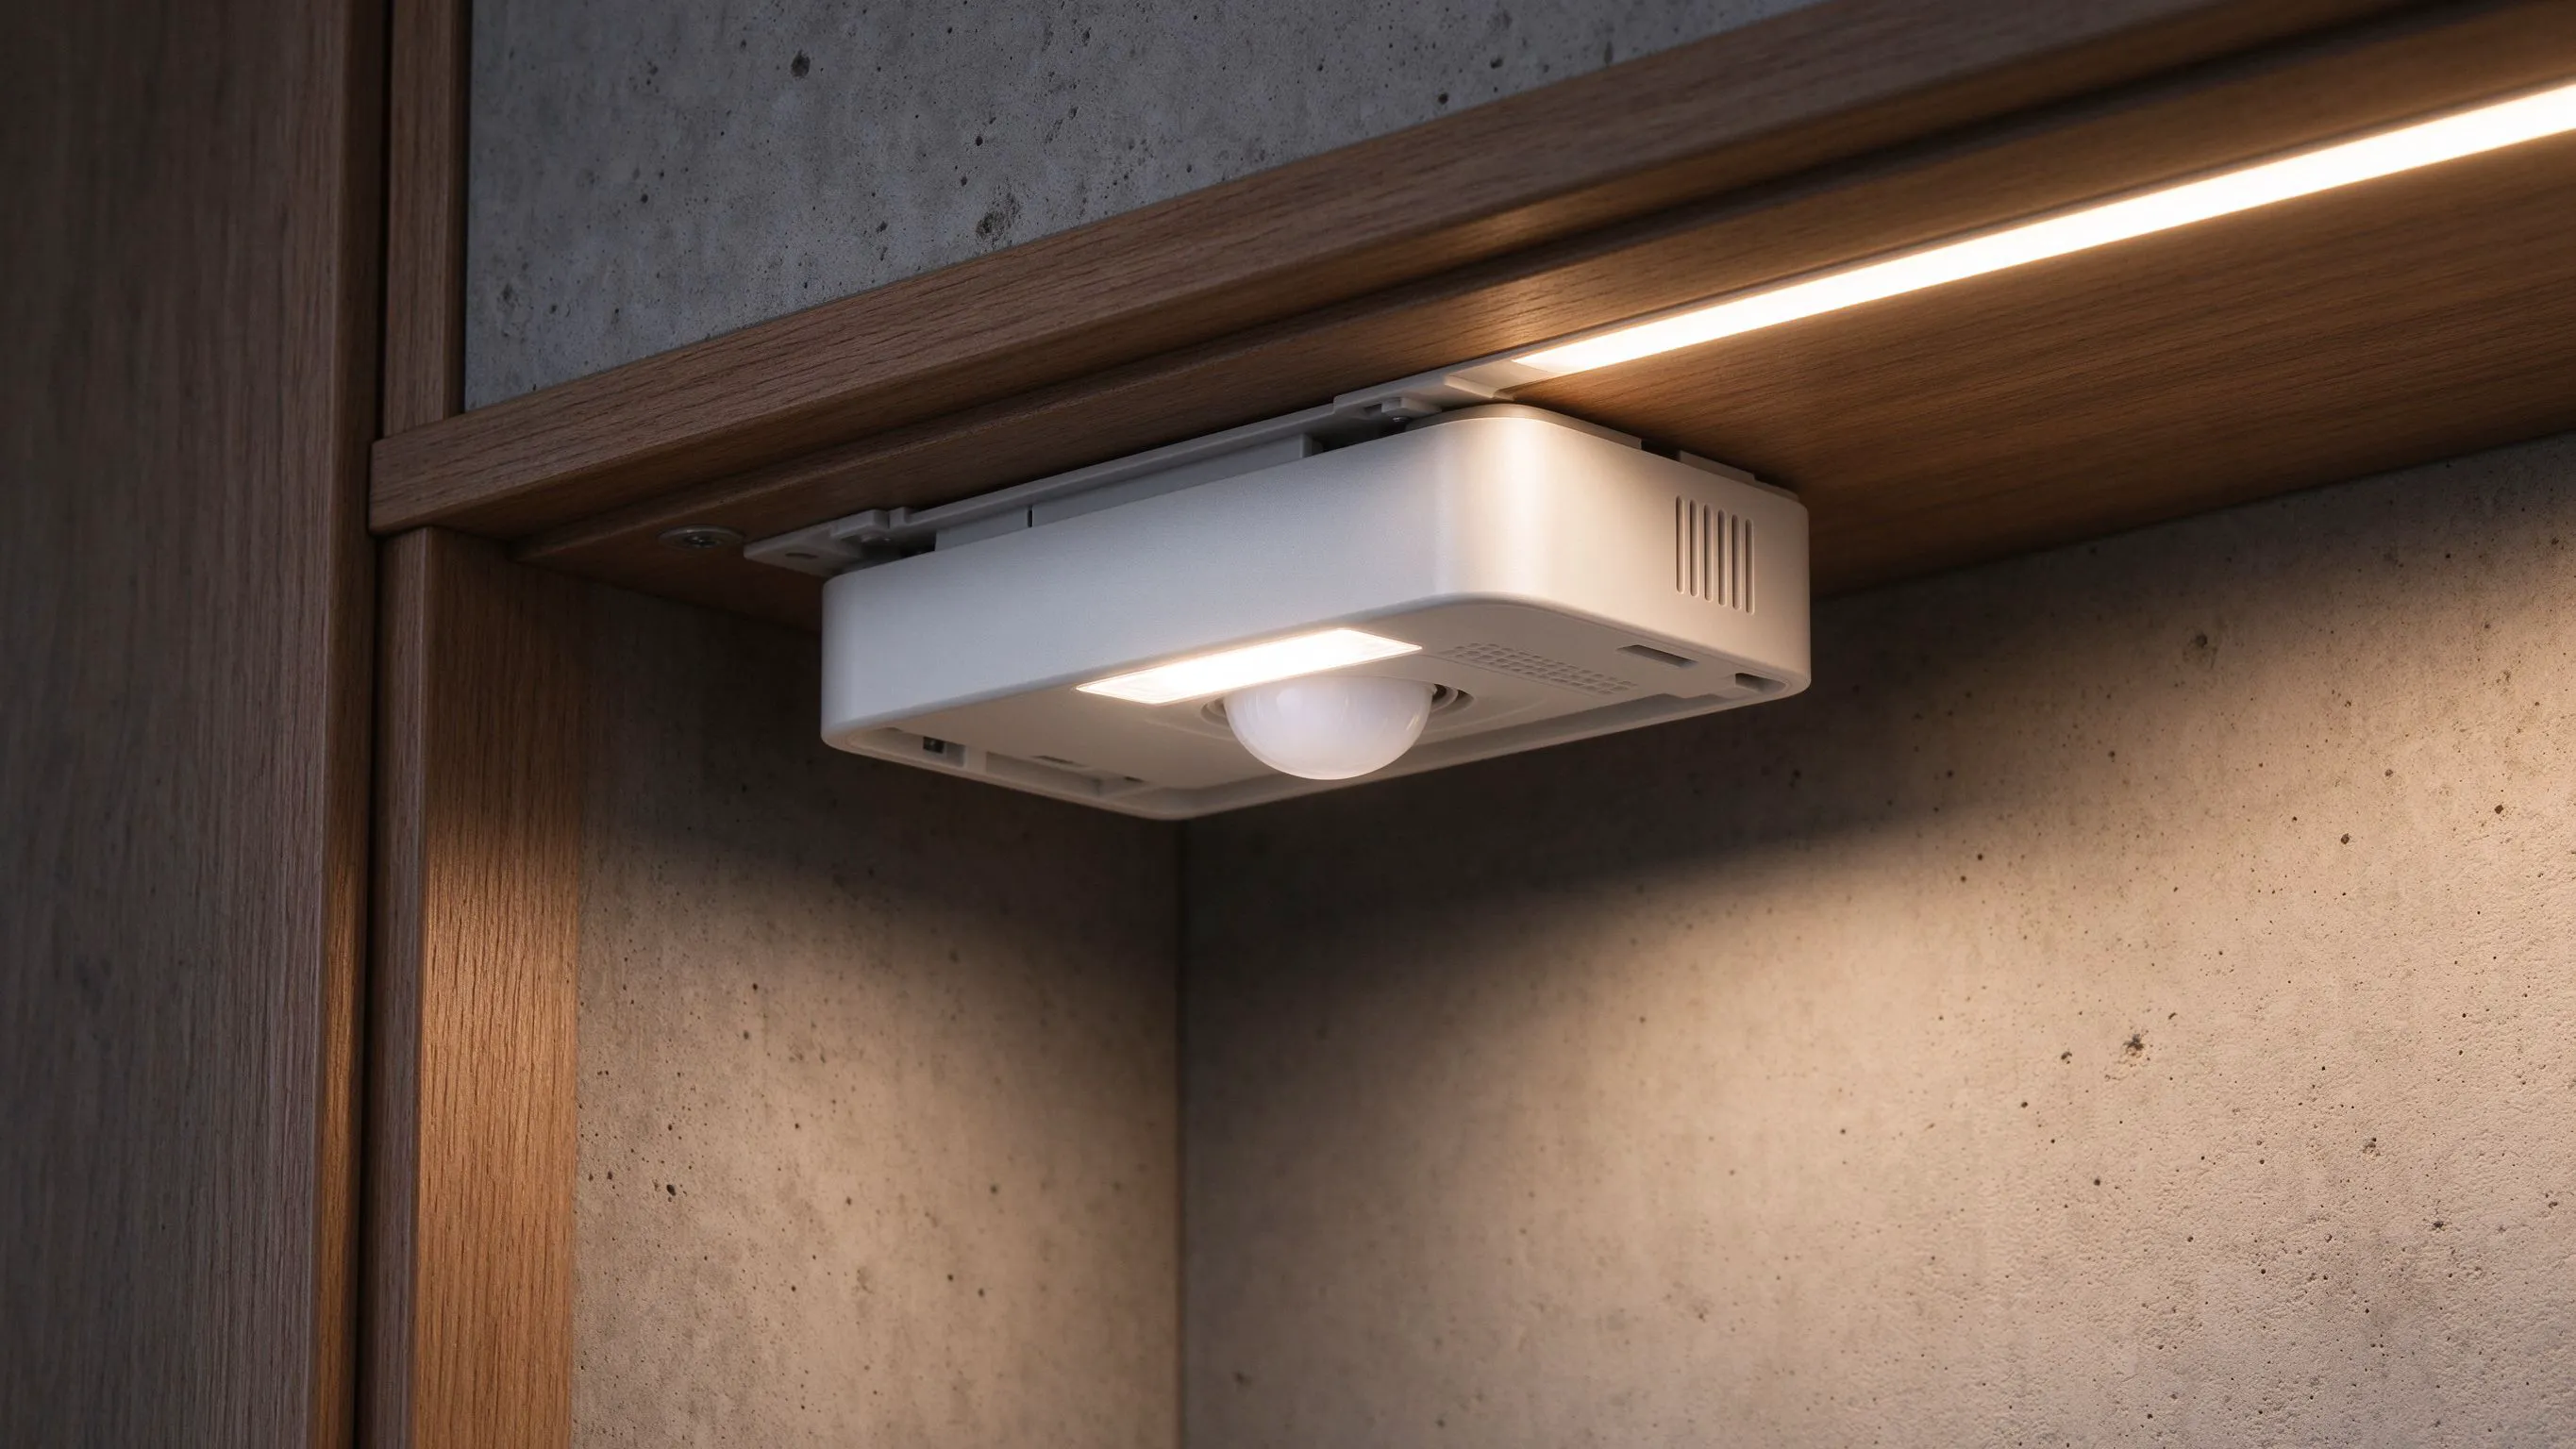
Why the light turns on when the neighbour walks past
A client has a cabinet strip that switches itself on every time someone walks past the door on the other side of the wall. He thinks the sensor is haunted, or the controller is faulty. It is neither. A 5.8 GHz microwave radar sensor emits a cone of RF energy that passes through drywall, timber, glass and thin plaster, and it picks up movement on the far side exactly as well as movement in front of it.
The range on a typical cabinet microwave sensor is rated 2 to 6 m, and the cone is wide. If you mount it on a 12 mm plasterboard partition with a hallway on the other side, you are effectively sensing that hallway. The sensor does not know which side of the wall the motion is on; it just sees Doppler shift in the returned signal.
- The false trigger follows movement in the next room, not in front of the cabinet.
- It happens more on drywall than on masonry walls, which block radar.
- It gets worse when the sensitivity is cranked to the max.
How far through a wall the radar actually reaches
Drywall with timber studs attenuates 5.8 GHz by about 6 to 12 dB. That sounds like a lot, but it only halves the effective range, not kills it. A sensor rated for 6 m in open air still has a usable cone of 1.5 to 2 m through one sheet of plasterboard. A masonry or concrete wall attenuates by 25 to 35 dB, which is why the same sensor behaves itself in a brick extension and misbehaves in a stud partition.
I map the cone on site. I stand on the other side of the wall and walk slowly away from the sensor while an assistant watches the trigger LED. The distance at which I stop triggering the light is the real through-wall range, and it is usually larger than the spec sheet claims.
Mounting tricks that stop the leak
A metal plate behind the sensor blocks the rear-facing cone.
| Mounting option | Through-wall leakage | What it fixes |
|---|---|---|
| Sensor on wall face, default range | High | Nothing by itself |
| Range turned down to 1-2 m | Medium | Most cabinet jobs |
| Mounted on a metal-backed plate | Low | Shields the rear cone |
| Swapped to a PIR or touch sensor | Very low | Halves the problem entirely |
Range, hold time and lens tuning
First I turn the sensitivity down to its lowest setting, 1 to 2 m, and I shorten the hold time to 10 to 30 seconds so a false trigger does not keep the light burning all evening. On cabinet jobs the motion only needs to reach the shelf, not the whole room. If the sensor has a Fresnel-style lens, I add a paper or foam mask over the side of the cone that faces the wall.
If the cabinet is against a drywall with a hallway behind it, I also mount the sensor on a 1 mm steel backing plate. The plate grounds the rear-facing RF and stops it leaking through the wall. That one simple shield fixes about half the jobs I see.
When a microwave sensor is the wrong tool
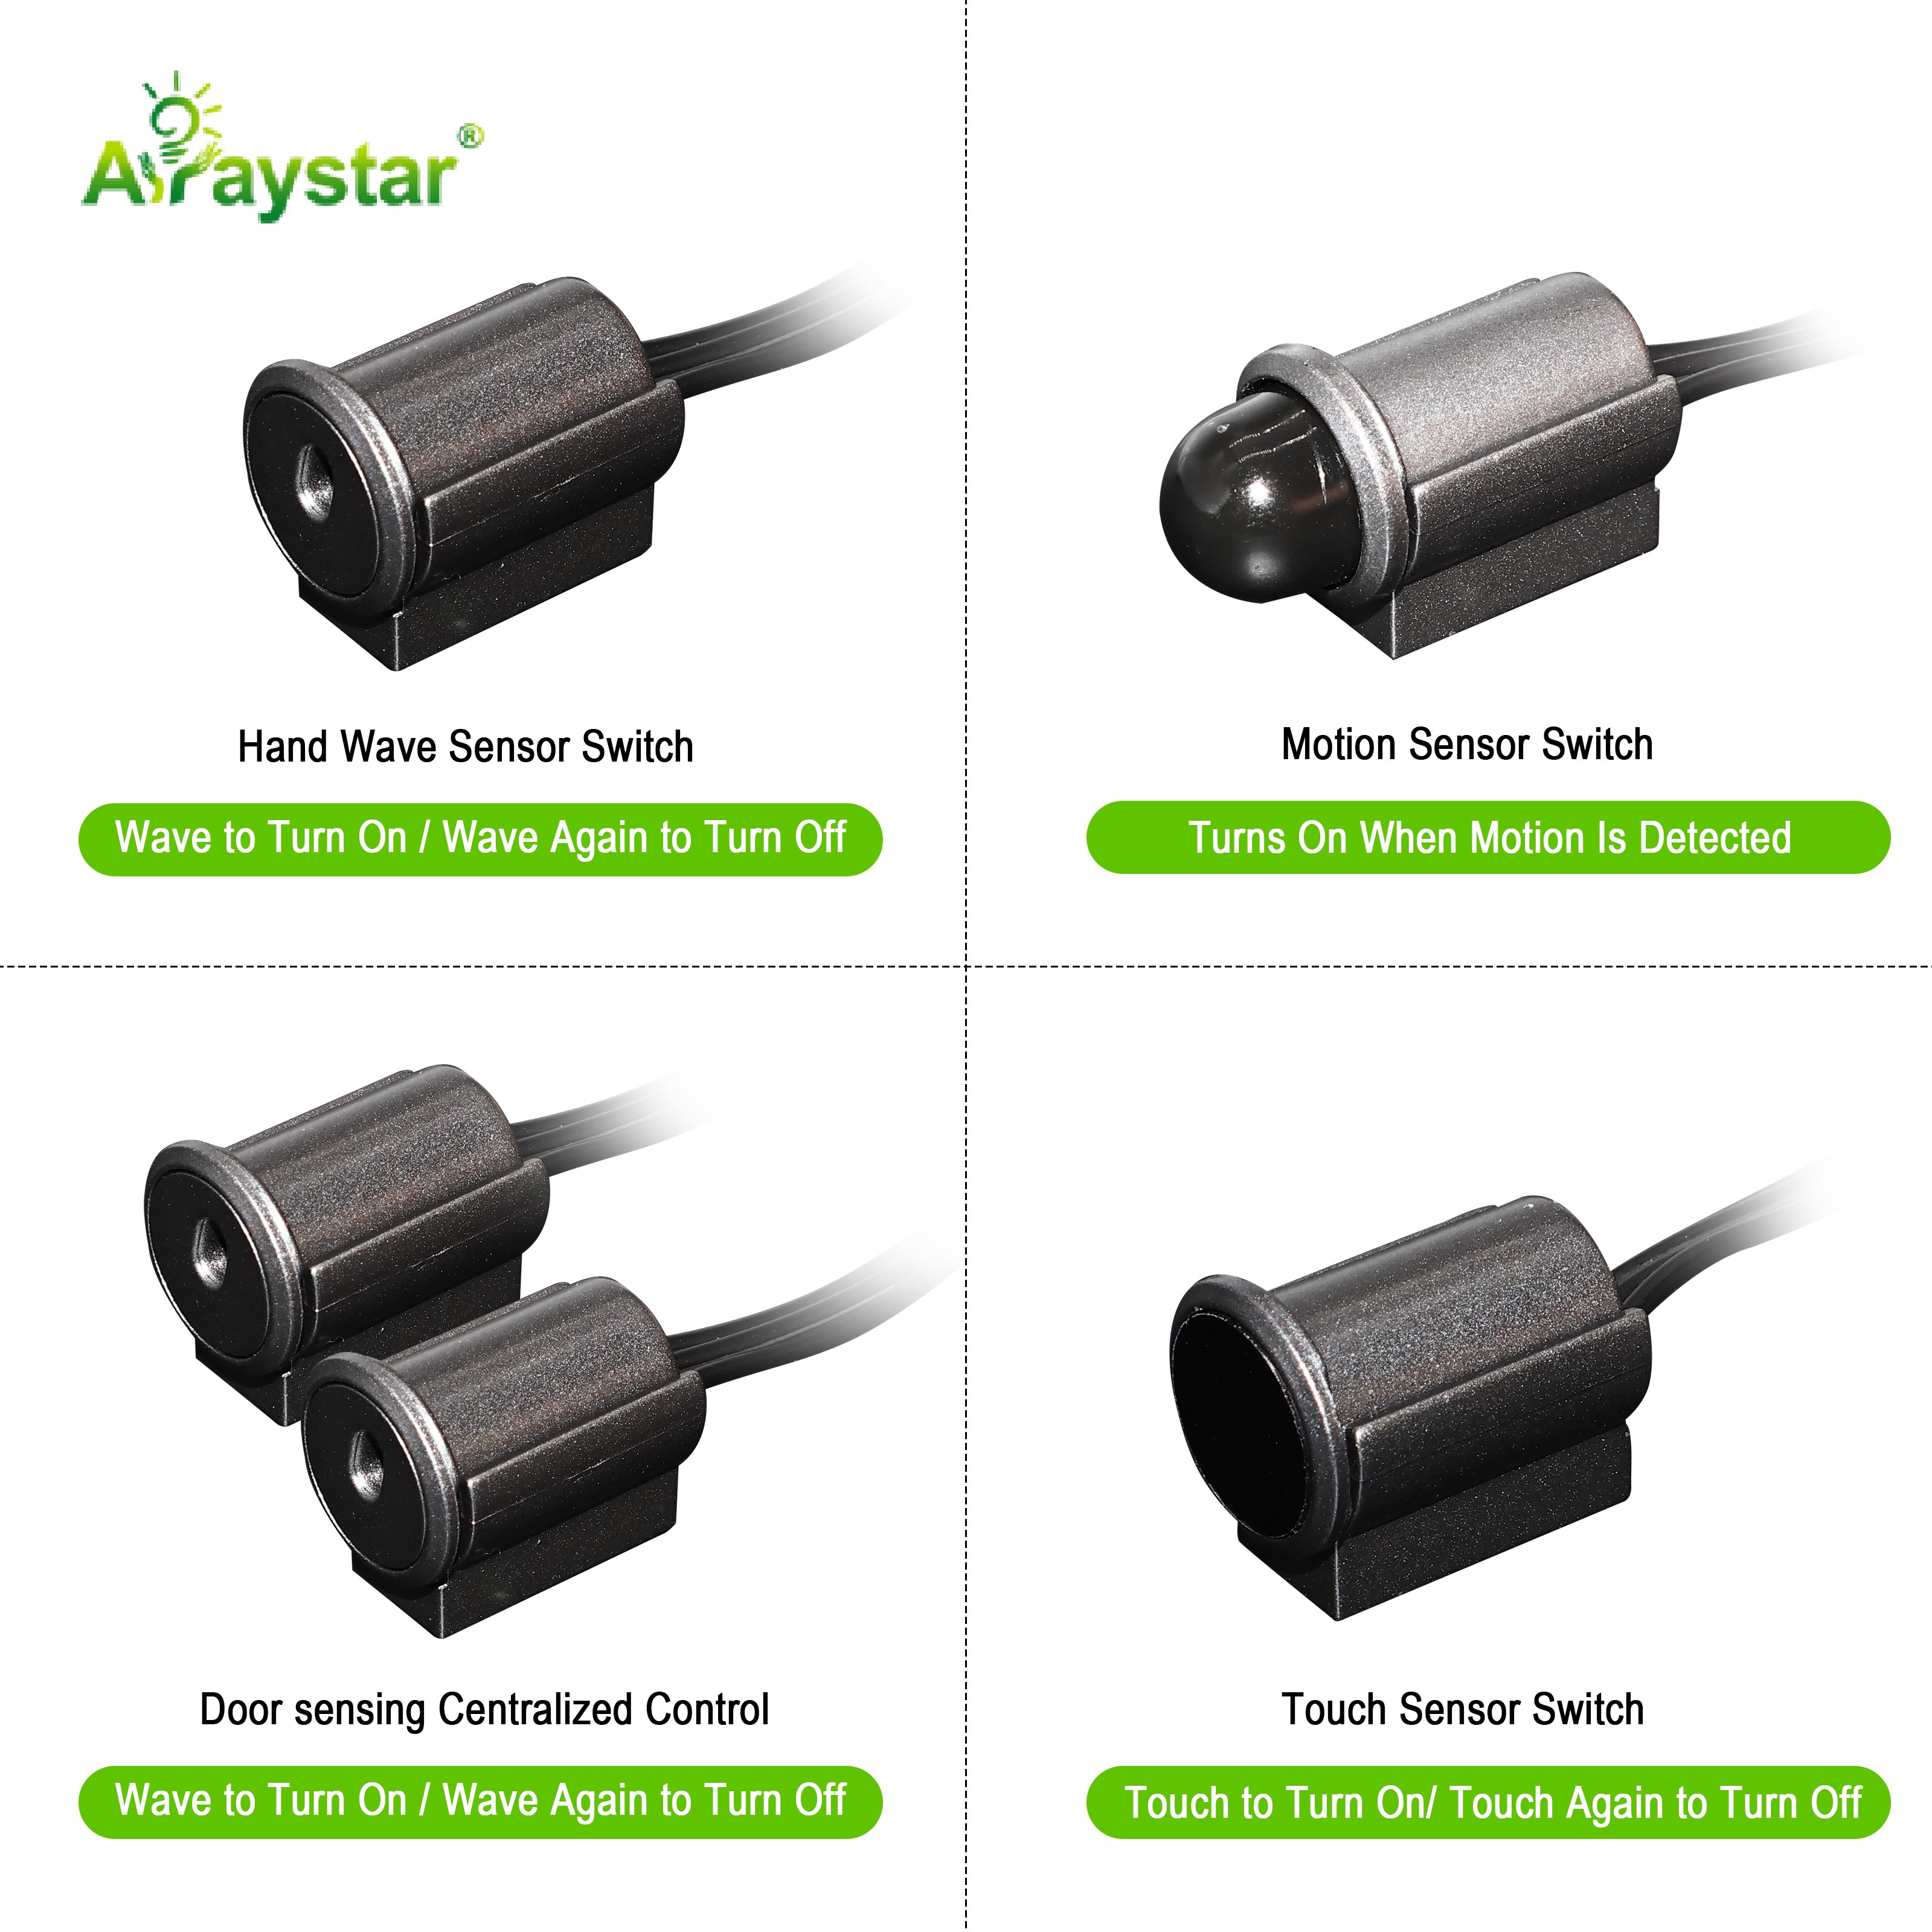
If the cabinet is on an exterior wall with a window behind it, or on a partition with a walk-in wardrobe on the other side, a microwave sensor is the wrong sensor. I swap it for a PIR with a narrow lens, or for a door-trigger or hand-wave sensor that only responds to motion right in front of the cabinet. The sensor type is chosen by the wall type, not by cost.
I explain this to the client up front. A microwave sensor is great in open workshops where you want it to sense a person walking up to the bench. In a tight domestic cabinet against a thin wall, it is over-specified and it creates the exact false trigger the client is complaining about.
Recommended Products
Frequently Asked Questions
Can a microwave sensor really trigger through a plasterboard wall?
Yes. 5.8 GHz radar passes through drywall and plasterboard with about 6 to 12 dB attenuation, which means a 6 m rated sensor still senses 1.5 to 2 m through one sheet. Movement in the next room trips it exactly like movement in front of the cabinet.
How do I stop a microwave sensor triggering through the wall?
Turn sensitivity down to 1 to 2 m, shorten hold time to 10 to 30 seconds, and mount the sensor on a 1 mm steel backing plate to shield the rear cone. If the wall is thin and the next room is a hallway, swap to a PIR or hand-wave sensor instead.
Does a microwave sensor work through brick?
Poorly. A brick or concrete wall attenuates 5.8 GHz by 25 to 35 dB, which is usually enough to stop the through-wall cone entirely. That is why the same sensor misbehaves on a stud partition but behaves itself in a masonry extension.
Should I use a PIR instead of a microwave sensor in cabinets?
On thin walls yes. A PIR only sees heat moving across its lens, and it does not penetrate drywall. It is also cheaper and simpler. The trade-off is that a PIR does not see through dust or glass as well, and it needs a clear line of sight to the moving body.
How do I mask the side of a microwave sensor cone?
Add a small foam or paper mask over the side of the lens that faces the wall. Cut it to cover only the leaking quadrant, not the whole lens. On adjustable units, rotate the sensor body so the narrowest part of the cone points into the cabinet.
Need help with your LED project?
Get factory-direct pricing, free samples and engineering support within 24 hours.
Email: info@arraystarled.com | Phone: +86-0755-2103-6746 | WhatsApp: 0086 1581 8514 077
Need to size your power supply? Use our LED Strip Power Calculator to find the right driver in seconds.







