
Stopping Neon Flex End-Cap Leaks: The Real Silicone Procedure
- 2026-10-28 10:03
- /
- Arraystar LED
Water creeps in at the end cap even with a gasket. I show the clean, dry, over-filled silicone method that stops the drip for good.
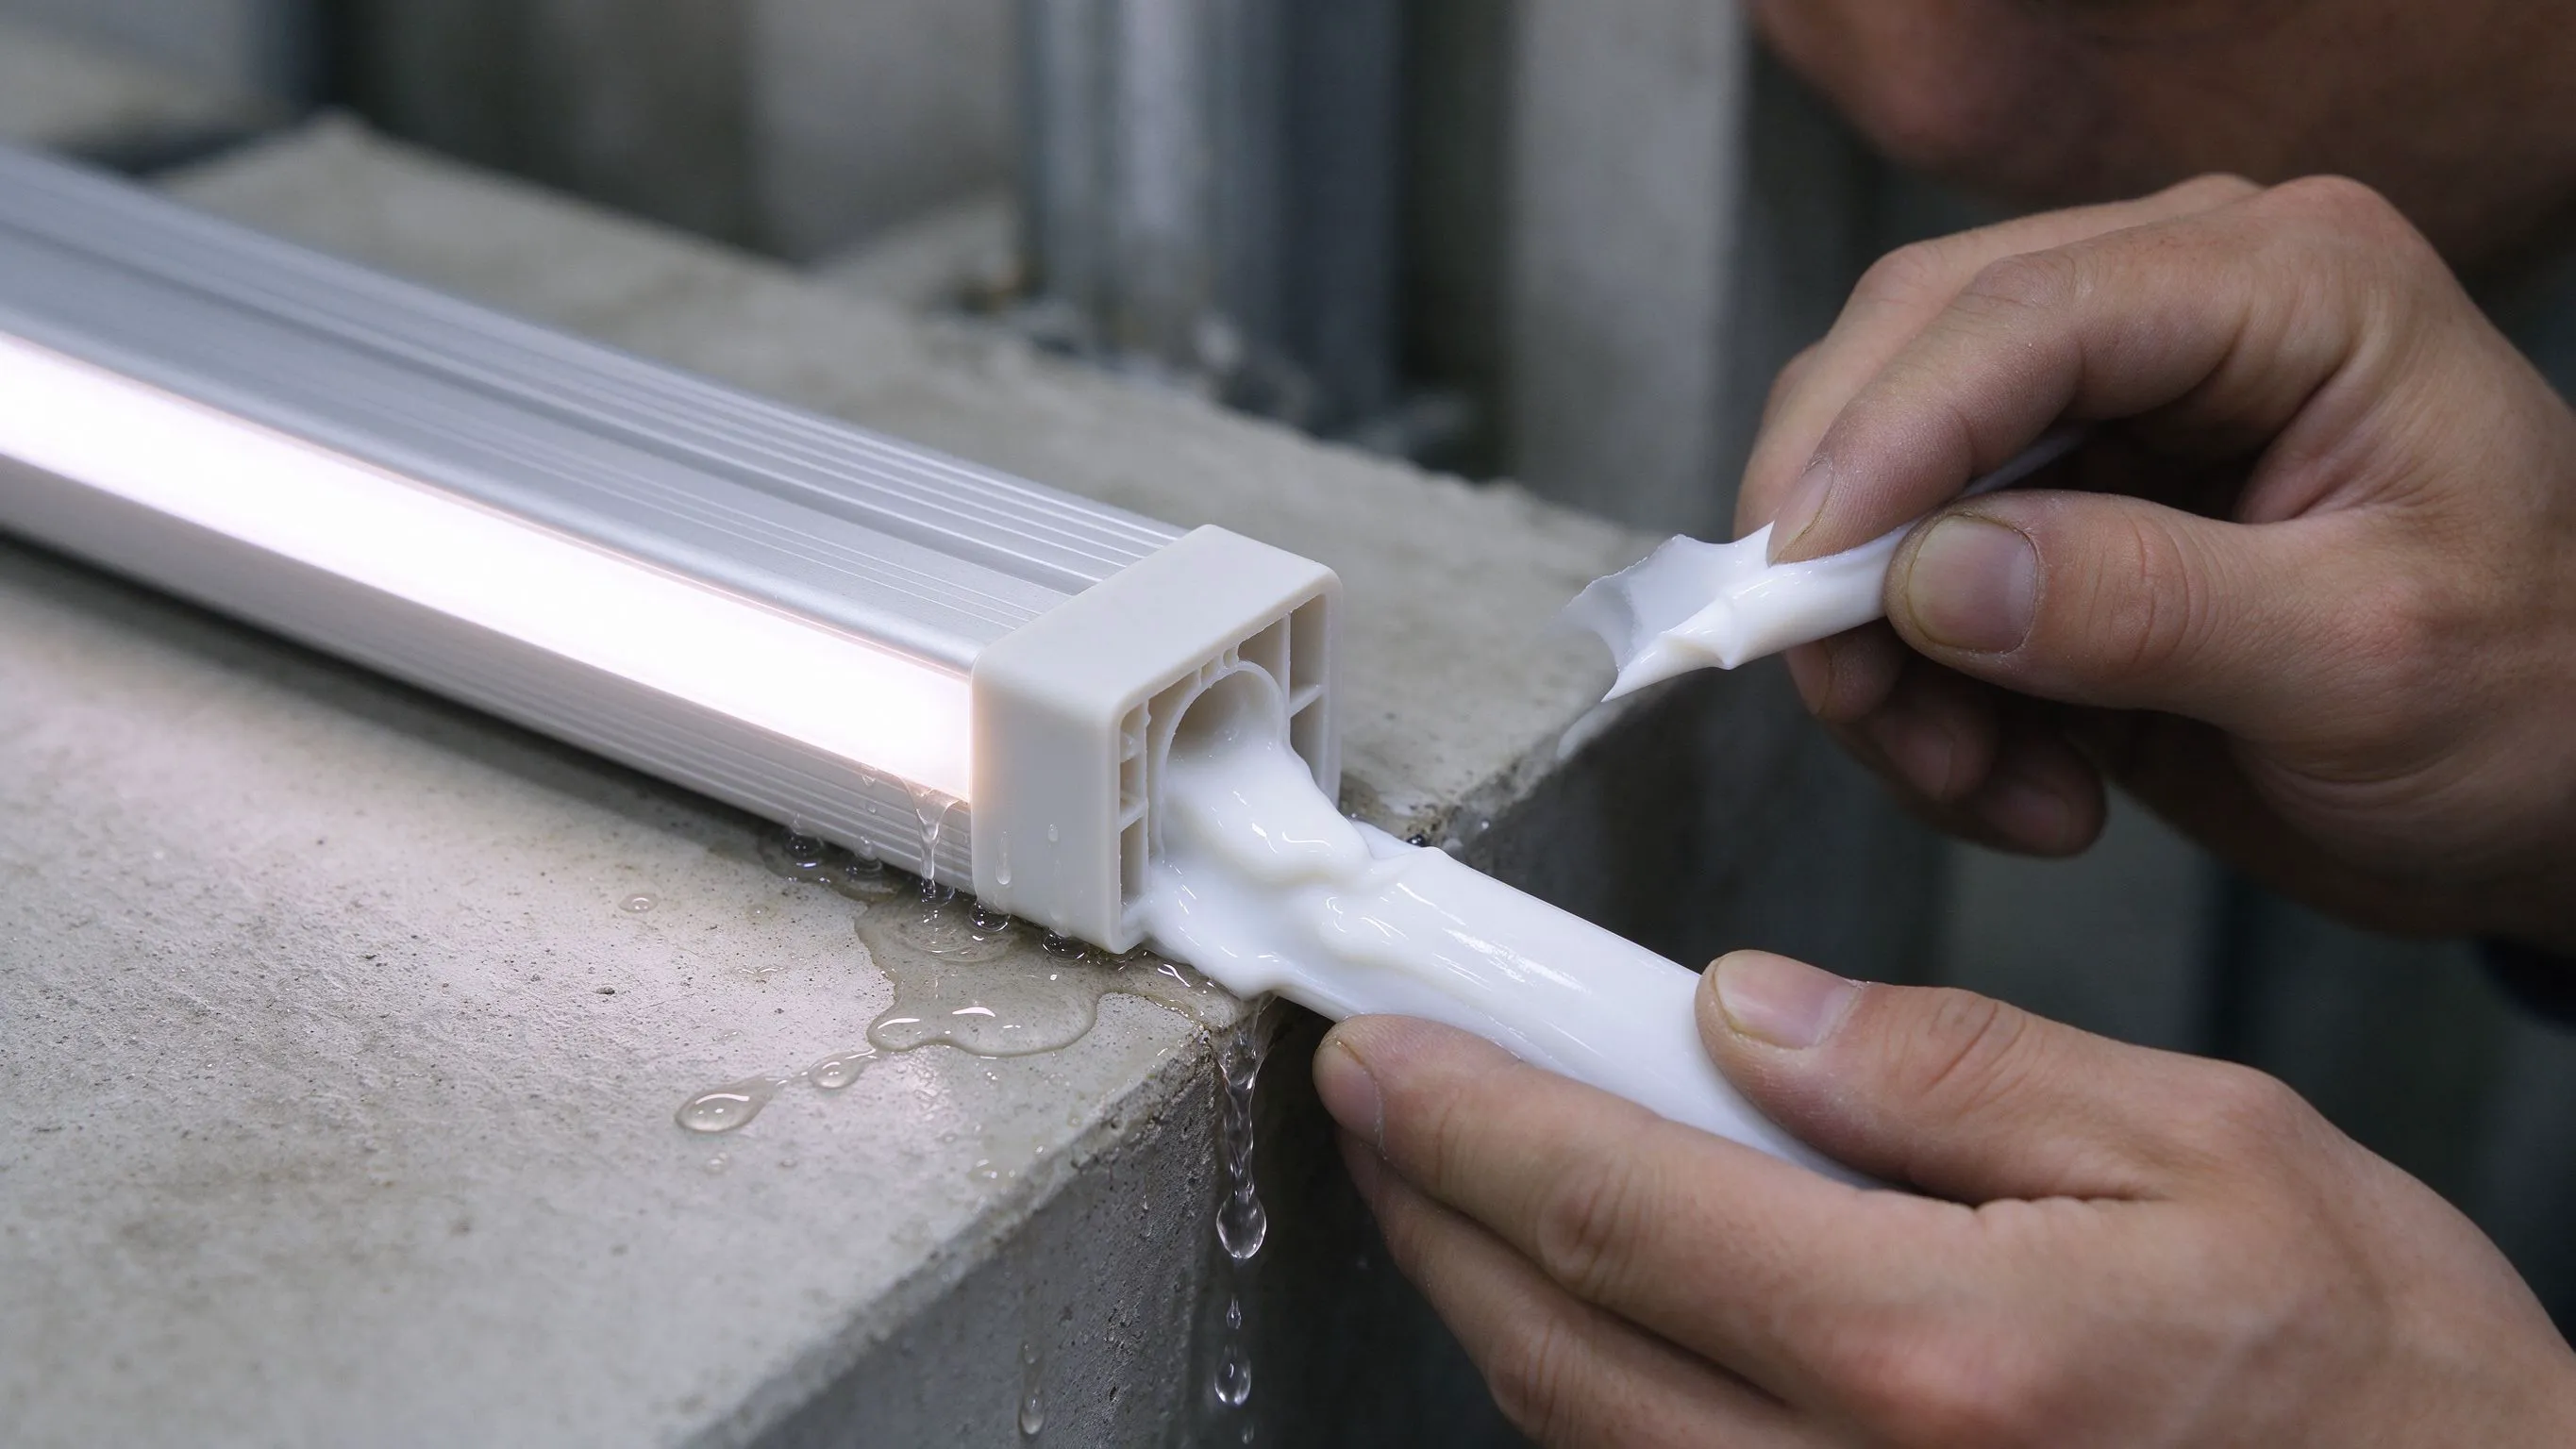
Why end caps leak even when they look sealed
Most neon flex comes with a push-on end cap that has a foam gasket. That gasket works for a shower, not for a horizontal pipe running along a fascia where rain sheets off the roof. Water finds the capillary gap between the silicon tube and the cap, and once it is inside, there is no way out but along the profile.
I have opened waterproof signs after a winter and found a sludge line 200 mm back from the cap. The PCB was green, the silicon had turned milky, and half the LEDs on that end were browned. The fix is not a better gasket; it is a glued joint that replaces the gasket entirely.

Where the water enters
- Capillary gap between tube and push-on cap
- Hole where the wire exits the cap
- Micro-crack from bending near the cap
- Condensation inside the tube that never drains
The prep that actually matters
Before any glue, I cut the tube clean with a sharp knife — no jagged edges — and wipe both the tube end and the inside of the cap with isopropyl. Then I rough the last 10 mm of the tube outer skin with fine sandpaper. Silicon that is too smooth will not grip silicon adhesive; a matte surface doubles the peel strength.
The wire exit is the sneaky one. I strip the outer jacket back 15 mm, tin the individual conductors, and feed them through the cap wire hole so the jacket sits flush with the cap. Any gap around the wire gets a dab of adhesive later.
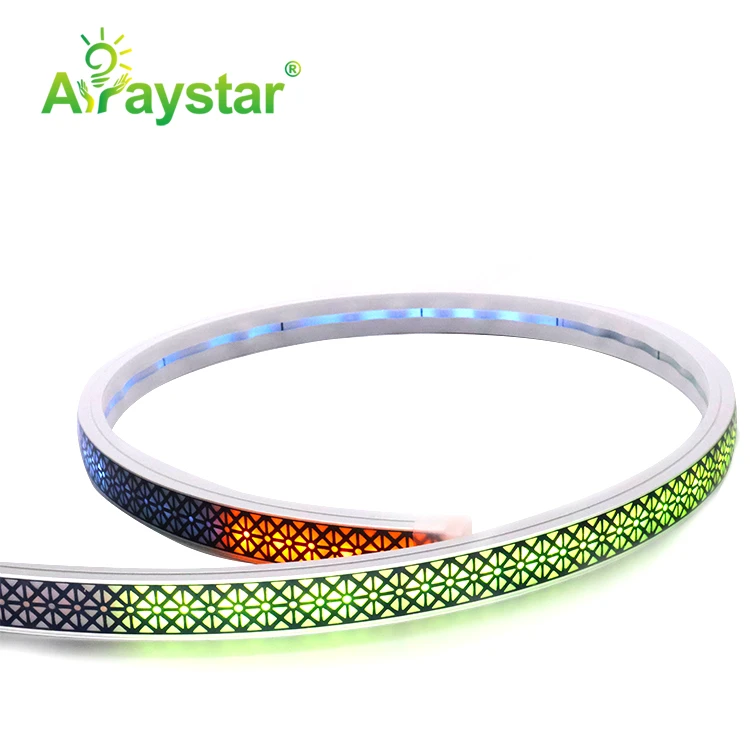
Prep sequence
| Step | Action | Why |
|---|---|---|
| Cut tube | Sharp knife, square end | No leaks at the cut |
| Rough skin | Fine sandpaper, last 10 mm | Mechanical key |
| Clean | IPA wipe, both parts | Oil-free bond |
| Tin wires | Solder conductors | No wicking along wires |
Over-filling the cap with neutral-cure silicone
I do not use the supplied gasket. I fill the cap with a neutral-cure, acetic-free silicon adhesive until it overflows slightly when I push the cap onto the tube. Over-fill is the point: you want the squeeze-out to show that every void is displaced. If you only fill to the rim, the last few millimetres trap air and water gets in later.
I hold the cap in place for 60 seconds, then wipe the squeeze-out with a soapy rag before it skins over. Leave a small bead at the wire exit too; that bead is the secondary seal. The adhesive cures in 24 hours — I do not energise the sign for a full day.
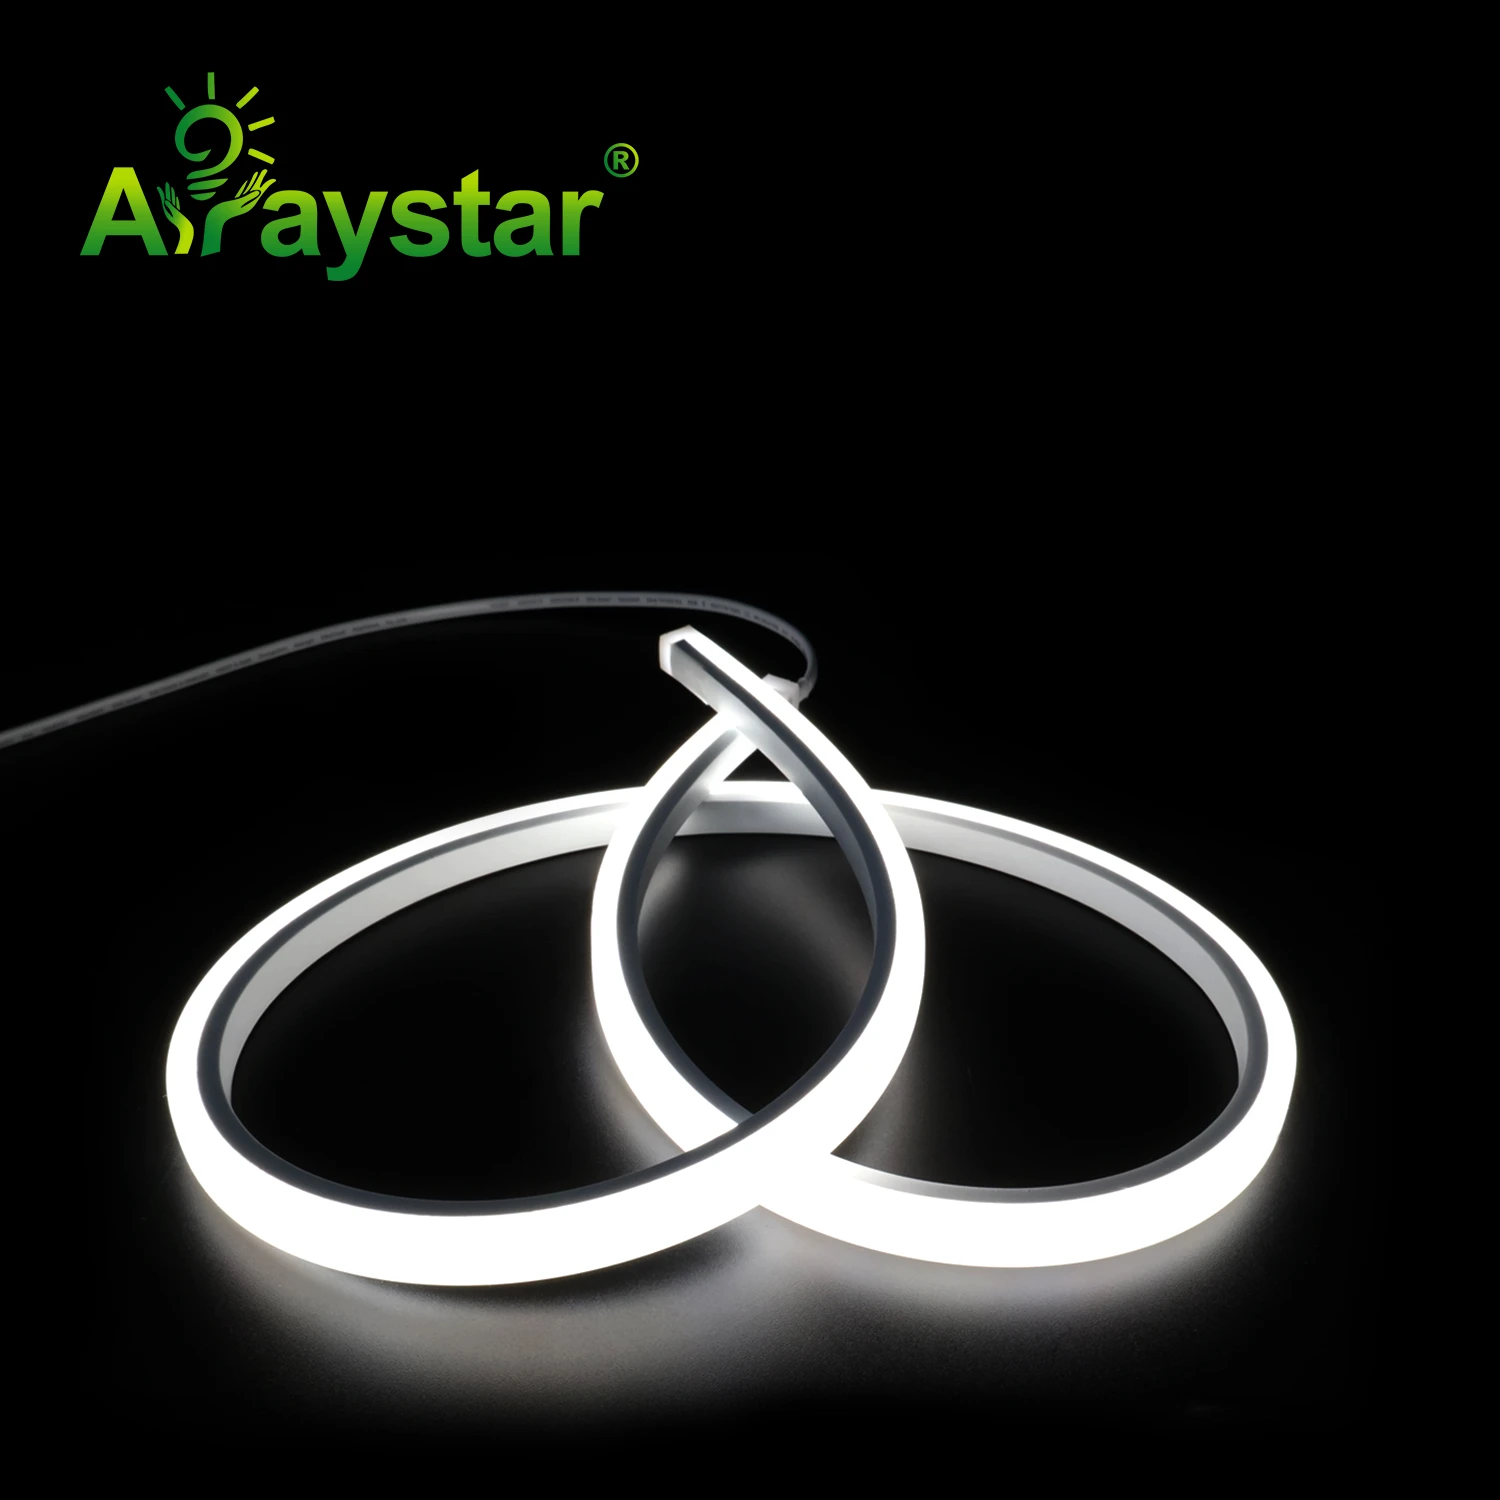
Glue rules
- Neutral-cure, acetic-free only
- Fill until squeeze-out shows
- Hold for 60 seconds
- Wipe with soapy rag before skinning
- Cure 24 h before power-on
Testing the seal before you walk away
I do not trust a visual inspection. After 24 hours I spray the capped end with a bottle of soapy water and blow compressed air into the other end at about 0.2 bar. Any bubble is a leak. I mark it, let it dry, and re-do that cap. This 10-minute test has saved me from dozens of call-backs.
For vertical runs or submerged applications I go a step further: I add a heat-shrink boot over the cap and wire exit, sealed with adhesive-lined shrink. That is overkill for a fascia, but it is what I use for soffit and pool-edge installs.
Pressure test steps
- Seal the opposite end temporarily
- Blow 0.2 bar into the tube
- Spray soapy water on the cap
- Watch 30 seconds for bubbles
- Re-do any bubbling cap
Common mistakes I see on site
The biggest one is curing the cap before it is seated. Installers push the cap on, wipe the mess, and walk away in 30 seconds. Silicon adhesive needs pressure against the tube for the first minute; otherwise it skins on the outside while the joint is still wet. I hold each cap for a full minute with a rubber gripper.
The second is using acid-cure silicon. Acetic acid eats the copper traces and makes the LED pads green within a season. I carry two tubes on the van, clearly labelled, and I do not let anyone grab the wrong one.
Mistakes to avoid
- Walking away before 60 seconds
- Using acetic or acid-cure silicon
- Skipping the sandpaper key
- Powering the sign before 24 h cure
Recommended Products
Frequently Asked Questions
What silicone is best for neon flex end caps?
Use a neutral-cure, acetic-free silicon adhesive. Acid-cure silicon releases acetic acid that turns copper pads green within a season. Neutral-cure bonds to the silicon skin without attacking the PCB. Fill the cap until it overflows, hold for 60 seconds, and leave 24 hours before powering.
How do I stop water getting in around the wires?
Strip the outer jacket back 15 mm, tin the conductors, and feed them through the cap wire hole so the jacket sits flush. Add a dab of adhesive at the wire exit when you over-fill the cap. For wet locations, finish with an adhesive-lined heat-shrink boot over the joint.
Do I need to sand the neon flex before gluing the cap?
Yes, lightly. Rough the last 10 mm of the tube outer skin with fine sandpaper to break the smooth, low-energy surface. A matte surface roughly doubles peel strength. Wipe with isopropyl after sanding to remove dust.
How can I test an end cap for leaks?
After 24 hours, seal the opposite end temporarily, blow about 0.2 bar of compressed air into the tube, and spray soapy water on the cap. Any bubble is a leak. Re-do that cap. This 10-minute test catches failures that would otherwise show up as a brown PCB in spring.
Can I use the push-on cap with its foam gasket?
On a dry interior run, yes. On exterior fascia, soffit, or any horizontal run exposed to rain, I discard the gasket and glue the cap. Gaskets work for splash; they do not stop capillary wicking along the silicon tube once water reaches the end.
Need help with your LED project?
Get factory-direct pricing, free samples and engineering support within 24 hours.
Email: info@arraystarled.com | Phone: +86-0755-2103-6746 | WhatsApp: 0086 1581 8514 077
Need to size your power supply? Use our LED Strip Power Calculator to find the right driver in seconds.







