
The Real Minimum Bend Radius for Neon Tubing (and Why Forcing It Kills the Sign)
- 2026-10-28 10:02
- /
- Arraystar LED
Every neon tube datasheet prints a bend radius. The field reality is tighter than the spec by about thirty percent, and forcing a bend past that shows up as a dark spot or a cracked solder joint a year later.
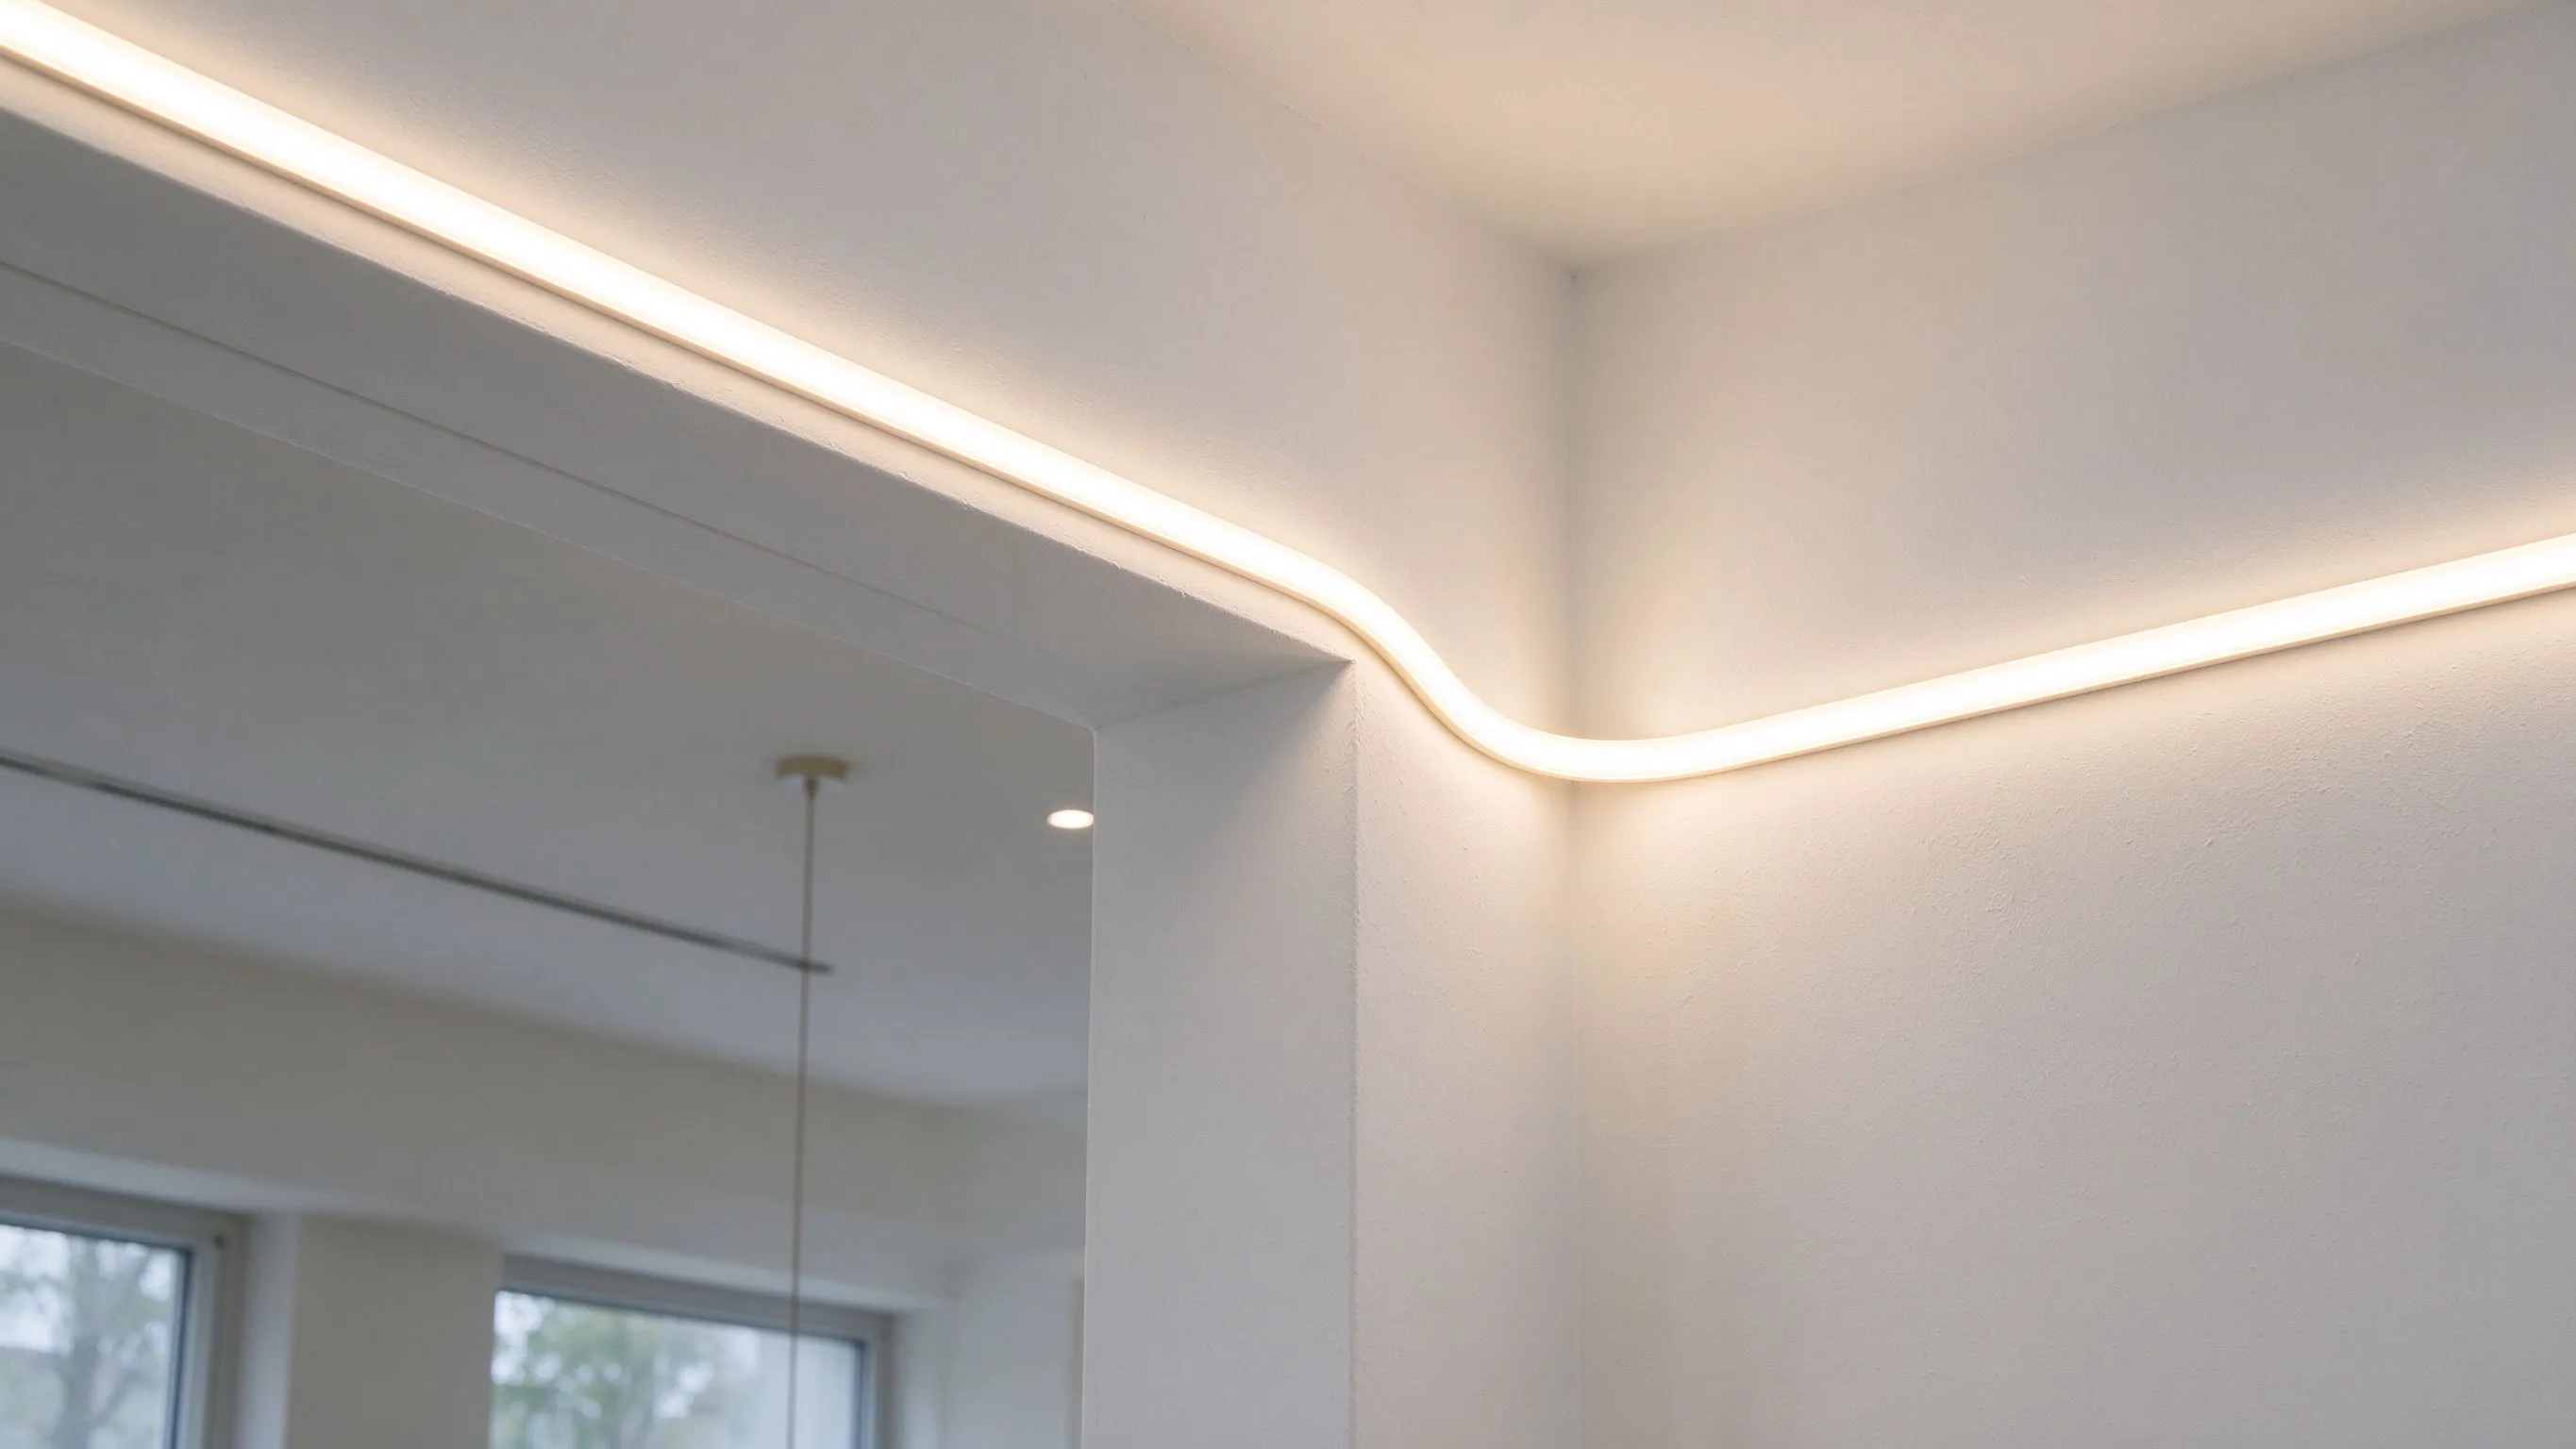
What the bend radius number actually means
The datasheet minimum bend radius is measured to the inside of the curve, and it is usually the radius at which the silicone jacket will not kink. But that number is tested on a bench at 25 C with the tube straight for half a metre on either side. On a sign, you are bending at 10 C, near a corner, after the tube has been coiled on a reel for weeks. The real number is larger.
I treat the printed figure as a floor and add 25 to 30 percent before I mark the tubing. If the sheet says 30 mm, I plan for 40 mm. That extra radius costs me a little tighter letter spacing, but it saves me a warranty call.
How I measure and mark a bend

I never bend freehand. I cut a former out of plywood or MDF to the target radius, lay the tube along it, and hold it in place with low-tack tape for 24 hours before the final install. Pre-forming lets the silicone relax and lets the inner strip settle into the curve. A cold bend done on the ladder springs back and adds permanent stress.
- Warm the tube to 20 to 25 C before bending; never bend below 10 C.
- Bend slowly over 30 seconds, not in one motion.
- Do not twist the tube while bending; the jacket wants to bend in one plane.
- Give the curve a 24-hour rest on the former before install.
Field radius runs ~30% above the datasheet floor.
| Tube section | Printed min radius (typical) | Field radius I use |
|---|---|---|
| 10x10 mm | 20-30 mm | 30-40 mm |
| 12x12 mm | 30-40 mm | 40-55 mm |
| 16x16 mm | 40-60 mm | 55-80 mm |
What happens when you force the bend

Force a bend tighter than the jacket wants and you see three failure modes. First, the silicone wrinkles on the inside of the curve, which looks like a dent but will not leak. Second, the inner PCB flexes beyond its fatigue limit and a row of LEDs goes dark within months. Third, and worst, the solder joint at the bend cracks because the strain was never meant to sit there.
The dark row is the tell. It shows up six to twelve months after install, often in the corner of a letter, and it is almost always a forced bend, not a bad LED. You can test it: flex the tube gently back and forth at the corner and see if the row flickers. If it does, the joint is cracked.
Corners, U-bends and multi-radius letters
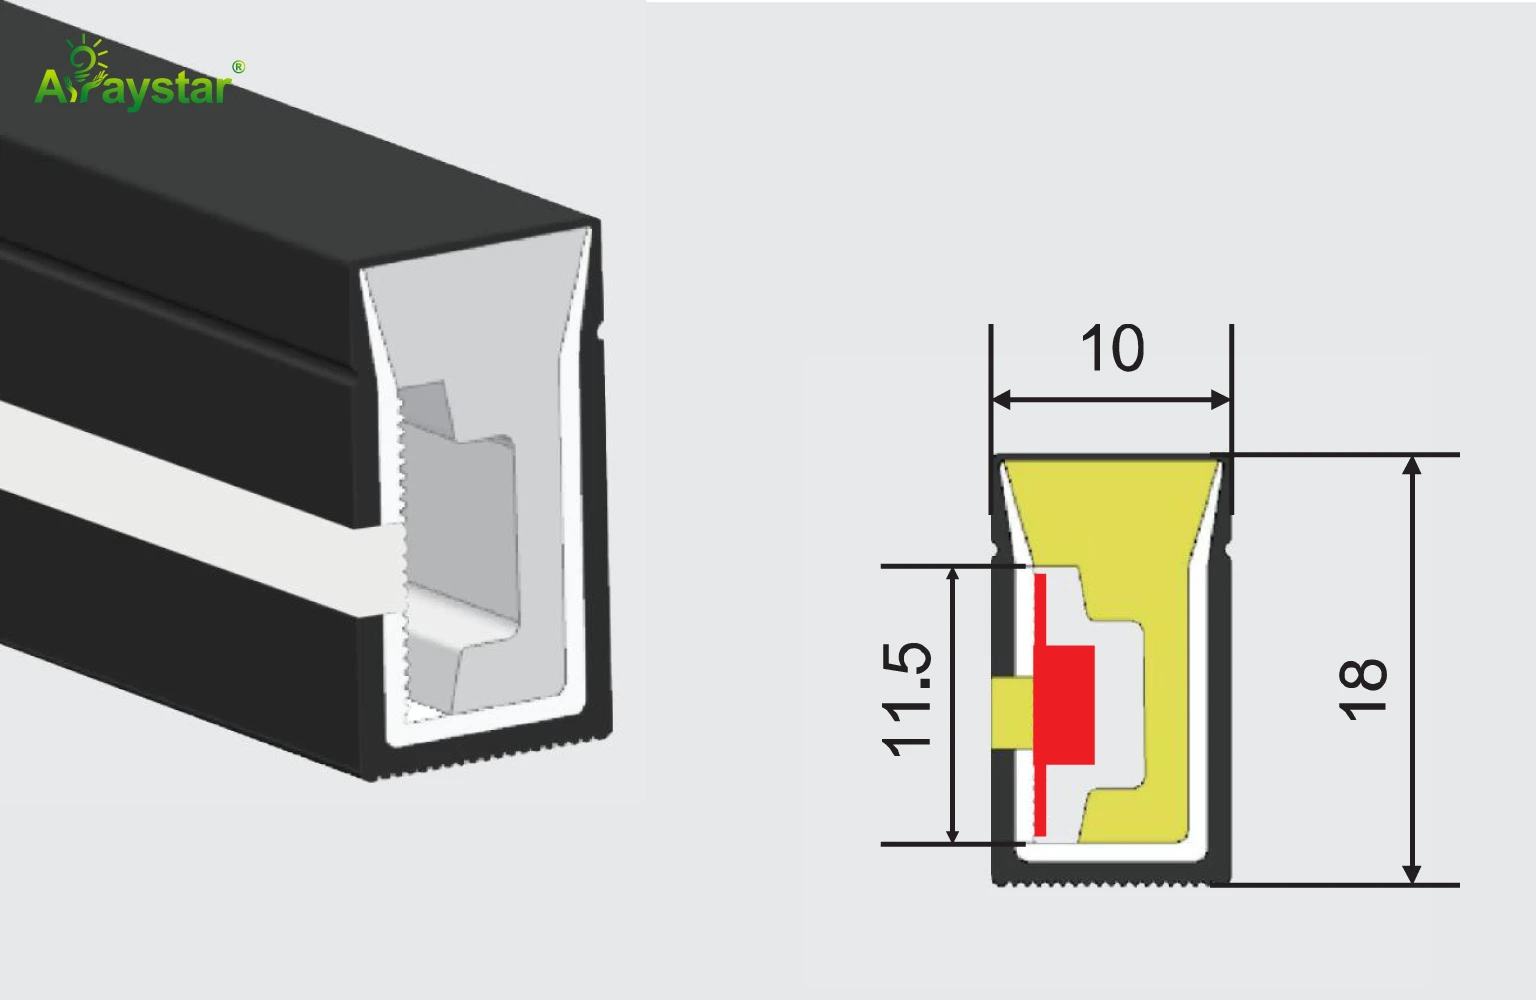
On letters like O, C or S, you need multiple radii in one run. I draw the letter full size on a sheet, mark every centre of curvature, and bend the whole length on a flat former rather than trying to form it on the wall. Right-angle 90-degree corners are the worst; I split them with a small straight section between two 45-degree bends rather than one hard 90.
Where a design genuinely needs a tighter radius than the tube will give, I split the run and use a corner connector rather than forcing the tube. A 50 mm straight jumper at a corner is invisible at viewing distance and saves the joint.
Post-bend checks I do on the bench
Before a shaped sign goes out, I power it on the bench and run through a short check.
- Run every bend at full brightness for 30 minutes; watch for dimming or flicker.
- Flex each corner gently by +/-5 mm; a cracked joint will flicker.
- Check the jacket for whitening or micro-cracks; those will spread outdoors.
- Measure the finished letter against the drawing; a forced bend often shrinks the overall size.
Recommended Products
Frequently Asked Questions
What happens if I bend neon tube tighter than the datasheet says?
You usually get one of three failures: a wrinkled jacket (cosmetic), a row of dark LEDs within months (fatigue on the inner PCB), or a cracked solder joint at the bend. The last two are warranty jobs. I add 25 to 30 percent to the printed radius on site.
Can I bend neon tube in cold weather?
Not ideally. Silicone stiffens as it cools, and a bend made below 10 C sits under permanent stress even if it looks fine on the bench. I bring the tube inside to 20 to 25 C for 24 hours before bending, or warm the local area with a low heat gun.
Why does my bent section have a dark spot a year later?
Almost always a forced bend. The inner PCB or a solder joint at the corner fatigued over hundreds of thermal cycles. Flex the corner gently; if the row flickers, the joint is cracked. The fix is to split the run at that corner rather than rebend the whole thing.
How tight a radius can I get on a 16 mm tube?
The datasheet might say 40 to 60 mm. On site I plan for 55 to 80 mm measured to the inside of the curve. If the letter genuinely needs something tighter, I split the run with a corner jumper rather than forcing the silicone, and the jumper is invisible at normal viewing distance.
Should I pre-form bends or bend on the wall?
Pre-form on a plywood former and leave the tube on it for 24 hours. Bending on the ladder gives no control, the tube springs back, and you end up holding it in place with a standoff that was never meant to take that force. Pre-forming is slower but the sign lasts.
Need help with your LED project?
Get factory-direct pricing, free samples and engineering support within 24 hours.
Email: info@arraystarled.com | Phone: +86-0755-2103-6746 | WhatsApp: 0086 1581 8514 077
Need to size your power supply? Use our LED Strip Power Calculator to find the right driver in seconds.







