
Plaster-In Internal Corner Profiles for Seamless Drywall Lines
- 2026-10-09 18:41
- /
- Arraystar LED
Trimless plaster-in channels create the coveted seamless line of light in drywall, but the effect is ruined at internal corners where two runs meet, often with light leaks, broken diffusers or misaligned lines. A dedicated trimless plaster-in internal-corner profile carries the LED line cleanly around drywall inside corners so the seamless effect continues around the whole room.
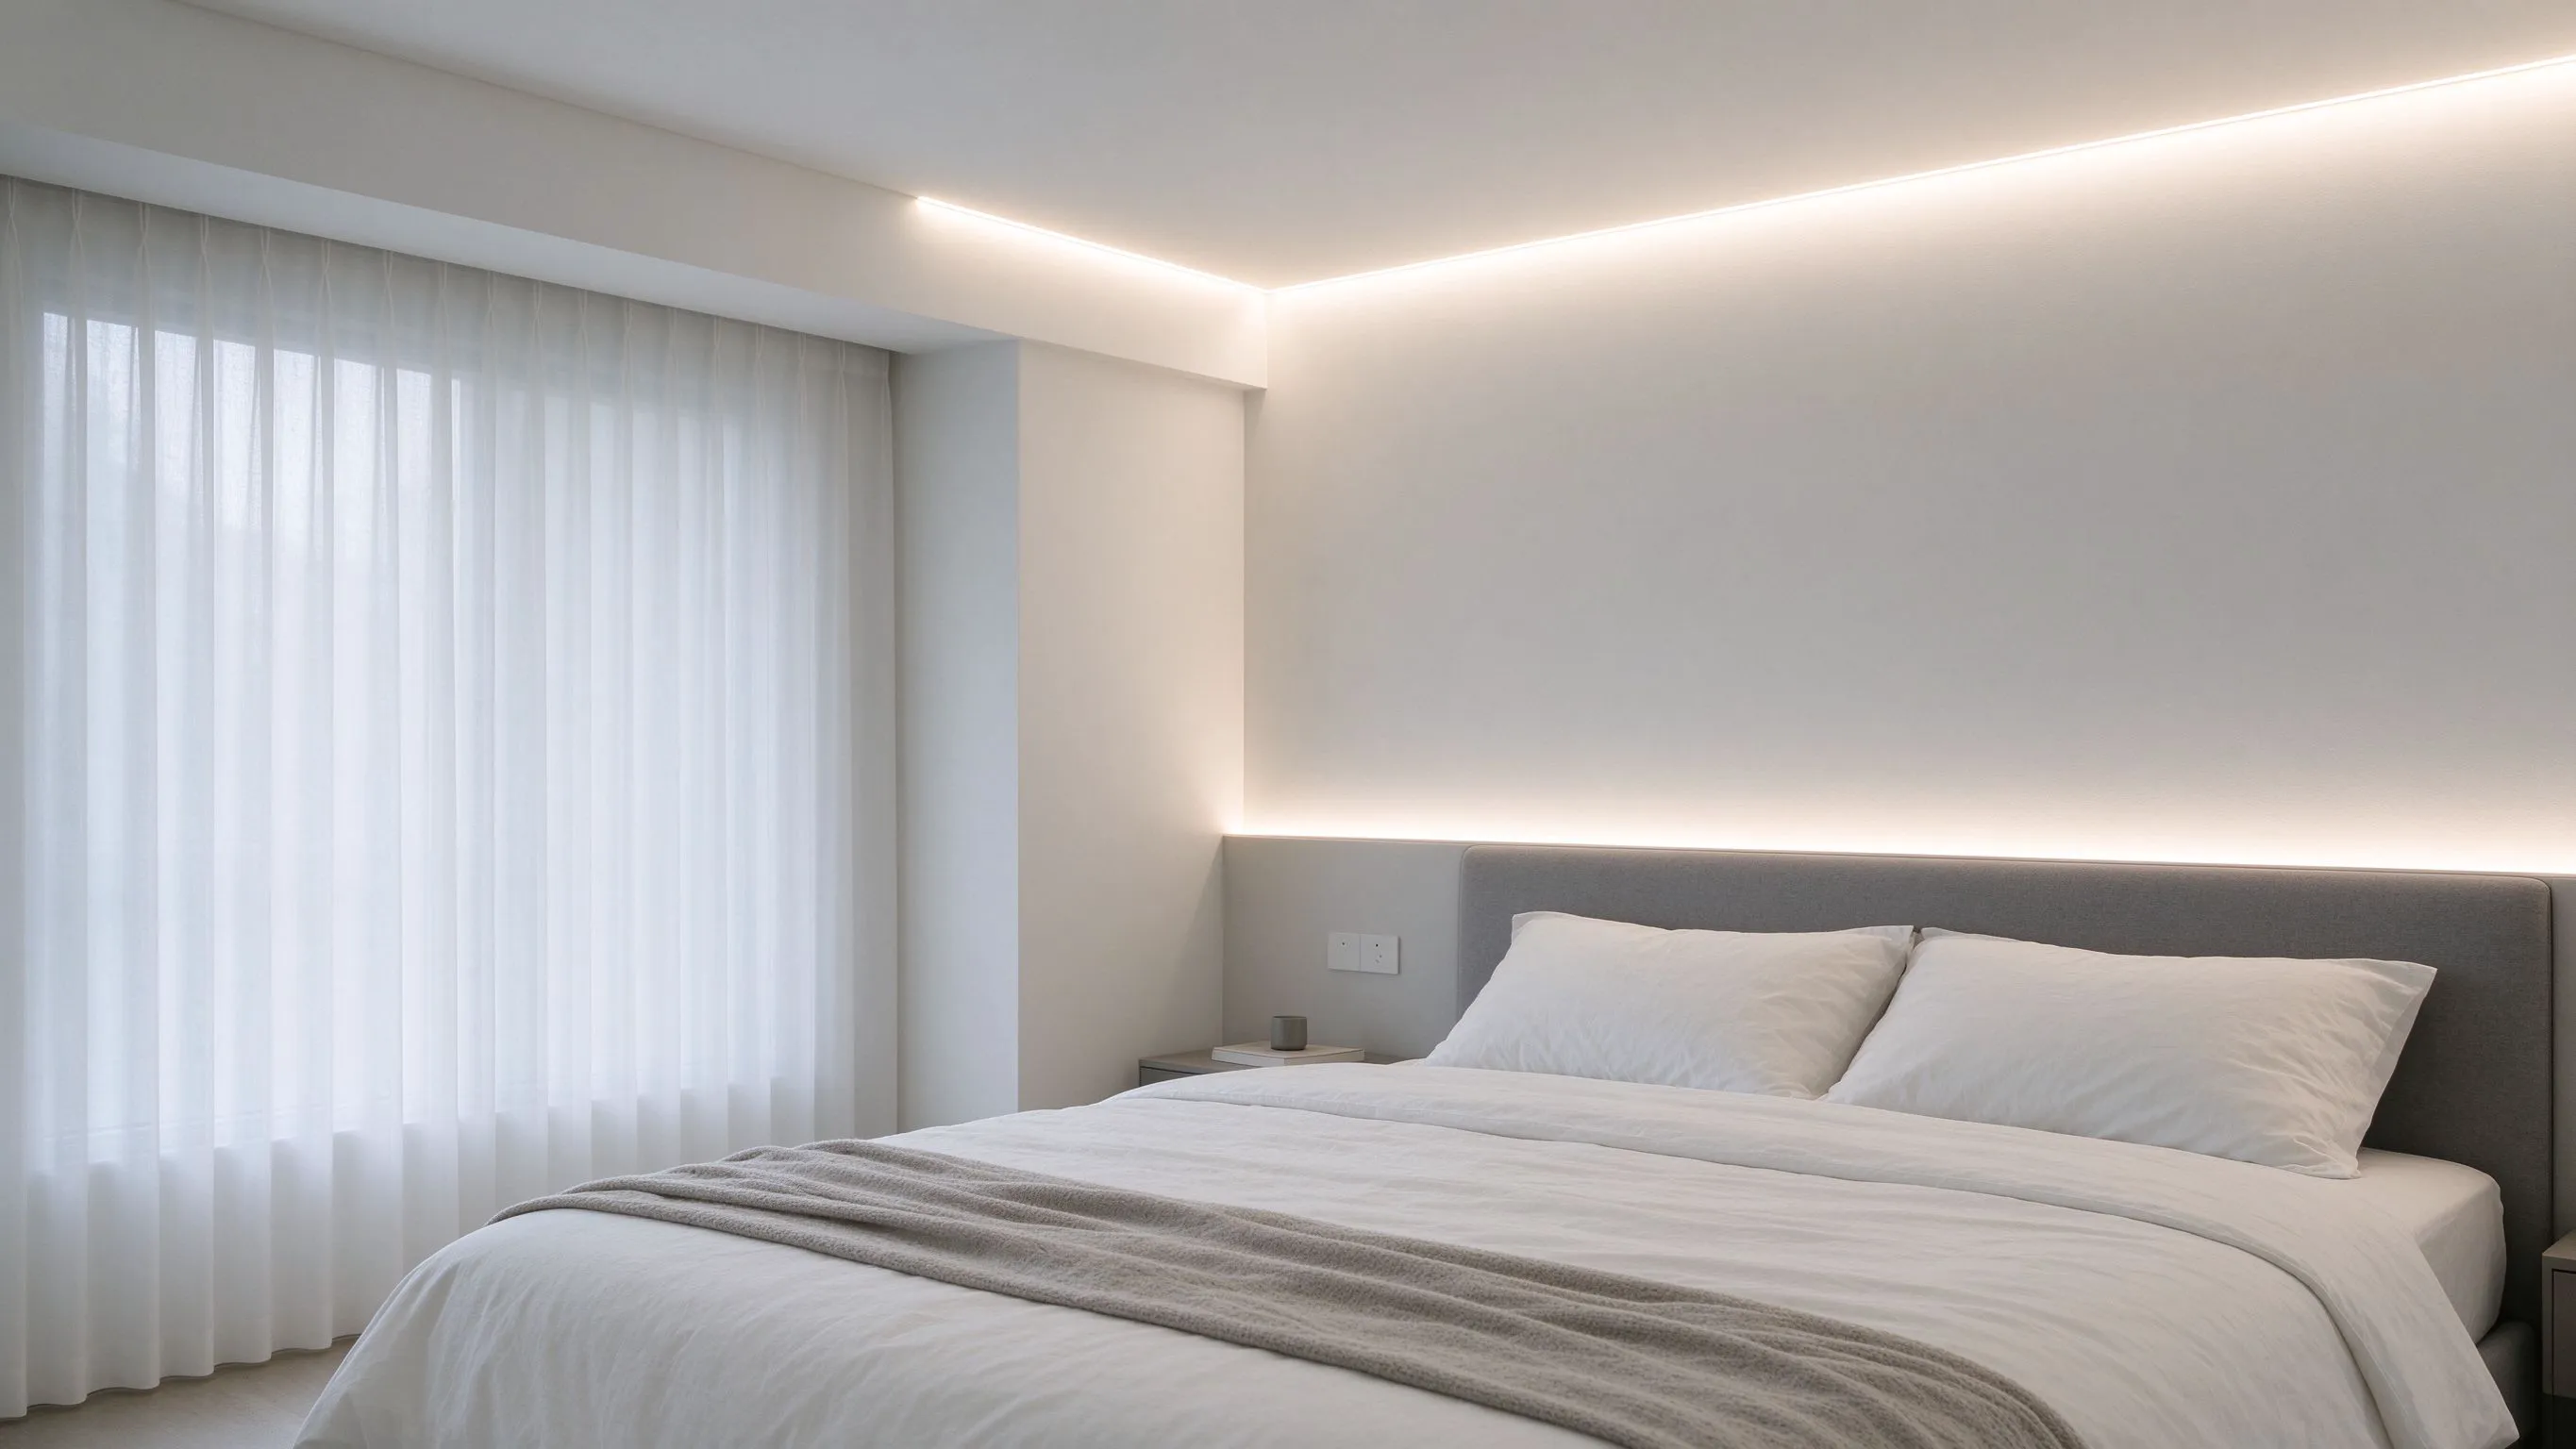
Why Trimless Lines Fail at Inside Corners
Plaster-in (trimless) channels are designed to disappear into the drywall, leaving only a continuous diffuser line flush with the surface. On straight runs the result is stunning, but an internal corner, where two walls or a wall and ceiling meet, forces two recessed channels to converge, and improvised joints leak light, interrupt the diffuser or read as a messy notch in an otherwise flawless line.
A purpose-made plaster-in internal-corner profile resolves the junction geometrically, carrying the recessed channel and diffuser around the inside corner with a clean mitre and no light leak.
What the AL5525 Internal-Corner Profile Does
- Carries the trimless LED line around drywall inside corners.
- Purpose-formed corner with clean diffuser alignment.
- Prevents light leaks at the internal junction.
- Plasters flush for a fully seamless, trimless look.
- Maintains the continuous-line effect around the room.
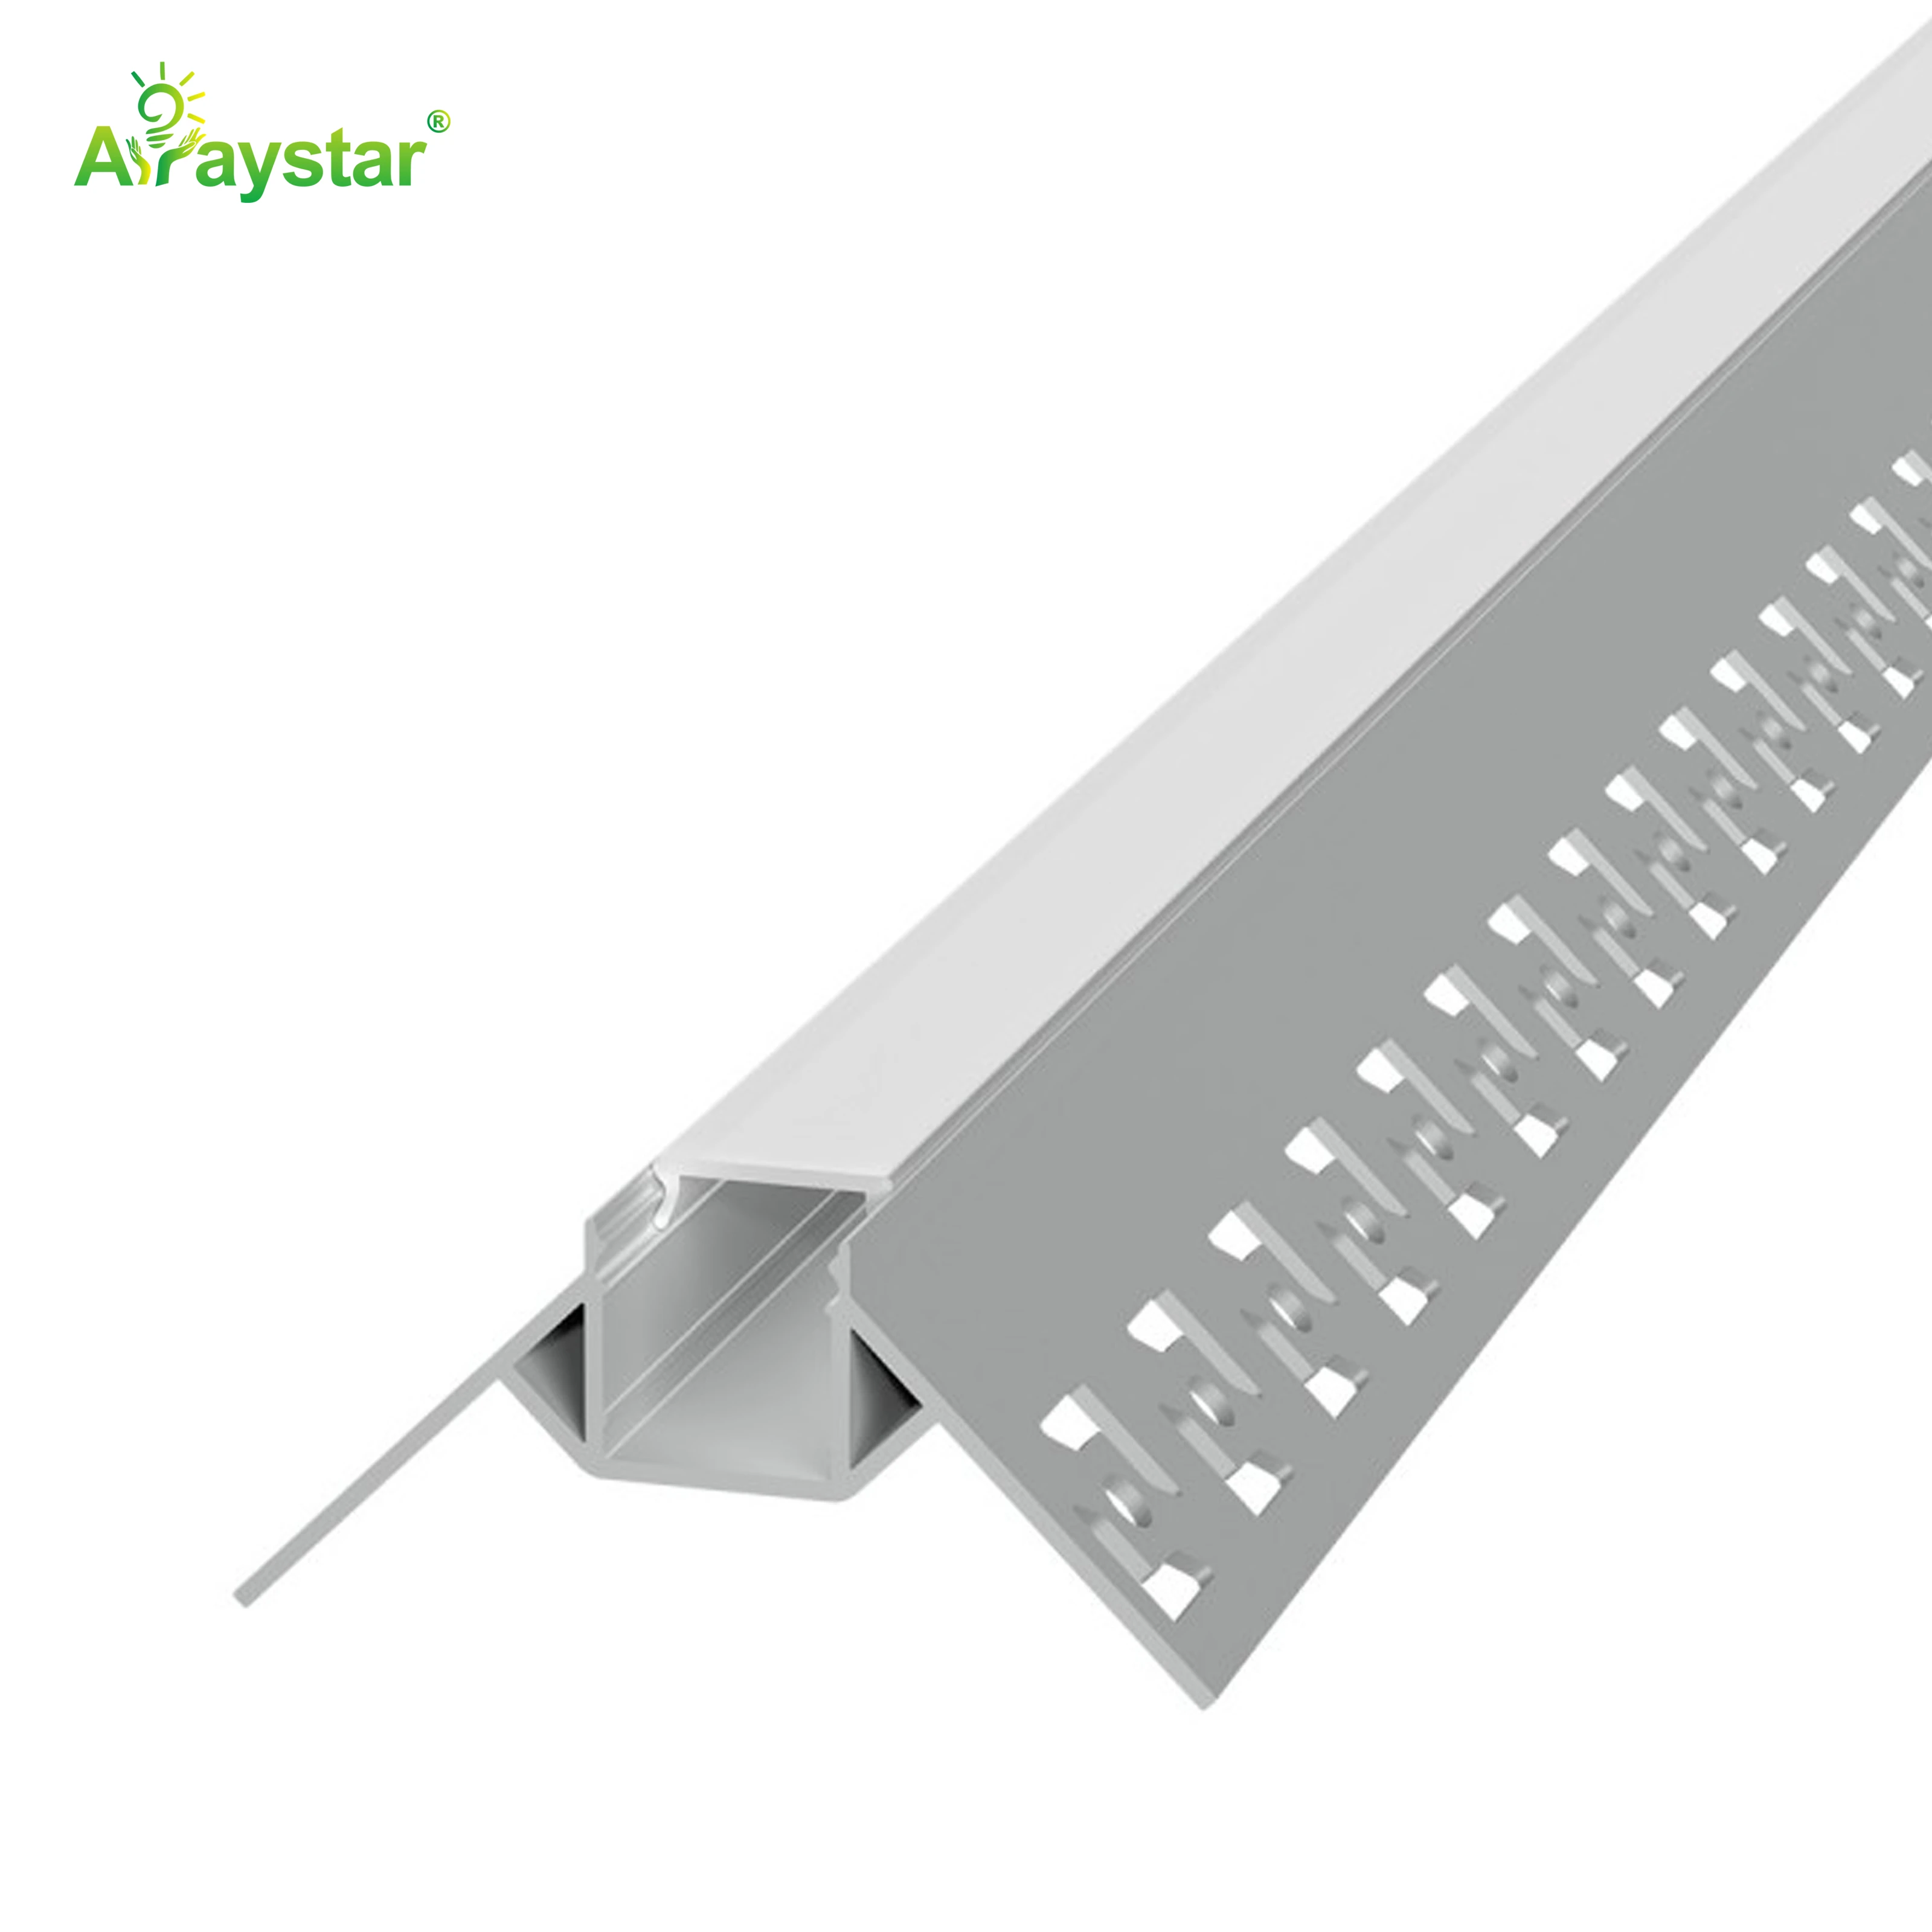
For trimless drywall installations I use the AL5525 internal-corner profile so the seamless line survives the inside corners rather than breaking at them.
Improvised Corner vs Purpose Plaster-In Corner
Trimless work needs purpose corner geometry, not improvised joints.
| Approach | Result | Risk |
|---|---|---|
| Butt-cut two trimless channels | Gap, notch, light leak | High, ruins seamless look |
| Surface corner piece | Visible trim | Defeats trimless design |
| AL5525 plaster-in corner | Flush continuous line | Low, purpose-formed |
Where Plaster-In Internal Corners Appear
- Cove and ceiling-tray lines turning into wall junctions.
- Perimeter tray ceilings with multiple inside corners.
- Seamless wall-wash lines in minimalist interiors.
- Hallway and room transitions with drywall reveals.
- High-end residential and hospitality trimless schemes.
Coordinating the Corner With Plastering
As with straight plaster-in channel, the corner profile must be set to the exact finished plaster plane and protected while the dryliner and plasterer work, with the diffuser fitted only after wet trades and painting. The corner adds the requirement that both adjoining straight runs meet the corner piece at the correct angle and depth; I check the junction before skim, because a corner that is slightly proud or recessed is magnified by the converging lines of the room and is very visible.
- Set the corner and both runs to one finished-plane reference.
- Verify angle and alignment before plastering.
- Cap the cavity; fit diffuser after paint cures.
- Inspect the corner from across the room, not just up close.
Stopping Light Leaks at the Junction
Light leaks at trimless corners usually come from a small unsealed gap at the mitre that lets light escape sideways into the plaster. I ensure the corner and straight sections meet tightly, use the profile's intended joining method, and where necessary seal tiny gaps so light exits only through the diffuser. I also carry the strip neatly to the corner without a gap in the LEDs, because a dark dip at the inside corner is as noticeable as a leak; continuity of both light and housing has to be planned.
Ordering Corners for a Trimless Layout
I count every internal corner on the reflected ceiling or wall plan and specify the matching AL5525 corner for each, using the same profile family throughout so depths and diffuser widths align. Because trimless work is unforgiving, I recommend a full-scale mocked corner finished by the actual plasterer before the main installation, to agree the flush tolerance and confirm the line reads seamlessly from the room's viewing positions.
Specifying Seamless Drywall Corners
Send the ceiling or wall construction, the number of internal corners, the trimless channel profile used and the finish. I will confirm the AL5525 corner count, joining and sealing method, and coordination detail for the plastering trade. We supply the internal-corner profile and strongly recommend a skimmed, painted mock corner before the project proceeds, since the seamless effect stands or falls on corner execution.
Carrying a Trimless Line Around a Bedroom Tray
A minimalist bedroom was designed with a perimeter tray ceiling that floated above the bed, edged by a single warm trimless line intended to wrap the entire room with no visible hardware and no interruption at the two inside corners where the tray returned along the window wall. The straight plaster-in channels were straightforward, but the designer had not initially specified corner pieces, assuming the two runs could simply meet in the plaster.
Experience said that assumption would produce the exact failure trimless lighting is meant to avoid, so we specified the AL5525 internal-corner profiles for both returns and built a full-scale mocked corner in a spare section of drywall before touching the bedroom. The mock proved essential: the first attempt set the channels to the bare board depth, and once skimmed the diffuser sat slightly recessed at the corner, producing a muddy shadow that broke the floating line. We reset the corner and both adjoining runs to a single finished-plaster reference, carried the strip right to the corner with no LED gap, and sealed the mitre tightly so no light bled sideways into the plaster, the cause of the faint halo that appears around poorly built trimless corners. The cavities were capped before the plasterer skimmed and the diffusers were only clicked in after the final paint cured, keeping them pristine. When the bedroom was lit, the warm line flowed continuously around both inside corners with the diffuser perfectly flush, reading as light born from the plaster itself rather than a fixture applied to it. From the pillow there was no visible joint, notch or leak at either return. The homeowner's only comment was that the corners looked like the light simply bent around the wall, which is precisely the standard for a successful trimless detail. The case reinforces the rule I apply to every plaster-in corner: never improvise the junction, set everything to the finished plane, prove it on a skimmed mock, and treat both the housing continuity and the light continuity as part of the same corner, because in trimless work the corners are the only place the illusion can break.
Recommended Products
Frequently Asked Questions
What is a plaster-in internal-corner LED profile?
It is a purpose-formed trimless aluminium corner piece that carries a recessed LED channel and diffuser around a drywall inside corner, plastering flush so the seamless line of light continues around the junction. It prevents the gaps, notches and light leaks caused by simply butting two straight trimless channels together.
Why can't I just butt two plaster-in channels at an inside corner?
Butt-cutting two recessed trimless channels at an internal junction leaves a visible gap or notch and commonly a light leak where light escapes sideways into the plaster, which ruins the whole point of a seamless trimless line. A purpose corner profile aligns both runs and the diffuser at the correct angle and depth for a flush, leak-free result.
How is a plaster-in corner installed with the drywall?
Set the corner profile and both adjoining straight runs to one exact finished-plaster reference, check the angle and alignment before skimming, cap and protect the light cavity during wet trades, and fit the diffuser only after plastering and painting have cured. Inspect the corner from across the room, since converging lines magnify any depth error.
How do I prevent light leaking from a trimless corner?
Ensure the corner and straight sections meet tightly using the profile's intended joining method, seal any tiny gap at the mitre so light exits only through the diffuser, and carry the LED strip right to the corner without a gap, since a dark dip at the inside corner is as noticeable as a leak. Both housing continuity and light continuity must be planned.
How many internal-corner profiles do I need?
Count every inside corner on the reflected ceiling or wall plan and specify one matching AL5525 corner for each, using the same profile family so depths and diffuser widths align. Because trimless work is unforgiving, build a full-scale corner mocked and finished by the actual plasterer first to agree the flush tolerance before the main installation.
Need help with your LED project?
Get factory-direct pricing, free samples and engineering support within 24 hours.
Email: info@arraystarled.com | Phone: +86-0755-2103-6746 | WhatsApp: 0086 1581 8514 077
Need to size your power supply? Use our LED Strip Power Calculator to find the right driver in seconds.







