
Recessed Flexible Aluminum Channels for Neon in Walls
- 2026-10-09 18:41
- /
- Arraystar LED
When neon has to disappear flush into a curved wall rather than sit on the surface, it needs a recessed channel that is itself flexible. A recessed flexible aluminium channel follows curved walls and is plastered or boarded flush, so the neon reads as a clean line of light embedded in the surface with no visible track, the premium detail behind high-end curved feature walls and ceilings.
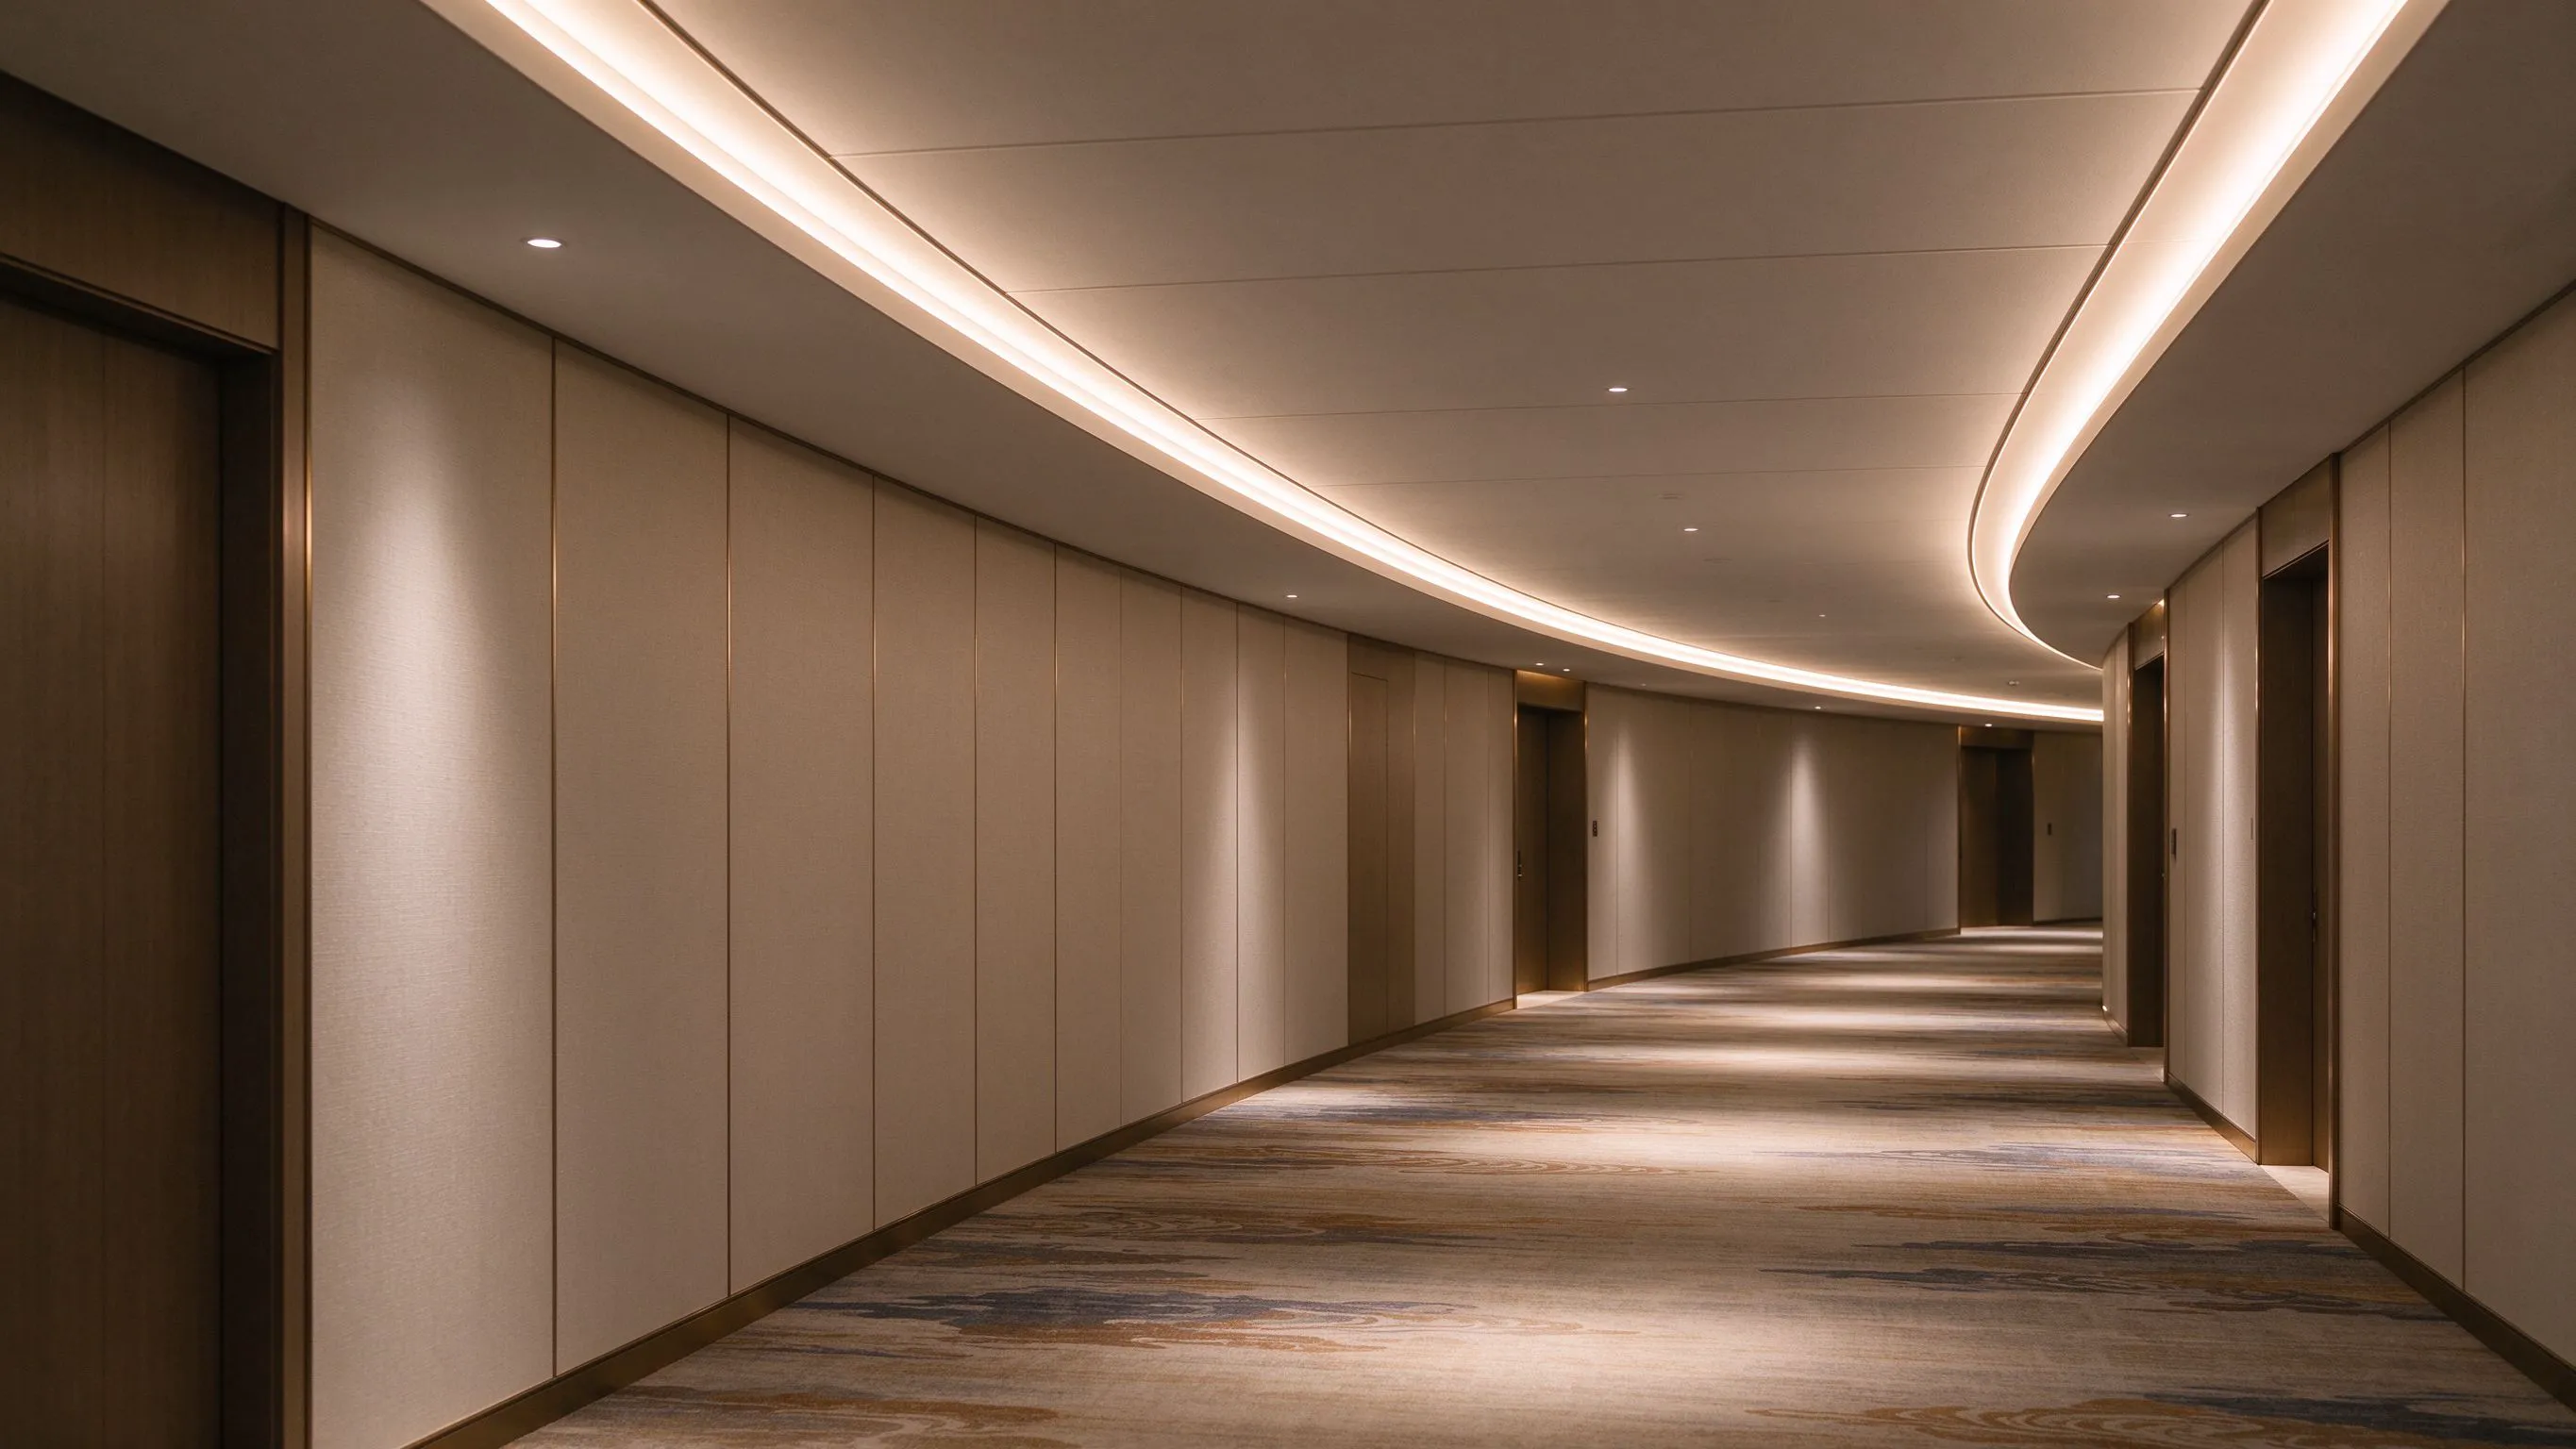
Surface-Mounted vs Light Embedded in the Wall
A surface-mounted neon track is visible as a profile sitting proud of the wall, which suits some designs but breaks the illusion of light emerging from the architecture itself. High-end curved feature walls, hotel corridors and bespoke ceilings increasingly want the neon to be flush, a thin line of light with no visible housing.
Achieving that on a curve requires a recessed channel that can bend with the wall and be finished flush with plaster or board, which a rigid straight extrusion cannot do.
What a Recessed Flexible Aluminium Channel Does
- Bends to follow curved walls and ceilings.
- Recesses into plaster or board for a flush finish.
- Hides the track, leaving only a clean line of light.
- Designed for slim neon such as 1010.
- Premium architectural detail for feature surfaces.
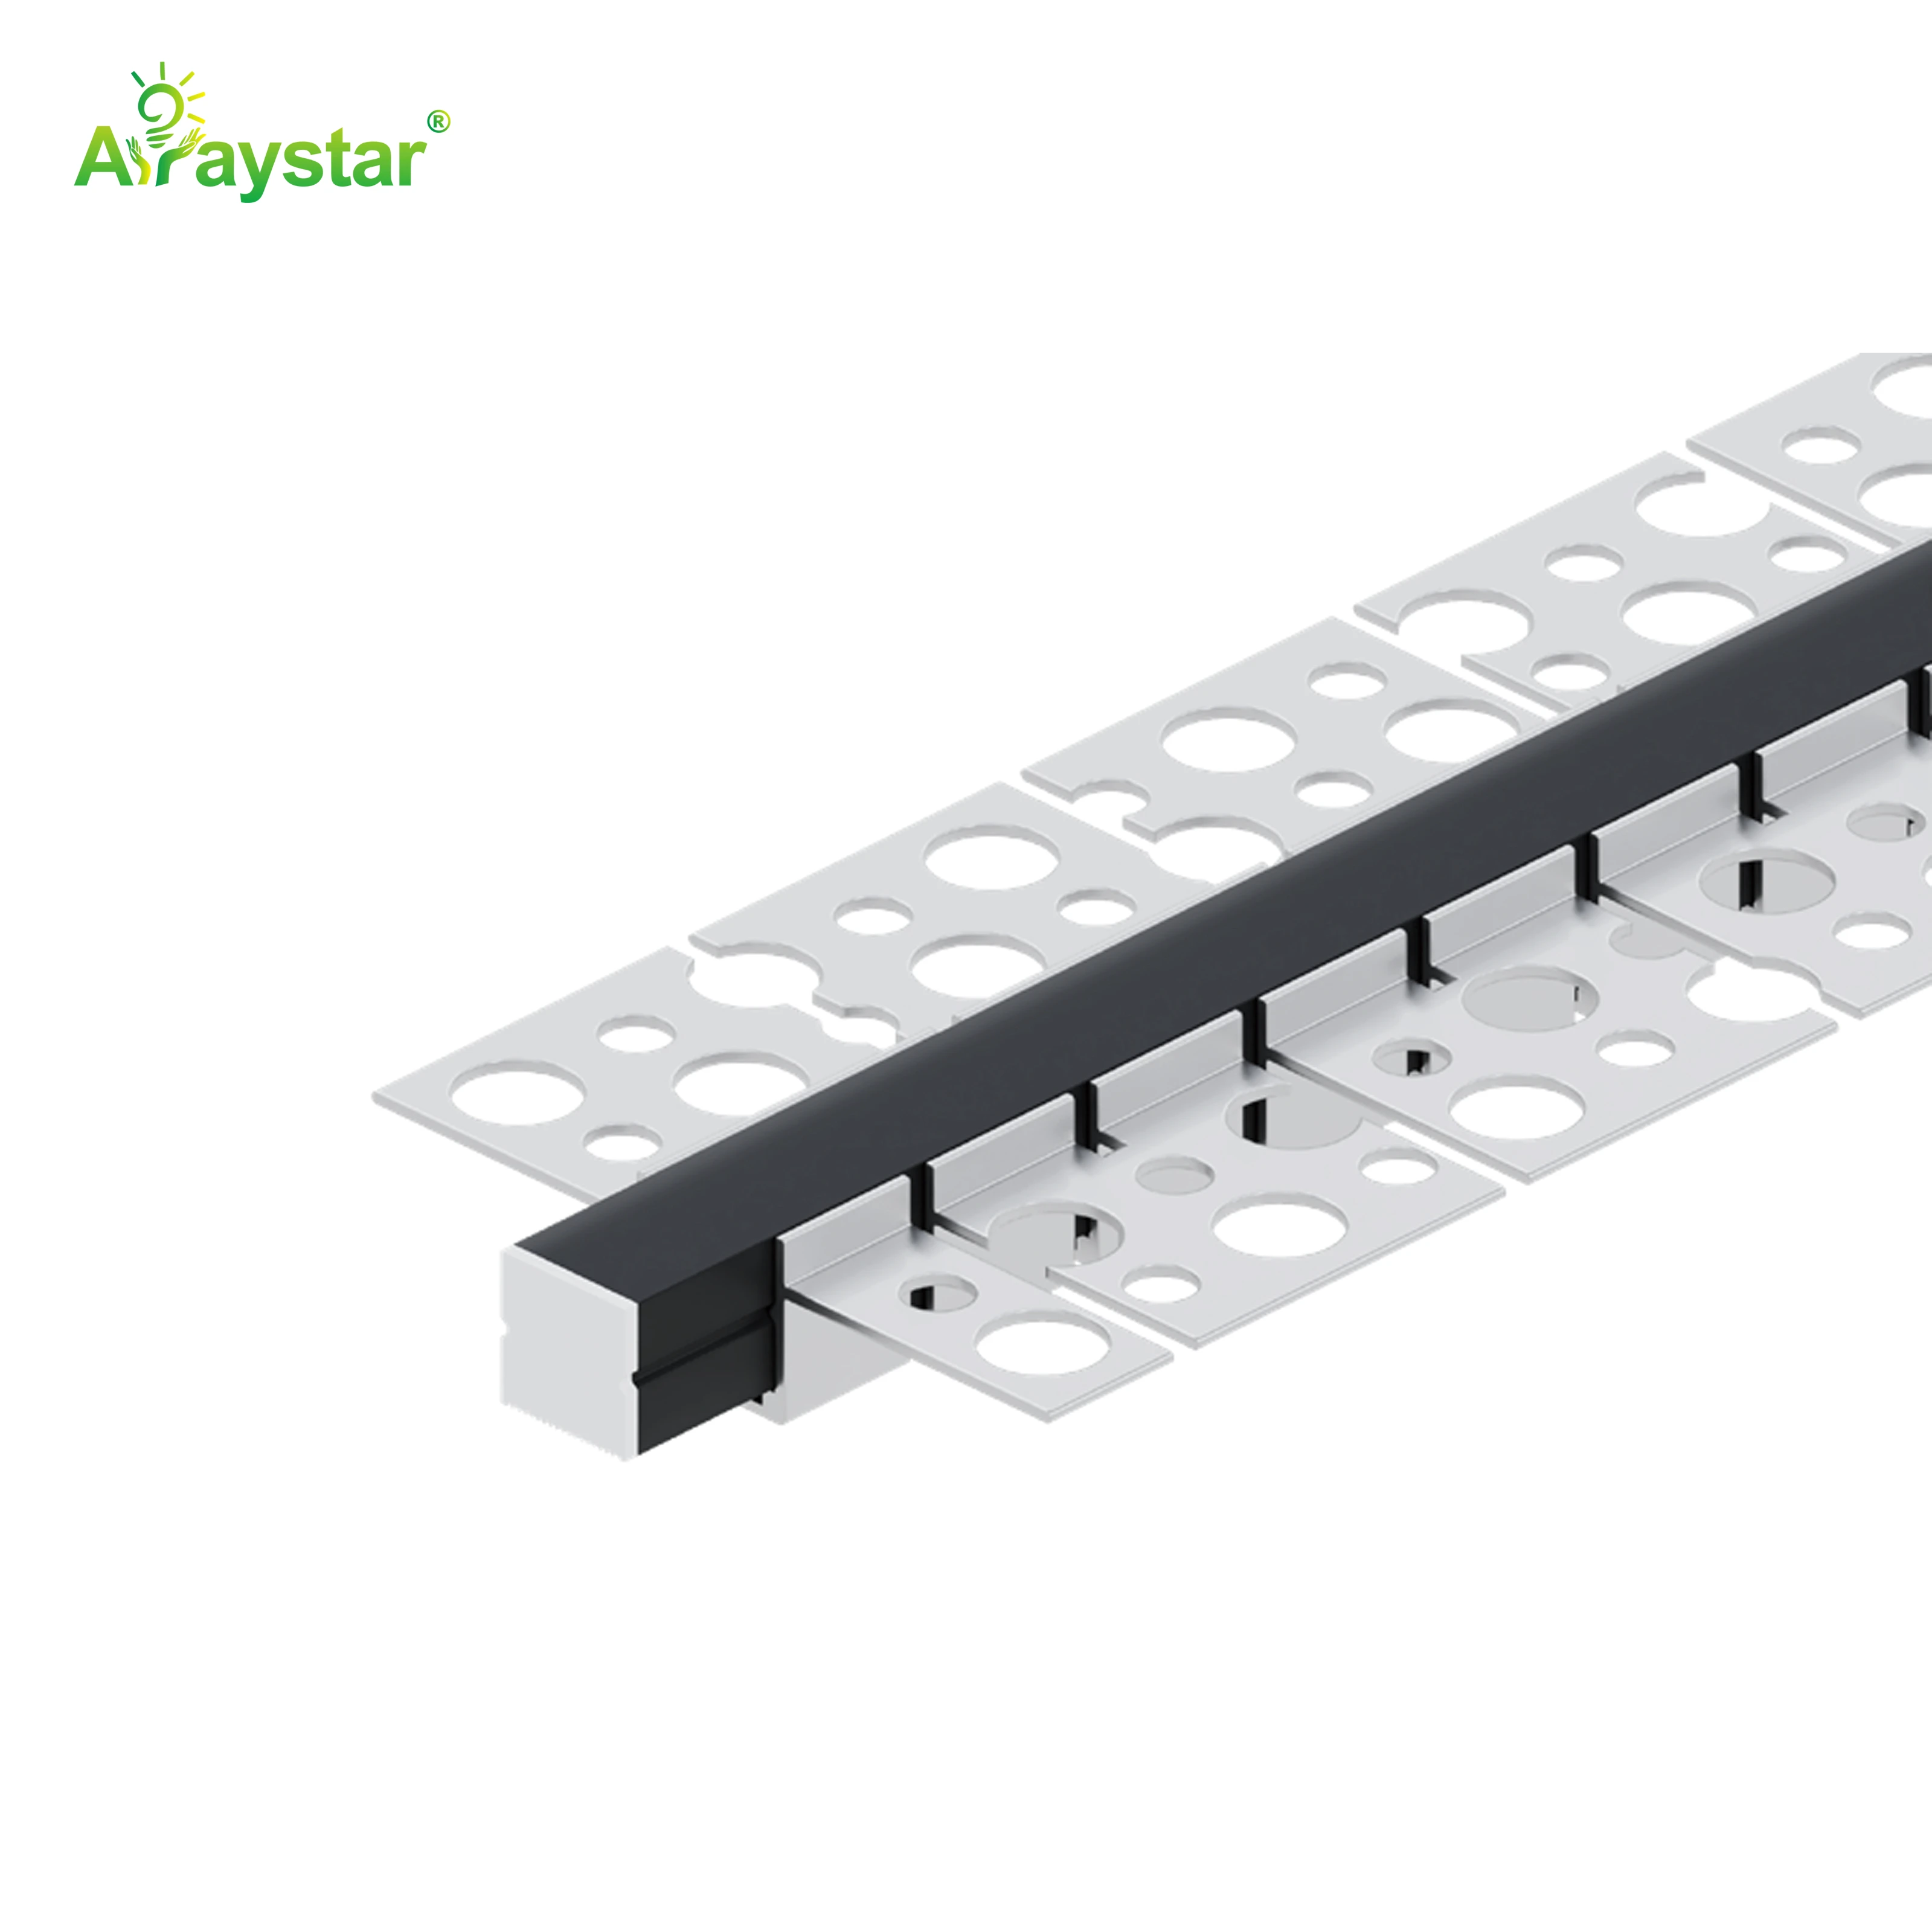
For flush neon in curved walls I use the recessed flexible aluminium channel (ART-5312). It bends with the wall and disappears under the finish.
Surface Track vs Recessed Flexible Channel
Flush curved light requires a recessed flexible channel.
| Detail | Surface-mounted track | Recessed flexible channel |
|---|---|---|
| Profile visible | Yes, sits proud | No, flush with surface |
| Curved walls | Limited | Bends to follow the curve |
| Finish | Applied feature | Light embedded in architecture |
| Installation | Fix over surface | Set into plaster/board |
| Look | Industrial/decorative | Seamless, high-end |
Where Flush Recessed Neon Is Specified
- Curved feature walls in hotels, lounges and lobbies.
- Sweeping corridor and reception ceiling lines.
- Bespoke residential media walls and archways.
- High-end retail and exhibition curved surfaces.
- Anywhere light should appear to emanate from the wall itself.
Installing Into Plaster and Board
The channel is fixed into a routed or framed groove following the curve, then the surrounding plaster or board is brought flush to its edges, with the diffuser face level with the finished surface. Coordination with the drylining or plastering trade is essential: I set the channel precisely to the intended finished wall plane, protect the light cavity from plaster and paint, and only fit the neon and diffuser after wet trades are complete to avoid contamination. A channel set slightly proud or recessed shows immediately as an uneven line.
- Route or frame a groove following the exact curve.
- Fix the channel true to the final finished wall plane.
- Bring plaster/board flush to the channel edges.
- Keep the cavity clean; fit neon after wet trades and painting.
Curving the Channel Accurately
As with surface channels, I form the recessed channel to a full-size curve template and respect the neon's bend radius. The extra discipline in recessed work is that once the wall is plastered, correcting the curve means breaking the finish, so accuracy at first fix is non-negotiable. I mark the curve on the substrate, check it visually against the design before closing up, and confirm the channel holds position as plaster is applied, since wet material can nudge a flexible track out of line.
Serviceability and Diffuser Choice
Flush mounting looks superb but makes the neon harder to reach later, so I design the diffuser to be removable where possible and use reliable, long-life neon with accessible driver locations outside the sealed wall. I choose a diffuser that gives a continuous dot-free line at the chosen depth, and I test the lit appearance on a sample board, because the recess depth and diffuser together decide whether the line is crisp and even or shows visible LED dots.
Specifying Flush Curved Neon
Send the wall or ceiling construction, curve radii and total run length, the neon model (such as 1010), finish material and access for future servicing. I will confirm the recessed flexible channel, groove and finishing detail, diffuser choice and driver access. We supply the ART-5312 channel and strongly recommend a full-scale sample section finished by your plasterer before the main installation, so flush tolerance and lit line quality are agreed before wet trades begin.
Embedding Flush Neon in a Curved Hotel Corridor Ceiling
A boutique hotel's redesign called for two sweeping lines of warm light to flow along a curved corridor ceiling, appearing to emerge directly from the plaster with no visible housing, guiding guests toward the rooms. The ceiling was a double-curved drylined surface, and the designer rejected any surface track that would read as an applied product rather than architecture. The only viable construction was recessed flexible channel bent to the ceiling's curves and skimmed flush.
- Project the two flowing lines onto the curved substrate at full size before any framing.
- Fix the flexible channel to battens following the projected curves, checking sightlines from floor level.
- Set every channel section to the exact finished plaster plane, not the bare substrate depth.
- Cap and protect the light cavities before skimming; fit neon only after plaster and paint are cured.
- Build a mock curved ceiling bay first to agree flush tolerance and the lit line quality.
We insisted on a full-scale mock bay before the corridor itself, and it paid off. The first mock showed the channel set to the bare board depth disappeared too deep once skimmed, producing a shadowed, muddy line, while a slightly proud section caught a bright visible edge; the correct tolerance required the diffuser face to land precisely at the finished plaster plane, which we could only determine by actually skimming a test curve. We also selected a deeper diffuser in the mock to eliminate faint dotting in the slim neon. On the real corridor the lines were projected full size, the channels fixed to curved battens and protected with caps, and the plasterers skimmed to a marked finished line. Only after the paint cured were the 1010 neon and removable diffusers fitted, with drivers located in service hatches outside the sealed ceiling so future access did not mean breaking plaster. The completed corridor delivers exactly the designer's intent: two uninterrupted ribbons of warm light flowing through the curve with no visible hardware. The project cemented two rules for flush recessed neon on curves: the finished-plane tolerance must be proven on a skimmed mock, not assumed from drawings, and wet-trade coordination and service access have to be engineered before the channel is ever buried.
Recommended Products
Frequently Asked Questions
What is a recessed flexible aluminium channel?
It is a bendable aluminium track designed to be set into a curved wall or ceiling and finished flush with plaster or board, hiding the housing so slim neon such as 1010 appears as a clean line of light embedded in the surface. It is used where a visible surface-mounted track would spoil a seamless architectural look.
How is recessed neon installed flush into a wall?
Fix the flexible channel into a routed or framed groove following the curve, set it exactly true to the final finished wall plane, bring plaster or board flush to its edges, protect the light cavity, and fit the neon and diffuser only after wet trades and painting are complete. Coordination with the drylining or plastering trade is essential.
Can a recessed channel follow tight curves?
It bends to follow curved walls, but never beyond the neon's own minimum bend radius. Form the channel to a full-size template and verify the curve before plastering, because once the wall is finished, correcting the line means breaking out the plaster. Make sure wet plaster cannot nudge the flexible track out of alignment as it is applied.
How do I avoid visible LED dots in a flush neon line?
The recess depth and diffuser together determine whether the line is crisp and dot-free. Choose a diffuser rated to blend the LEDs at the installed depth and test the lit appearance on a sample board finished exactly as the wall will be, before committing the full installation, rather than assuming the diffuser will look right once recessed.
Can the neon be serviced after the wall is plastered?
Flush mounting makes access harder, so design the diffuser to be removable where possible, use reliable long-life neon and place drivers in accessible locations outside the sealed wall. Build a full-scale finished sample first and plan service access deliberately, because correcting a failed neon buried in plaster is far more costly than planning removable components at first fix.
Need help with your LED project?
Get factory-direct pricing, free samples and engineering support within 24 hours.
Email: info@arraystarled.com | Phone: +86-0755-2103-6746 | WhatsApp: 0086 1581 8514 077
Need to size your power supply? Use our LED Strip Power Calculator to find the right driver in seconds.







