
90-Degree Corner Connectors for LED Aluminum Channels
- 2026-10-09 18:41
- /
- Arraystar LED
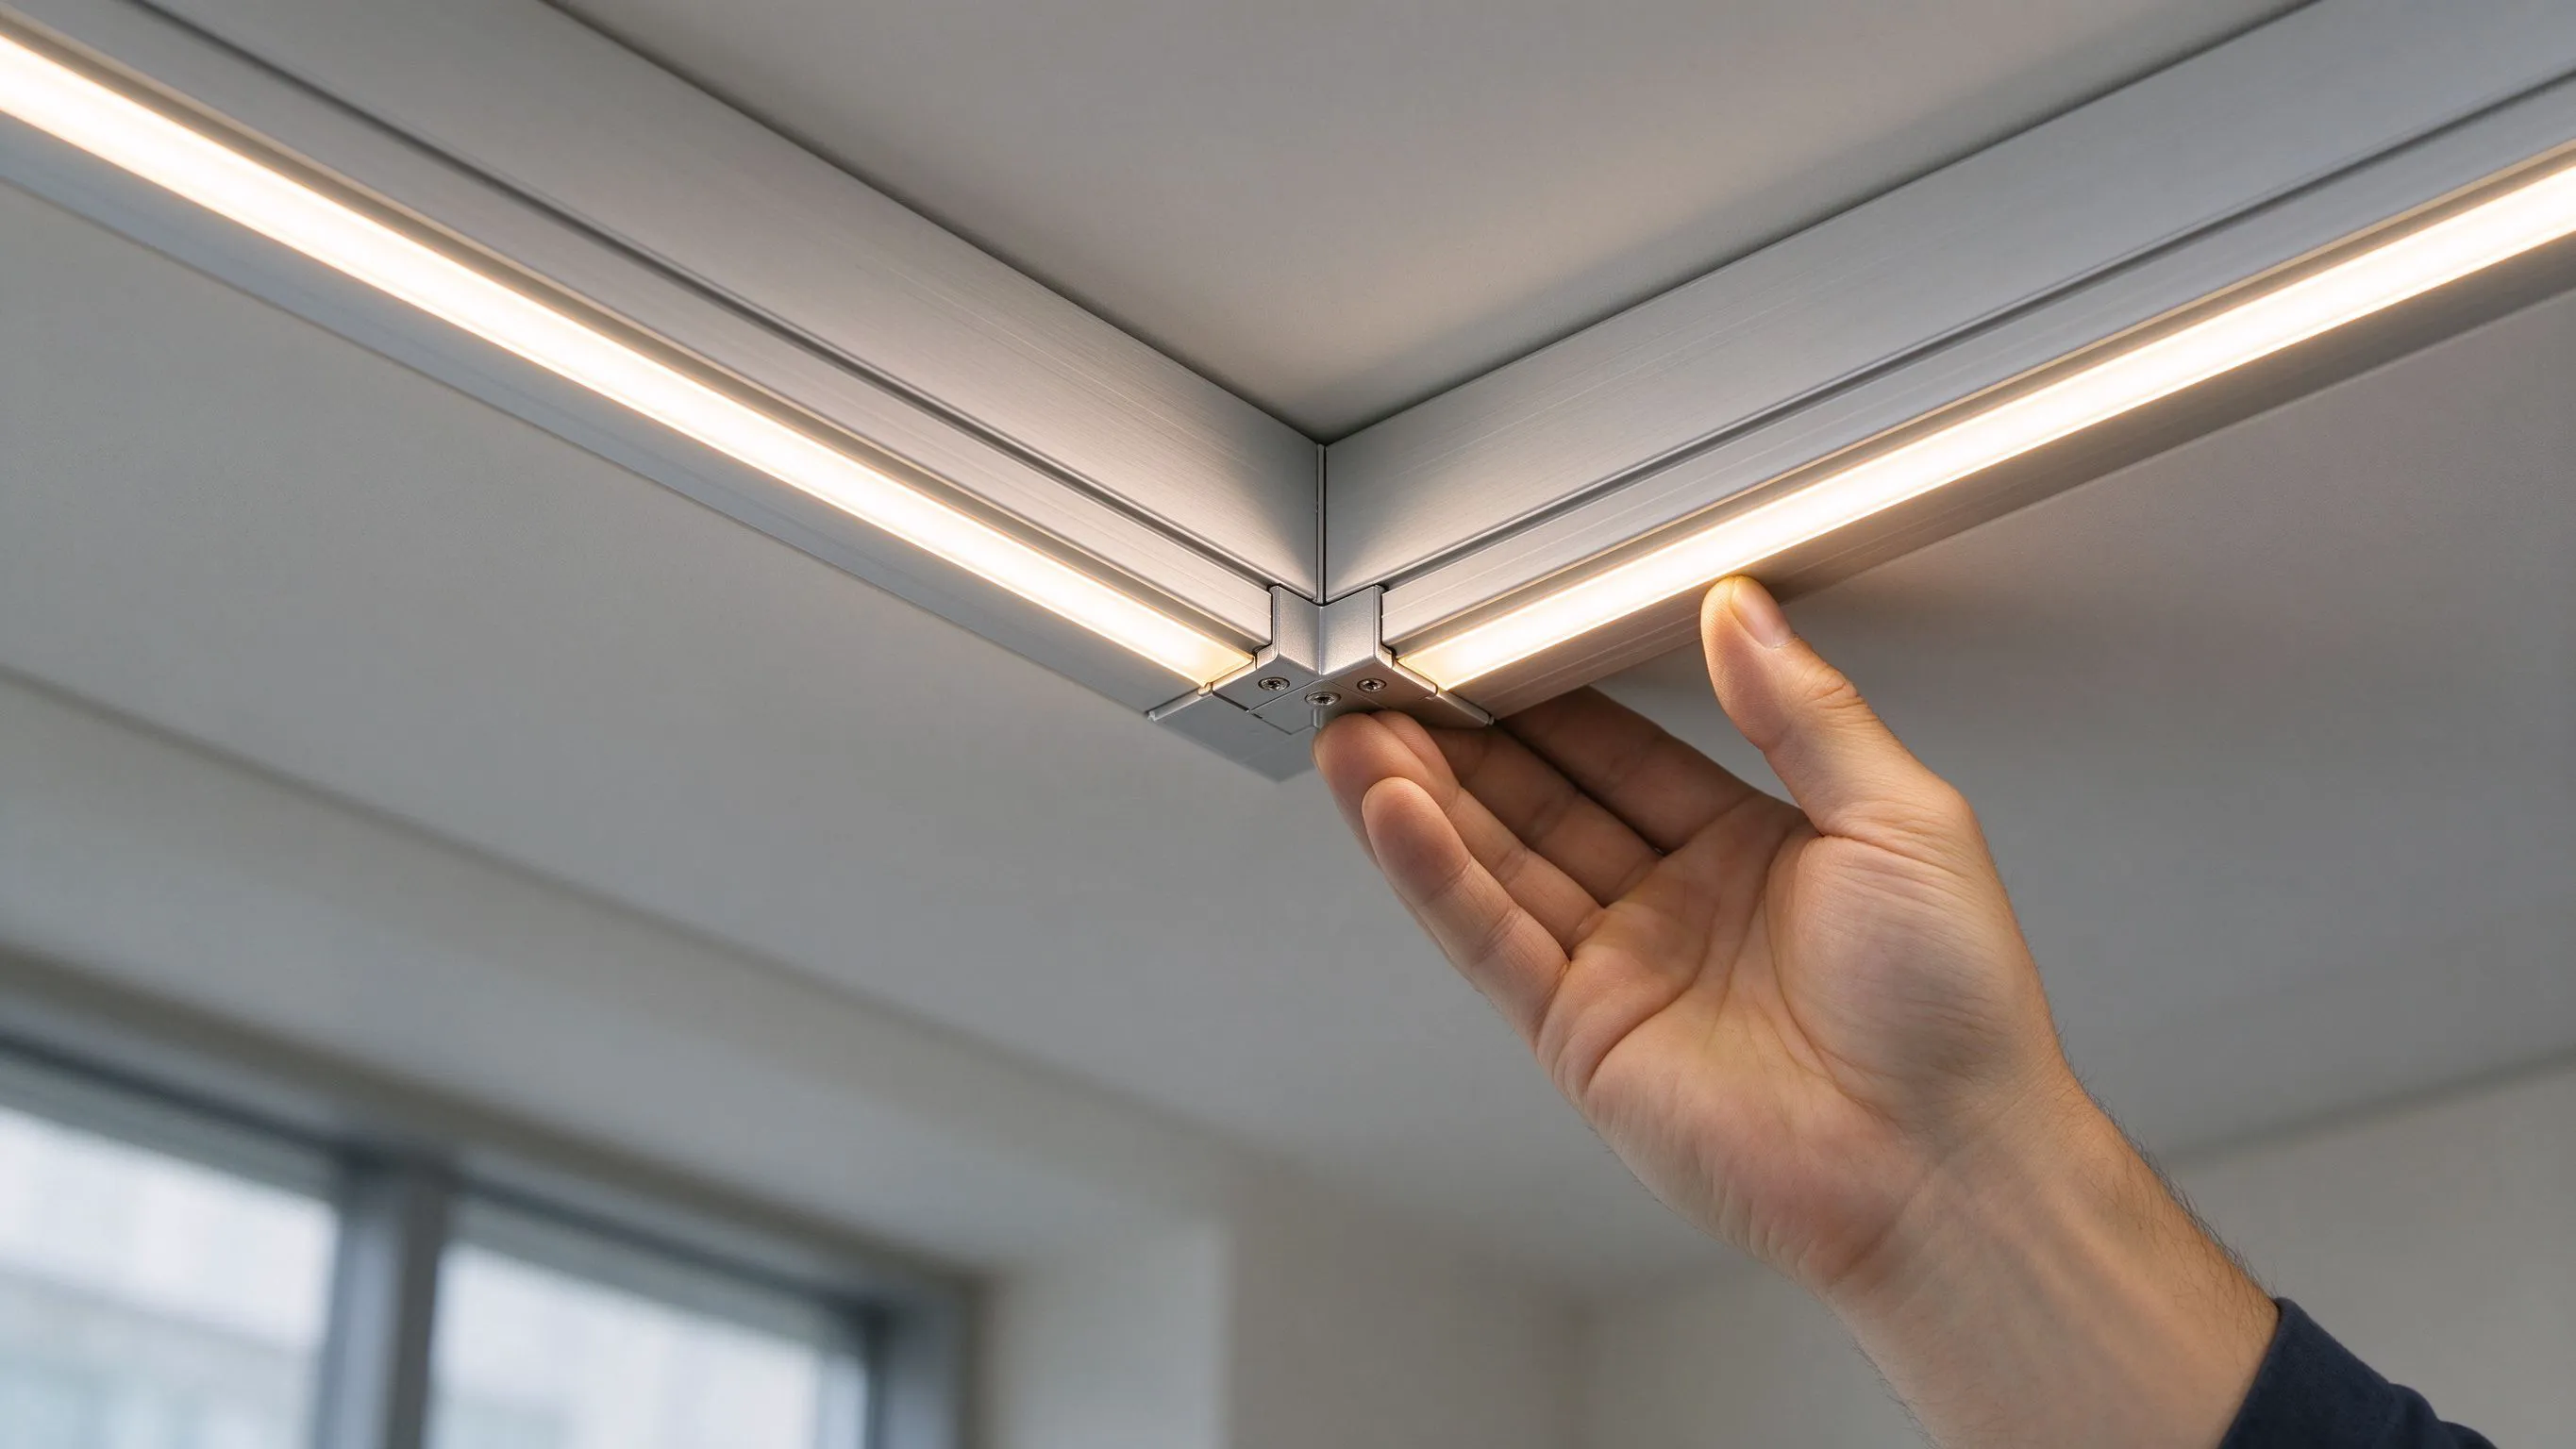
Linear LED channels look superb on straight runs but turn amateur at the corners, where on-site mitre cuts leave gaps, light leaks and misaligned joints. A purpose-made 90-degree corner connector joins two aluminium channels at a precise right angle with no mitre cutting on site, giving clean, repeatable internal and external corners in cove, cabinet and furniture lighting.
Corners Are Where Linear Lighting Looks Cheap
A straight length of LED strip in an aluminium channel with a diffuser is an easy, clean detail. The moment the run has to turn a corner, the difficulty appears. Cutting two channels at exactly 45 degrees on site, aligning them and carrying the strip and diffuser neatly through the joint is unforgiving; a degree of error or a rough cut leaves a visible gap, a dark spot or light leaking out of the mitre.
A factory-made 90-degree corner connector removes that site skill entirely by providing a precise right-angle joint purpose-built for the channel system.
What the AL6161 Corner Connector Does
- Joins two channels at an exact 90-degree angle.
- No on-site mitre or 45-degree cutting required.
- Clean, repeatable internal and external corners.
- Aligns the channel and diffuser for a continuous line.
- Reduces light leaks and dark gaps at the turn.
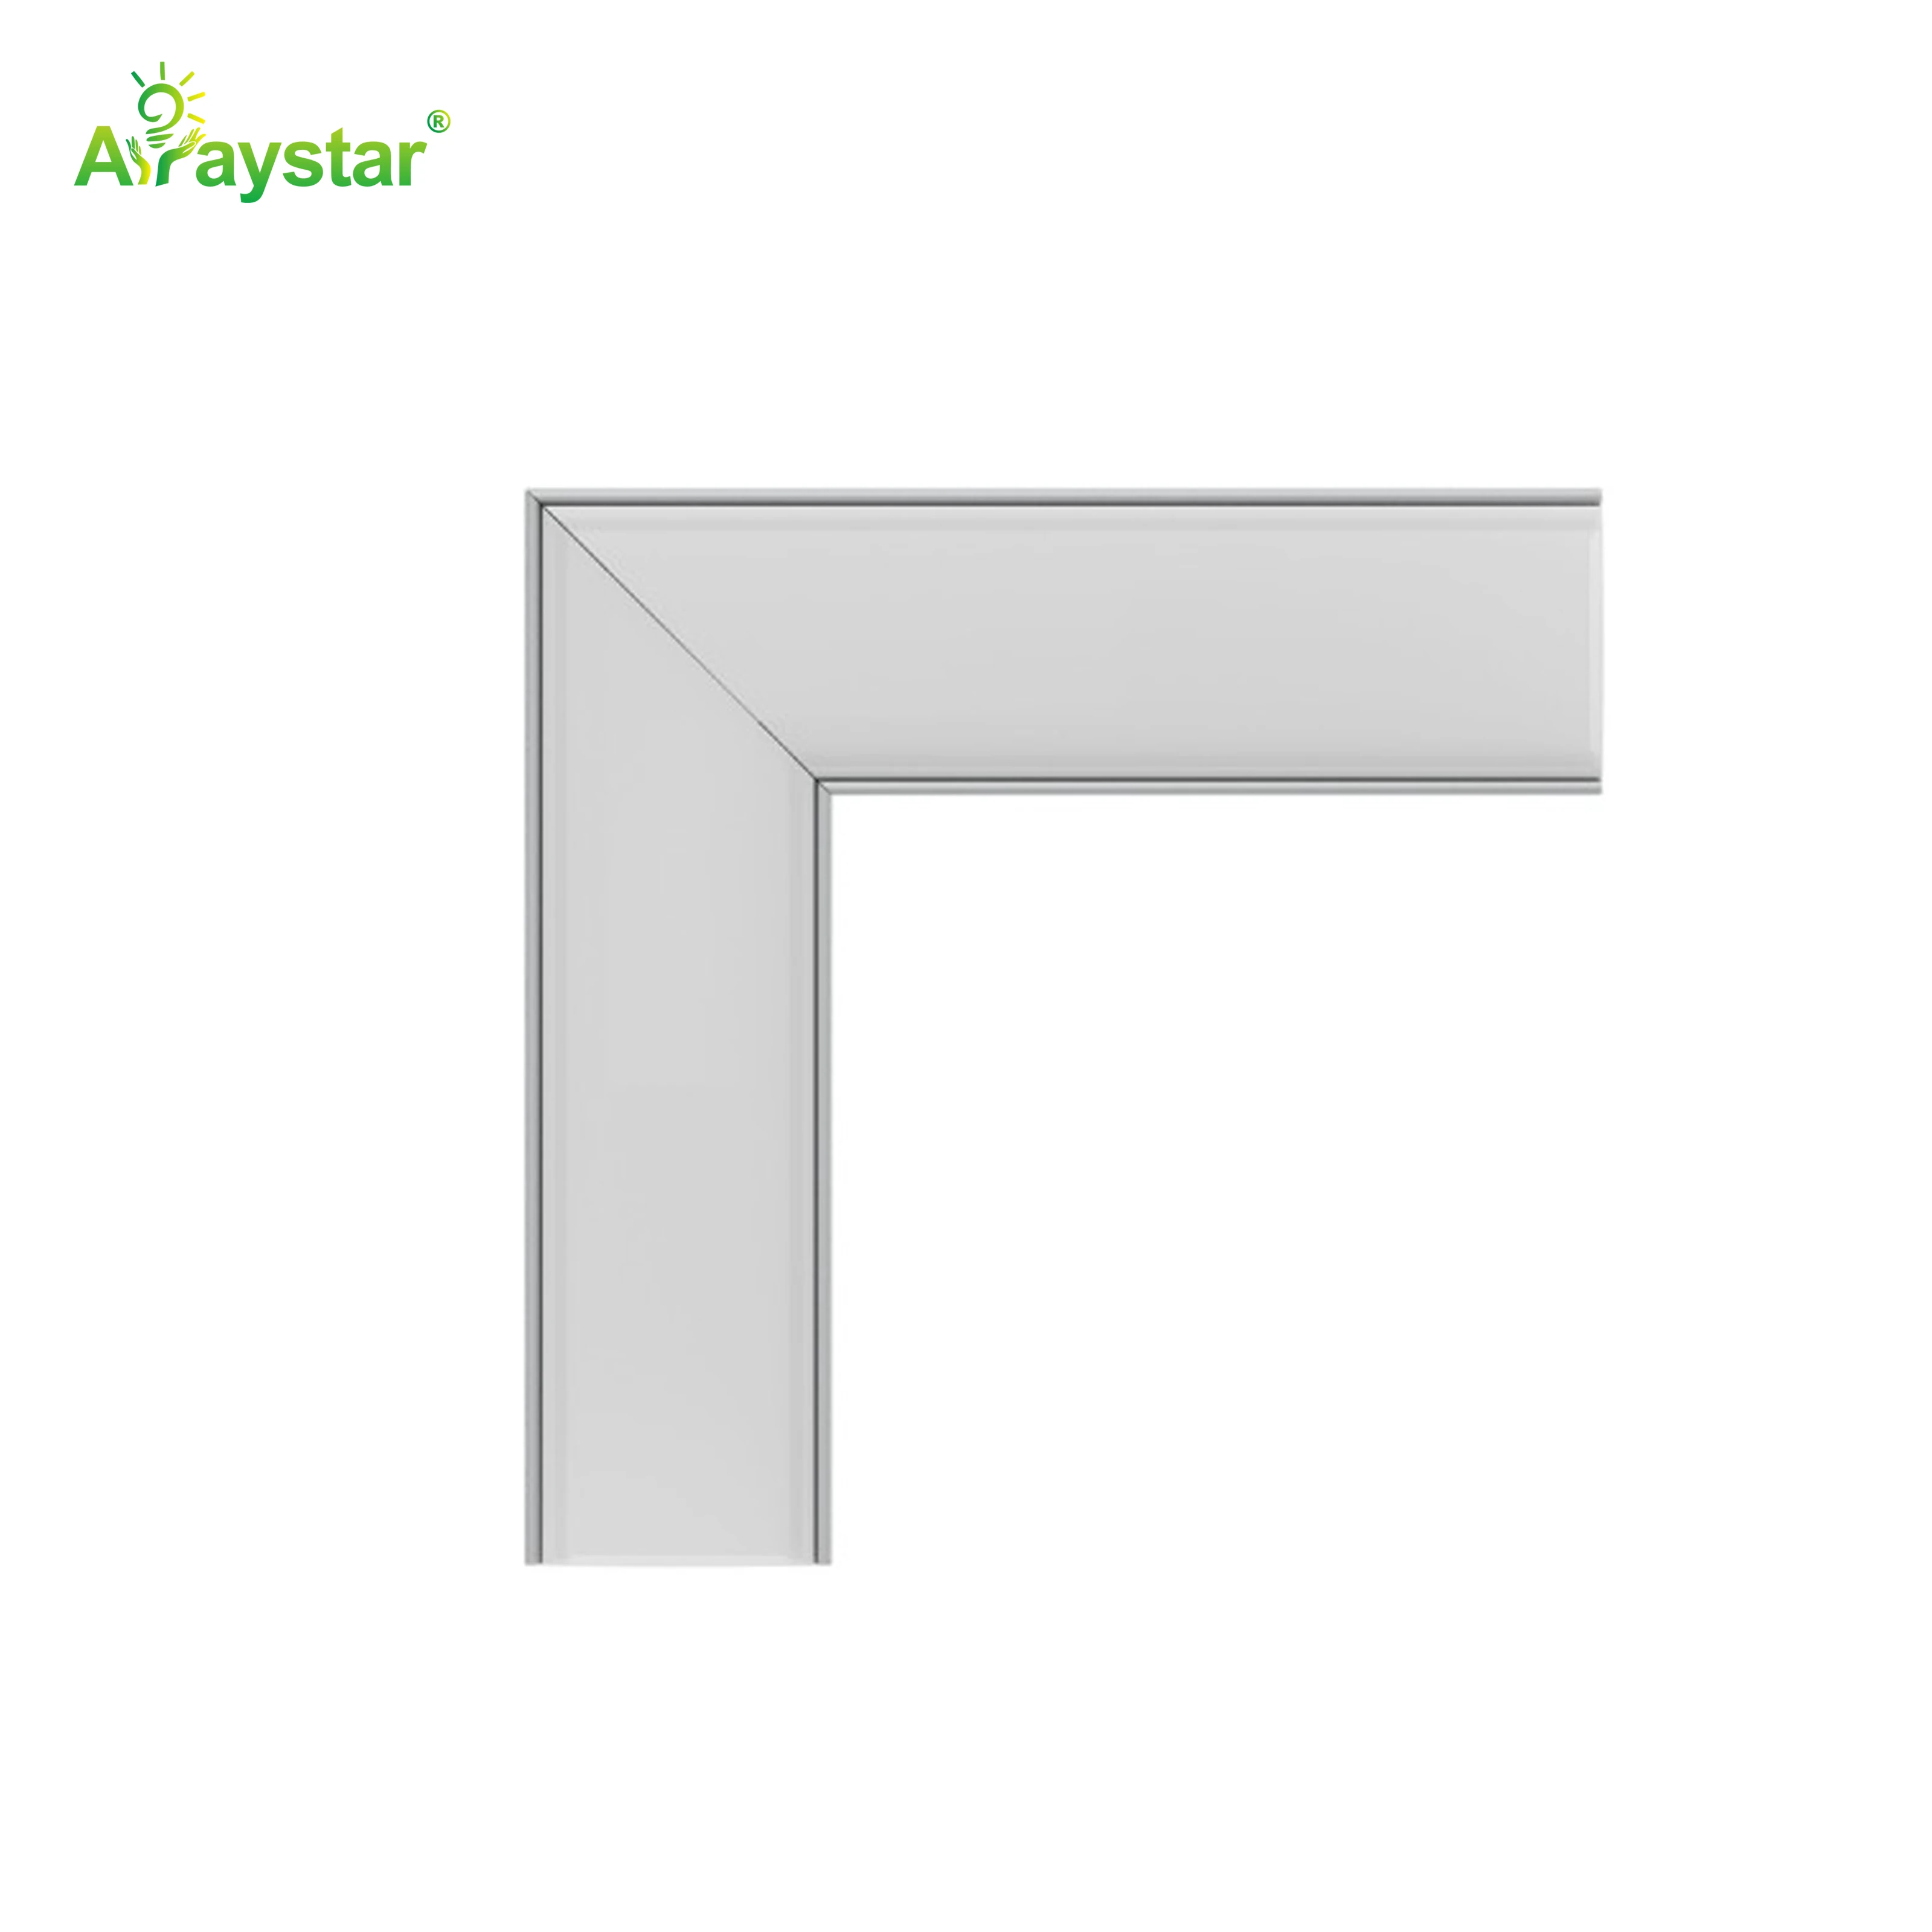
For right-angle turns in channel lighting I use the AL6161 corner connector. It produces a factory-clean corner without relying on site mitre skills.
Site Mitre vs Factory Corner Connector
A purpose connector makes corners consistent across a project.
| Method | Corner quality | Site skill needed |
|---|---|---|
| On-site 45 mitre cuts | Variable, gaps and leaks | High, precision cutting |
| 90-degree connector | Precise, repeatable | Low, cut square and join |
| Bending strip only | Dark/creased corner | Low but poor result |
Where Corner Connectors Are Used
- Perimeter cove and ceiling tray outlines with right-angle turns.
- Under-cabinet runs that turn into open shelving or pantry ends.
- Wardrobe, display cabinet and furniture frame lighting.
- Kickboard and plinth outlines around cabinetry.
- Rectangular feature panels and mirror surrounds.
Internal vs External Corners and Orientation
Channels turn both into a corner (internal) and around an outside edge (external), and I confirm the connector orientation and channel profile match before ordering, because a connector designed for one turn may not seat correctly for the other. I also check whether the chosen connector carries the diffuser continuously through the corner or uses a small corner cover, since that affects how seamless the lit line appears and where any tiny joint will fall.
- Identify each turn as internal or external corner.
- Match the connector to the exact channel profile code.
- Confirm how the diffuser finishes through the corner.
- Plan connector positions to keep joints inconspicuous.
Carrying the Strip Through the Corner
The connector aligns the aluminium, but the LED strip still has to make the turn. Wide or high-density strip does not fold flat through a sharp right angle, so I either use strip narrow enough to bend gently, make a small solder or connector join with the correct polarity at the corner, or use corner-specific strip links. I avoid forcing a thick strip to crease around the turn, which damages solder joints and creates a dark or flickering corner. Planning the electrical continuity at each corner is as important as the mechanical connector.
Measuring and Ordering Corners in a Layout
I count corners directly from the layout drawing and order one dedicated connector per turn rather than improvising on site, and I cut the straight channels square to meet the connector rather than angled. Ordering the matching connector from the same channel system guarantees fit and finish; mixing brands or profiles is where corners misalign. I add a small spare allowance for damaged pieces on multi-corner jobs.
Specifying Corner Joints
Send the channel profile model, the number and type (internal/external) of corners, and how the strip will make each turn. I will confirm the AL6161 connector fit, diffuser treatment and strip continuity method. We supply the 90-degree corner connector and recommend dry-fitting one corner, channel, strip and diffuser together before installing the full run, so the joint and light continuity are proven before fixing.
Building a Rectangular Ceiling Tray With Clean Corners
A common premium detail is a recessed rectangular tray ceiling outlined in warm linear light, four straight runs and four right-angle corners that have to read as one perfect glowing frame when viewed from the bed or sofa below. On one bedroom fit-out the installer initially planned to mitre the channels on site, and the first trial corner exposed how unforgiving that is: a slightly wide 45 cut left a dark notch, and the diffuser, which cannot be mitred as freely as the aluminium, showed a broken joint directly in the sightline from the bed.
- Order four internal corner connectors, one for each tray corner, from the same channel family.
- Cut the four straight sections square to length rather than angled, letting the connectors form the turns.
- Carry the strip to each corner with small clip links so no dark gap appears at the frame's turns.
- Fix the channels to a single level reference so the four sides sit in one plane.
- Fit the diffusers last and view the complete frame from the bed before finalising.
We switched to four AL6161 corner connectors and rebuilt the tray on the bench first. The straight extrusions were cut perfectly square, the connectors formed all four right angles, and the frame was assembled as one unit on the floor before being lifted into the tray, which is far easier than trying to align loose mitred pieces overhead. At each corner we linked the strip with small corner connectors in the correct polarity so the warm line ran continuously with no dip, and we seated the diffusers into the connector covers so the only joints were tiny, consistent seams tucked at the corners rather than ragged gaps. Lifting the pre-assembled frame also let us confirm all four sides sat in a single plane; a tray frame with one side a few millimetres high is glaringly obvious when the diffuser catches the light unevenly. The finished ceiling reads as a single uninterrupted rectangle of warm light with four crisp corners, exactly the architectural detail the designer wanted, and it installed faster than the failed mitre attempt would have even if the cuts had been perfect. The job is now my standard demonstration that on multi-corner outlines the time saved and the quality gained by pre-assembling factory corners on the bench, rather than cutting angles in the air on site, is enormous, and that counting and ordering one connector per corner before the job starts is what makes it possible.
Recommended Products
Frequently Asked Questions
What is a 90-degree LED channel corner connector?
It is a factory-made aluminium piece that joins two linear channels at an exact right angle, removing the need to cut accurate 45-degree mitres on site. It aligns the channels and diffuser for a continuous line and produces repeatable internal or external corners with fewer gaps and light leaks than hand-cut mitres.
Is a corner connector better than cutting mitres on site?
For most installations yes, because on-site 45-degree mitres need high precision and commonly leave gaps, dark spots or light leaks, whereas a factory connector gives a consistent right angle with only square cuts and a join. It makes corner quality repeatable across a whole project and less dependent on the installer's cutting skill.
Do I need different connectors for internal and external corners?
Often yes; channels turn into an internal corner and around an outside external edge, and the connector orientation must match the turn and the exact channel profile code. Confirm how the diffuser finishes through the corner as well, and plan connector positions so any small joint falls inconspicuously.
How does the LED strip get through a right-angle corner?
The connector aligns the aluminium only. Use strip narrow enough to bend gently, or make a small soldered or clip corner link with correct polarity; do not force a wide or high-density strip to crease around a sharp turn, as that cracks solder joints and causes a dark or flickering corner. Plan electrical continuity at every corner.
How many corner connectors should I order?
Count each right-angle turn on the layout drawing and order one matching connector per corner, using the same channel system to guarantee fit, cut the straight sections square to meet it, and add a small spare allowance for damaged pieces on multi-corner jobs. Dry-fit one complete corner with channel, strip and diffuser before installing the run.
Need help with your LED project?
Get factory-direct pricing, free samples and engineering support within 24 hours.
Email: info@arraystarled.com | Phone: +86-0755-2103-6746 | WhatsApp: 0086 1581 8514 077
Need to size your power supply? Use our LED Strip Power Calculator to find the right driver in seconds.







