
Trimless Plaster-In LED Profiles: Seamless Drywall Slots for Modern Interiors
- 2026-09-30 17:38
- /
- Arraystar LED
Trimless plaster-in linear light - where the LED channel disappears flush into drywall with no visible flange - is the cleanest modern lighting detail, and the one most botched on site because it's a plasterwork project as much as a lighting one. Success depends on choosing a deep plaster-in channel, coordinating it at framing/drywall stage, using dense diffused COB so there are no dots or hot spots, and handling inside corners with purpose-made corner profiles. Get the sequencing and joint finishing right and the ceiling reads as pure lines of light with no visible hardware.
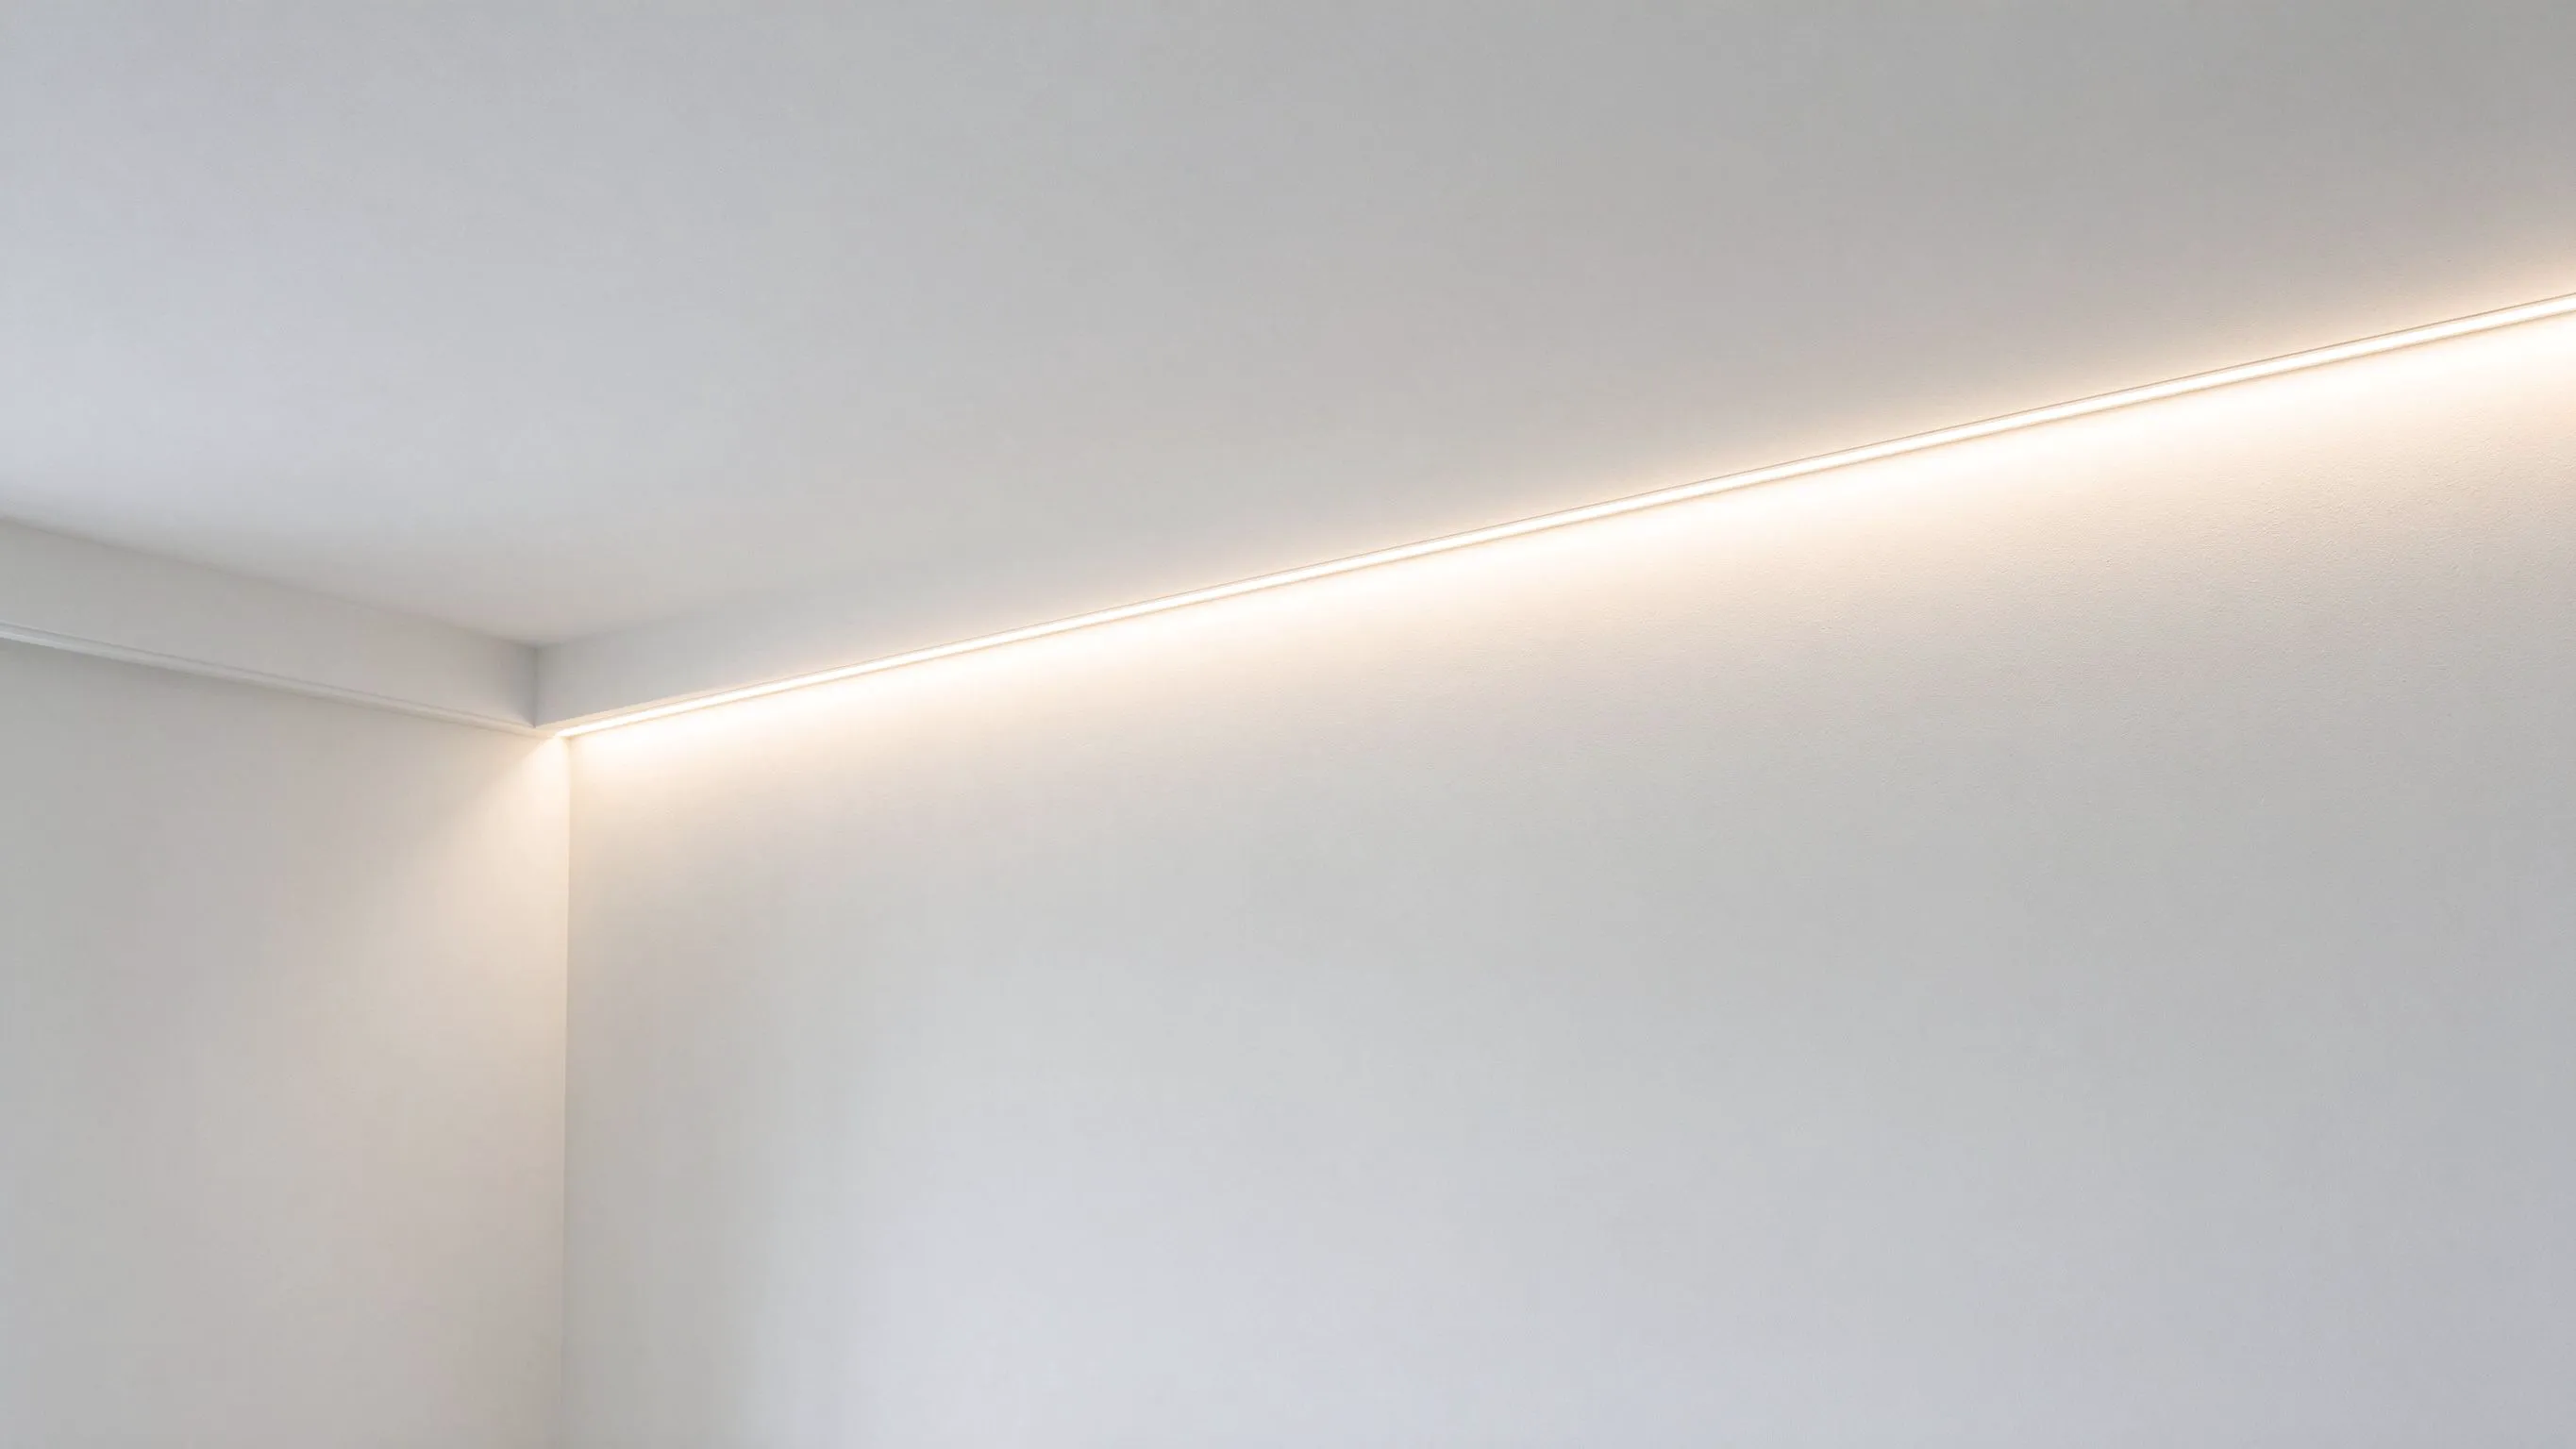
Trimless Light Is Built, Not Screwed On
A conventional surface-mounted profile is a fixture you add to a finished ceiling. A trimless plaster-in channel is architecture: it's embedded into the drywall before plaster, its perforated flanges are skimmed over, and after painting the only thing visible is a clean diffused line of light with no visible aluminum edge. It's the signature detail of high-end modern interiors.
Because the channel is buried in the ceiling, the entire decision has to happen at framing and drywall stage - it cannot be retrofitted to a finished ceiling without major rework. The lighting supplier, drywaller and painter are all involved, and most failures are coordination and plastering failures rather than lighting failures.
The Plaster-In Channel and Ceiling Build-Up
Plaster-in channels have wide perforated flanges that the drywall compound keys into, locking the channel flush with the board. The channel is fixed to the structure or framing, drywall is cut and butted to it, joint tape and compound are applied over the flange in successive coats, and the surface is sanded and painted flush before the diffuser and strip are fitted.
Specify a channel deep enough to give the strip room to diffuse (shallow channels dot and glare) and wide enough for the intended line. The ART-6016 flexible aluminum profile family is useful where plaster-in or flush lines follow curves and coved transitions rather than only straight runs, letting the seamless detail continue around curved bulkheads and arched ceilings.
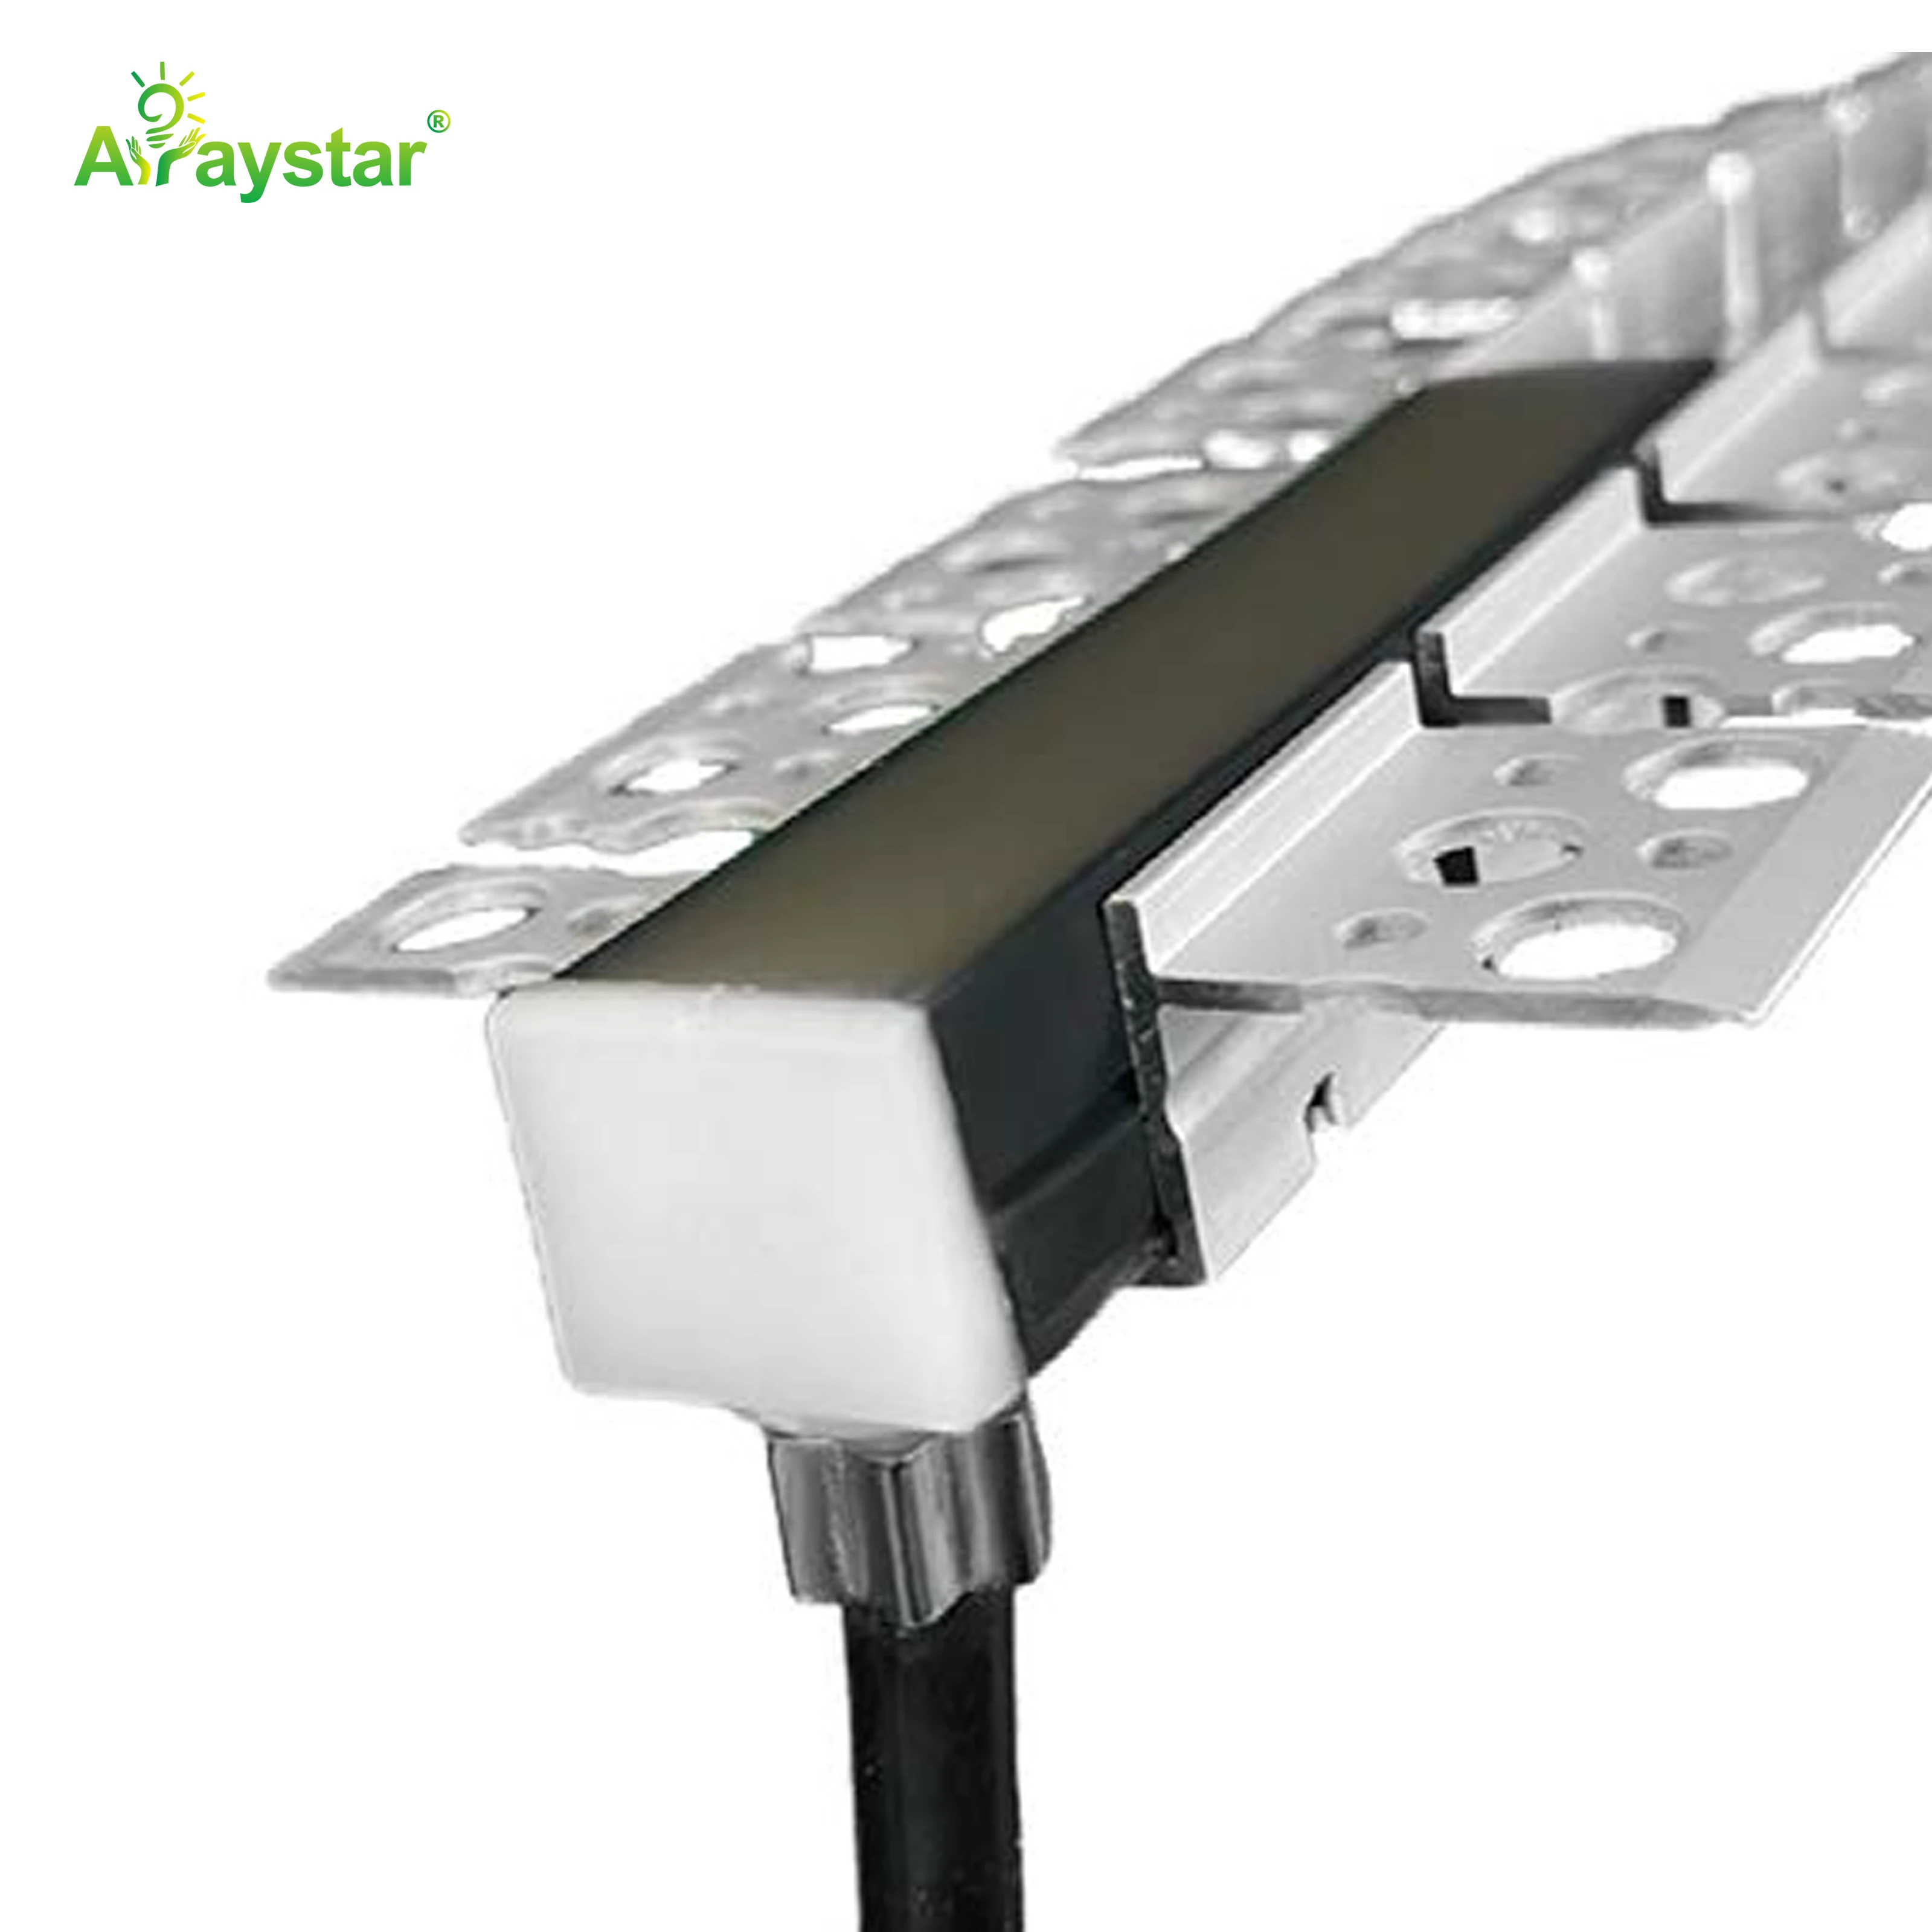
- Decide the layout at framing; plaster-in cannot be retrofitted cleanly.
- Use a channel deep enough for diffusion with perforated flanges for compound key.
- Skim flanges in multiple coats, sand flush, then paint before fitting diffuser.
- Coordinate structural fixing so the channel stays perfectly straight/level.
- Keep the diffuser out during messy plaster work and fit it at the very end.
Dense COB Is Mandatory for a Seamless Line
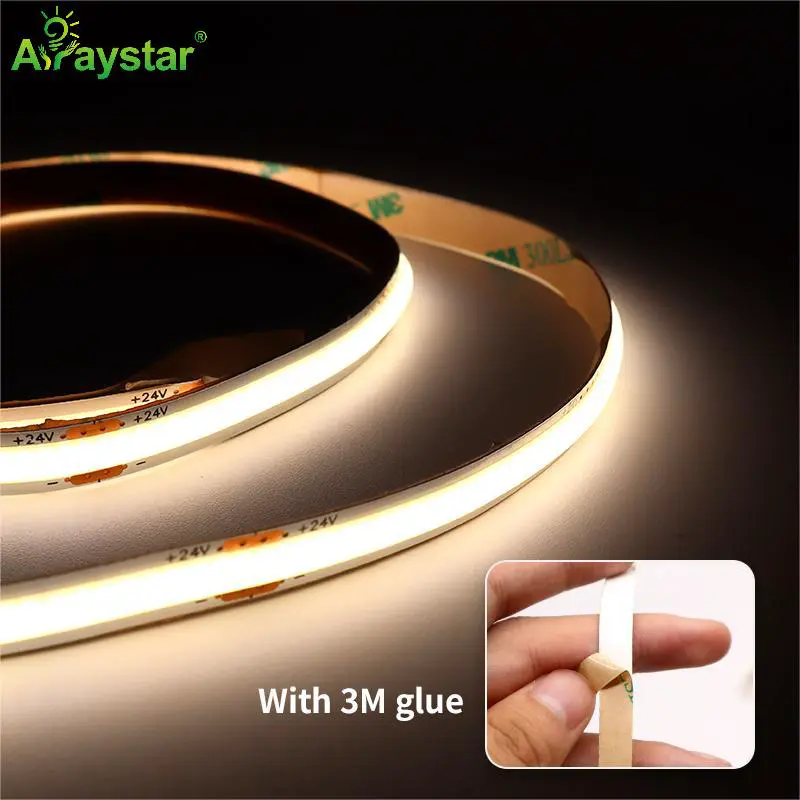
A flush ceiling line is viewed directly and critically, so visible LED dots and hot spots are unforgivable - there's no deep cove to hide them in. High-density COB strip, with its continuous light-emitting surface, is effectively required for plaster-in work; discrete SMD tape in a shallow channel will show a dotted line.
Reel-to-reel COB at 480 LEDs/m provides the continuous density that produces a perfectly even line through the diffuser, and reel-to-reel (long continuous reel) supply minimizes joins along long ceiling runs - important because every strip join is a potential brightness seam in a flush line. Run the COB centered in the channel with consistent depth for uniform diffusion across the whole run.
Inside Corners and Transitions
Where flush lines meet at inside corners - ceiling-to-wall coves, coffered panels, stepped ceilings - butting two straight channels leaves a dark or misaligned joint. Purpose-made corner profiles carry the light cleanly around the angle so the line reads continuous.
The ART-4545 90-degree corner connector profile joins linear channels at a precise right angle, maintaining consistent strip alignment and diffusion through the corner so there's no dark gap or bright kink. Use matched corner pieces at every inside and outside turn rather than field-mitering straight channel, which rarely lines up flush to the plastered surface.
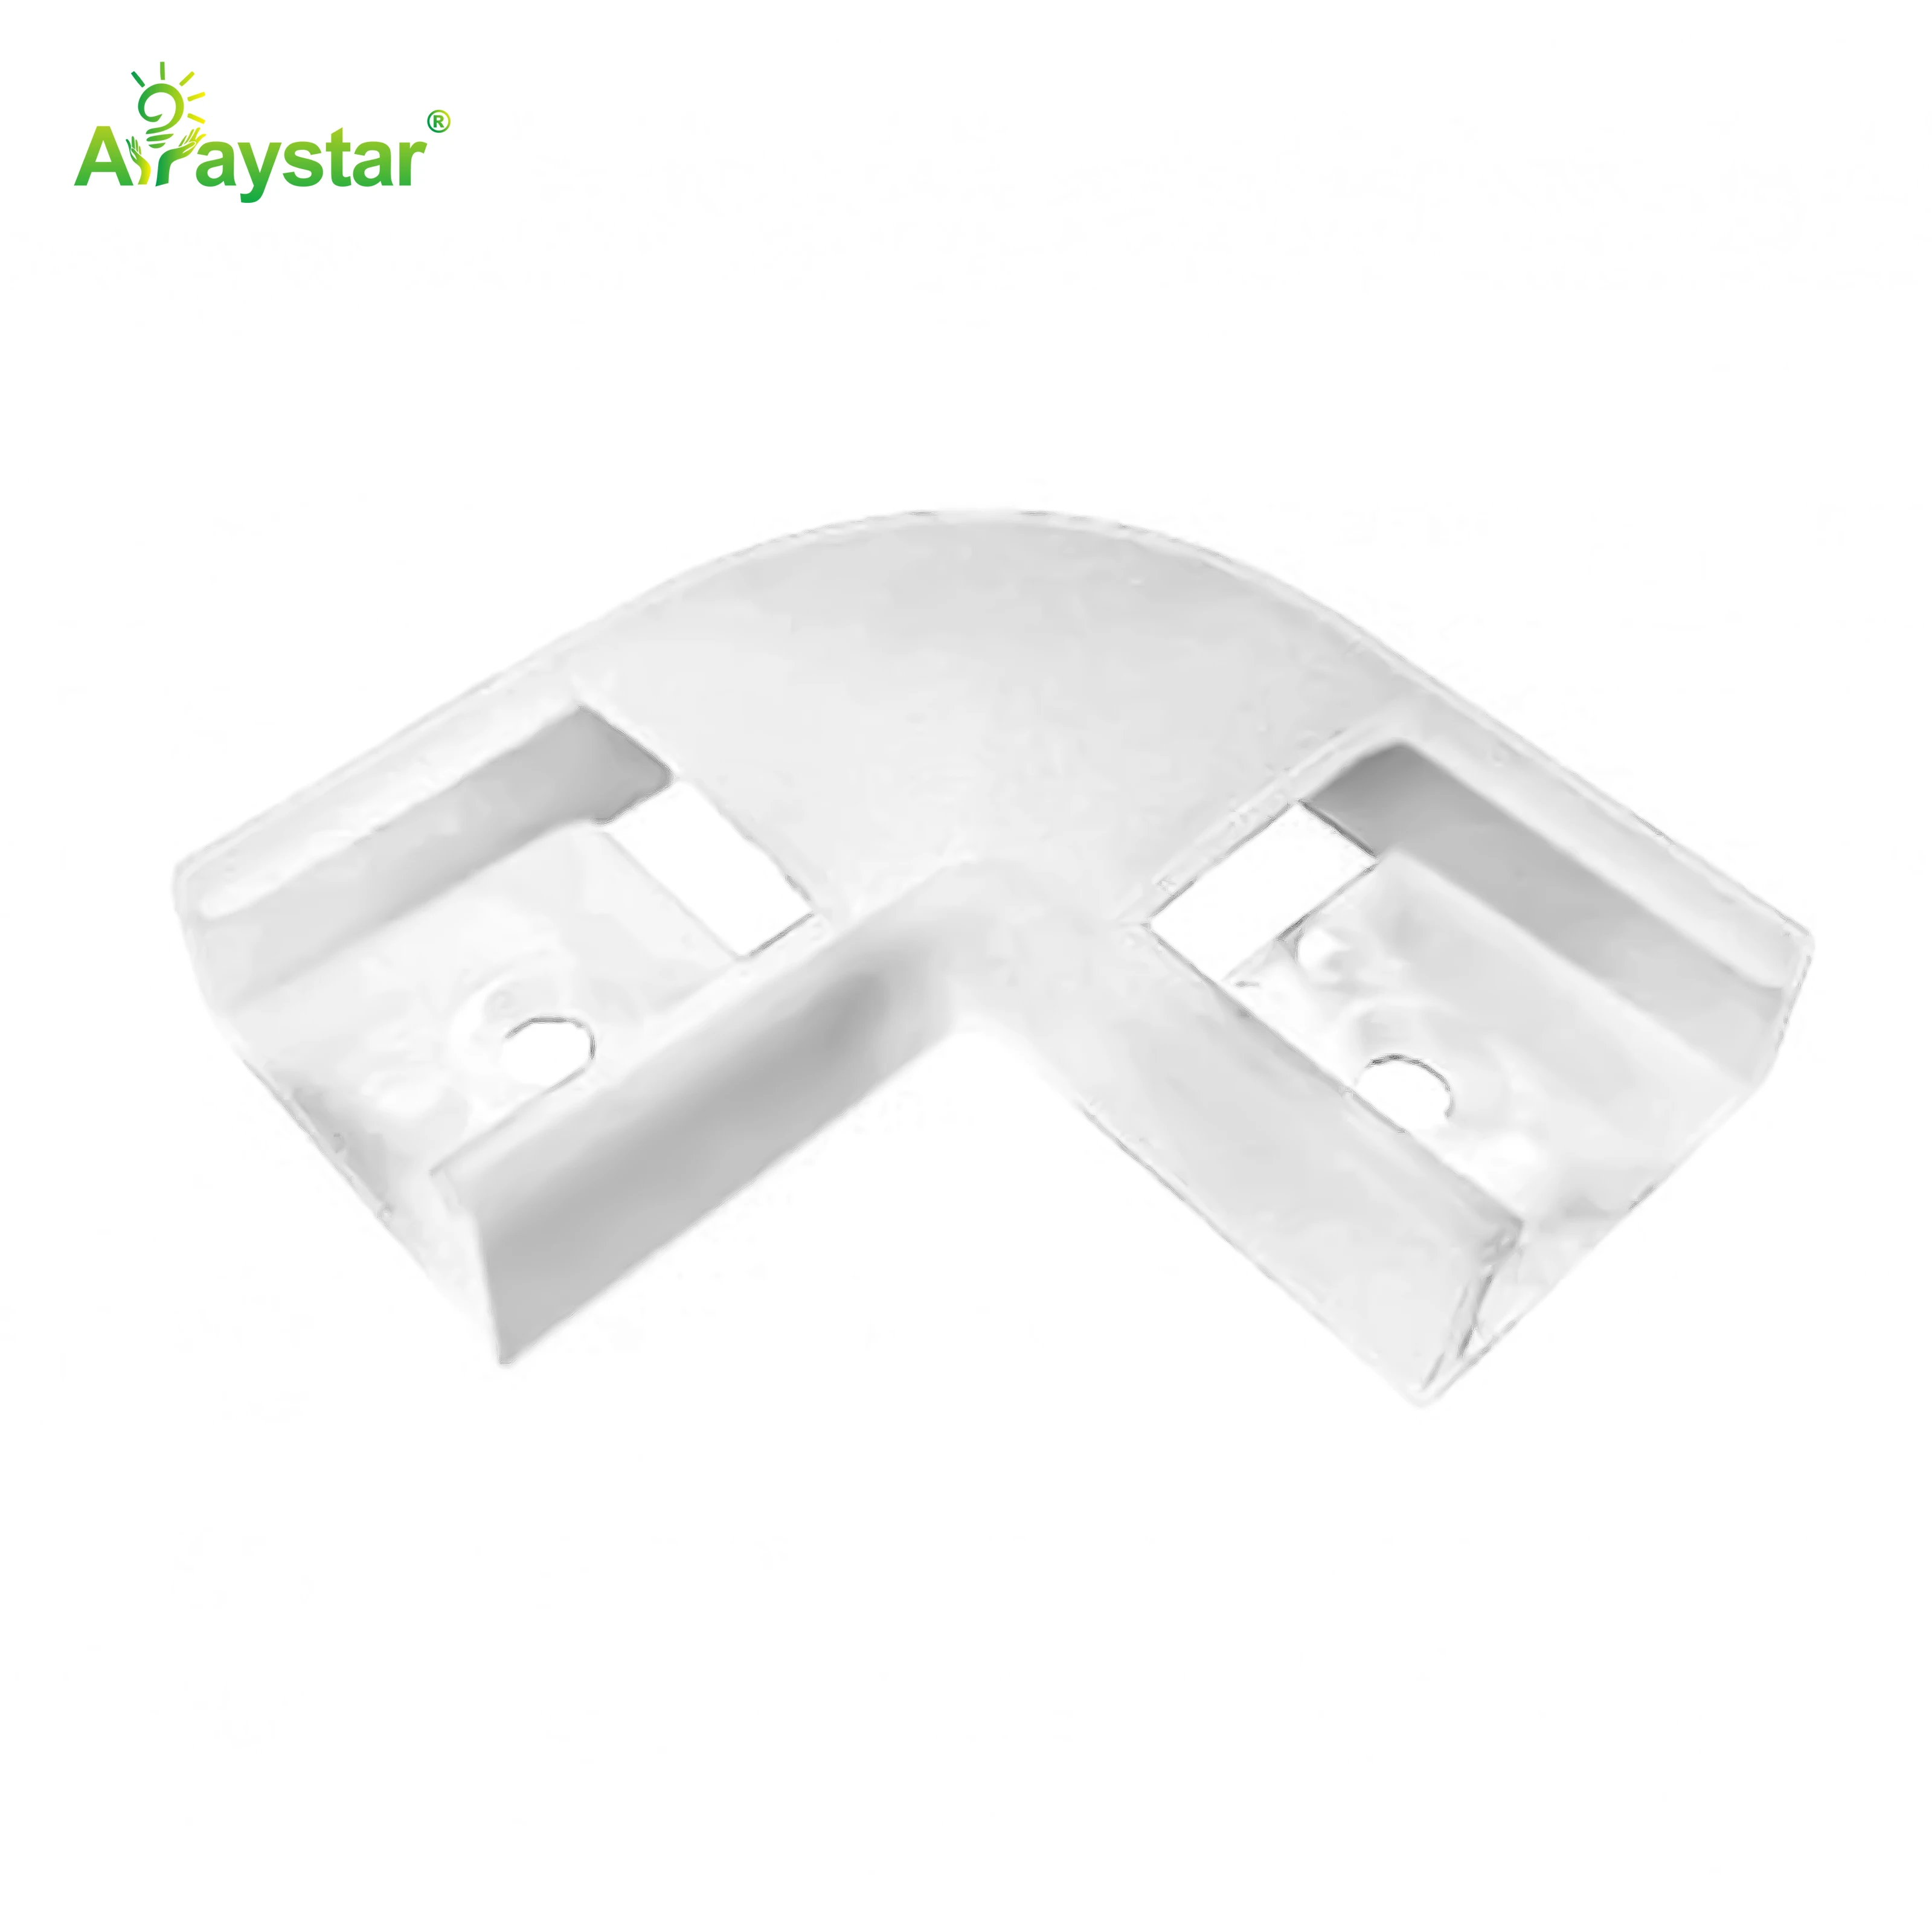
Trimless plaster-in detail checklist.
| Detail | Requirement |
|---|---|
| Straight runs | Deep plaster-in channel, perforated flanges, dense COB |
| Curves / coved bulkheads | Flexible plaster-compatible profile (6016 family) |
| Inside/outside corners | Purpose-made 90-deg corner profiles (4545), not field miters |
| Long joins | Reel-to-reel COB to minimize brightness seams |
| Finish | Skim, sand, paint flush; fit diffuser last |
Common Failures and How to Avoid Them
The recurring failures are: channels installed out of alignment that telegraph wavy lines through the paint; flanges not properly keyed into compound, causing hairline cracks at the edge; shallow channels with SMD tape showing dots; and diffusers fitted before plastering and ruined with compound. Each is prevented by sequencing and coordination, not by a better LED.
Hand the drywaller a clear detail drawing, protect the channel interior during messy work, fit the COB and diffuser only after painting, and power-test the continuous run before the ceiling is closed up. Trimless is unforgiving of late changes, but when the trades coordinate, it's the most refined lighting detail available.
Recommended Products
Frequently Asked Questions
What is trimless or plaster-in LED profile?
It's an aluminum channel with perforated flanges embedded flush into drywall before plaster; the flanges are skimmed over and painted so that after fitting a diffuser and dense COB strip, only a clean line of light shows with no visible fixture edge. It must be planned at framing/drywall stage and can't be cleanly retrofitted.
What LED strip do I use inside a plaster-in profile?
High-density COB, such as reel-to-reel 480 LEDs/m, because a flush ceiling line is viewed directly and discrete SMD dots or hot spots would be visible through the diffuser. Reel-to-reel supply also minimizes joins that could appear as brightness seams in a continuous flush line. Center the COB at consistent depth in a deep-enough channel.
How do you make plaster-in LED lines around corners?
Use purpose-made corner profiles like the ART-4545 90-degree connector rather than field-mitering straight channel, which rarely aligns flush. The corner piece keeps the COB and diffusion continuous through inside/outside angles with no dark gap or bright kink, and for curved bulkheads use a flexible profile from the 6016 family.
Can trimless LED channels be retrofitted into an existing ceiling?
Not cleanly - plaster-in channels are fixed at framing, drywall is cut around them, and flanges are skimmed, sanded and painted flush. Retrofitting means cutting open and re-plastering the ceiling, which is major work. For finished ceilings use surface-mounted or recessed (non-plastered) profiles instead.
Why does my plaster-in light show cracks or dots?
Cracks at the edge usually mean the perforated flange wasn't properly keyed into joint compound or the channel moved; dots mean the channel is too shallow or uses SMD instead of dense COB. Prevent them by fixing channels straight, keying flanges in multiple skim coats, using deep channels with 480/m COB, and fitting the diffuser only after plaster and paint are complete.
Need help with your LED project?
Get factory-direct pricing, free samples and engineering support within 24 hours.
Email: info@arraystarled.com | Phone: +86-0755-2103-6746 | WhatsApp: 0086 1581 8514 077
Need to size your power supply? Use our LED Strip Power Calculator to find the right driver in seconds.







