
12V LED Strip Lighting for Van Life, RVs & Campervans: A Practical Build Guide
- 2026-09-29 12:07
- /
- Arraystar LED
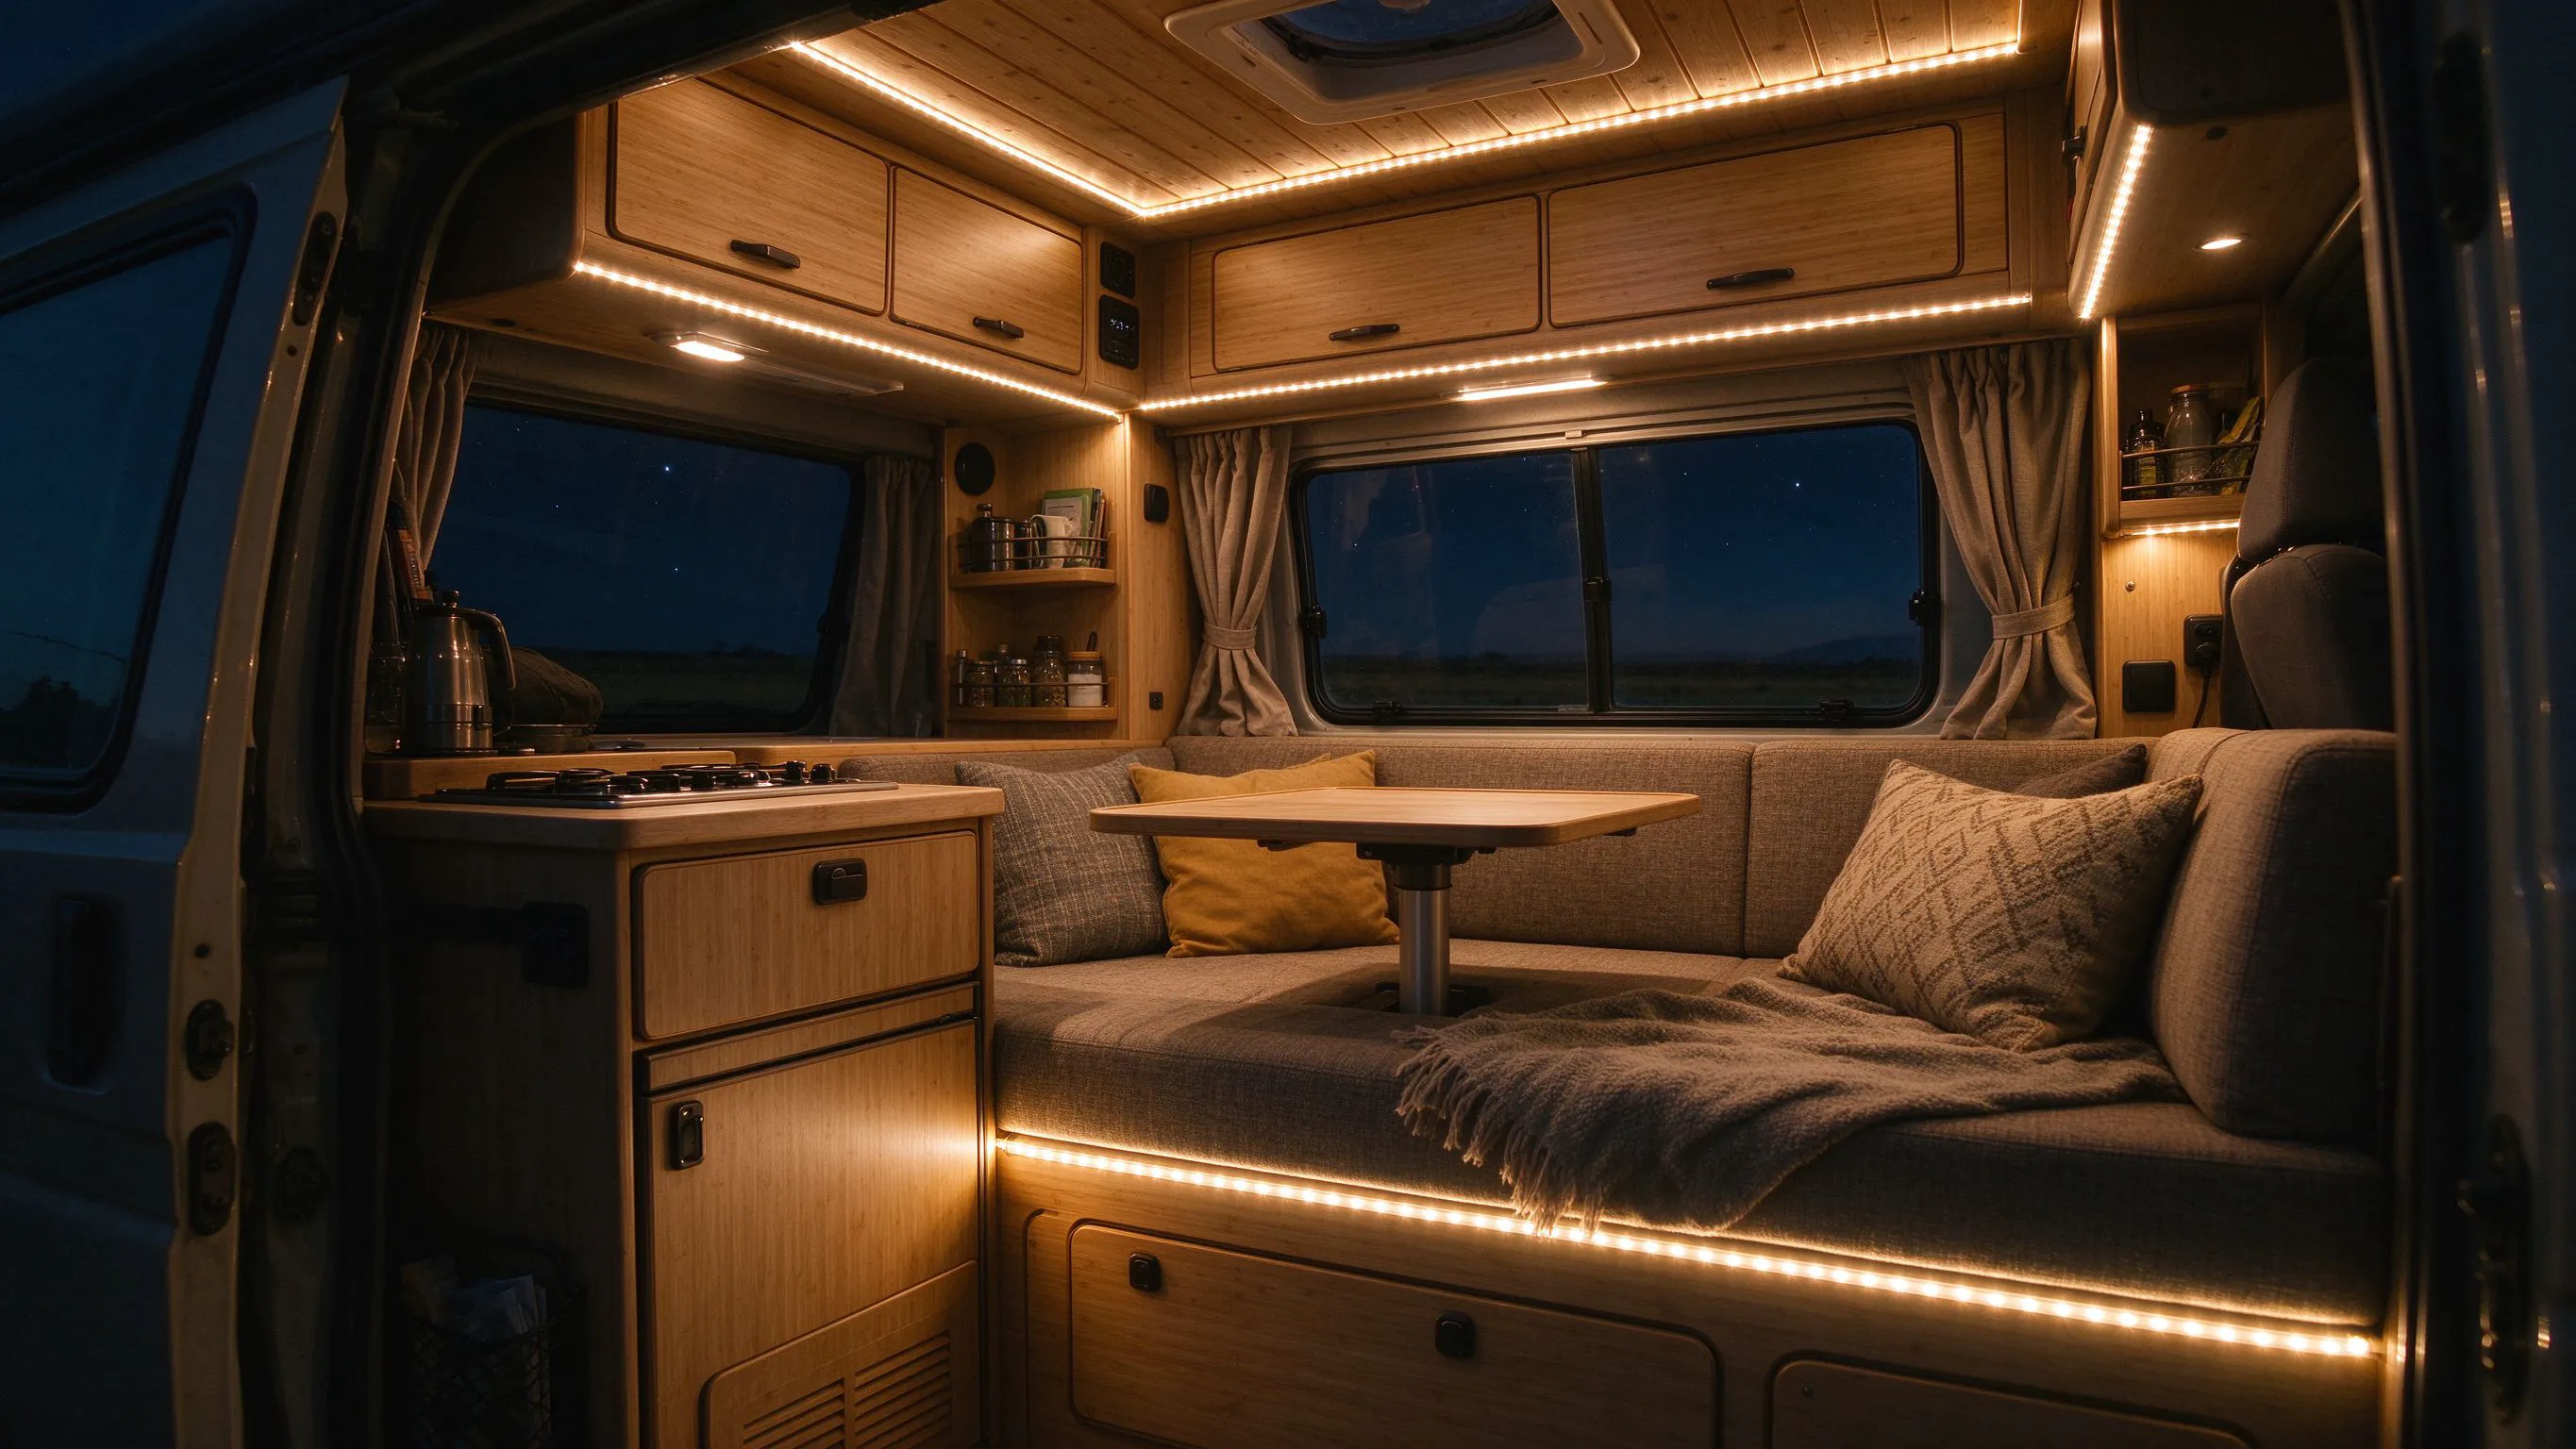
A van's lighting runs straight off the house battery, so the whole game is low current, gentle dimming and the right IP rating in wet corners. 12V (or 24V) constant-voltage strips are the obvious choice - no inverter needed. Plan your runs around the battery and fuse box, use warm dimmable light in the living areas, IP68 in the galley and shower, and small PIR sensors in cabinets so you're not hunting for switches in the dark.
Why 12V Constant-Voltage Strip Is Made for Van Builds
Most campervans and RVs run a 12V DC house battery (24V on larger coaches and trucks). Constant-voltage LED strips are natively 12V or 24V DC, so you wire them straight to your battery through a fuse and dimmer - no inverter, no AC conversion, no wasted power. When you're living off solar, every watt matters.
The single biggest mistake van builders make is treating lighting like a house install: long runs on under-sized wire, no fuses, non-dimmable strips that are blinding at night, and indoor-rated tape in a condensation-prone cabin. A van vibrates, gets humid, and runs on a finite battery, so the spec has to follow that.
A workable lighting map for a typical campervan conversion.
| Area | Strip type | IP rating | Control |
|---|---|---|---|
| Ceiling / lounge | Warm or tunable white COB/SMD | IP20-IP44 hidden | Dimmer, warm at night |
| Under-cabinet / kitchen | Bright white SMD/COB | IP54+ near sink | Switch or PIR |
| Shower / wet room | Solid silicone neon/COB | IP67-IP68 | Sealed switch |
| Garage / rear doors | Durable strip | IP65+ | Door/PIR trigger |
| Wardrobes / drawers | Low-density slim strip | IP20 | PIR/door sensor |
Sizing Current: Do the Math Before You Buy Wire
Lighting load is small compared to an induction hob or fridge, but you still need to size it. Multiply strip watts-per-meter by total meters, add 20% margin, and that's your driver (or direct battery) load. On 12V, current is high relative to 24V - a 10A lighting circuit at 12V is only 120W - so keep runs short or use thicker wire and feed from both ends to avoid voltage drop showing up as dim warm ends.
- Favor 24V strip and a 24V house system where you can - half the current, easier long runs.
- Fuse every lighting circuit close to the battery; a 5A or 10A blade fuse per circuit.
- Use proper crimped terminals and heat-shrink, not screw terminals that shake loose.
- Dim by PWM or a 12/24V LED dimmer rated above your total load.
Living Areas: Warm, Dimmable, Dot-Free
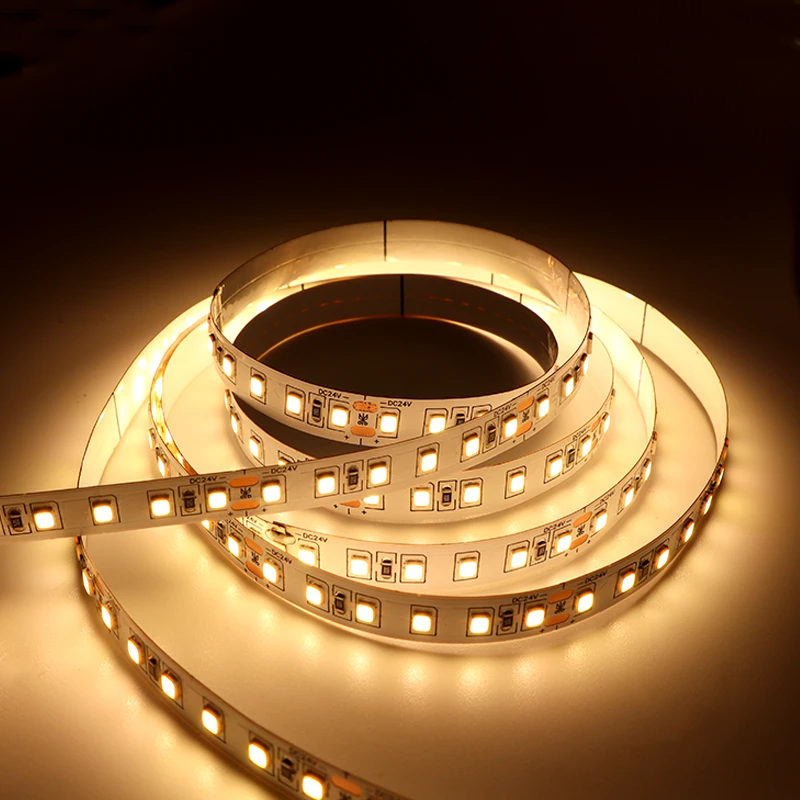
The ceiling and lounge are where cheap builds feel cheap. Dot-free COB or high-density SMD in slim aluminum channels gives clean even light, and aluminum channels are doubly useful in a van - they act as heatsink and as a rigid mount that survives driving vibration. Choose 2700-3000K for a cozy cabin, or tunable white if you want cooler 4000K for cooking and paperwork and warm for sleeping.
- Run ceiling strips along the curve of a high roof; flexible strip follows the radius where rigid bars won't.
- A rotary or touch dimmer by the bed lets you wind light down without getting up.
- Avoid bright cool-white ceiling light at night - it kills the cozy feel and suppresses melatonin.
- Add a tiny warm night-light circuit for moving around without full brightness.
Galley, Shower and Wet Areas: Go IP67/IP68
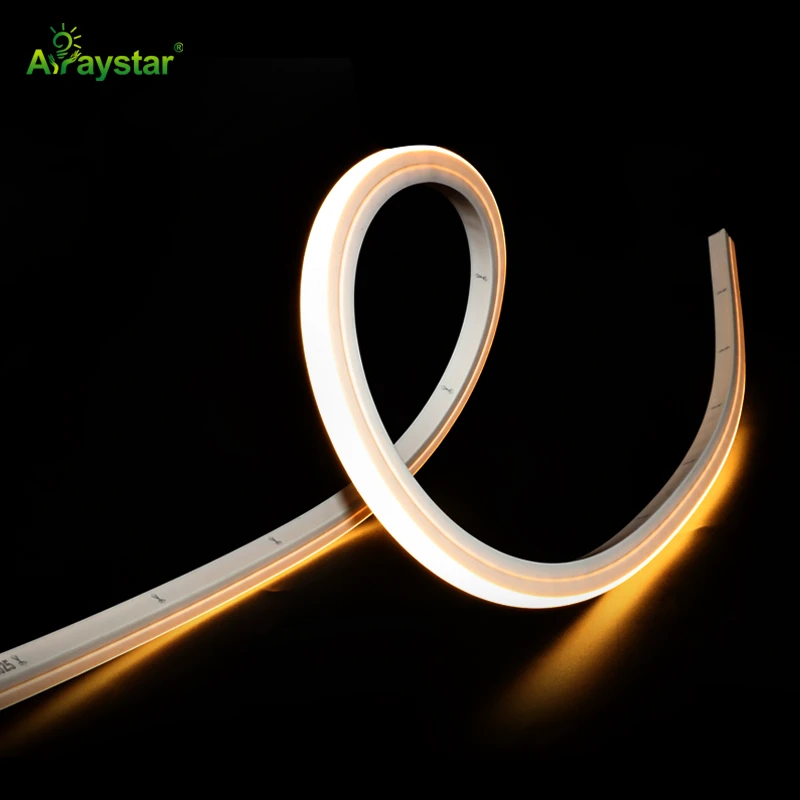
Vans condense hard - cooking, breathing and showering in a metal box means moisture everywhere. Indoor IP20 tape tucked into a sealed channel is fine in the ceiling, but the shower bay, around the sink and near the rear doors should be solid-silicone-extrusion IP67 or genuinely submersible IP68 product. TPU and silicone neon flex is ideal for the shower: flexible, fully sealed, and soft enough not to crack as the cabin flexes.
Seal every wire entry into a wet-zone strip with glue-lined heat shrink, and use IP-rated switches or put the switch outside the shower area. A corroded connection from one unsealed joint is the most common van-lighting failure I see.
Hands-Free Cabinet and Drawer Light
In a van you're often holding a pan or climbing through the back, so triggered lighting is genuinely useful rather than a gimmick. Tiny embedded PIR or door-contact sensors switch wardrobe, drawer and under-garage lights the moment you open them, and shut them off automatically - saving battery and fumbling.
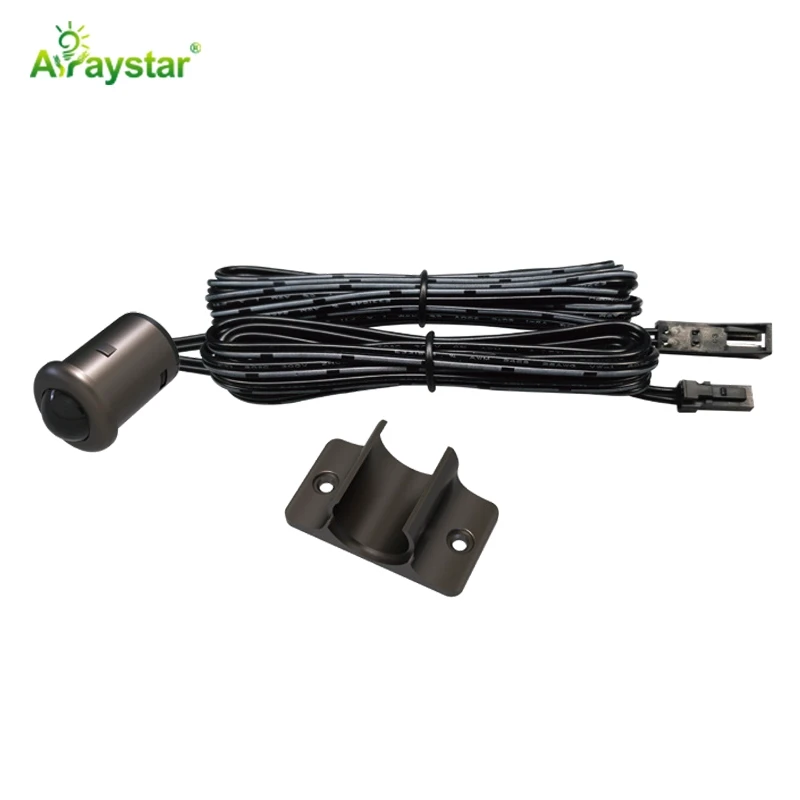
- Door-contact sensors for overhead cabinets and the wardrobe.
- PIR for the rear garage and under-bed storage where hands are full.
- Rechargeable wireless sensor kits avoid running extra signal wire in a finished van.
- Set sensors to a short timeout so a briefly opened drawer doesn't drain the battery.
Power, Dimming and a Few Van-Specific Gotchas
Because the battery voltage swings (a 12V lithium or lead system ranges roughly 12.0-14.6V while charging), make sure strips and dimmers tolerate the range - most 12V constant-voltage gear handles 10-15V fine, but verify. Run lighting from its own small fuse box / busbar rather than daisy-chaining off appliances.
- Use stranded, flexible automotive wire (not solid core) - solid wire fatigues and breaks with vibration.
- Secure strip and channel every 20-30cm; adhesive alone fails in hot and cold cycling.
- Add mechanical clips or rivets in channels rather than trusting only the 3M backing.
- Label every circuit at the fuse box - future-you will be grateful in a dark campsite.
Recommended Products
Frequently Asked Questions
Can I run 12V LED strips directly from my campervan battery?
Yes. Constant-voltage 12V (or 24V) LED strips run straight from the house battery through a correctly rated fuse and dimmer, with no inverter. Just fuse each circuit near the battery, size the wire for the current, and confirm the strip tolerates the battery's charging voltage up to about 14.6V.
What IP rating do LED strips need in a campervan?
IP20-IP44 is fine for ceiling and lounge strips hidden inside channels. Use IP54+ near the galley sink and IP67-IP68 solid-silicone or TPU neon in the shower and rear wet zones, with sealed wire entries, because van cabins condense heavily.
12V or 24V LED strips for an RV conversion?
24V is preferable where your house system supports it because it halves the current, making long runs easier with less voltage drop and thinner wire. 12V is fine for smaller vans with short runs if you use adequate wire and feed longer runs from both ends.
How do I stop van LED strips dimming at one end?
That's voltage drop from long runs or thin wire on a 12V system. Use thicker wire, keep runs shorter, feed long strips from both ends, or step up to 24V/48V strip. Confirm the wire is properly crimped - vibration can also loosen joints and create the same symptom.
Do LED strips stay stuck in a van's hot and cold conditions?
Adhesive alone usually fails over time with temperature cycling and vibration. Mount strip inside aluminum channels secured with clips or rivets roughly every 20-30cm, clean the surface with IPA first, and use the channel as both heatsink and mechanical mount.
Need help with your LED project?
Get factory-direct pricing, free samples and engineering support within 24 hours.
Email: info@arraystarled.com | Phone: +86-0755-2103-6746 | WhatsApp: 0086 1581 8514 077
Need to size your power supply? Use our LED Strip Power Calculator to find the right driver in seconds.







