
Sealing IP67/IP68 LED Strip: Cable Entry, End Caps and Glue Done Right
- 2026-10-08 17:37
- /
- Arraystar LED
Here is the part most installers miss: the moment you cut an IP67 or IP68 strip, the rating is gone. The factory seals the extrusion continuously; the two cut ends and the cable entry are brand-new holes that you have to seal to the same standard yourself. Water does not usually attack through the silicone wall - it walks in through a badly glued end cap, a cable exit with no gland, or a connector that was never meant to be submerged. Use the matching end caps and solid-core cable, mechanical connectors where you can, the right adhesive, and then give the seal time to cure before it ever sees water. Do those few steps properly and an outdoor or underwater neon install will stay dry for years.
Why a Cut IP68 Strip Stops Being IP68
Ingress protection is a property of the finished, sealed assembly, not the material. Solid-silicone extrusion and TPU neon are waterproof along their continuous length because the LEDs are fully encapsulated. But the cross-section you expose with scissors is open: bare PCB, solder pads and the copper core sit right at that face, and capillary action pulls water straight in along the wires and PCB.
Once water is inside a hollow or even a solid extrusion, it does not dry out. It migrates along the run, corrodes the copper, attacks the LED leads, and shows up weeks later as a dead section that is nowhere near the actual leak. So the rule is simple - every cut creates two terminations, and every termination gets sealed before power-on and before exposure.
The Anatomy of a Proper End Seal
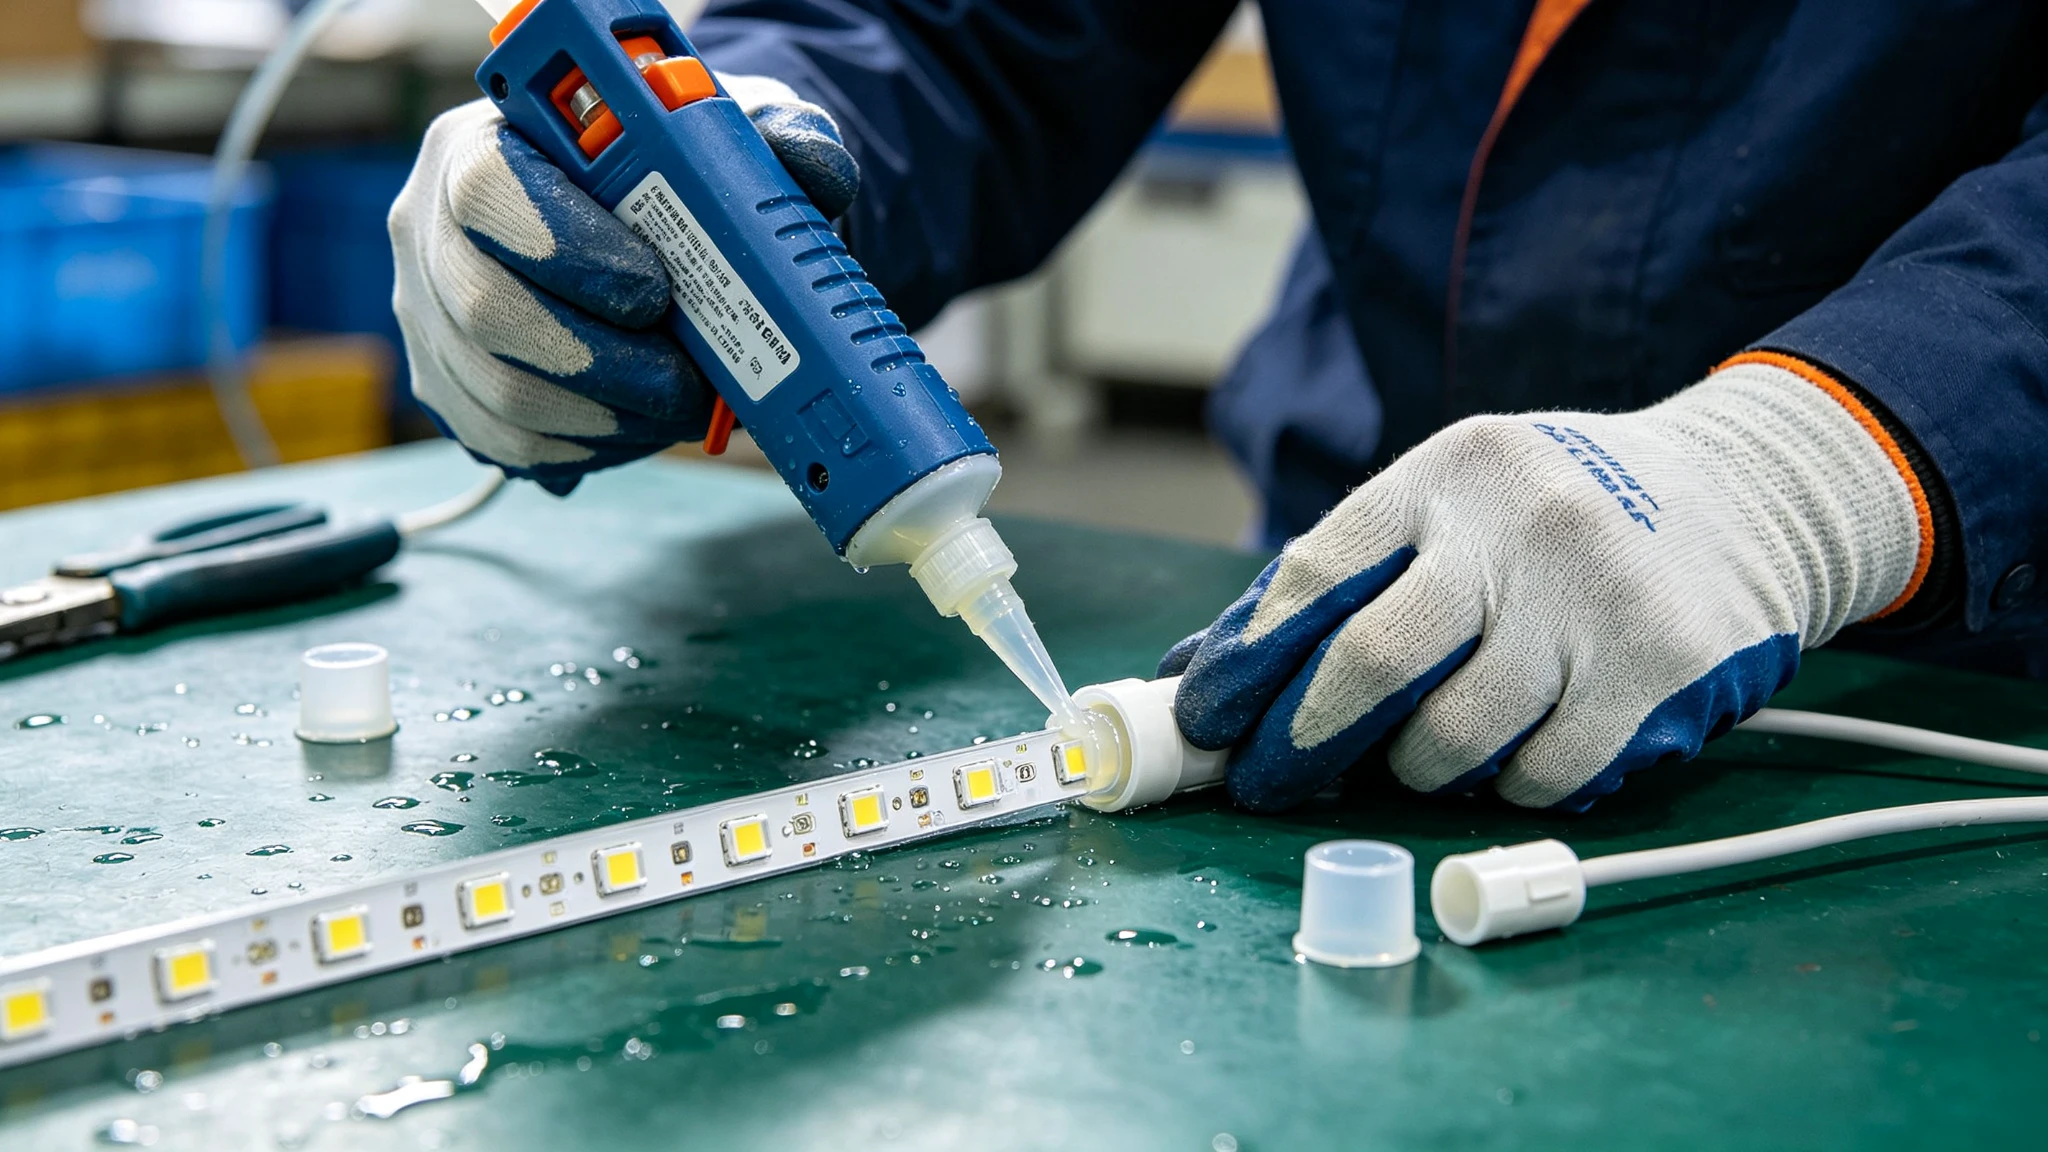
Factory and field terminations all do the same three jobs: close the open face, anchor the cable mechanically so a tug cannot open the seal, and block the gap around the conductors. I use the matching moulded end cap and cable-entry cap for the specific neon cross-section rather than a generic blob of glue, because the cap is shaped to fill the profile and gives the adhesive a surface to key to.
Every cut end needs the first three as a minimum.
| Termination part | Job | Notes |
|---|---|---|
| Blank end cap | Seals the dead tail | Fills full cross-section, glued and keyed |
| Cable-entry cap / gland | Seals where power wires exit | Must grip each cable, not just cover it |
| Adhesive/sealant | Bonds cap to extrusion | Use the silicone/PU glue rated for the jacket |
| Heat-shrink over lead | Secondary seal + strain relief | Glue-lined shrink works best |
| Mechanical connector | Re-usable sealed join | Preferred to field glue where available |
On IP68 TPU neon I always use the purpose-made end cap and cable cap for that profile. The slim TP1220 and TP1010 strips have matching caps that compress around the cable; relying on a generic sealant bead here is how water finds a path. Fit the cap, confirm adhesive squeezes out evenly around the whole perimeter (a gap in that bead is a future leak), and wipe the excess smooth.
Making the Cable Entry the Weak-Point-Proof Way
The cable exit is the leakiest spot on any install because the wire moves and the seal has to flex with it. I avoid running bare loose strands through a glue-filled hole - the strands themselves wick water. Instead use solid tinned cable or pre-moulded fly-leads, pass them through the cable-entry cap or a small gland, and seal so the adhesive contacts the cable jacket continuously for several millimetres, not just the individual wires.
- Use the factory fly-lead or a glanded cable cap wherever possible instead of field-wiring through glue.
- Leave a drip loop below the entry point so water runs off the cable rather than toward the seal.
- Add glue-lined heat-shrink over the cable-to-cap transition for a second barrier and strain relief.
- Never pull on the sealed lead; anchor the cable with a clip so the termination carries no weight.
- Keep the entry facing down or to the side, not up where puddles sit on the seal.
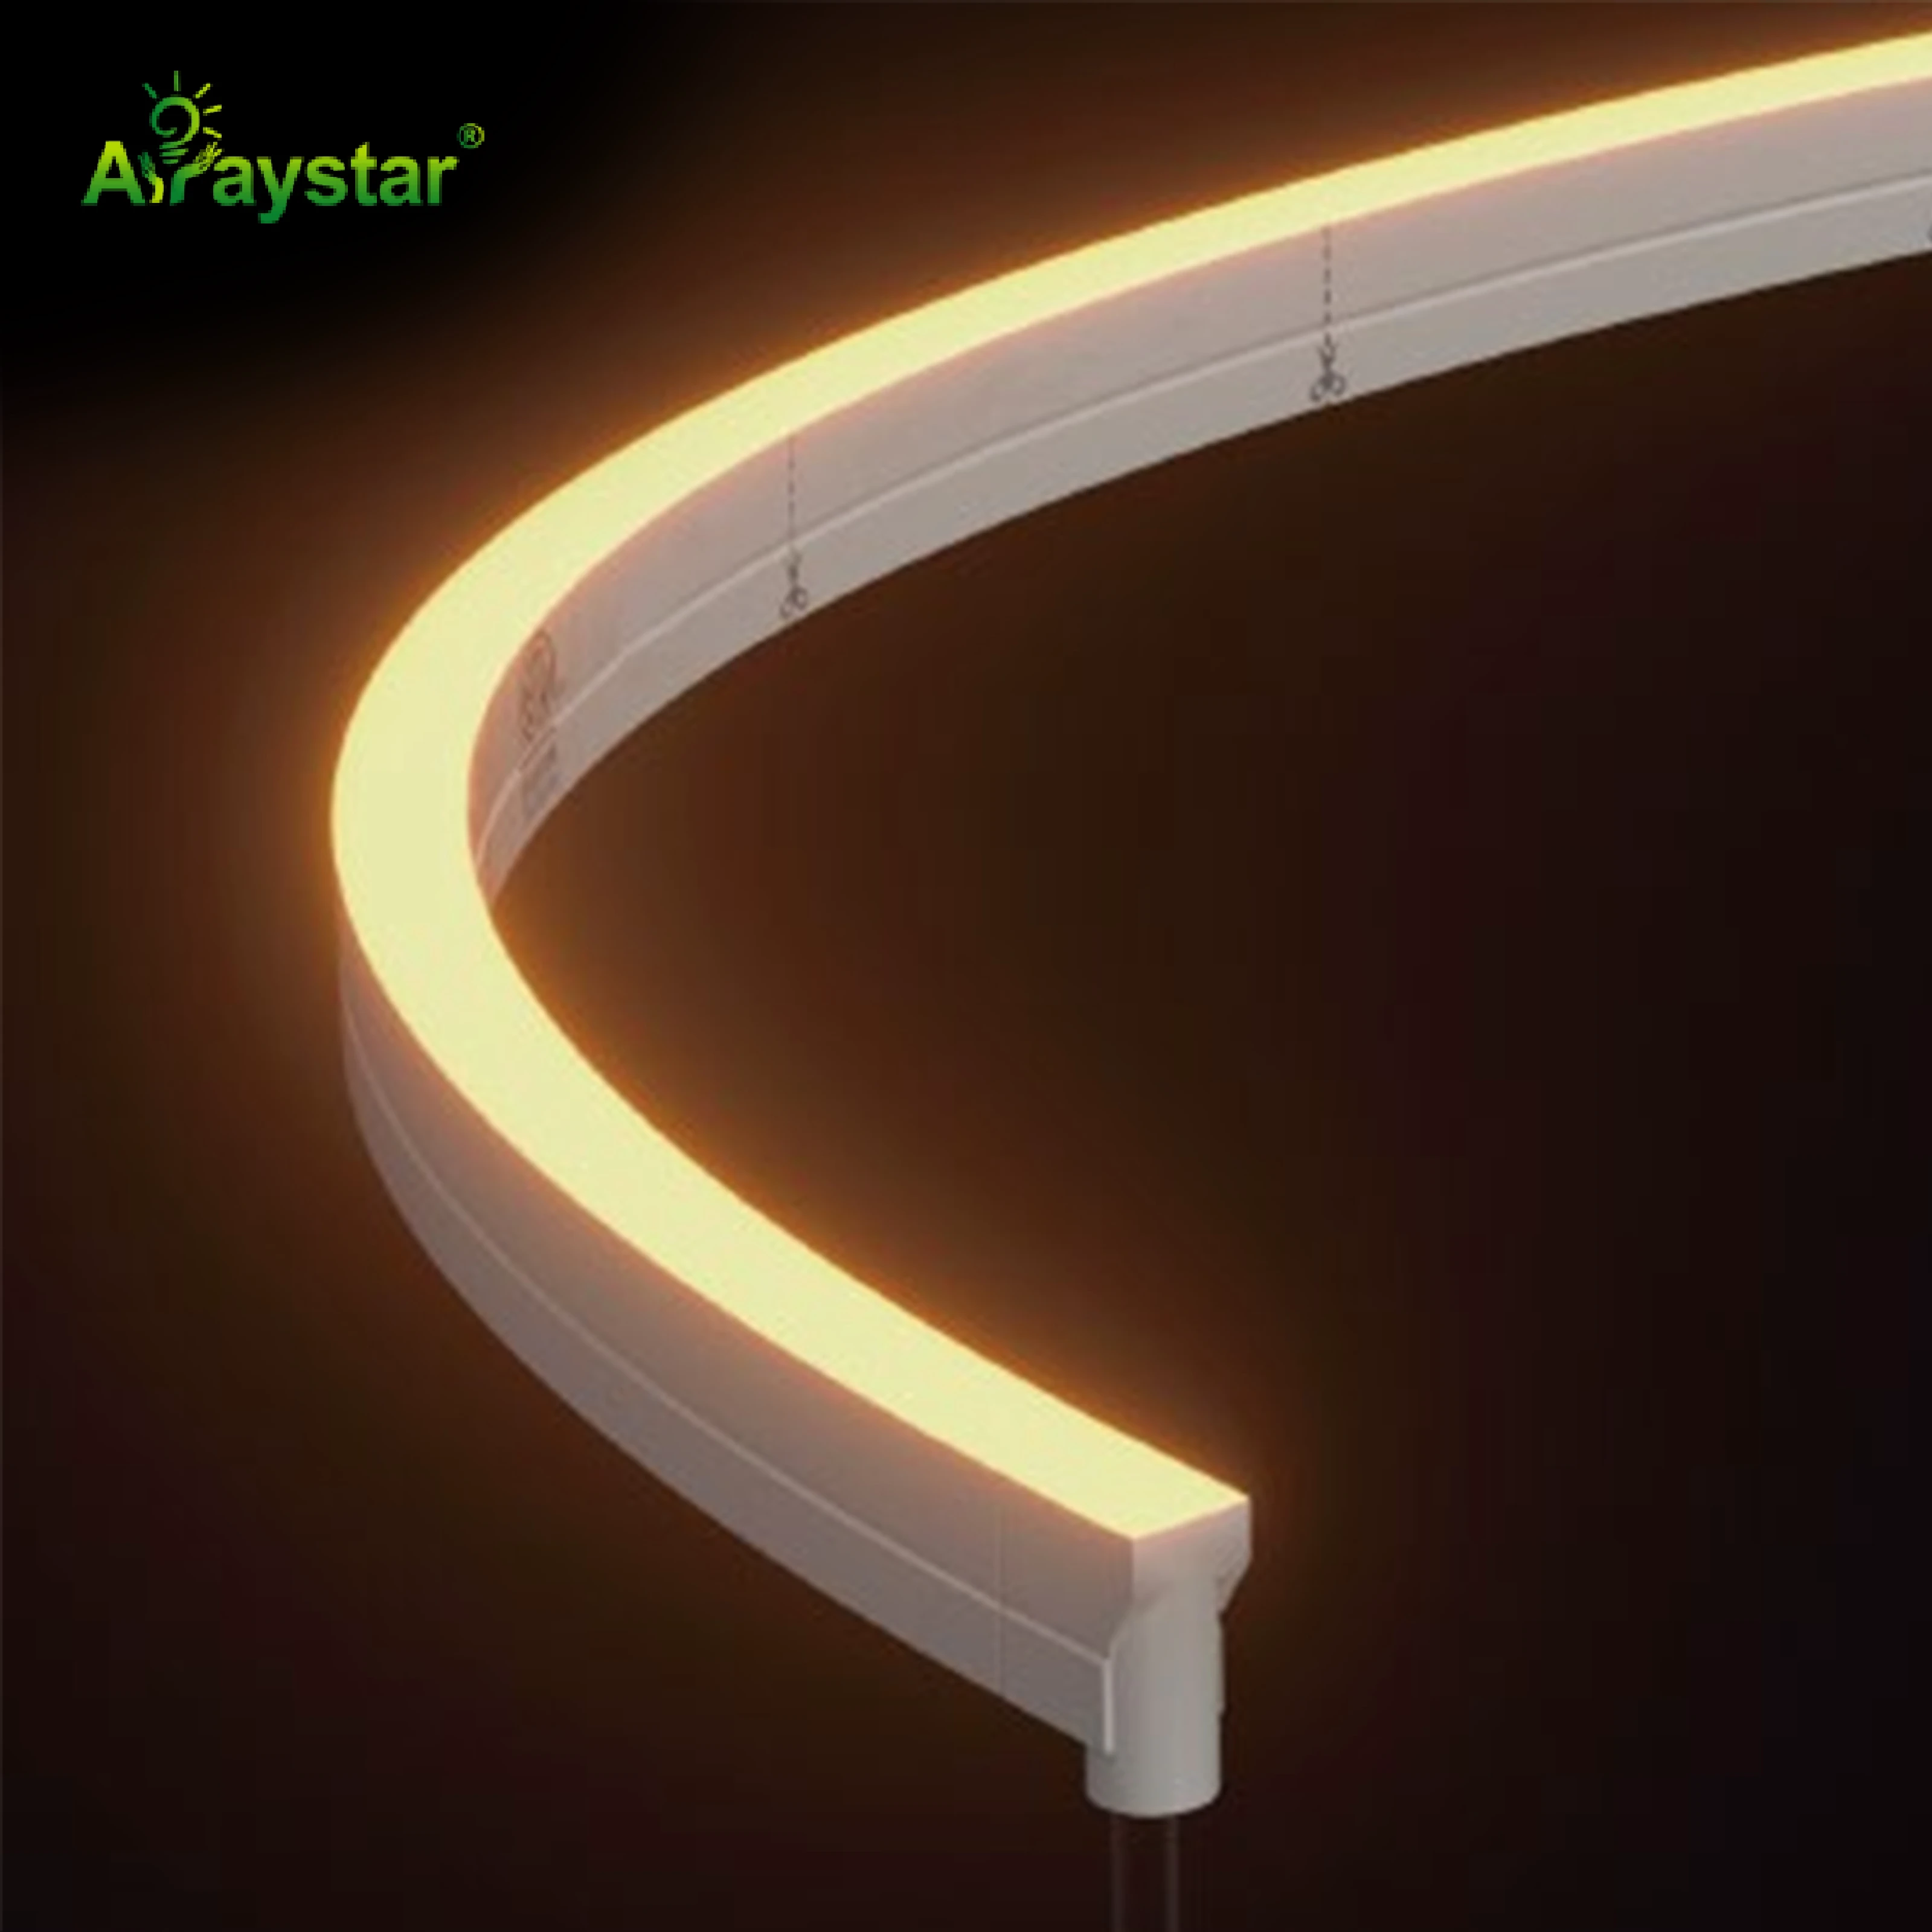
Solid-silicone (extruded) COB is more forgiving to re-seal than hollow tube because there is no air cavity to flood - the silicone surrounds each LED. When I have to field-cut IP67 COB, the matching end cap bonds directly to that solid silicone face and there is far less risk of water travelling internally. It is one reason I spec solid extrusion over sleeved tape for anything buried, embedded or regularly hosed.
Connectors, Adhesives and Cure Time
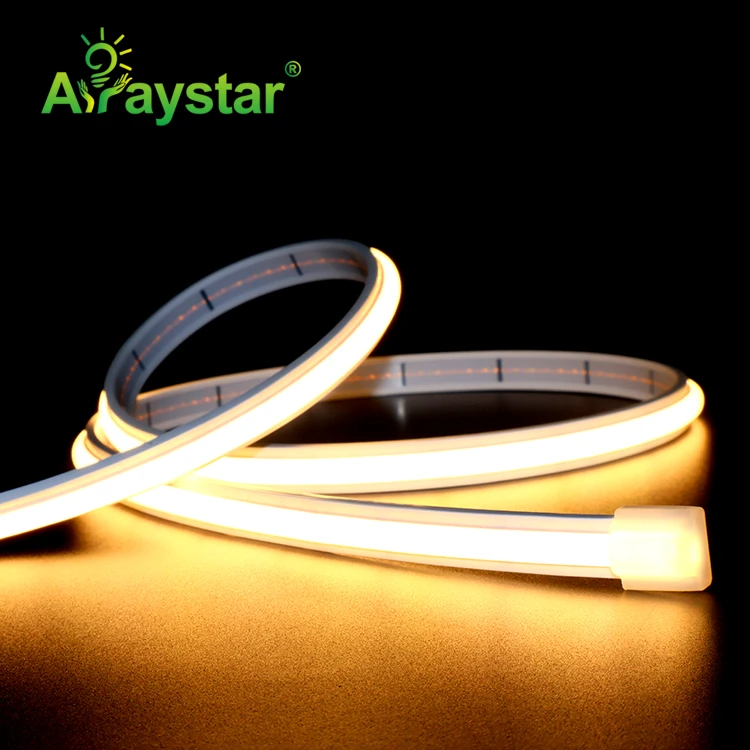
Where a join must be made in the field or may need servicing, a proper sealed mechanical connector beats a hand-glued joint. The 10x10 neon connector locks the two profiles together and clamps a gasket around the mating faces, giving you an IP-rated joint that does not depend on your glue-bead consistency. I use these at every accessible junction and reserve fully glued, potted heads for permanent dead ends and submersion.
Adhesive and cure discipline
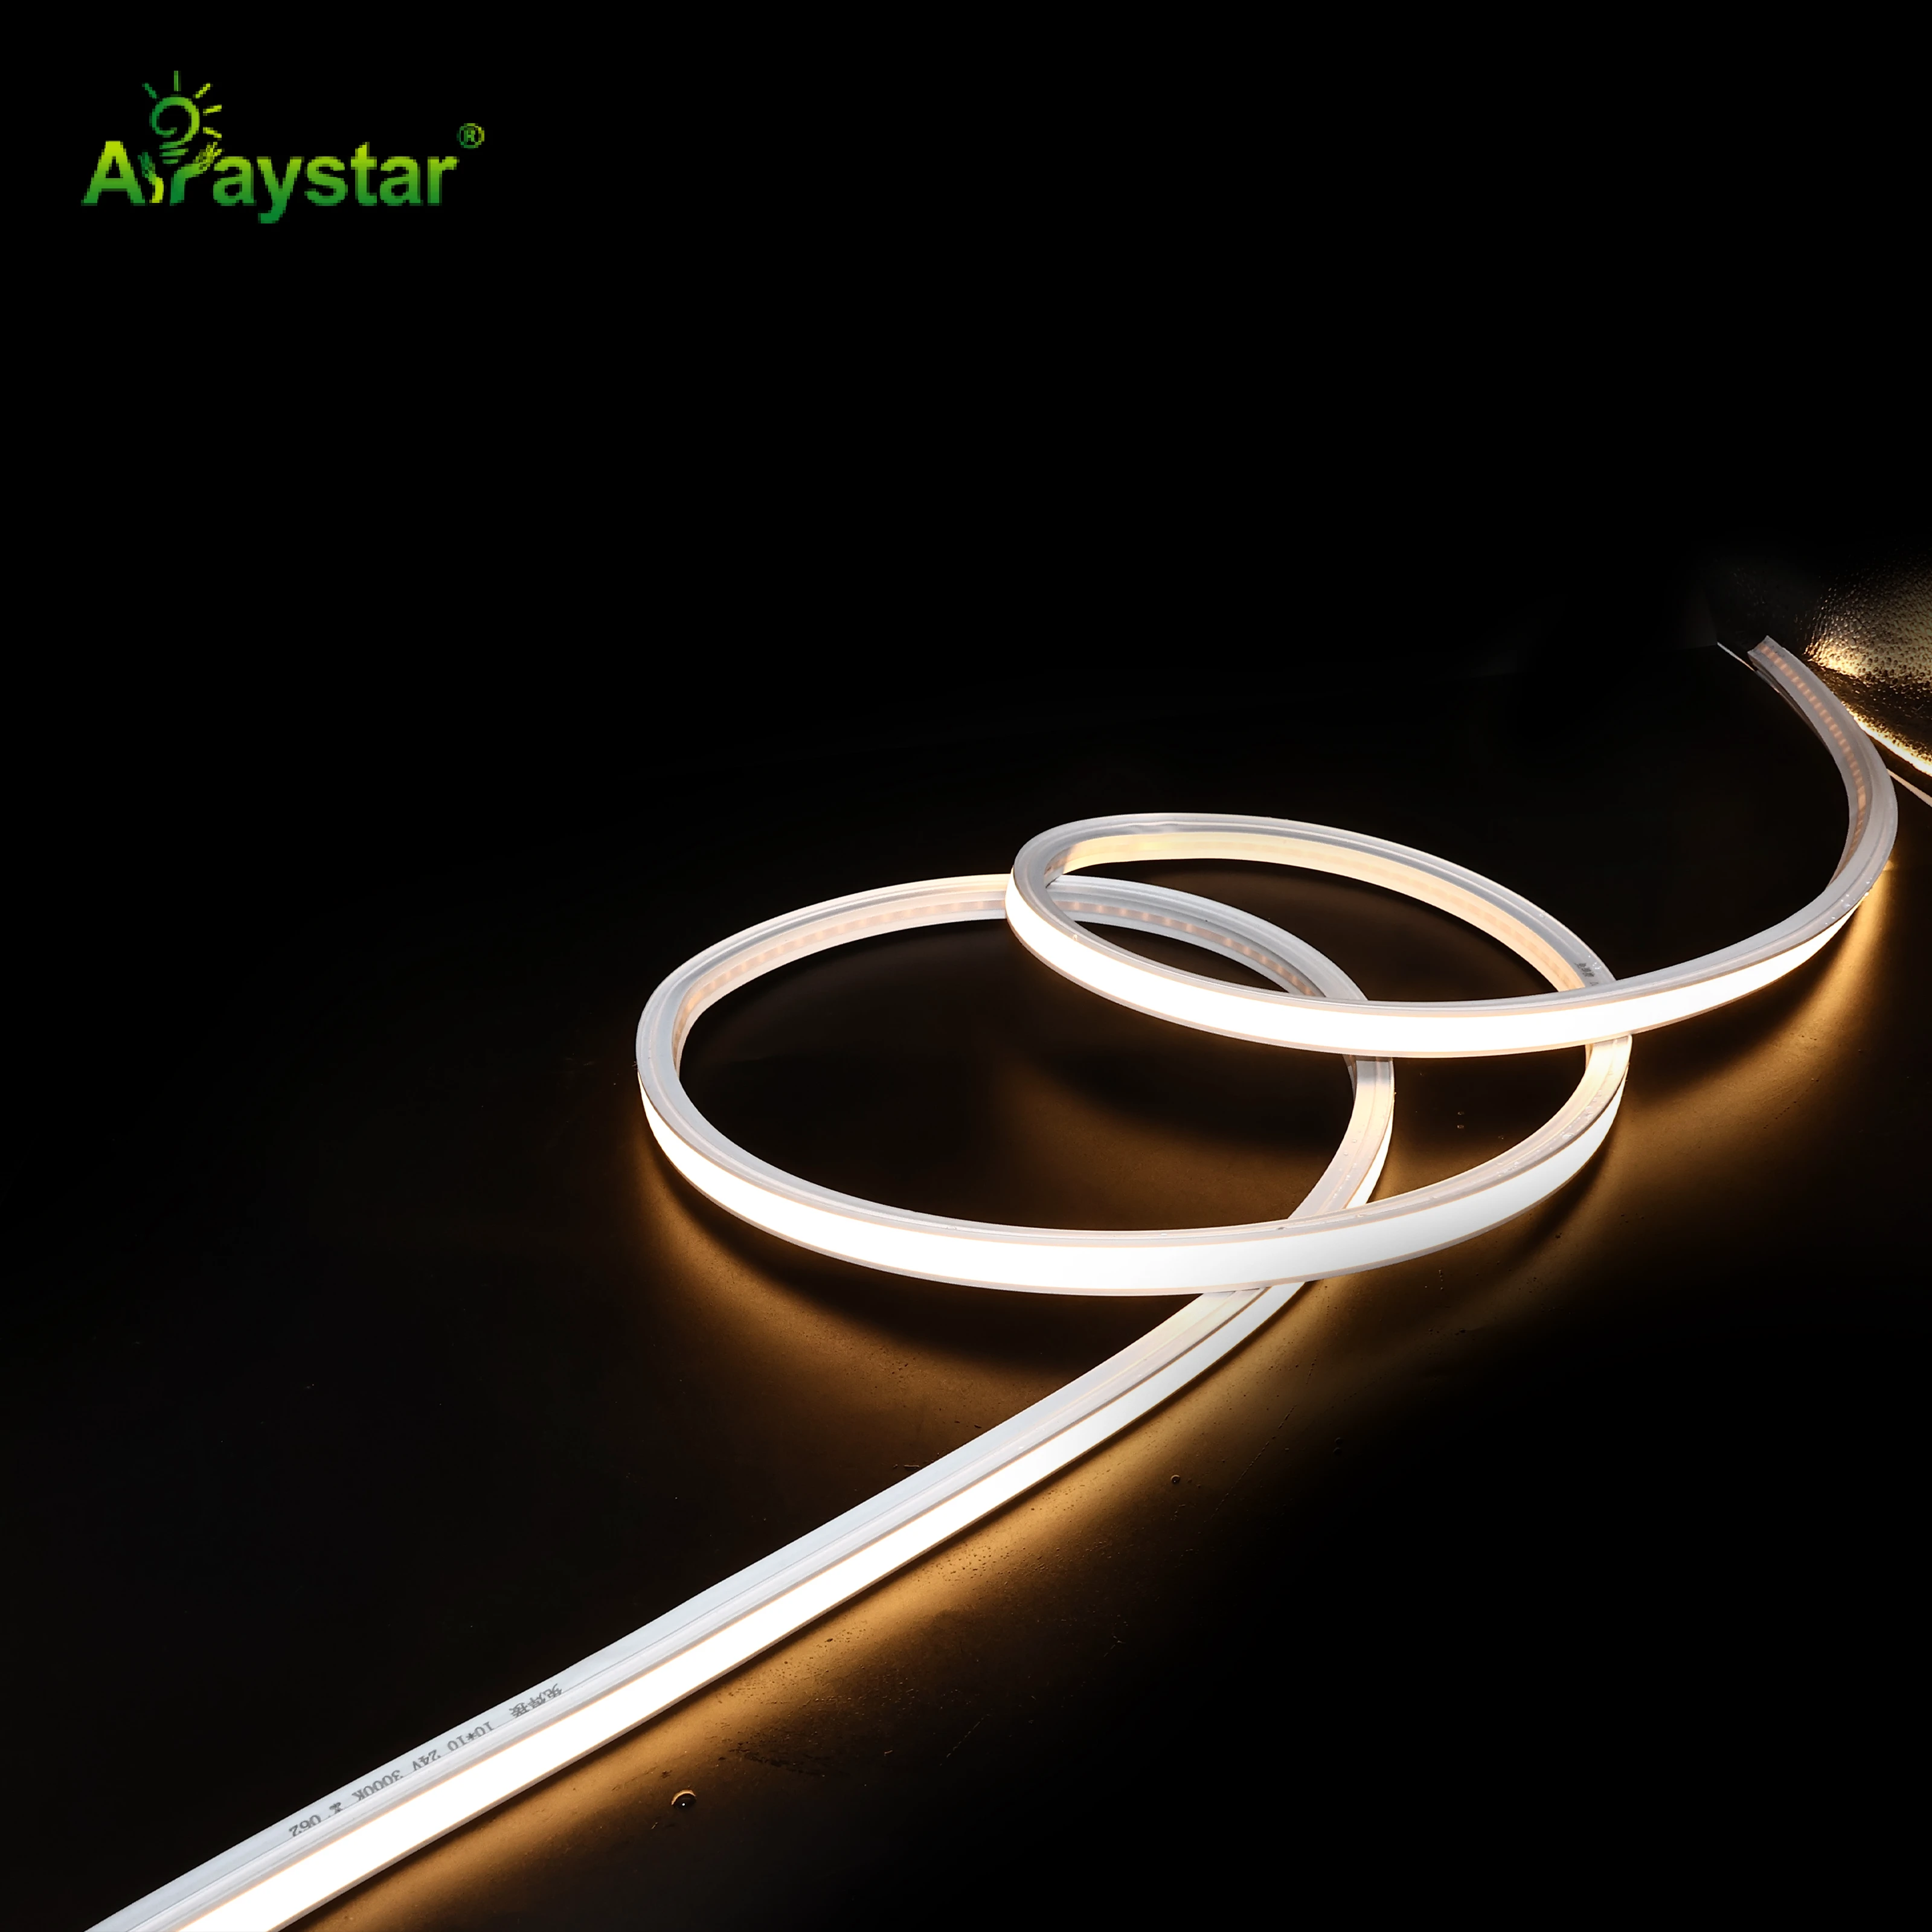
Use the sealant the strip maker recommends for the jacket - silicone adhesive for silicone neon, polyurethane/PU glue for TPU and PVC. The wrong chemistry will not bond and simply peels off. Critically, let it cure fully (typically 24 hours, check the product) at room temperature before energising or exposing it. Testing a seal after two hours and declaring it dry is the most common reason a 'waterproof' job fails at the first rain. I assemble terminations the day before installation wherever the schedule allows.
Pressure Testing and the Jobs That Need More
For outdoor wall and landscape work, a visual check and a cure period are usually enough. For permanent submersion - pools, fountains, water features - I hold the finished, sealed length in a bucket of water for 24-48 hours unpowered, then inspect every termination for droplets or fogging inside the jacket before it goes in the water. A clear heat-shrink sleeve over each end makes any internal moisture easy to see.
- Outdoor/rain: sealed caps, glands, drip loops, 24h cure - usually sufficient.
- Jets and wash-down: IP66/IP67, mechanical connectors, avoid upward-facing entries.
- Permanent submersion: genuine IP68 product, potted heads, 48h soak test, low voltage only.
- Never rely on tape or hot glue as the primary seal; they are secondary at best.
- Document each termination with a photo before it is buried or clipped into a channel.
If you ever open a failed fitting and find water inside, dry the entire affected length thoroughly, re-seal both ends even if only one looks wet, and find the actual entry path - simply drying and re-gluing the obvious end while the real leak is at a cable gland guarantees a repeat call-out.
Recommended Products
Frequently Asked Questions
Is IP68 LED strip still waterproof after I cut it?
No. The IP68 rating applies to the factory-sealed assembly; cutting exposes open PCB and conductors at the new cross-section and voids the rating until you re-seal it. You must fit the matching blank end cap on the tail and a sealed cable-entry cap or gland where the power lead exits, bond them with the correct adhesive, add strain relief, and let the seal cure fully before the strip sees water.
What glue should I use to seal LED neon ends?
Match the adhesive to the jacket chemistry: silicone adhesive or neutral-cure silicone for silicone neon, and polyurethane (PU) glue for TPU and PVC profiles. Using the wrong type means it will not bond and will peel away. Most manufacturers supply a matched sealant with their end-cap kits; use that rather than a generic bathroom silicone, apply enough to see a continuous bead around the cap, and wipe the excess smooth.
What is the difference between IP65, IP67 and IP68 LED strip?
IP65 is dust-tight and protected against low-pressure water jets, typically a sleeved or coated strip for damp and splash areas. IP67 withstands temporary immersion (roughly 1m for 30 minutes) and usually uses sealed tube or solid extrusion with capped ends. IP68 is rated for continuous submersion beyond IP67 conditions and uses fully potted solid TPU/silicone neon with factory or properly potted terminations. The end seals define the real-world rating once you cut it.
How long should LED strip sealant cure before getting wet?
As a rule allow a full 24 hours at room temperature, and 48 hours for permanent underwater IP68 terminations; always follow the specific sealant's datasheet as some polyurethanes take longer to reach full strength. Energising or exposing the joint too early is the most common cause of sealed neon leaking. I build terminations the day before installation and soak-test submerged lengths before fitting them.
Can I use heat-shrink instead of end caps on waterproof LED strip?
Glue-lined heat-shrink is a useful secondary seal and excellent strain relief over a cable transition, but it should not be the only seal closing an open neon cross-section, because it does not fill the profile or mechanically key to it the way a moulded end cap does. Use the proper end cap or cable gland as the primary barrier, then add glue-lined heat-shrink over the lead for a second layer. For submersion, rely on potted moulded terminations, not shrink tubing alone.
Need help with your LED project?
Get factory-direct pricing, free samples and engineering support within 24 hours.
Email: info@arraystarled.com | Phone: +86-0755-2103-6746 | WhatsApp: 0086 1581 8514 077
Need to size your power supply? Use our LED Strip Power Calculator to find the right driver in seconds.







