
How to Solder LED Strip Without Lifting Pads: Temperatures, Tips and Repairs
- 2026-10-08 17:37
- /
- Arraystar LED
Soldering LED strip is mostly about not cooking the part you are trying to join. A temperature-controlled iron around 300-350C, a clean tinned tip, flux, and a two-to-three-second touch will give you a shiny, strong joint; a dirty 450C tip held on for ten seconds lifts the pad, burns the resistor and wrecks the reel. Tin wires and pads first, then marry them, and always support the joint with heat-shrink or silicone. When a pad is already gone, you can usually steal the neighbouring pad or jump to the next solder point rather than scrapping the length. Below is the exact process I use in the factory and on site, including the repairs that rescue strip most people throw away.
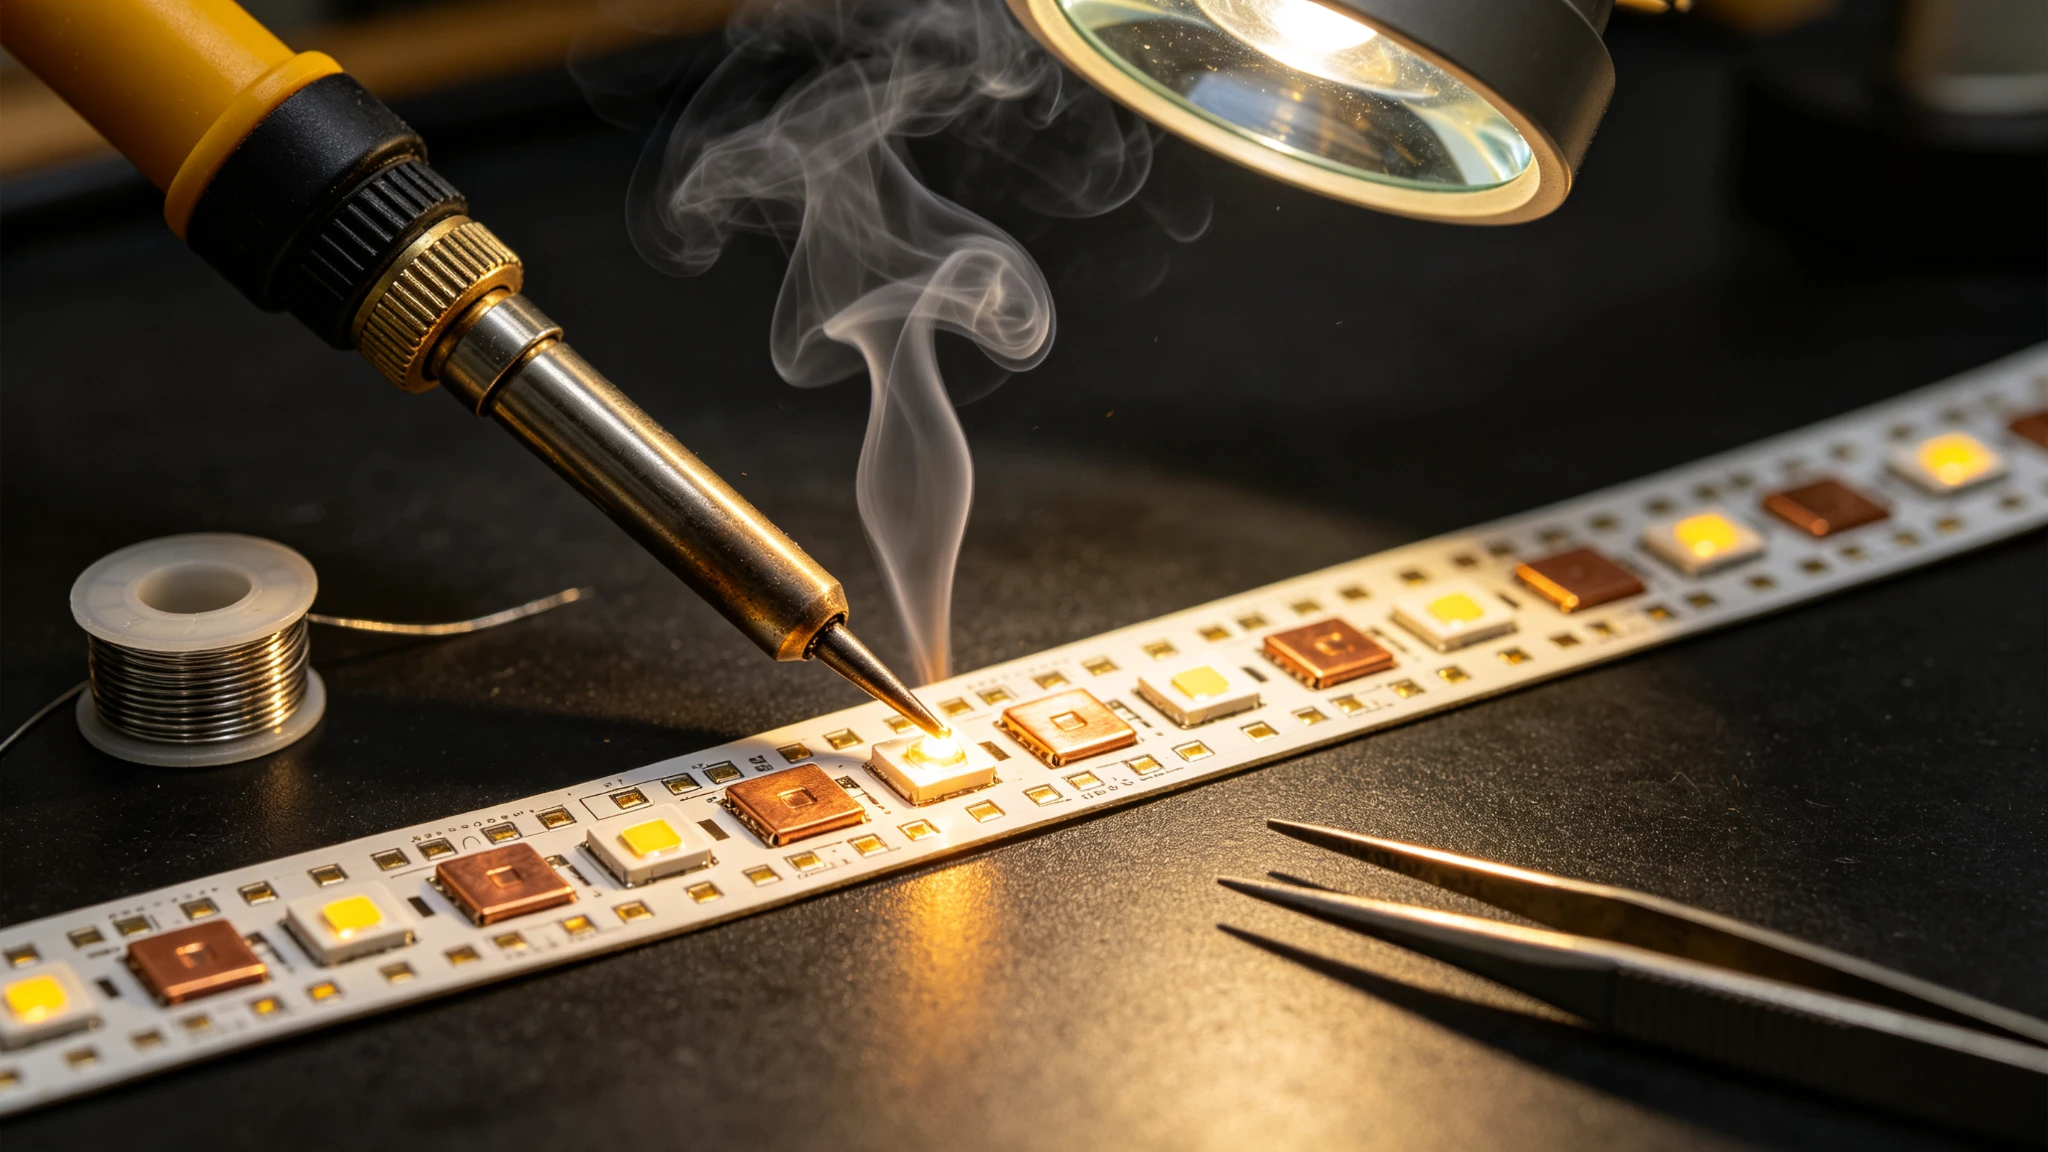
The Tools That Make Soldering Easy (or Miserable)
You can solder strip with a cheap fixed iron, but you will fight it the whole way and damage more boards than you fix. A temperature-controlled iron with a small chisel or conical tip, 60/40 or lead-free rosin-core solder around 0.6-0.8mm, a flux pen or paste, brass-wool cleaner, helping hands and heat-shrink tubing are the kit. Flux is the secret - most cold, dull joints are really dry joints that needed more flux, not more heat.
- Temperature-controlled iron, set 300-350C (lead-free needs ~350-380C).
- Small chisel tip for PCB pads; it transfers heat faster than a needle tip.
- Rosin-core solder plus a flux pen for rework and oxidized pads.
- Heat-shrink or silicone glue and a pair of fine tweezers for strain relief.
Soldering Wire to a Strip: The Five-Step Joint
I do the same five moves every time, whether it is a single-colour 2835 or a four-wire RGBW reel. Practice on a bare IP20 offcut first - there is no reason to learn on a finished install. The bare-board SOB and SMD reels with exposed copper are ideal because the pads are large and there is no silicone in the way.
1. Tin the pad
Touch the iron tip to the pad and feed a tiny amount of solder so the pad wets into a bright silver puddle. In, solder, out - about one second. A tinned pad means the actual wire joint later takes almost no heat.
2. Tin the wire
Strip 3-4mm of stranded wire, twist it, and tin the strands so they hold together as one solid tip. Pre-tinned wire drops onto a pre-tinned pad and joins almost instantly.
3. Marry them
Hold the tinned wire onto the tinned pad, press the iron to both for one or two seconds until the solder melts and flows around the wire, then remove the iron and hold still until it sets. Do not move while it cools or you get a grainy cold joint.
4. Inspect
A good joint is shiny, cone-shaped and mechanically solid. A dull, crumbly or balled-up joint is cold - reheat, add a touch of flux, and let it reflow. Gently tug the wire; it should not lift.
5. Protect it
Slip heat-shrink over the joint (shrink before soldering if access is tight) or bed it in silicone. Strip flexes and a bare solder joint will fatigue-crack if it is allowed to bend. On waterproof strip, reseal with silicone and heat-shrink so you do not reopen the IP rating.

Joining Strip to Strip and Multi-Channel Tape
For joining two reels end to end, tin all pads on both pieces, overlap or butt them, and flow each pad across. On tunable-white and RGBW strip there are several pads close together (CCT, W+, RGB and so on), so use a fine tip and solder one pad at a time, clearing bridges with solder wick or a clean tip. The tunable 8mm SOB board is good practice because the two white channels sit side by side and teach you not to bridge them.

- Mark positive polarity before cutting; reversed strip simply will not light.
- Solder channels in order from one side to avoid reaching across hot joints.
- Use different-coloured wire per channel on RGBW so rework is obvious later.
- Stagger adjacent wire joints so a single blob of heat-shrink does not bulge.
Repairing Lifted Pads and Torn Components
This is the skill that saves the most money. A lifted pad looks like a small copper flap peeling off the PCB. Do not keep heating it. If any copper remains, scrape the conformal coating off the trace leading to the pad, tin that trace, and solder your wire there instead - the trace is the same electrical node. If the pad is completely gone, follow the trace to the next identical pad (often the next solder point along the same run) and feed from there.
- Lifted +/power pad: jump to the next power pad along the strip - they are common along the run.
- Torn surface-mount resistor: bridge it with a thin bead of solder only if you know it is a zero-ohm link; otherwise replace with the same value.
- Dead LED package after overheating: replace from a donor offcut using hot air or two iron tips, or cut that section out on cuttable strip.
- Lifted pad on waterproof tape: slice back the silicone first, make the repair, then re-seal fully.
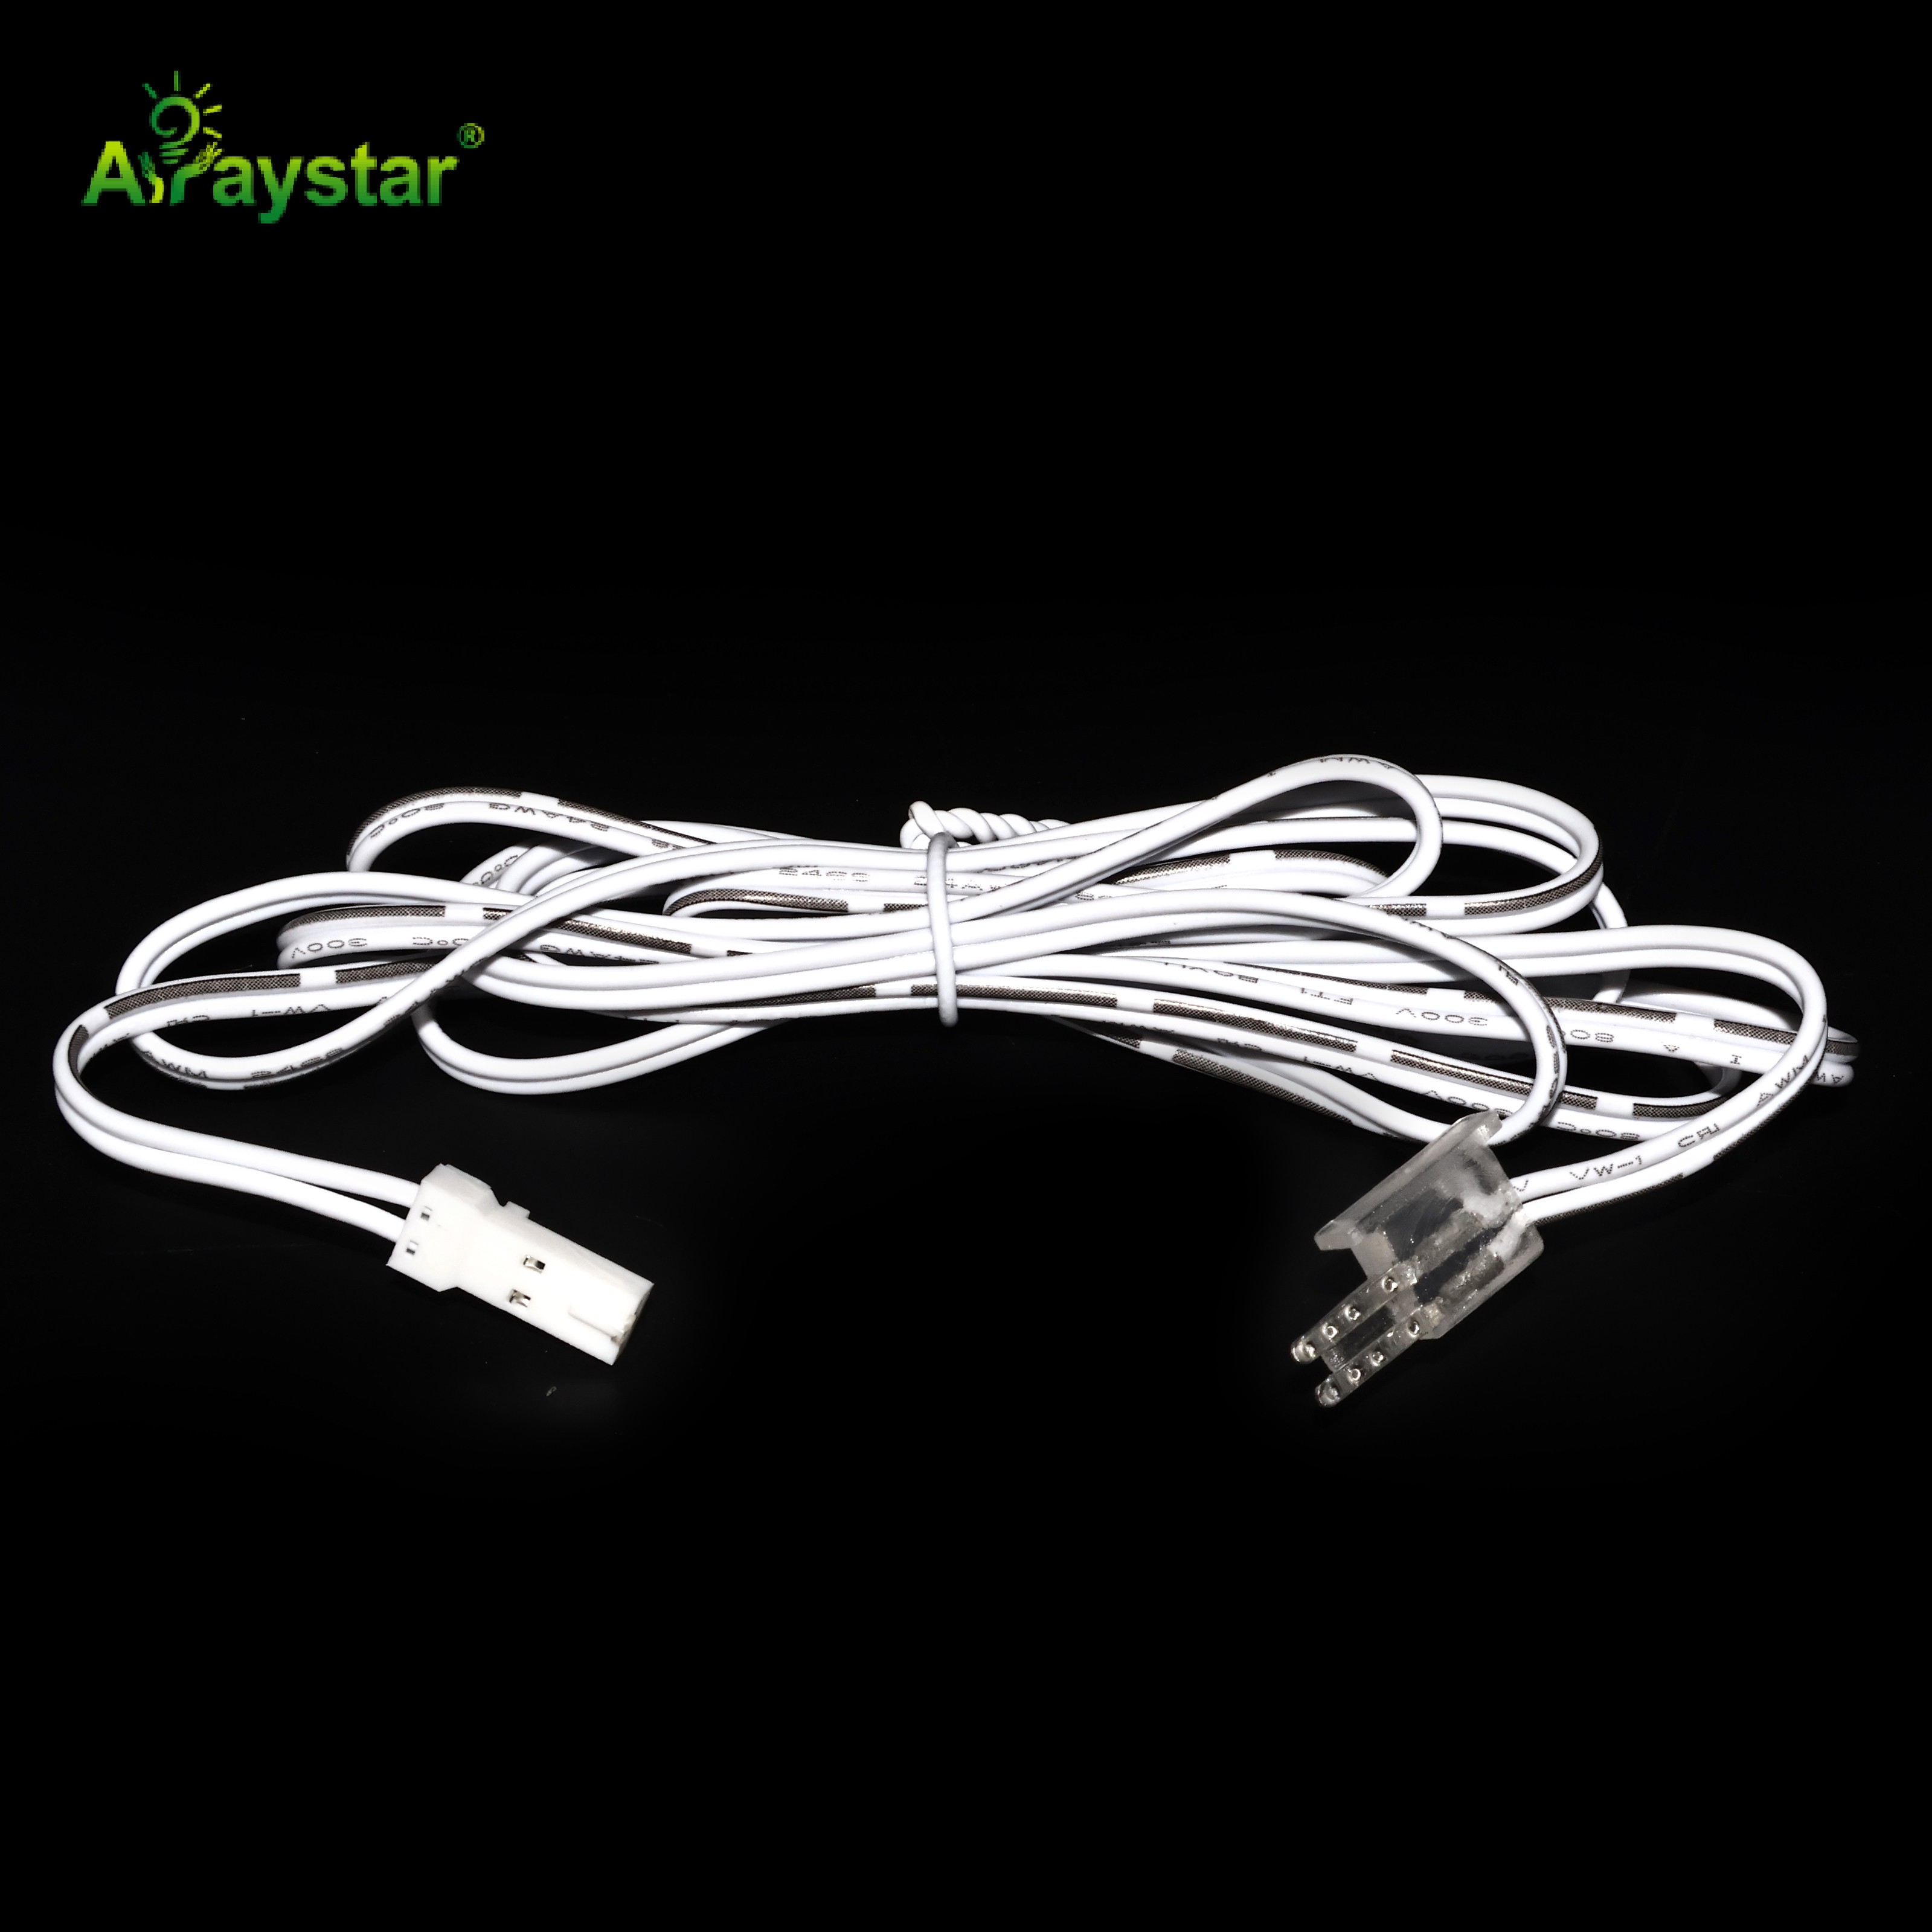
When the board is too damaged to repair, or the job is in a wet, cold or awkward location where soldering is unrealistic, a solder-free clip connector is the professional fallback rather than a twisted-wire bodge. The 0508 clip clamps onto the 8mm board pads and gives a repeatable joint without heat, which is also handy for serviceable connections that may need to be undone.
The Mistakes That Kill Strips (and How I Avoid Them)
These five cause almost every soldering comeback I see.
| Mistake | What happens | Do this instead |
|---|---|---|
| Iron too hot / too long | Pad lifts, LED turns brown, resistor tombstoning | 300-350C, in-and-out under 3 seconds |
| No flux | Dull cold joints that fail in weeks | Use a flux pen, aim for shiny joints |
| No strain relief | Joint cracks as strip flexes | Heat-shrink every wire joint |
| Soldering over silicone | Solder will not wet; heat burns the jacket | Peel/slice silicone back first |
| Tin blob across pads | Short between RGB/CCT channels | Fine tip, one pad at a time, wick bridges |
Work clean, keep the tip wiped and tinned, and treat speed as a result of good technique rather than the goal. A calm two-second joint outlasts a rushed ten-second one every time.
Recommended Products
Frequently Asked Questions
What temperature should I solder LED strip at?
Use a temperature-controlled iron around 300-350C for 63/37 tin-lead solder and about 350-380C for lead-free. The key is contact time more than raw temperature: a clean chisel tip at 320C wets a pad in one to two seconds, while a dirty tip at 450C sits on the board for ten seconds and lifts the pad or cooks the LED. Pre-tinning both the pad and the wire keeps total heat exposure minimal.
Can I solder LED strip without a soldering iron?
You can make reliable connections with solder-free clip connectors that clamp onto the strip pads, which is the best option in wet, cold or cramped locations or for joints that must stay serviceable. For permanent, low-resistance, high-current joins - especially on high-density or long runs - soldering is still more reliable and runs cooler than clips. Carry both and use clips where heat is impractical.
How do I fix a lifted solder pad on LED strip?
Stop heating it. If part of the copper pad remains, scrape the coating off its trace, tin the trace, and solder your wire to that. If the pad is completely gone, follow the trace to the next solder point on the same electrical run (power pads repeat along the strip) and feed from there. For a torn zero-ohm resistor you can bridge it with solder; for a damaged LED, replace it from a donor offcut or cut that section out.
Do I need to solder both ends of a long LED run?
Feeding a long run from both ends (or the centre) reduces voltage drop and keeps the far end bright and the same colour, but it is an electrical choice rather than a soldering requirement. When you do add a second feed, solder or use a clip connector at the mid or far end with the same polarity, and size the wire so each feed carries roughly half the current. Short runs under about five metres are fine fed from one end.
Why does my solder ball up instead of sticking?
That is a wetting problem, almost always caused by an oxidised or dirty surface, insufficient flux, or a tip that is not hot or clean enough. Wipe the tip on brass wool, tin it so it is bright silver, add fresh flux to the pad, and apply the iron and solder together to the pad itself - do not melt solder onto a cold pad from above. The joint should turn shiny and flow rather than sit as a dull bead.
Need help with your LED project?
Get factory-direct pricing, free samples and engineering support within 24 hours.
Email: info@arraystarled.com | Phone: +86-0755-2103-6746 | WhatsApp: 0086 1581 8514 077
Need to size your power supply? Use our LED Strip Power Calculator to find the right driver in seconds.







