
Eliminating Shadows Under Kitchen Cabinets with COB Strip Optics
- 2026-10-28 10:03
- /
- Arraystar LED
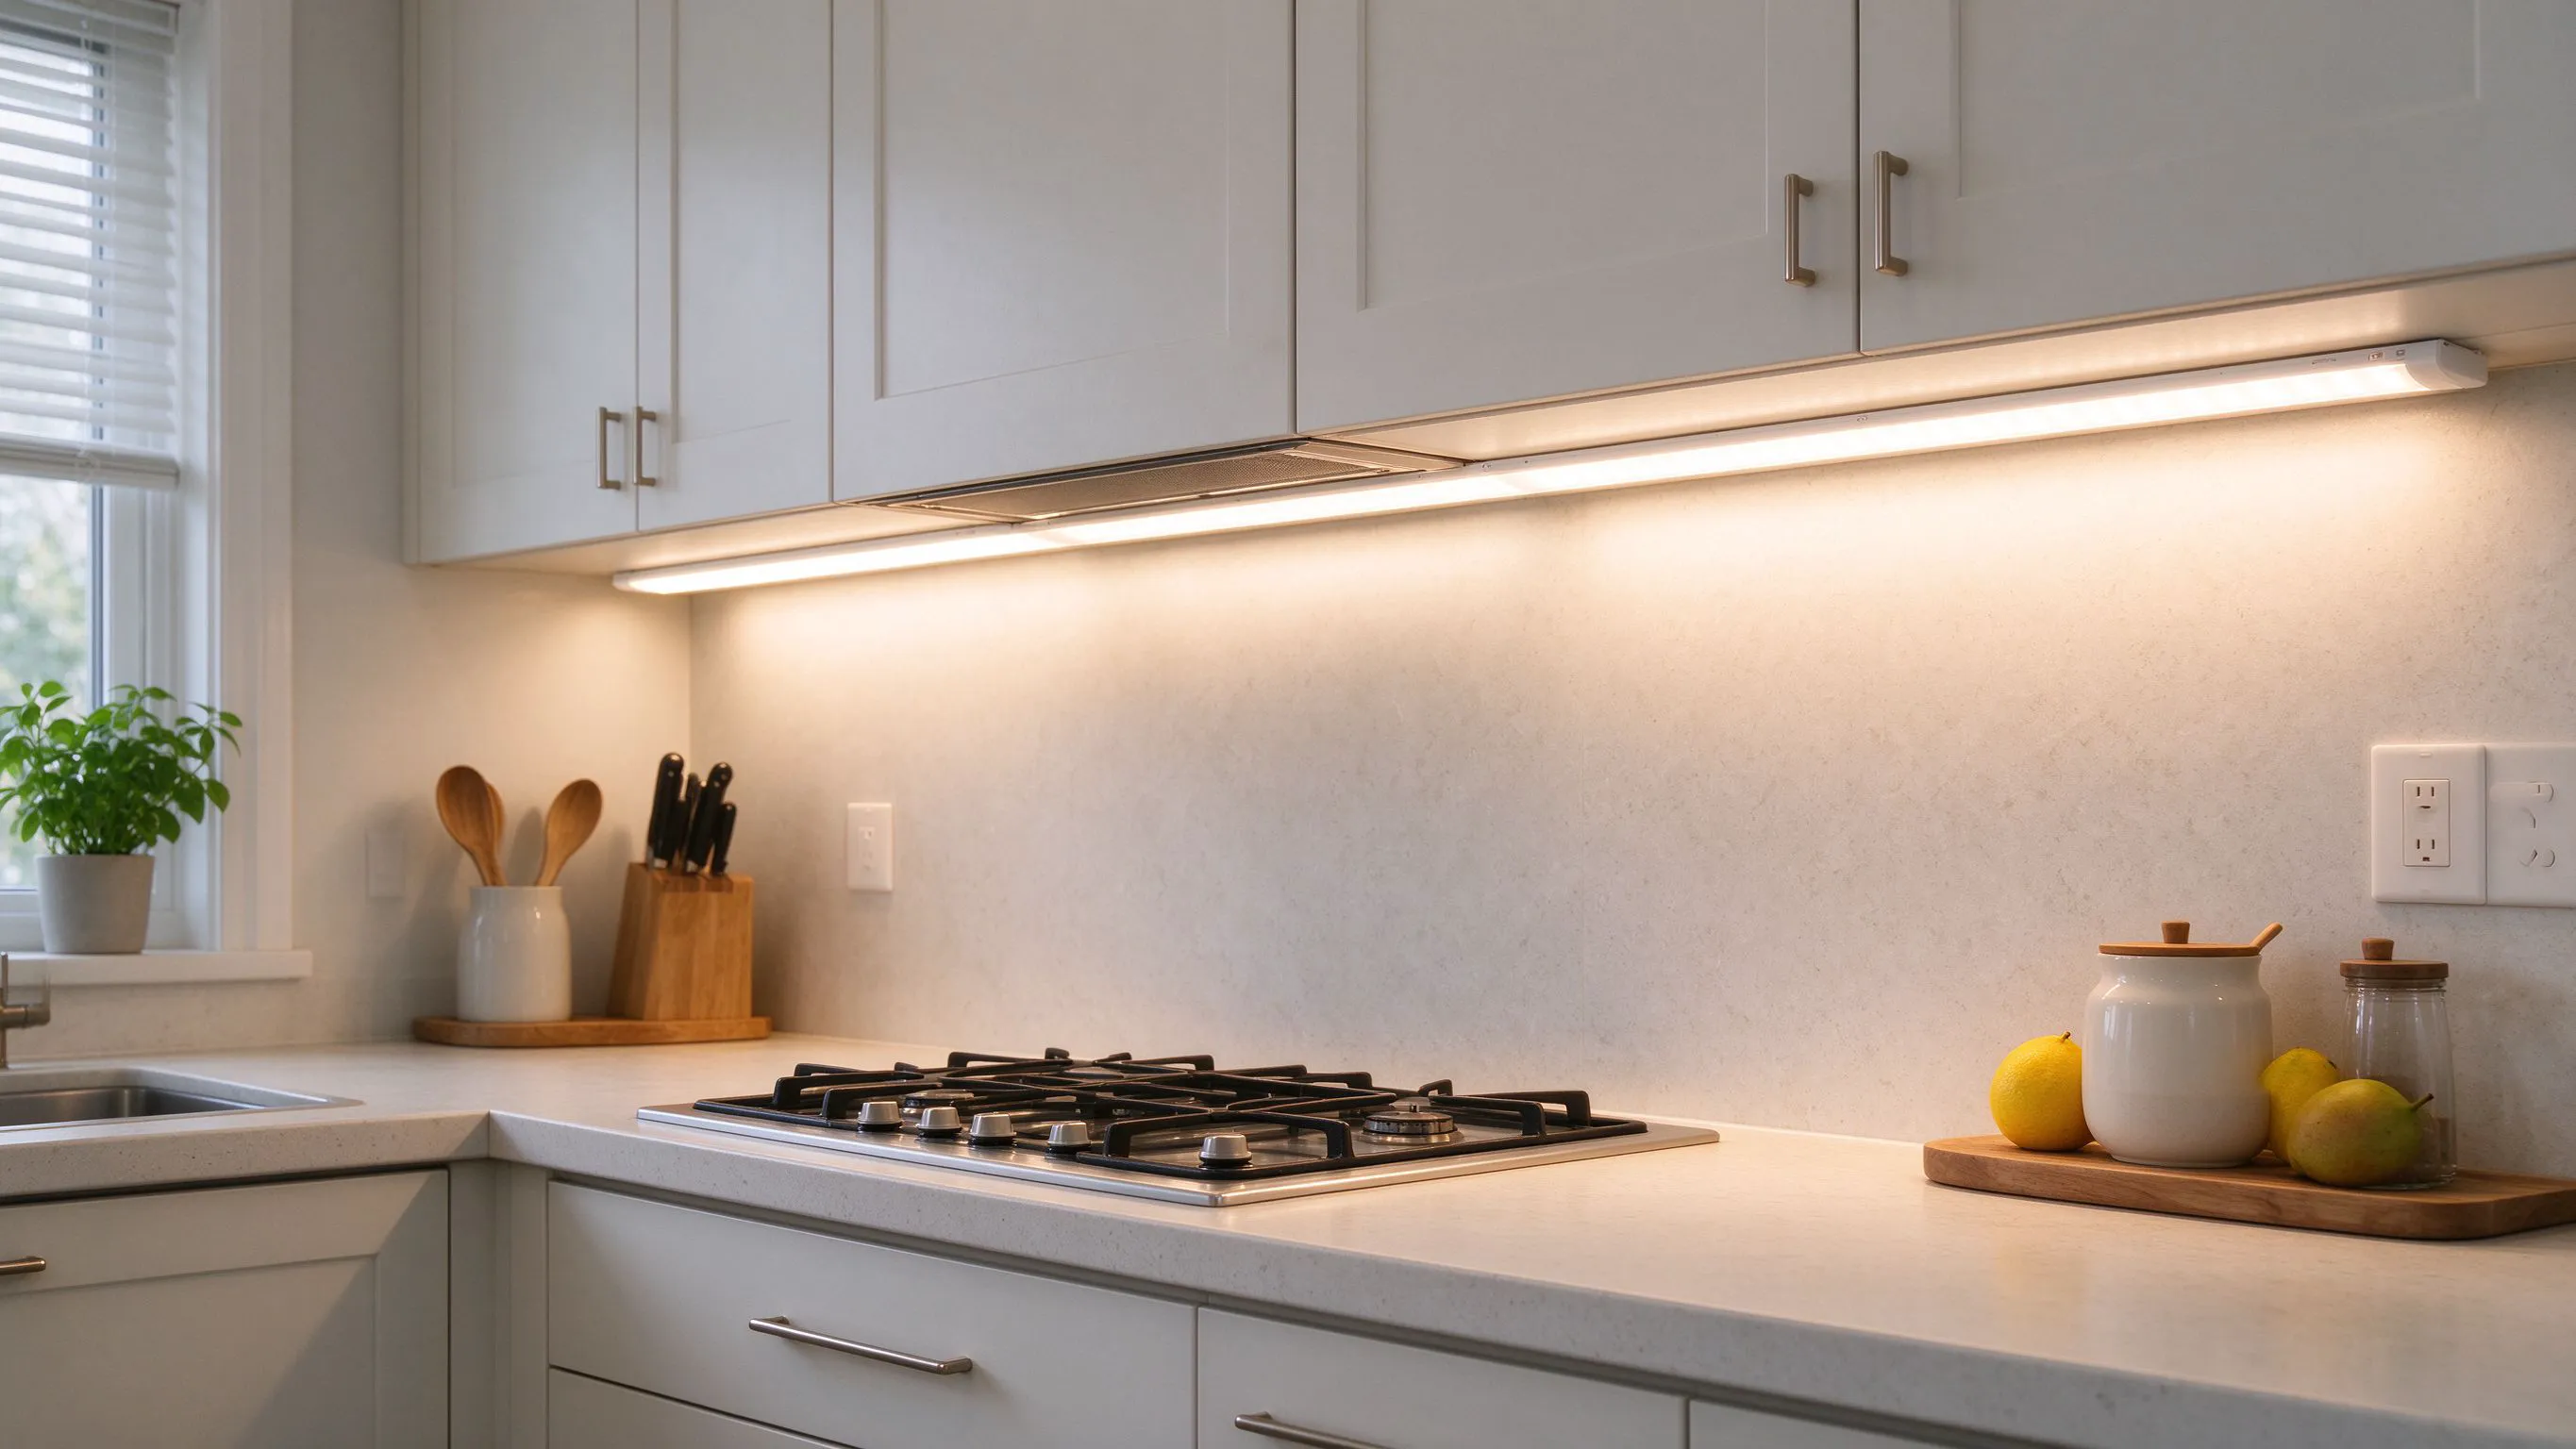
The shadow line under a wall cabinet is usually a mounting-depth problem. I shift the COB strip forward and angle the optics to wash the counter, not the wall.
Why you get a shadow line under wall cabinets
A wall cabinet over a kitchen counter sits 300–400 mm deep. If you stick the LED strip at the back of the cabinet underside, 300 mm from the front edge, the light hits the back of the counter and throws a sharp shadow under the cabinet lip. The front 100 mm of your prep surface sits in darkness. This is not a brightness problem; it is a position problem.
I have had clients ask for double the lumens to fix it. Doubling brightness does not move the shadow edge forward; it just makes the dark band glare around the lit area. The fix is to move the strip forward, near the front edge, and aim it at the counter.

What causes the shadow
- Strip too far back on the cabinet underside
- Optics aimed at the wall, not the counter
- Cabinet lip blocking the downward cone
- Gap between strip and front edge over 150 mm
Mounting position that actually works
I mount the strip 50–100 mm back from the front edge of the cabinet, not flush with it. That leaves the light cone free of the cabinet lip. Aim the strip at a point on the counter about 200 mm in front of the cabinet face. This puts the brightest patch where you chop vegetables, and the shadow under the cabinet moves to a narrow 20–30 mm band you do not notice.
For cabinets with a built-in light channel, I check whether the channel is at the front or back. Many builders put it at the back because it is hidden; that is exactly what causes the shadow. I either add a second channel at the front or relocate the strip.
Position targets
| Parameter | Target |
|---|---|
| Distance from front edge | 50–100 mm |
| Aim point on counter | 200 mm forward of cabinet face |
| Shadow band under lip | Under 30 mm |
| Spacing between runs | Every 600–900 mm of depth |
Optics: narrow versus wide beam
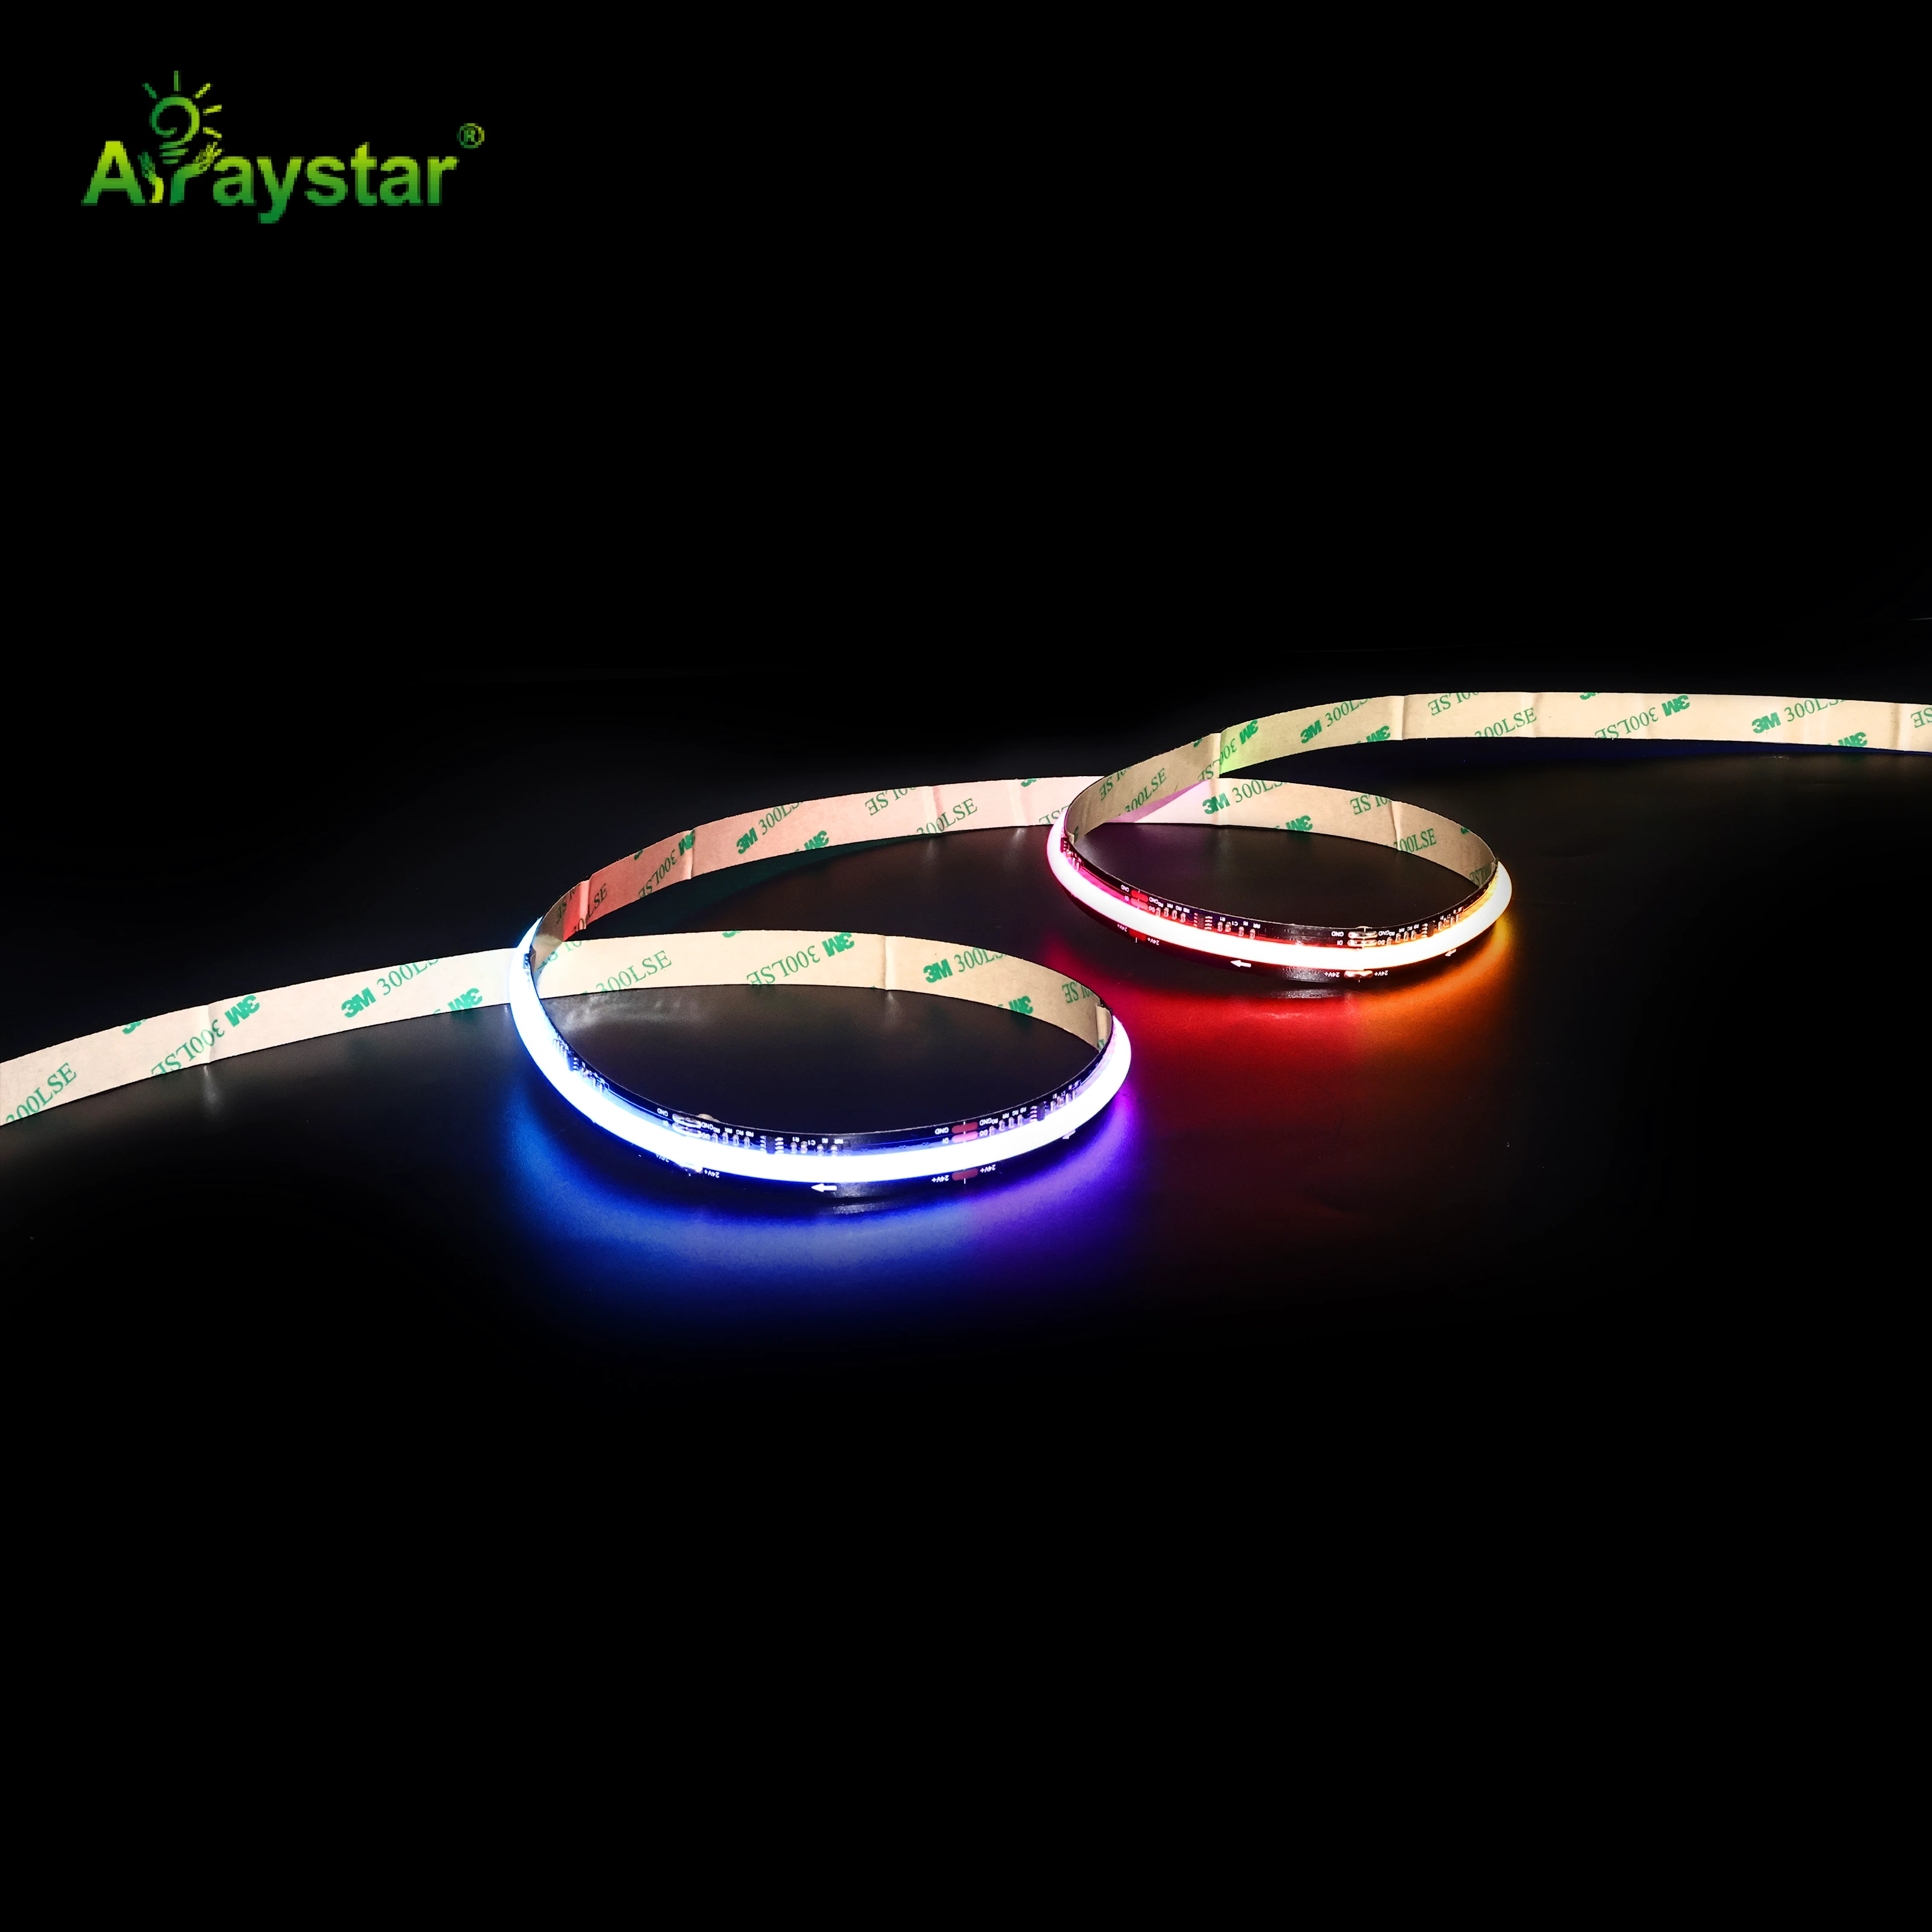
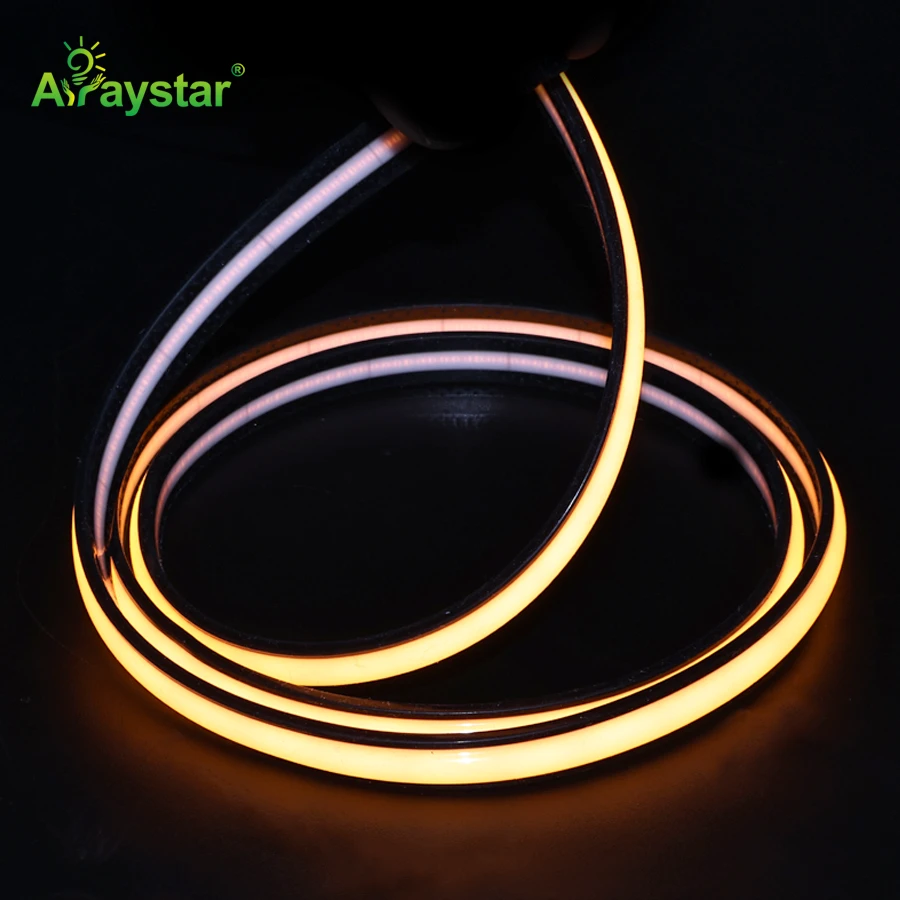
A 120° wide beam COB strip floods the counter and the backsplash equally. That is fine for general lighting, but it washes the wall behind the counter with light that bounces back into the cook eyes. For task lighting I prefer a 60–90° beam, either through a dedicated optic channel or a focused COB profile.
If you want both wall wash and task, run two strips: one wide at the back for wall washing, one narrow at the front for the counter. Most clients do not need that; a single 80° strip at the front edge does 90% of the job.
Beam choices
- 60–90°: task lighting on the counter
- 120°: wall wash and general fill
- Dual strip: narrow front plus wide back
- Diffused channel: softens, but loses aim
Heat, voltage drop and colour consistency
Under-cabinet runs are usually 2–4 m long. At 24V with a 500 LED/m COB strip, that is 20–30 W per metre — enough to sag if fed from one end. I feed from the middle on runs over 2.5 m, and I use 18 AWG leads to the driver. Colour drift at the far end of a long run is visible as a warm yellow fade on one side.
Heat is real. COB strips under wood cabinets run 50–60°C at the PCB in free air. I keep the strip out of enclosed aluminium channels with no airflow; that traps heat and ages the phosphor faster. A small gap of 5 mm under the cabinet lets convection work.
Electrical targets
- 24V, middle feed over 2.5 m
- 18 AWG leads to driver
- PCB temp under 60°C
- 5 mm air gap for convection
Common mistakes I see on site
The first is sticking the strip at the back of the cabinet because it is hidden. Hidden is the problem. The second is using a 120° wide beam for task lighting — it floods the wall and under-lights the counter. The third is no dimming; kitchen counter lighting at full brightness at 7am is harsh.
I also see installers run the strip too close to the front edge. At 0 mm from the edge you get a sharp line on the counter and glare in the cook eyes. The sweet spot is 50–100 mm back.
Mistakes to avoid
- Strip at the back to stay hidden
- 120° beam for task lighting
- No dimming at 7am
- Flush at the front edge with no setback
Recommended Products
Frequently Asked Questions
How far back from the front edge should an under-cabinet LED strip be?
Mount it 50–100 mm back from the front edge, not flush. This leaves the light cone clear of the cabinet lip and puts the brightest patch on the counter about 200 mm in front of the face. The shadow band under the lip narrows to under 30 mm, which you stop noticing.
What beam angle is best for under-cabinet task lighting?
A 60–90° beam. A 120° wide beam floods the backsplash and bounces light back into the cook eyes. If you want wall wash too, run a second wide strip at the back; for most kitchens a single 80° strip at the front edge does 90% of the job.
Why does my under-cabinet light leave a dark band at the front of the counter?
That is a mounting-depth problem, not a brightness problem. If the strip sits 200–300 mm back on the cabinet underside, the cabinet lip blocks the cone and throws a sharp shadow. Move the strip forward to 50–100 mm from the edge and aim it at the counter.
Do under-cabinet COB strips need an aluminium channel?
Usually no, and an enclosed channel with no airflow traps heat that ages the phosphor. COB strips run 50–60°C at the PCB in free air; keep a 5 mm gap for convection. Use a channel only if the strip needs diffusing or is exposed to splashes.
How long can an under-cabinet run be before voltage drop shows?
At 24V with a 500 LED/m COB strip, middle-feed runs over 2.5 m start to show colour drift at the far end. Use 18 AWG leads to the driver and feed from the middle on runs over 2.5 m. On 4 m runs I feed both ends.
Need help with your LED project?
Get factory-direct pricing, free samples and engineering support within 24 hours.
Email: info@arraystarled.com | Phone: +86-0755-2103-6746 | WhatsApp: 0086 1581 8514 077
Need to size your power supply? Use our LED Strip Power Calculator to find the right driver in seconds.







