
LED Strip Corners Done Right: L-Connectors, Fold-Backs and 90-Degree Profiles
- 2026-09-30 17:39
- /
- Arraystar LED
Corners are where most linear lighting installs go wrong - people fold strip at 90 degrees (cracking solder joints and lifting LEDs), leave dark gaps at miters, or use mismatched connectors that fail. The right approach depends on whether the corner is in the aluminum profile system or the strip itself: purpose-made 90-degree profile corner pieces for the channel, and solderless L-connectors (or correct directional strip) for the tape. Treat every corner as a specified component rather than a field improvisation and the run stays continuous, lit and reliable.
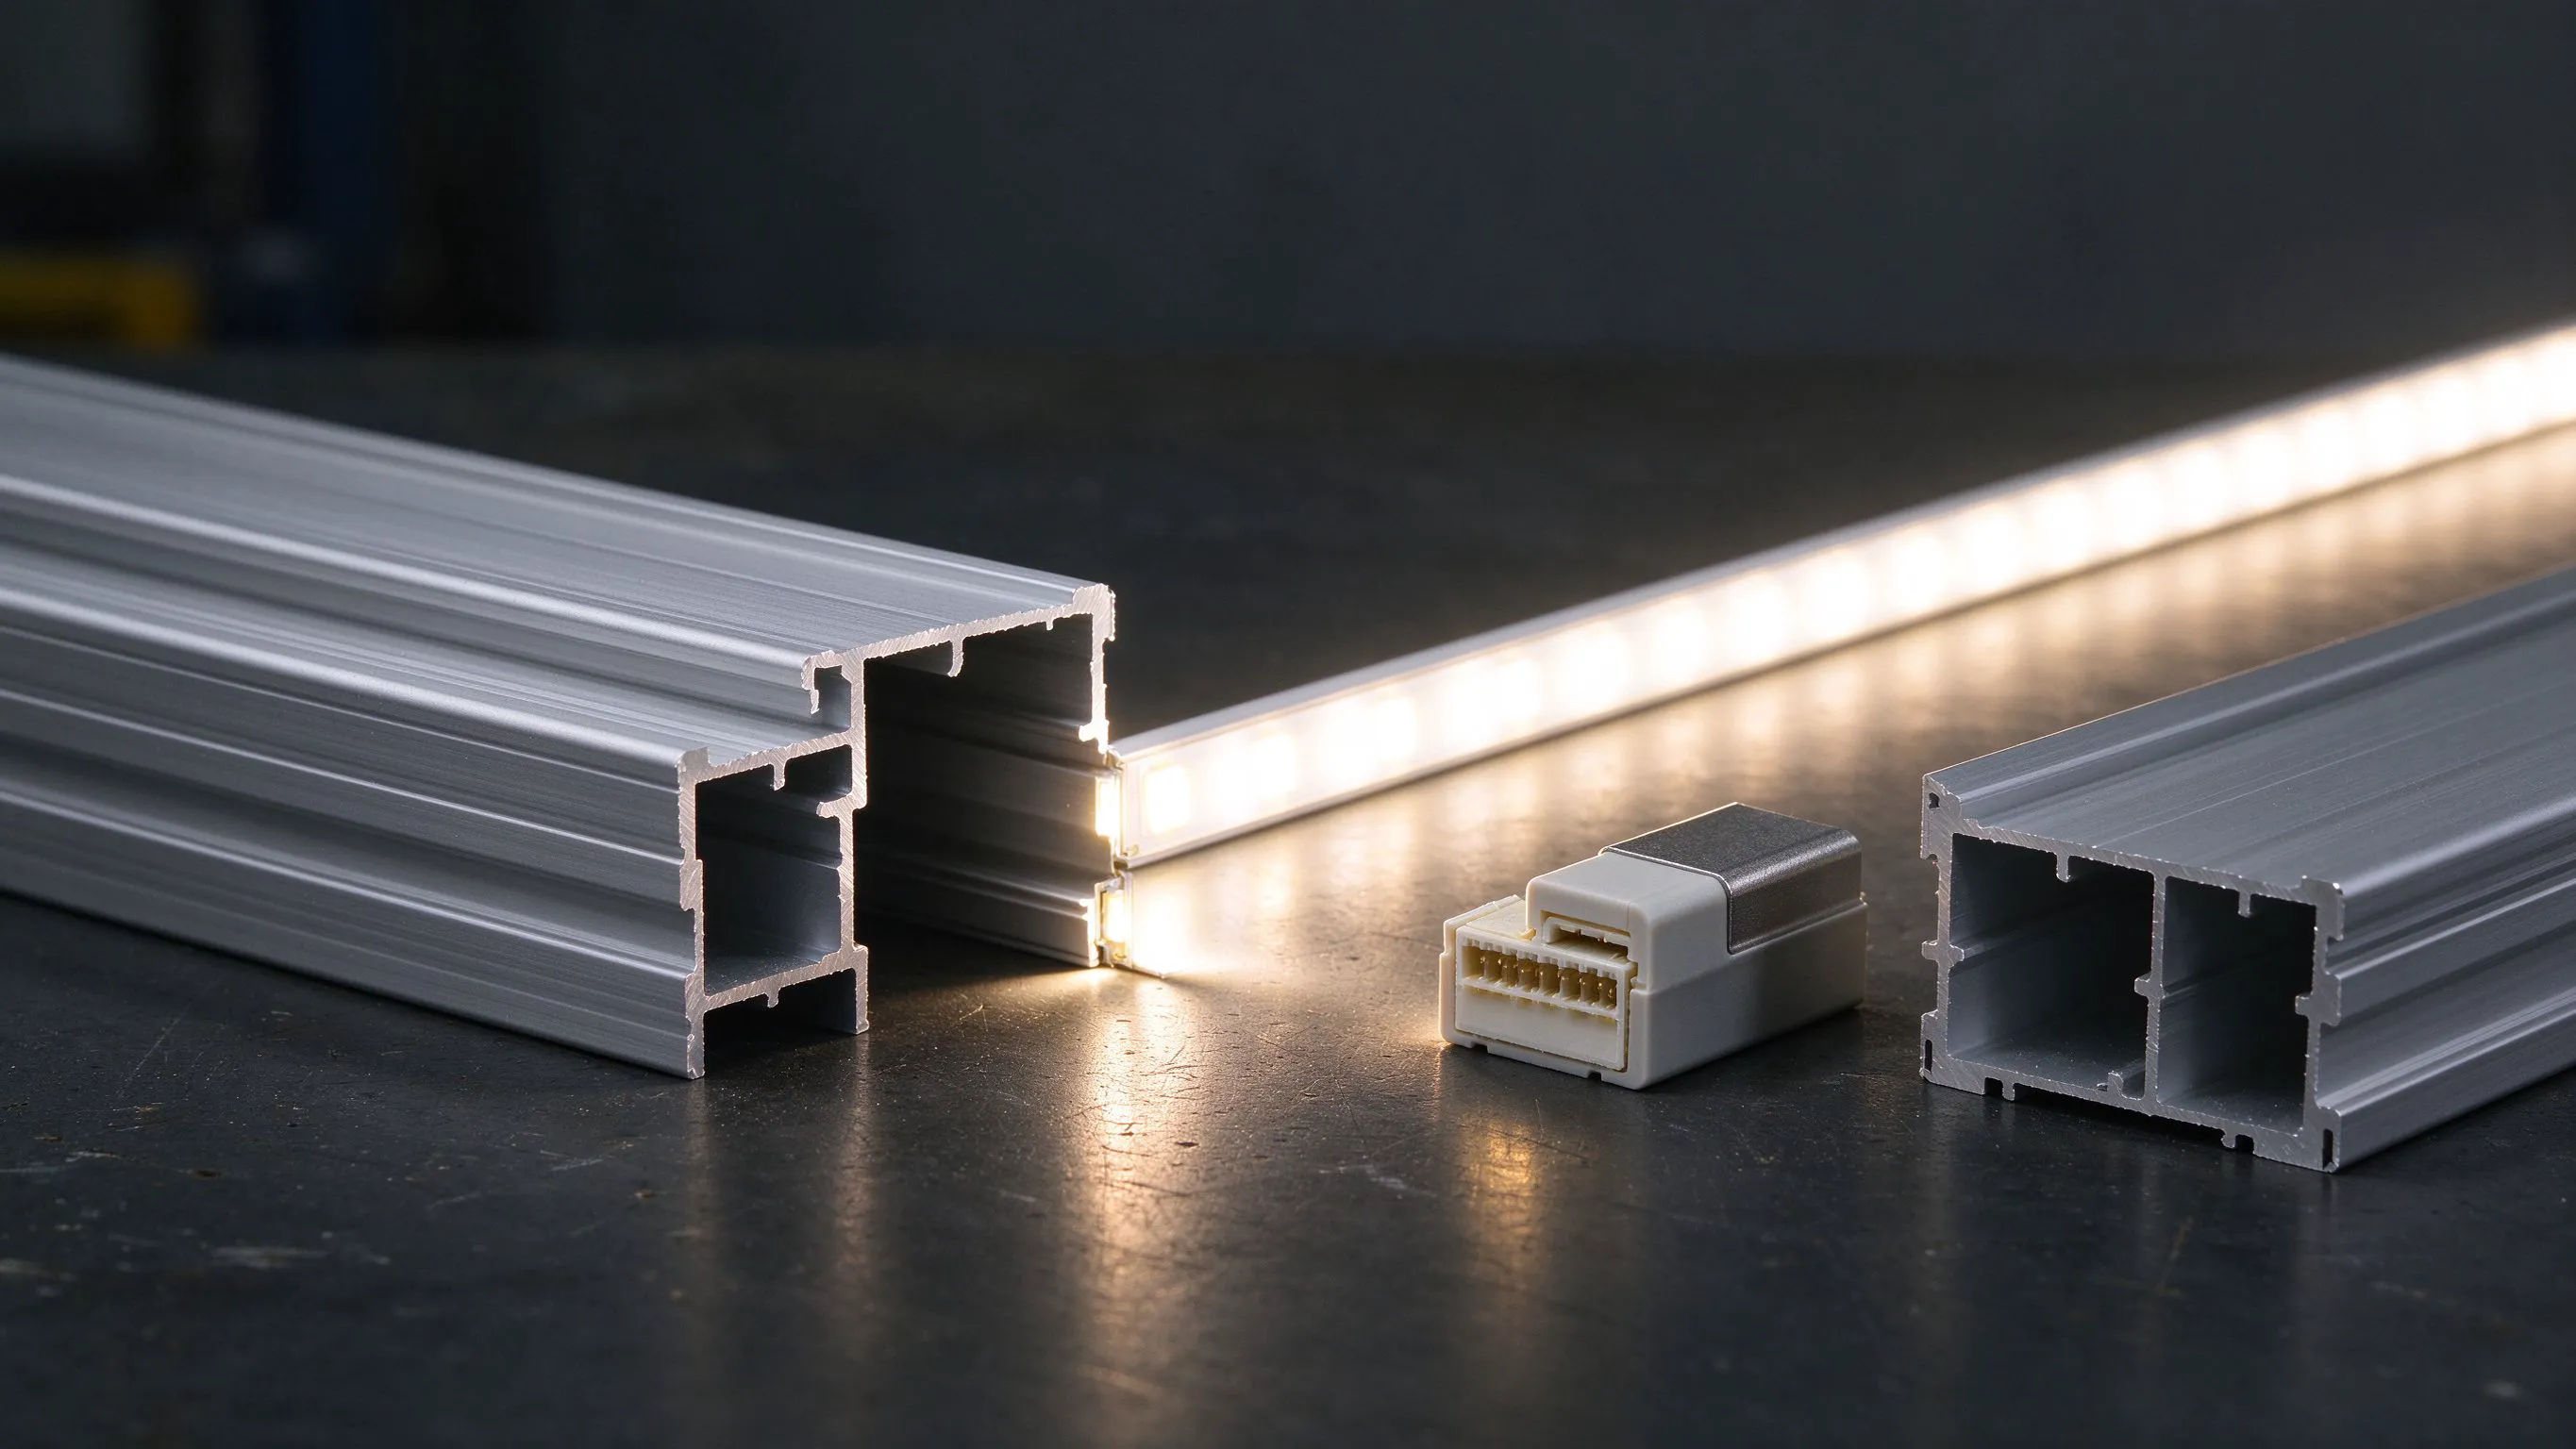
Don't Fold Strip at a Right Angle
The single most common corner mistake is bending flat LED strip sideways at 90 degrees to go around a corner. LED strip bends in the direction it's designed for (top-bend curls across the width gently; it is not meant to fold sharply in-plane), and a hard sideways fold cracks solder joints, tears copper traces and lifts LEDs - producing a dead corner, often intermittently.
Corners need a deliberate component choice, split into two systems: the aluminum profile corner (how the channel turns the corner) and the electrical strip connection (how the tape gets around it). Getting both right means the corner is mechanically clean, electrically continuous and evenly lit with no dark gap.
Profile Corner Connectors for the Channel
When linear light runs in aluminum channel and turns a corner, the channel itself needs a matching corner piece so the housing and diffuser turn cleanly. Field-cutting two straight channels at 45 degrees rarely produces a tight, aligned joint, and the diffuser usually leaves a visible seam.
The ART-AL6161 silver 90-degree corner connector is a purpose-made profile corner that joins two channel runs at a precise right angle with aligned diffusers, so the light line turns the corner continuously. Specify these corner pieces wherever a recessed or surface channel run changes direction - at ceiling coffers, cabinet wraps, bar fronts and cove perimeters - rather than improvising miters.
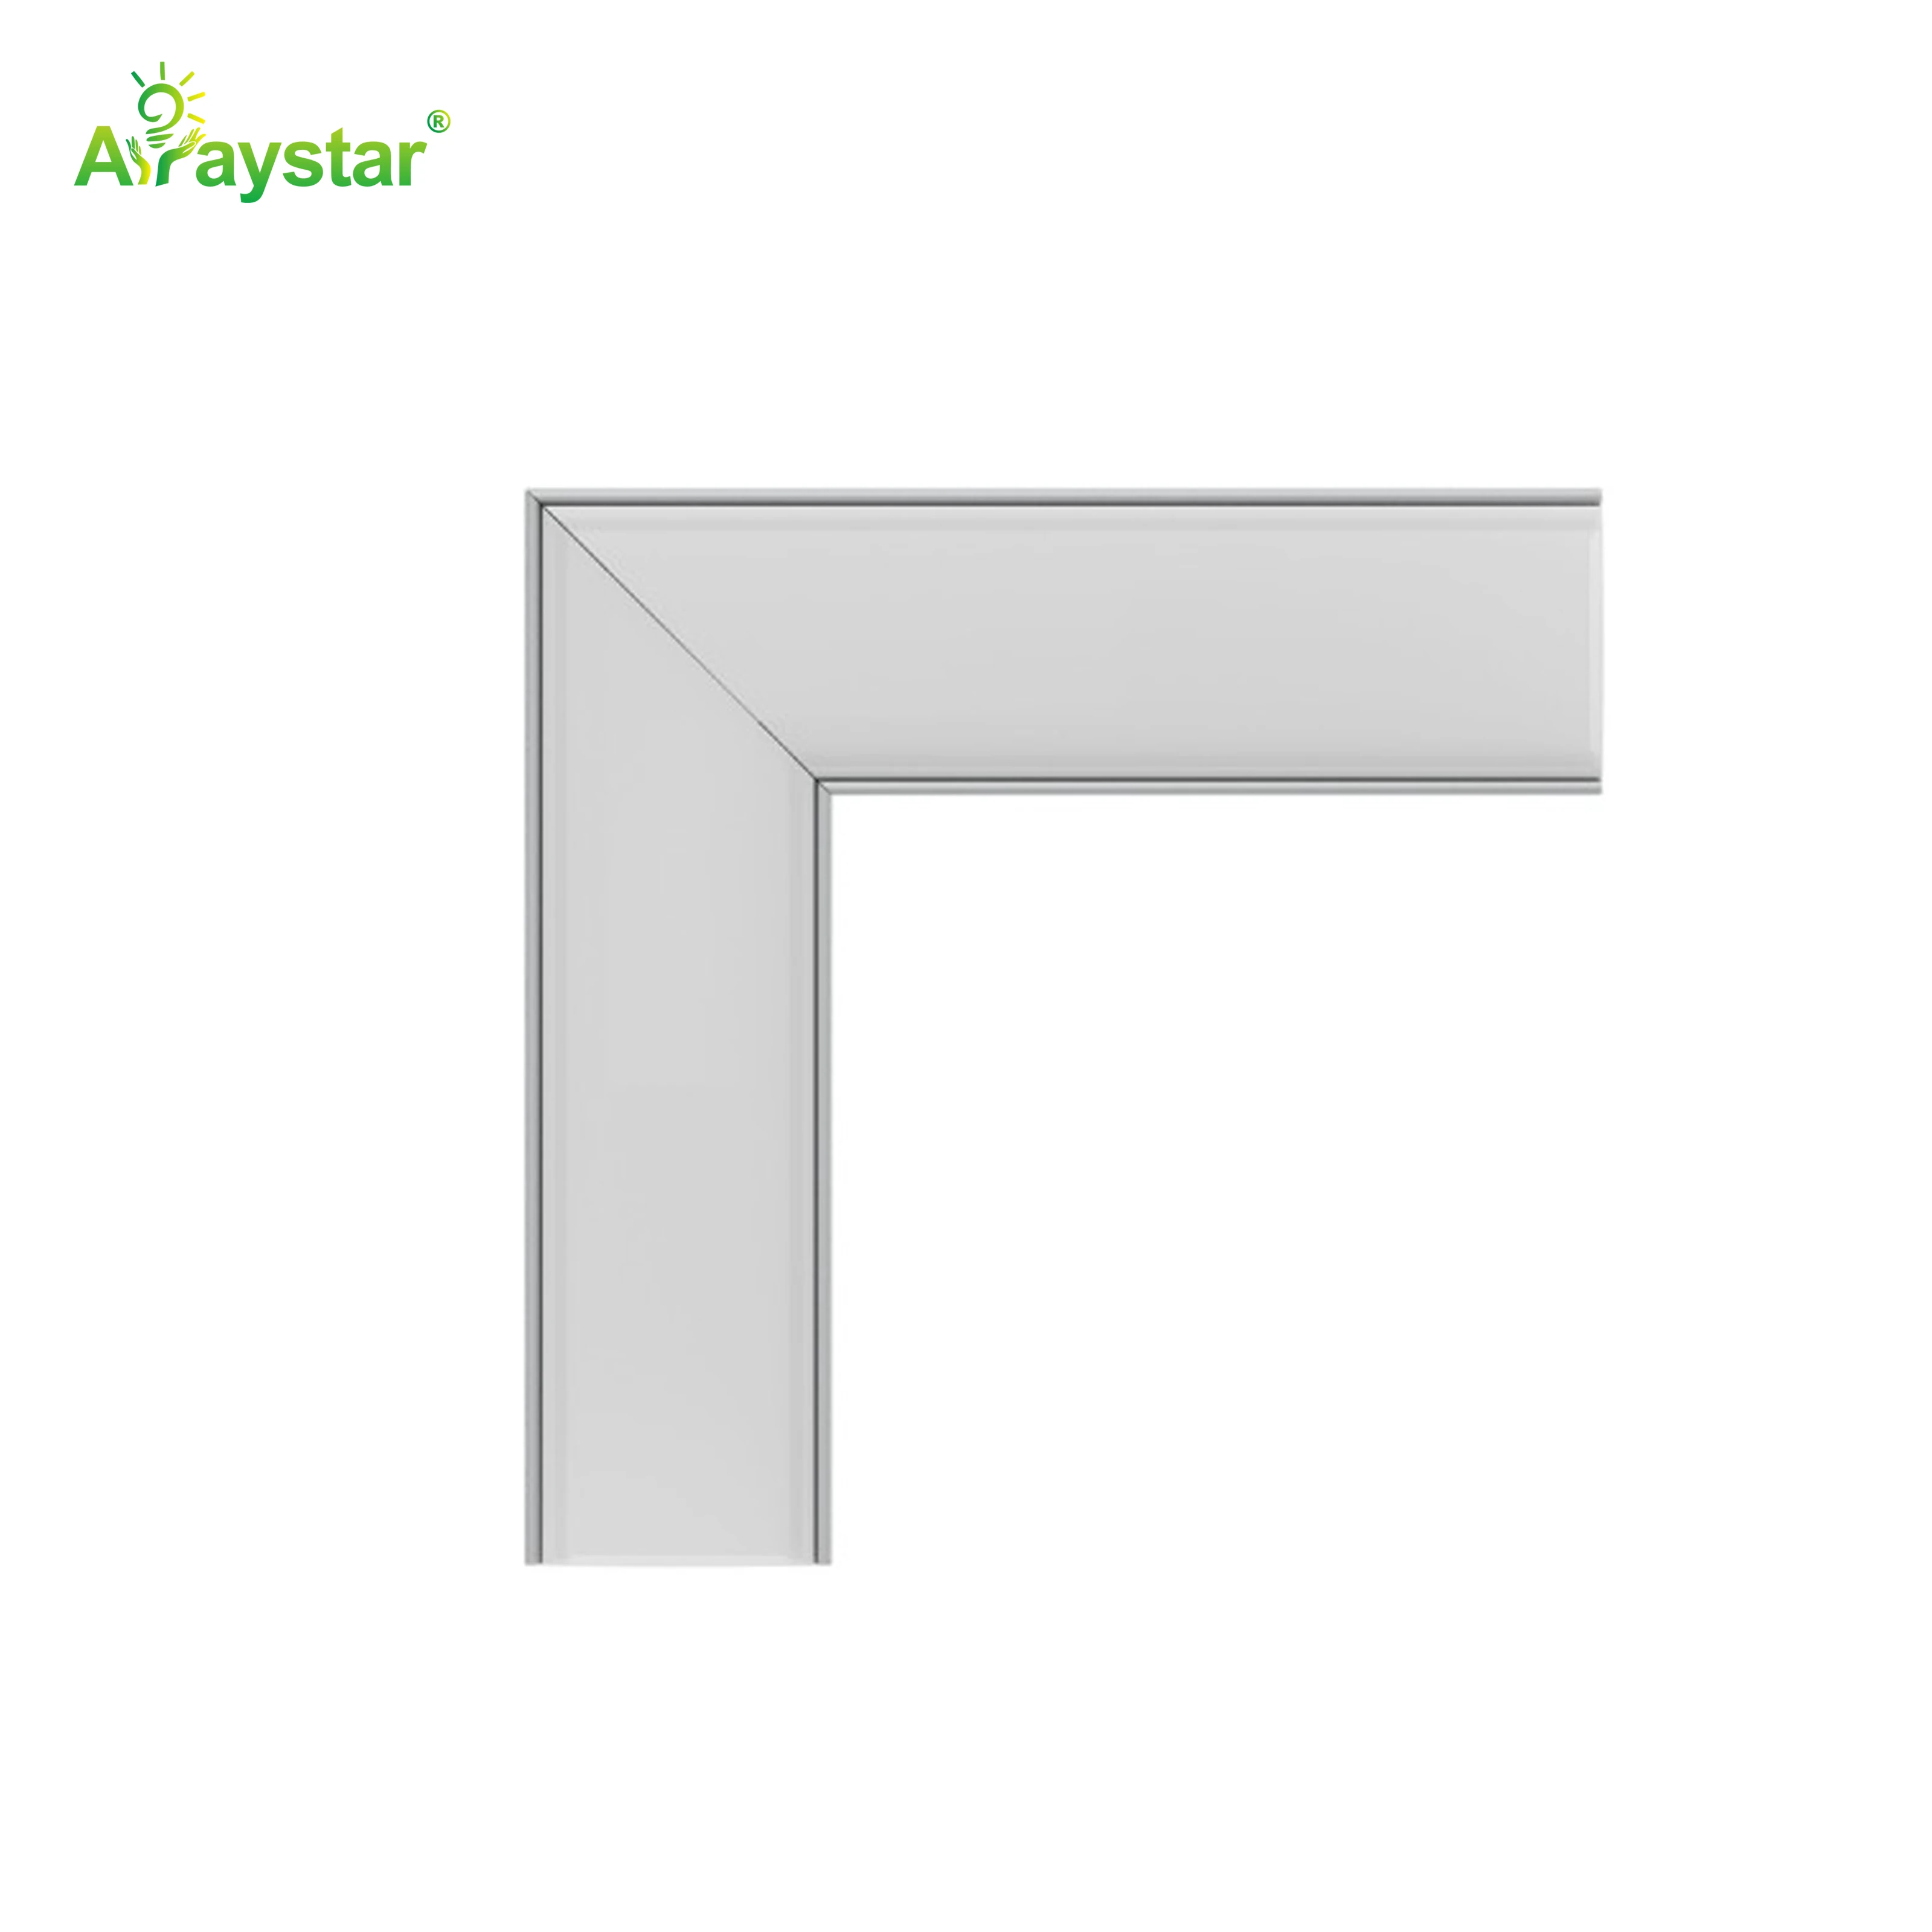
Matching the corner component to the situation.
| Corner situation | Correct component |
|---|---|
| Aluminum channel turning 90 degrees | Purpose-made 90-deg profile corner (AL6161) |
| Small neon/tape right-angle join | Solderless L-connector matched to width |
| Curved (not sharp) direction change | Flexible profile / bendable neon |
| Foldable sign interior | Zigzag foldable strip |
| Wrong: hard sideways fold of flat tape | Cracks joints - never do this |
Solderless L-Connectors for the Strip
Inside the channel (or for tape used without profile), the electrical connection around a corner is made with a solderless L-shaped connector that bridges two strip ends at 90 degrees - no soldering iron, no folded tape, no cracked joints. These are width- and pad-specific, so the connector must match the strip width and contact layout.
The 0408 solderless connector handles right-angle joins for the small 0408 neon/strip width, clamping onto the contact pads of both strip ends to carry power around the corner. Open the clasp, seat each stripped strip end fully under the contacts with correct polarity, close firmly, and tug-test - a properly seated solderless connector is reliable and far faster than soldering in a tight channel.
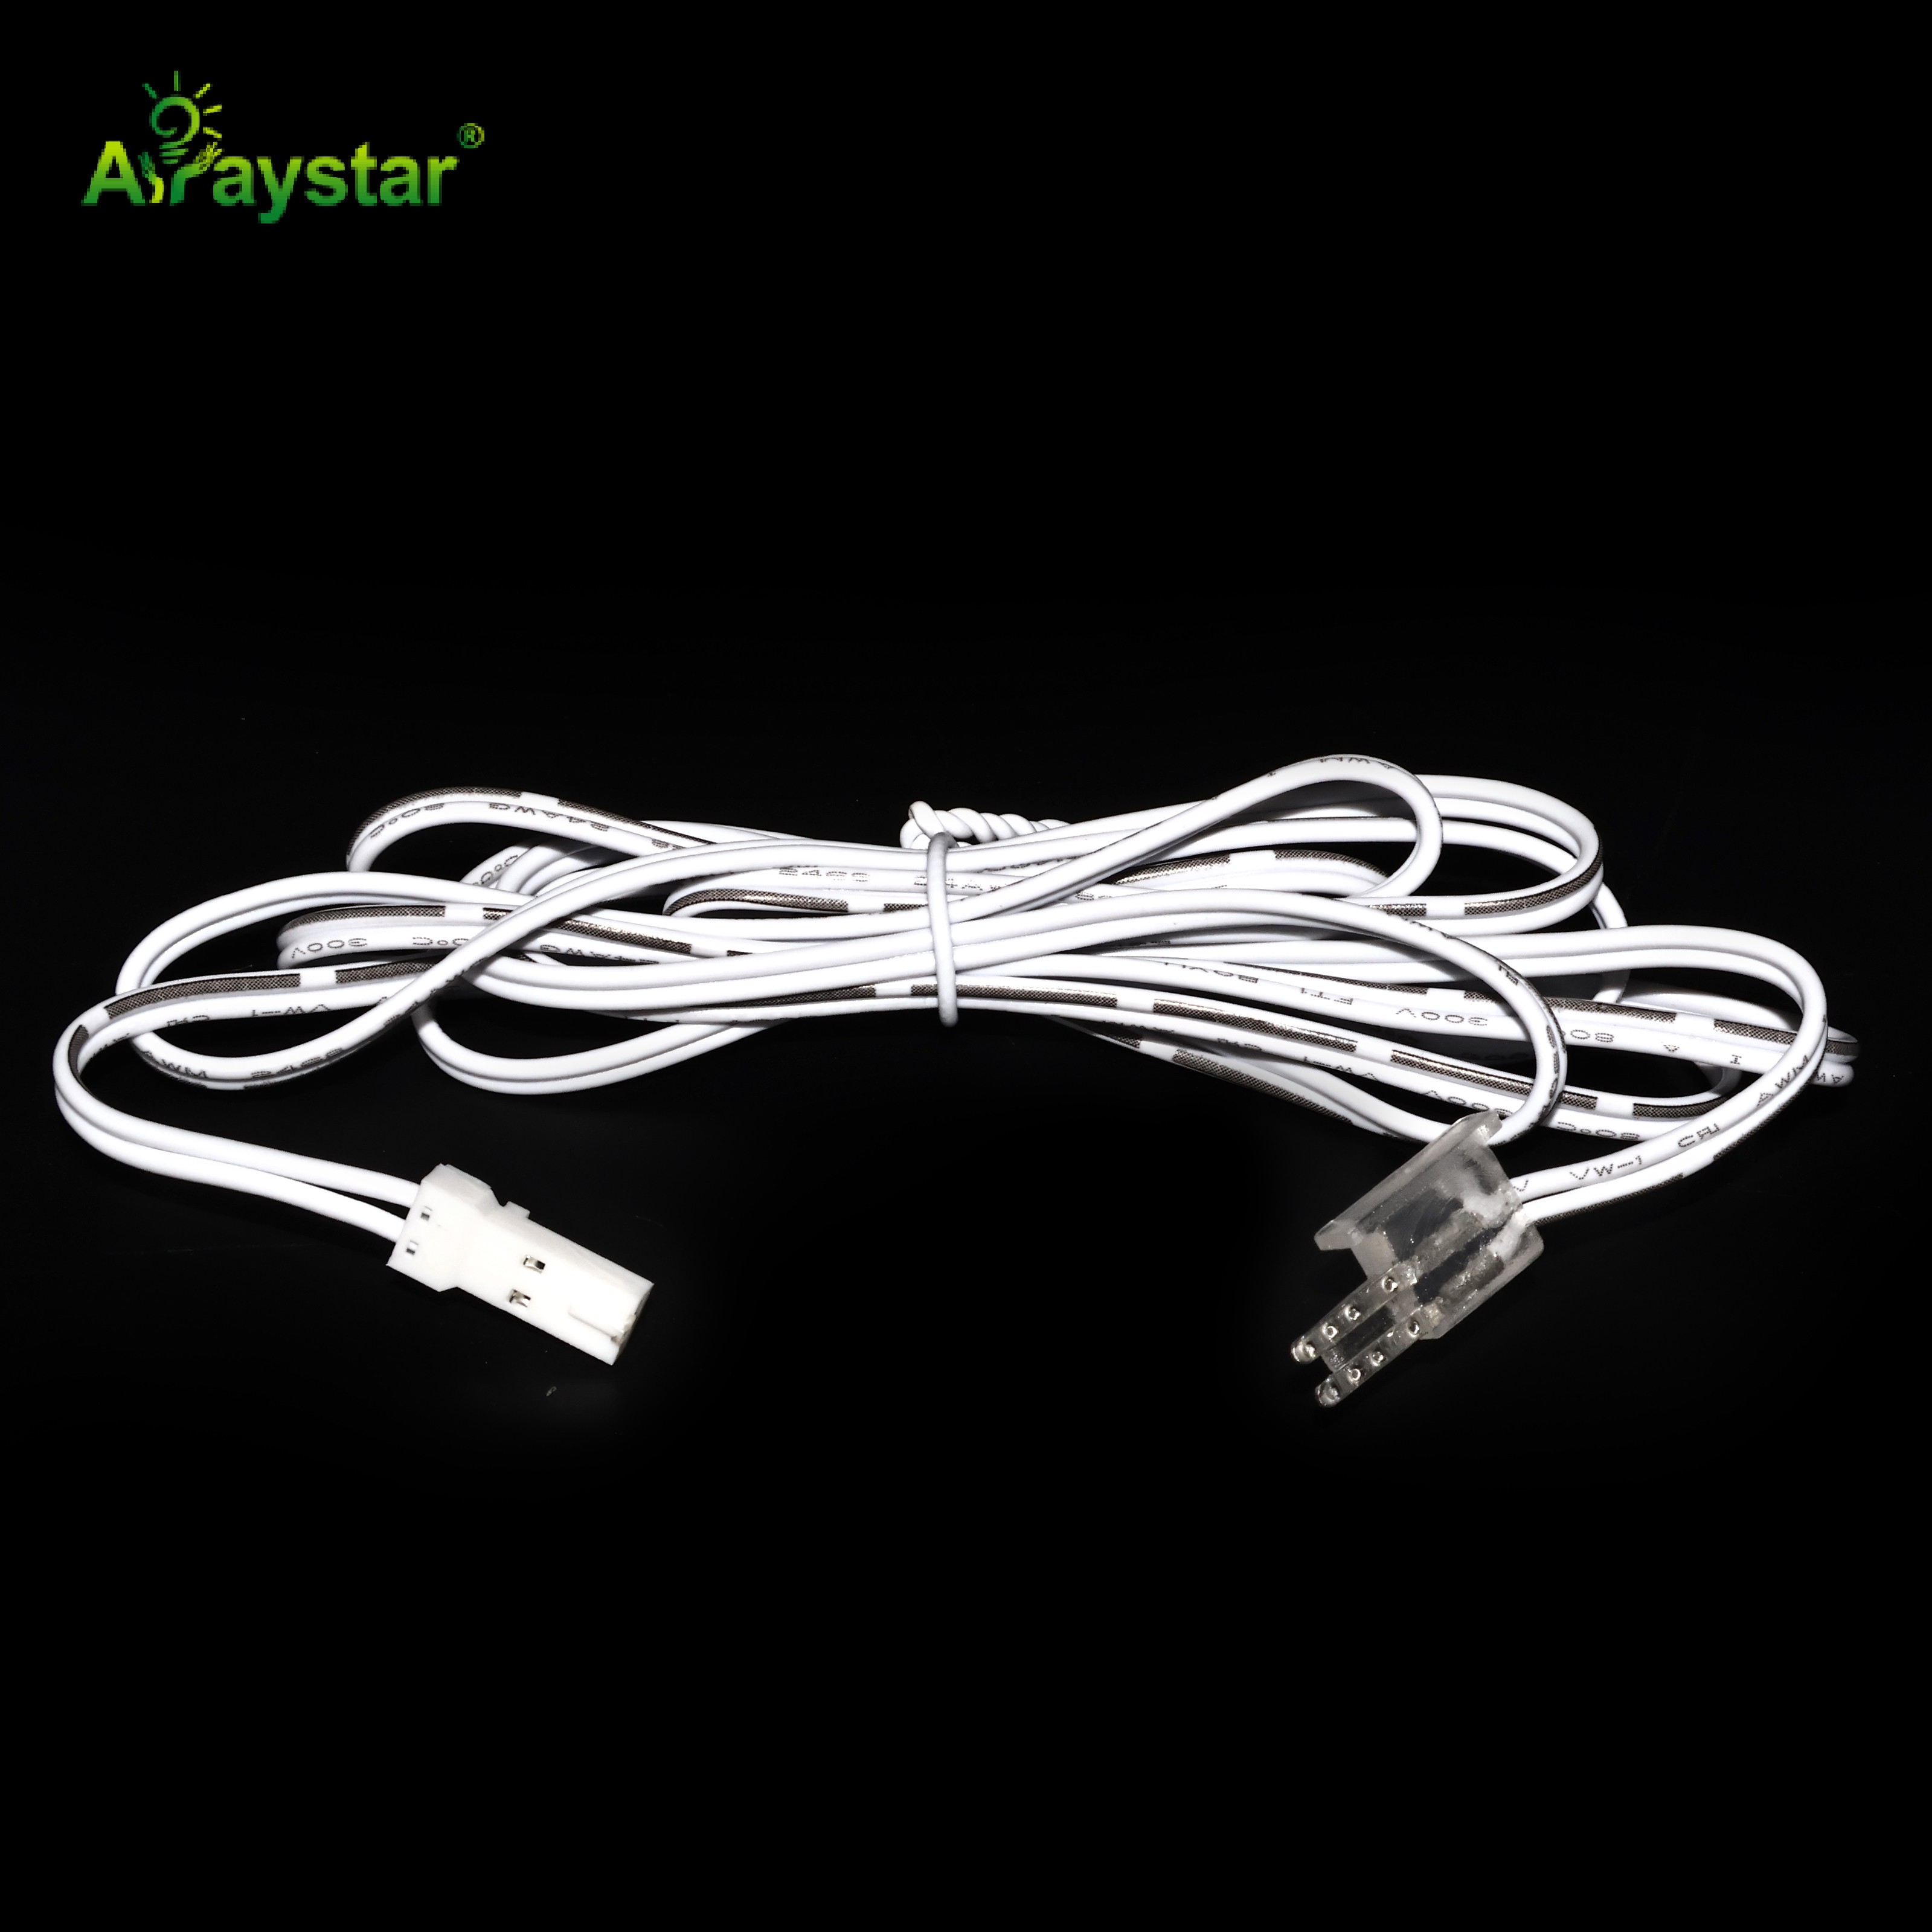
- Match connector width and pad count exactly to the strip.
- Observe polarity (+/- and data for addressable) at every corner.
- Fully seat stripped ends under contacts; close clasp and tug-test.
- Clean oxide-free pads improve solderless reliability.
- For high-current runs, prefer soldered joins or rated corner wiring.
Retention, Strain Relief and Special Cases
Corners are stress points - the strip and connectors there see mechanical strain from handling and thermal movement, so provide strain relief: don't leave a connector floating under tension, secure the strip on both sides of the corner, and ensure the profile/diffuser retains the connection. For moving or high-vibration applications (vehicles, stage), use the matched retention hardware and secure the connection.
For neon flex on signs and rails that needs to bend around corners repeatedly or be held under tension during assembly, the matched connector/retention pieces (including tension-cord style retention where specified) keep the neon seated through the bend rather than pulling free. Use the system's intended corner and retention components rather than substituting generic clips.
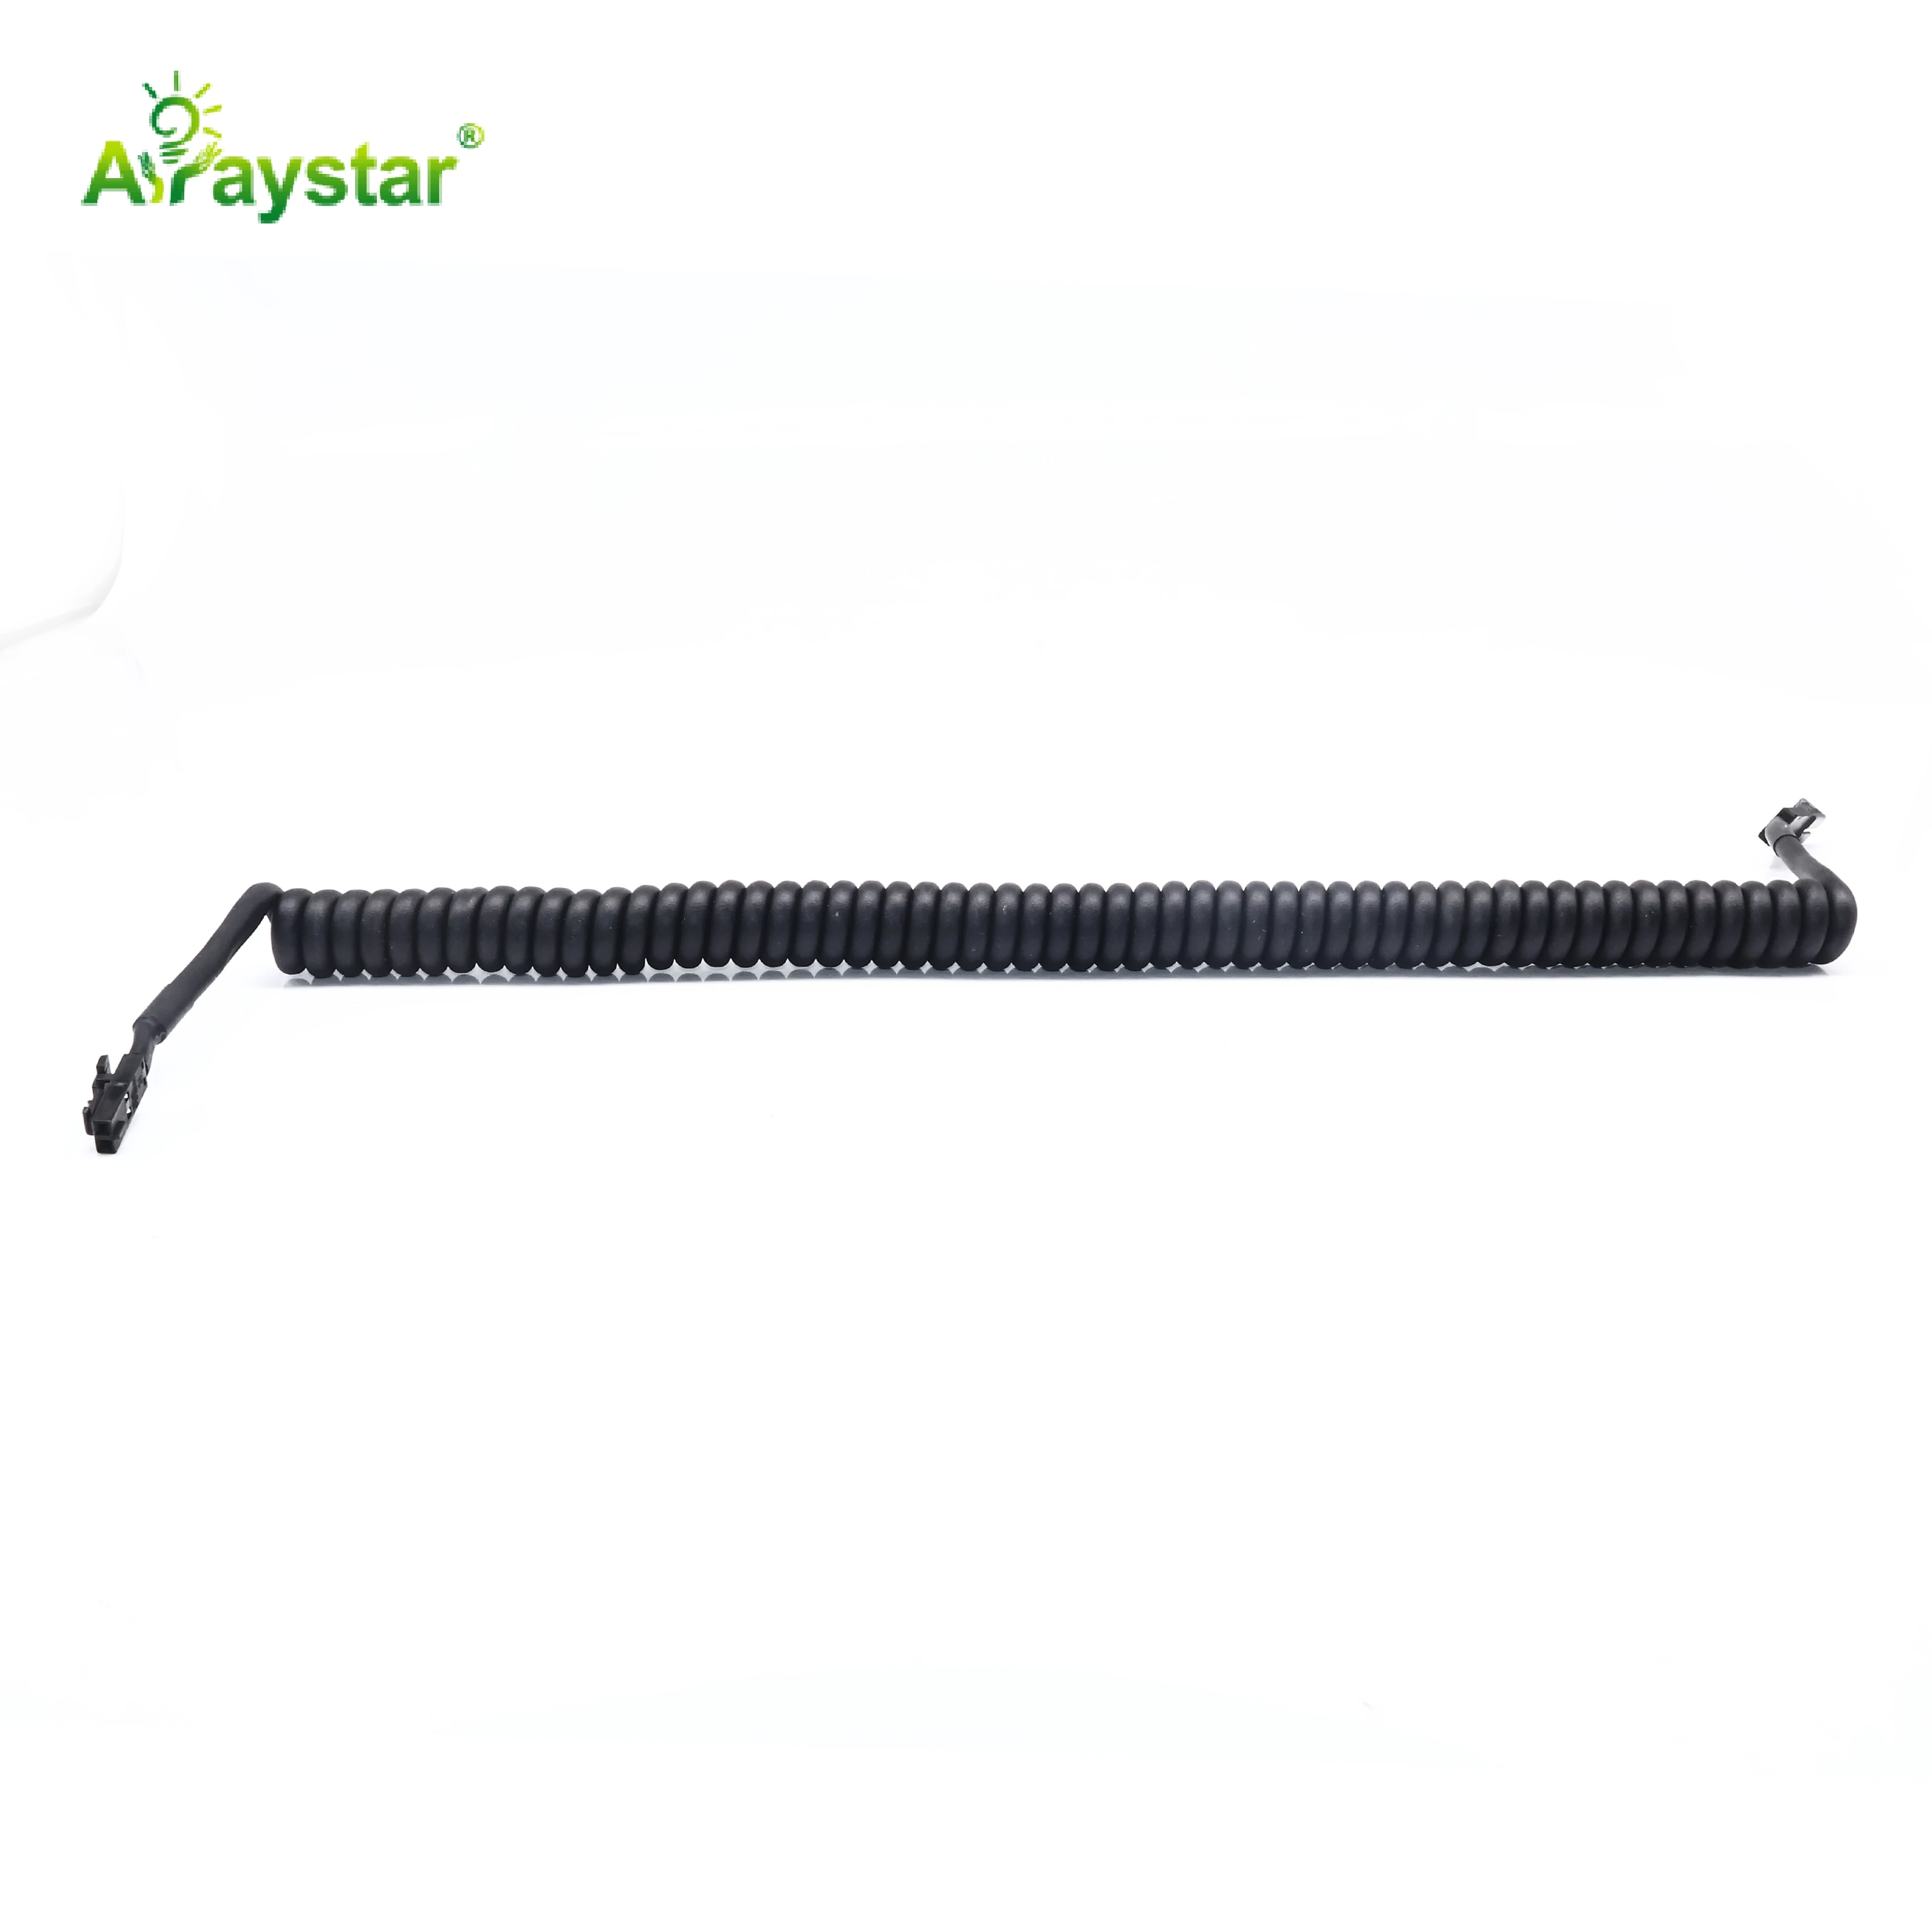
Decision Flow for Any Corner
At each direction change ask: is this a channel corner (use a profile corner piece), a strip electrical join (use a width-matched solderless L-connector or a soldered join for high current), or a genuine curve (use flexible profile/bendable neon)? Identify which one it is before installing, have the component on hand, and corners - traditionally the messiest part of a linear install - become as clean and reliable as the straight runs.
Recommended Products
Frequently Asked Questions
Can you bend LED strip lights around a 90-degree corner?
Don't fold flat strip sideways - it cracks solder joints and tears traces. For channel systems use a purpose-made 90-degree profile corner (like the AL6161); for the strip itself use a width-matched solderless L-connector (like the 0408) bridging the two ends with correct polarity; for a smooth curve rather than a sharp corner use flexible profile or bendable neon.
What is a solderless LED corner connector?
An L-shaped clamp connector that joins two strip ends at 90 degrees without soldering - you seat each stripped strip end under spring contacts (matching width, pad count and polarity), close the clasp and tug-test. It's fast and reliable in tight channels, though high-current runs may still warrant soldered joins.
How do I turn an aluminum LED profile around a corner?
Use a purpose-made 90-degree profile corner connector (such as the ART-AL6161) that aligns both the channel and the diffuser for a continuous light line. Field-mitering two straight channels at 45 degrees usually leaves a misaligned joint and a visible diffuser seam. Specify corner pieces for coffers, cabinet wraps and cove perimeters.
Why did my LED strip fail at the corner?
Almost always from folding flat tape sideways, which cracks solder joints and lifts LEDs, or from an unseated/loose connector under tension with no strain relief. Use a proper L-connector or profile corner, fully seat and tug-test the connection, match polarity, and secure the strip on both sides so the corner isn't mechanically loaded.
Do corner connectors work for high-current or RGB pixel strip?
For high-current single-color runs, solderless connectors can be a weak point - prefer soldered joins or appropriately rated corner wiring. For addressable RGB pixel strip, ensure the corner connector carries the data line as well as power and matches pad layout/polarity, and provide strain relief so vibration doesn't interrupt the data signal.
Need help with your LED project?
Get factory-direct pricing, free samples and engineering support within 24 hours.
Email: info@arraystarled.com | Phone: +86-0755-2103-6746 | WhatsApp: 0086 1581 8514 077
Need to size your power supply? Use our LED Strip Power Calculator to find the right driver in seconds.







