
LED Strip Wire Gauge, Voltage Drop and Fuse Sizing: A Wiring Safety Calculator
- 2026-09-30 17:38
- /
- Arraystar LED
Two things turn a clean LED install into a dim, warm, or genuinely hazardous one: wire that's too thin for the current and distance, and a missing fuse that lets a short become a fire. Both are easy to get right before you power up. This is the wiring safety reference I hand to people doing their first long runs — wire gauge, voltage drop, and exactly where each fuse goes.
Why wire gauge matters
Every wire has resistance. Push current through wire that's too thin over too long a run and two things happen: voltage drops (so the far end of the strip is dimmer and may shift color), and the wire itself heats up. Thicker wire (lower AWG number) has less resistance and handles more current.
Choose AWG from current AND distance
You can't pick gauge from current alone — distance is what causes the drop. As a starting guide for low-voltage LED feed runs (allowing under roughly 3% voltage drop):
- Up to ~5A, short runs (under ~3m) — 20–22 AWG is usually fine for single strips.
- ~5–10A up to ~5m — 18 AWG.
- ~10–15A up to ~5–8m — 16 AWG.
- ~15–20A or long home/feed runs — 14 AWG.
- Whole-room/commercial distribution — 12 AWG or larger.
These are planning figures; for a critical long run calculate the actual voltage drop for the wire's resistance per metre and your current, and always round up (thicker) if you're between sizes. Using 24V strip halves the current versus 12V for the same power, which lets you use smaller wire and run farther — the driver sizing guide shows the current math.
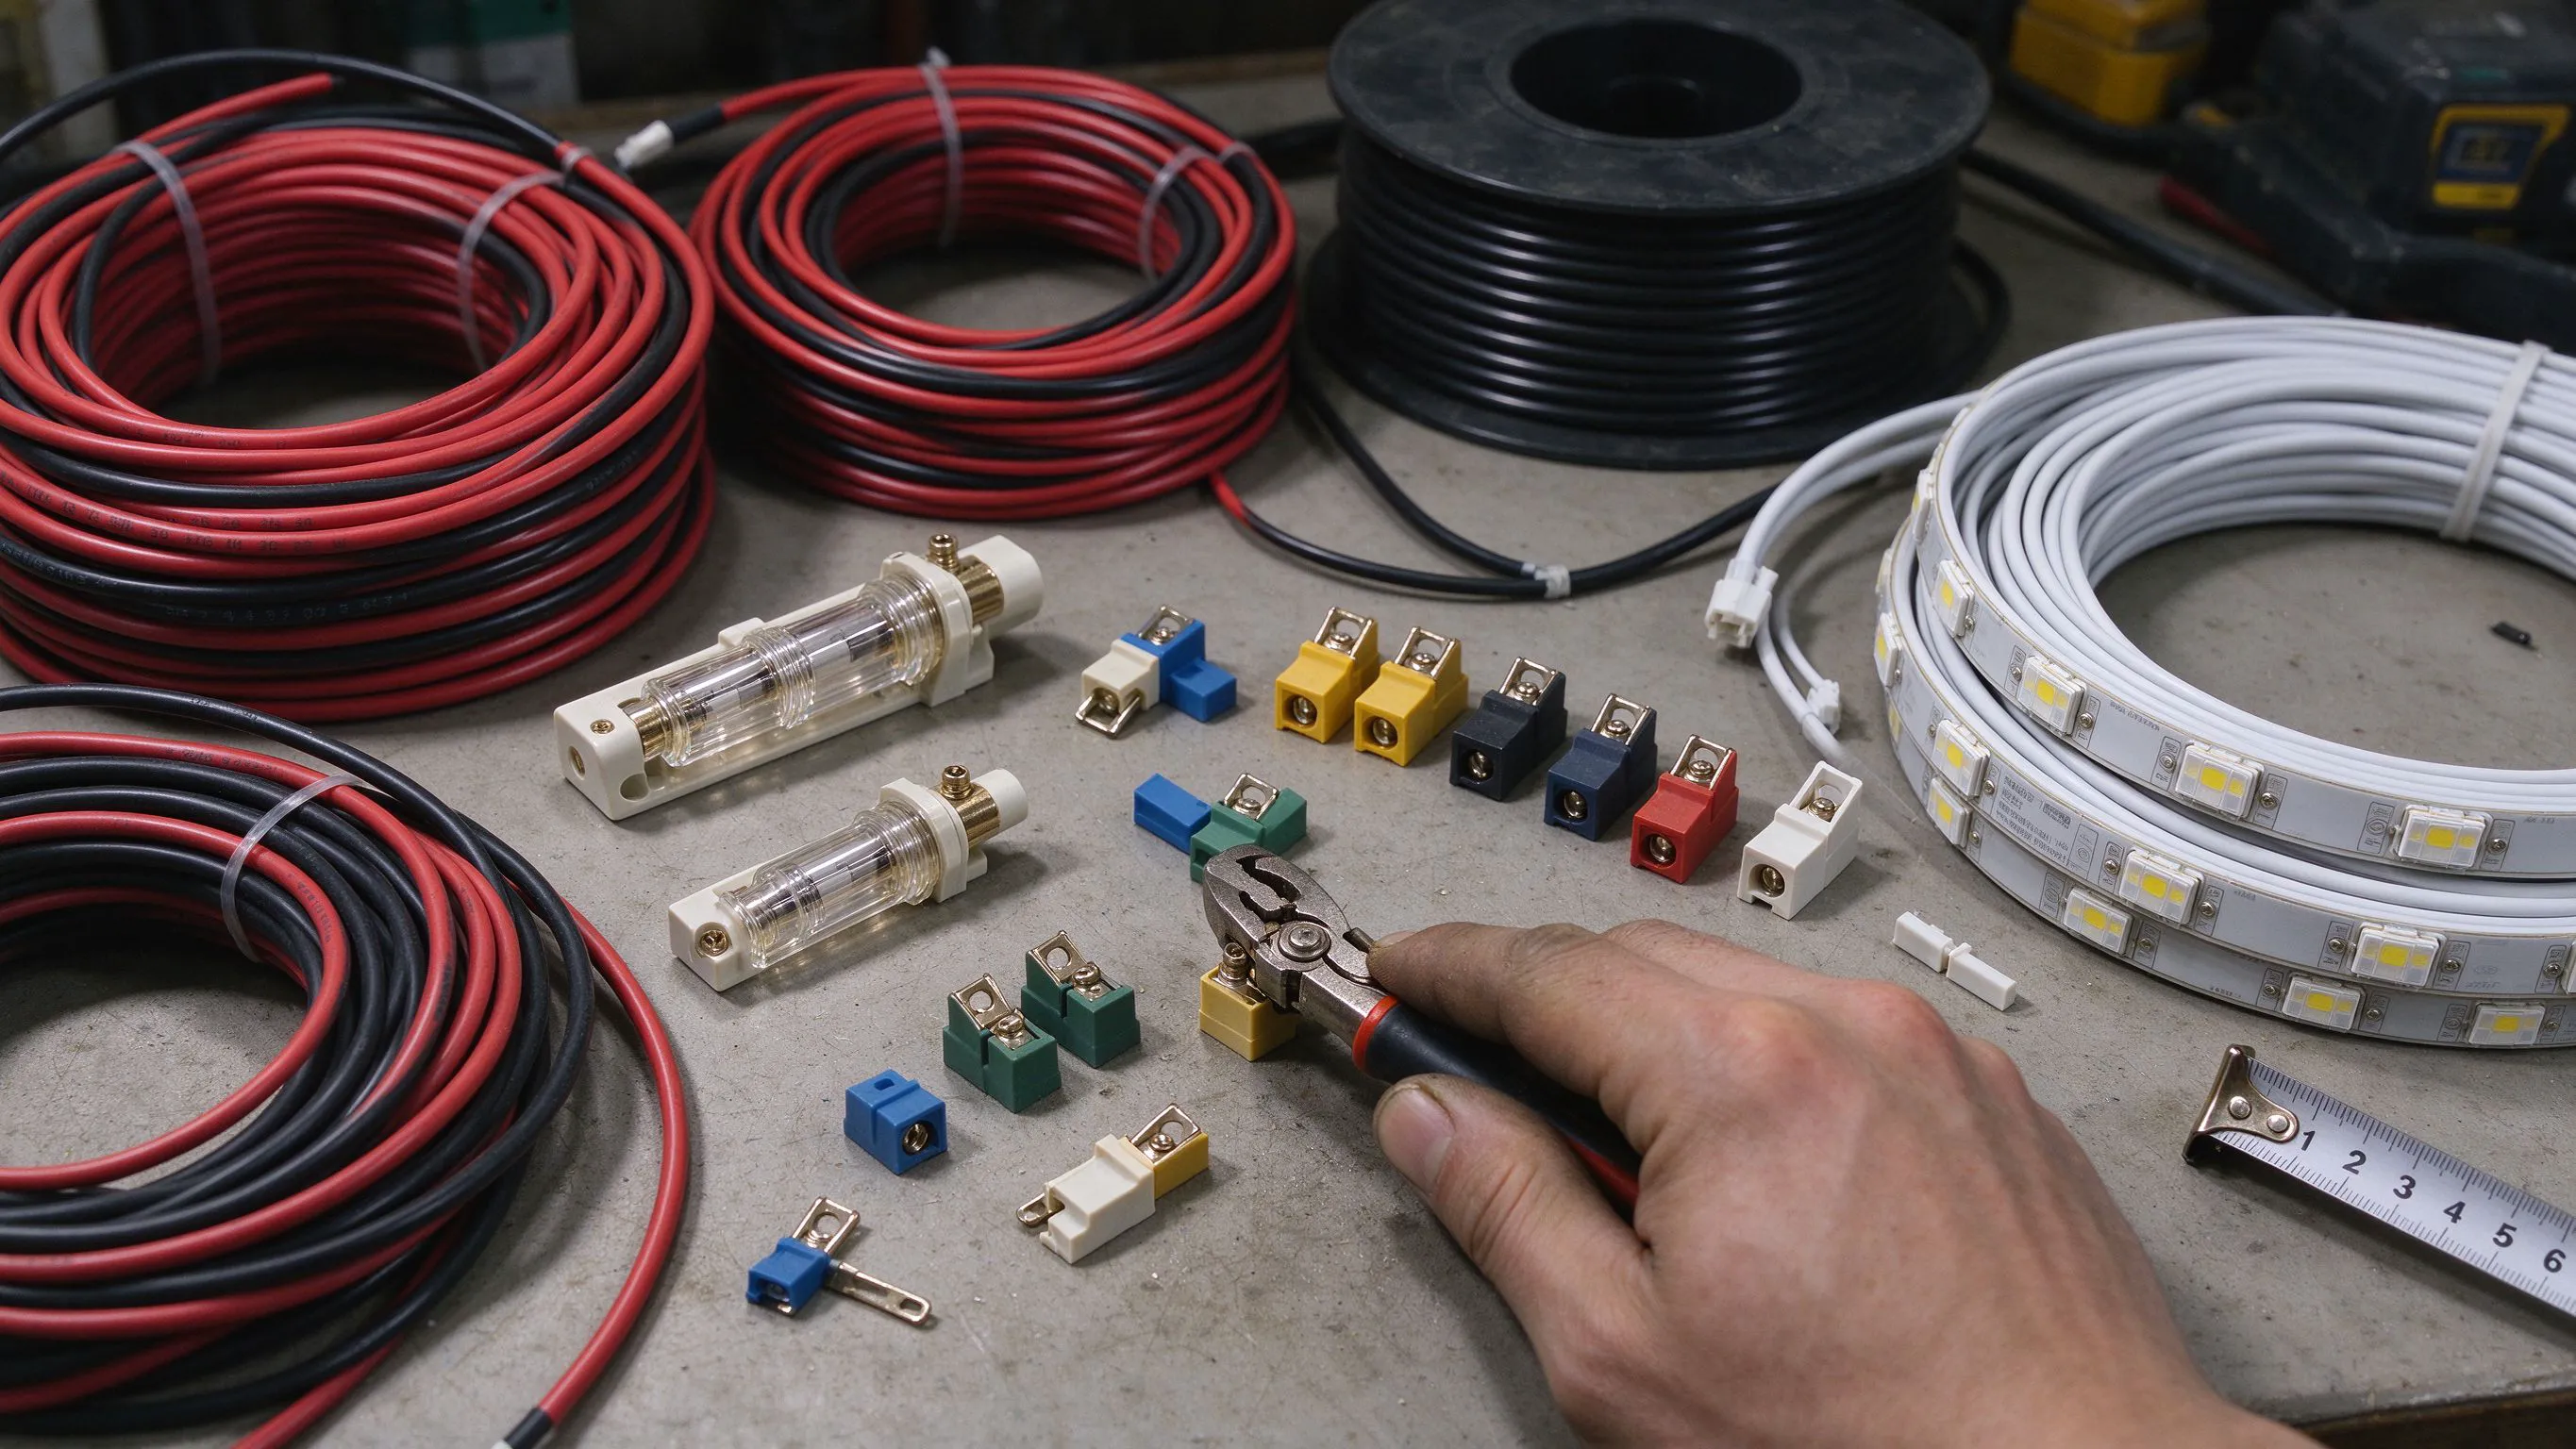
Voltage drop targets
Aim to keep voltage drop under about 3% on a lighting run. Beyond that you'll see the far end dim, and on 5V addressable strip even small drops cause color problems — which is why large pixel projects use 12V. If a calculation shows more than 3% drop, either use thicker wire, step to 24V, shorten the run, or inject power at multiple points.
Fuse sizing and placement
A fuse is there so a short or component failure blows the fuse instead of overheating the wire. Place a fuse (or breaker) on the positive line as close to the power source as possible.
- Size the fuse to protect the wire and sit just above the normal operating current — roughly 1.25× the expected continuous draw, while staying below the wire's current rating.
- Example: a run that draws 8A normally → a 10A fuse. It won't blow in use but will blow on a short.
- On multi-zone installs, fuse each major branch separately so one fault doesn't kill everything and each fuse is matched to that branch's wire.
The fuse must never be rated higher than the wire it's protecting can carry — otherwise the wire overheats before the fuse blows, which defeats the point.
Polarity quick reminder
While wiring, keep positive (+) to positive and negative (−) to negative throughout; reversed strip just stays dark. The full markings are in the polarity and wire color guide.
FAQ
Is it okay to use thinner wire if my run is short?
For short, low-current runs yes — but still verify it can carry the current without heating. When in doubt go one size thicker; the cost difference is small.
Where exactly does the fuse go?
On the positive feed, immediately after the driver/power supply output, before any branching. Add a fuse per major branch on larger systems.
Why is the far end of my strip dimmer?
Voltage drop from thin wire or an over-long single feed. Use thicker wire, switch to 24V, or inject power partway along the run.
Give me the strip wattage, voltage, and longest feed distance and I'll calculate the AWG, fuse rating, and power-injection points for a safe, evenly lit run.







