
Retrofitting Old Rope Light to Neon Flex: The Wiring Differences
- 2026-10-28 10:03
- /
- Arraystar LED
Old rope light runs on 230V in a daisy loop; neon flex runs on 24V from a driver. The swap is not a drop-in — I keep the existing cable routes where I can, re-load the circuit, and mount a proper driver, rather than just clipping new flex over the old clips.
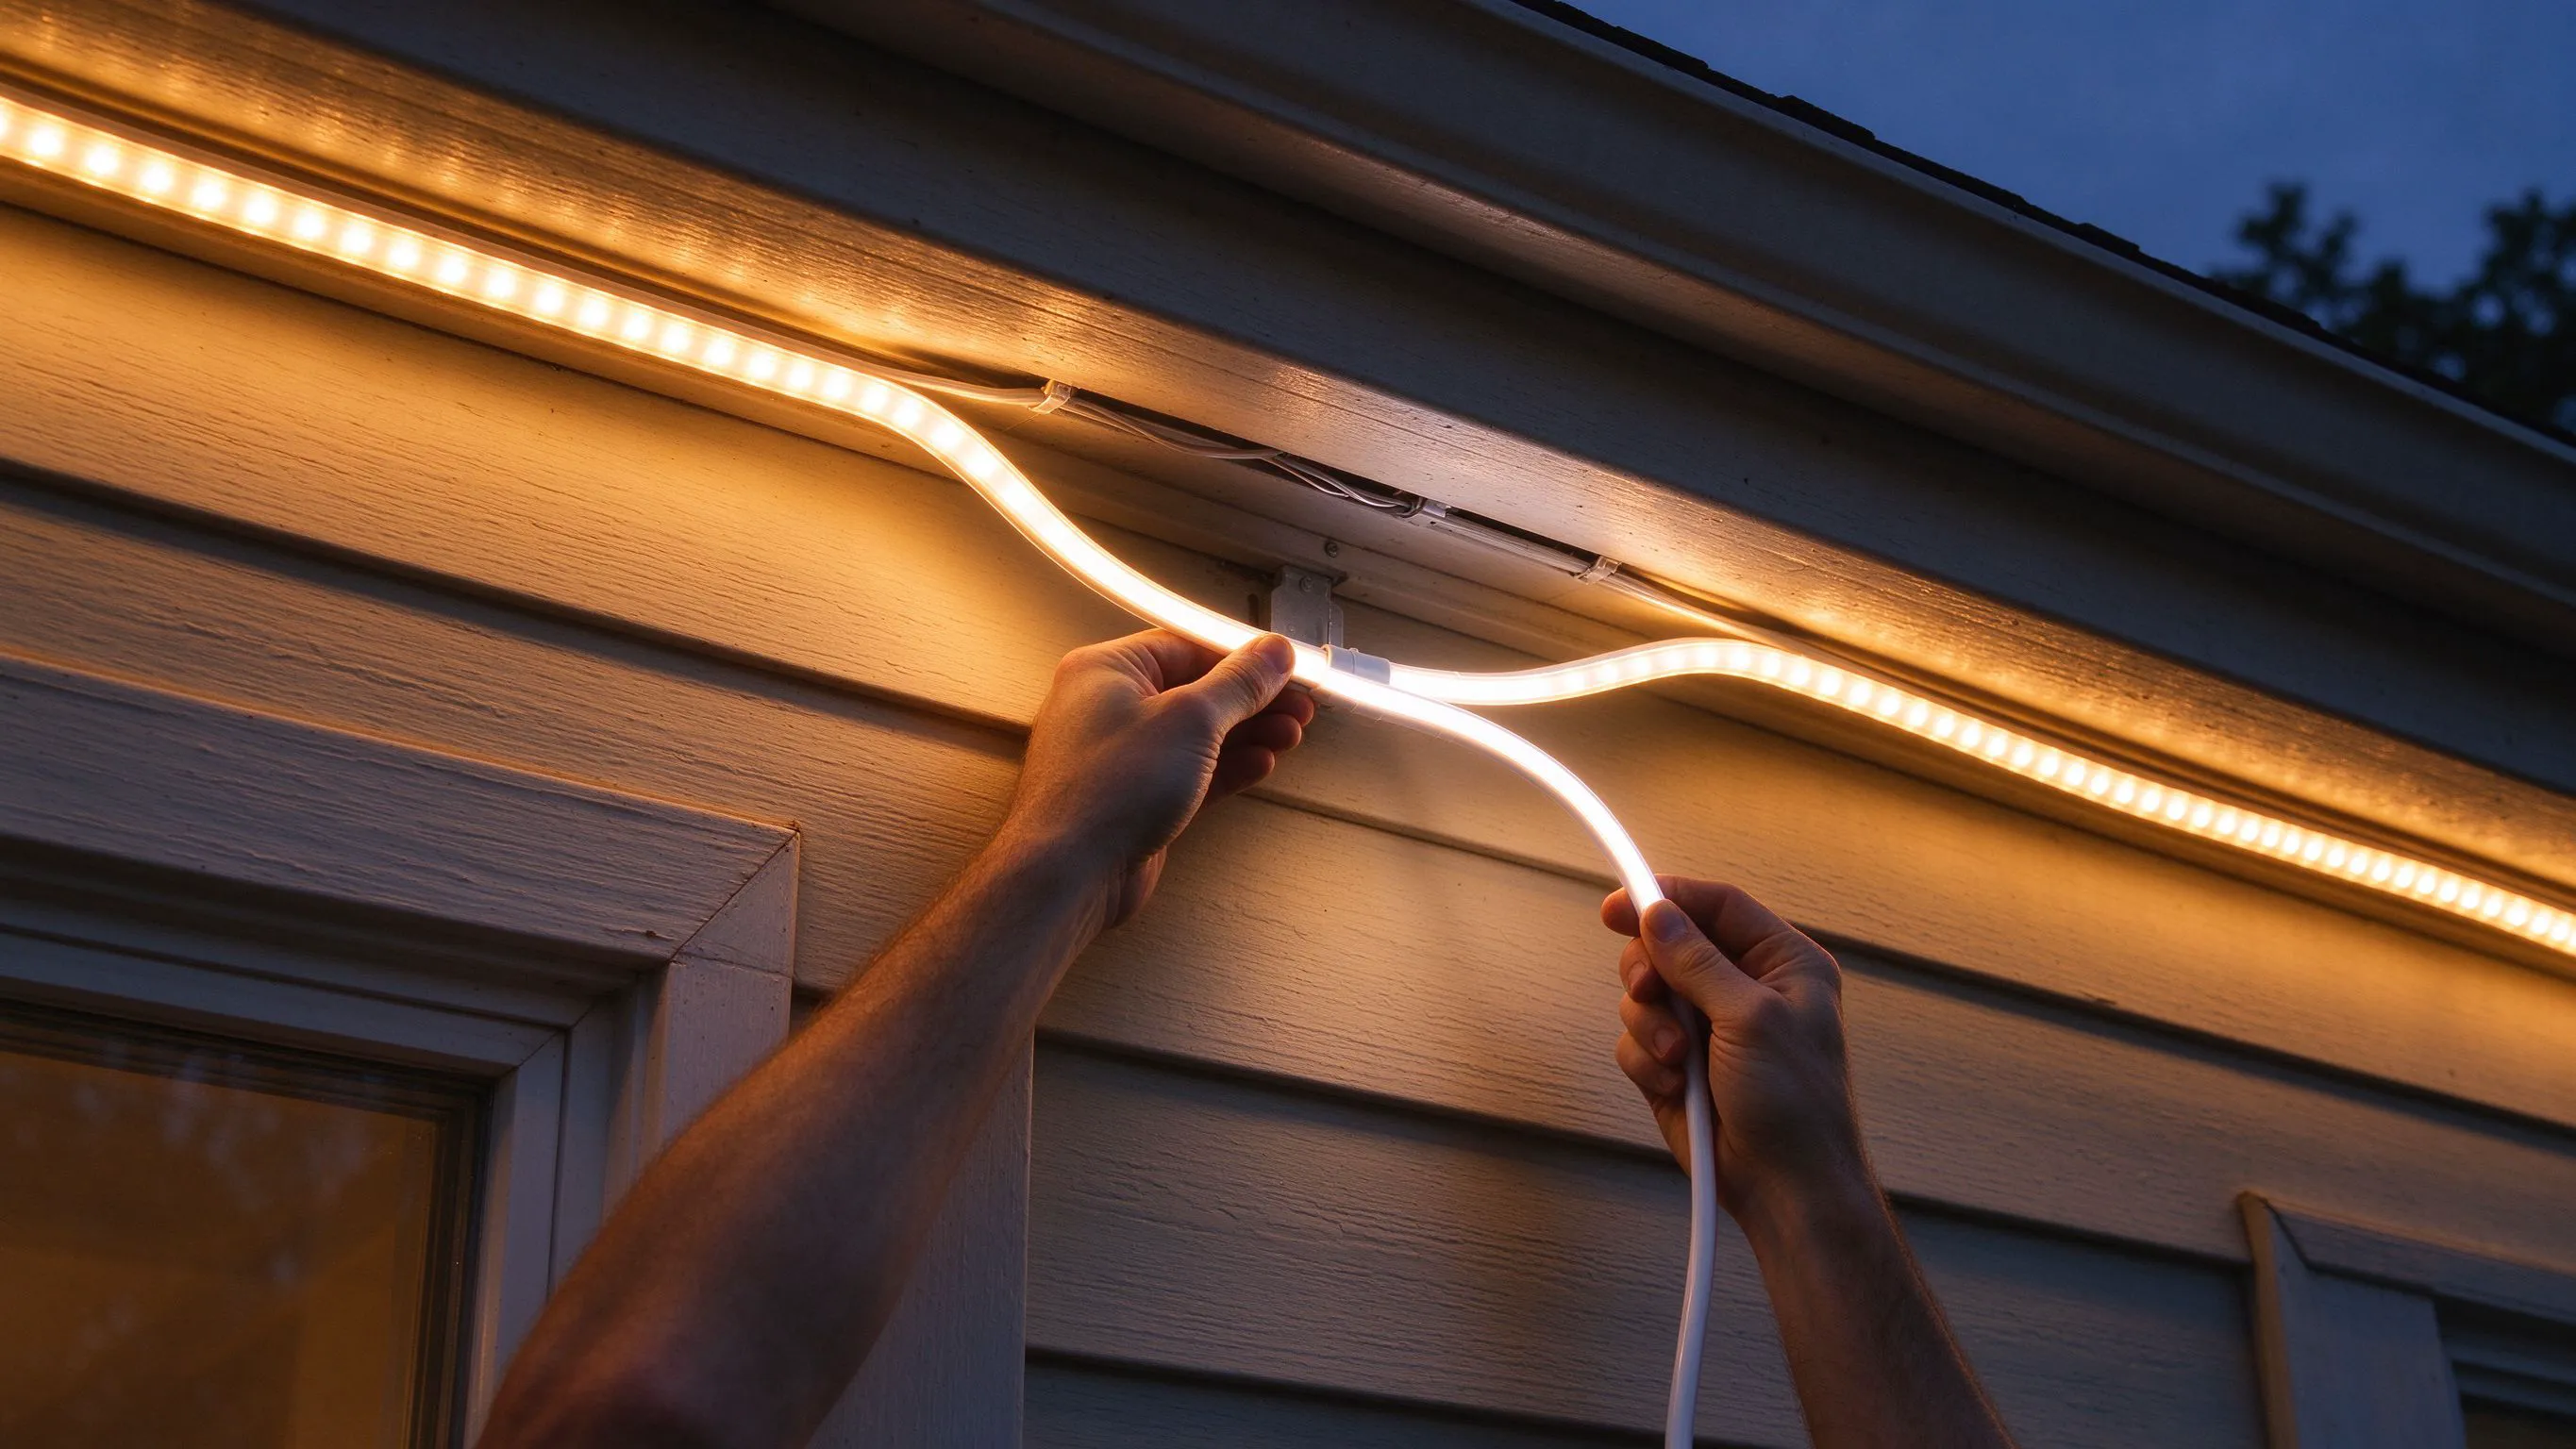
Why rope light and neon flex do not share wiring
Traditional rope light is often 230V, run in a continuous loop around eaves, fascia or paths, switched straight from the mains. Neon flex is almost always 12V or 24V DC, fed from a driver that converts the mains down. That means you cannot unplug the rope and plug the flex into the same terminals. The old 230V loop has to come out of the load path, and a driver has to go in. The good news is the existing cable route can often be reused as the 24V feed, which saves chasing new cable around the fascia.

What stays and what changes
- Keep the existing cable route and clips where they are sound; re-use them as the 24V feed.
- Remove the old 230V rope loop entirely; do not leave it live behind the new install.
- Mount a 24V driver in a ventilated, accessible spot, sized to the new load.
- Keep the mains-side switch and circuit, but the flex now sits behind the driver, not on it.
I keep the route because chasing new cable around a fascia is the slowest part of the job. What changes is the power architecture: the mains cable now goes to the driver, and the low-voltage feed runs out to the flex. This is safer for outdoor work anyway, because the flex itself is SELV. I also label the new driver clearly, so the next electrician opening the box knows the 24V side is separate from the 230V input.
Re-loading the circuit and driver sizing
The old loop is removed; the new flex sits behind a correctly sized 24V driver.
| Item | Rope light (old) | Neon flex (new) | Action |
|---|---|---|---|
| Supply | 230V loop | 24V DC | Add driver |
| Feed cable | Mains-rated | 18–20 AWG low-volt | Re-use route if rated |
| Loading | Whole loop one feed | Per-reel run length | Centre-feed long runs |
| Derating | N/A | 20–25% hot ambient | Size driver up |
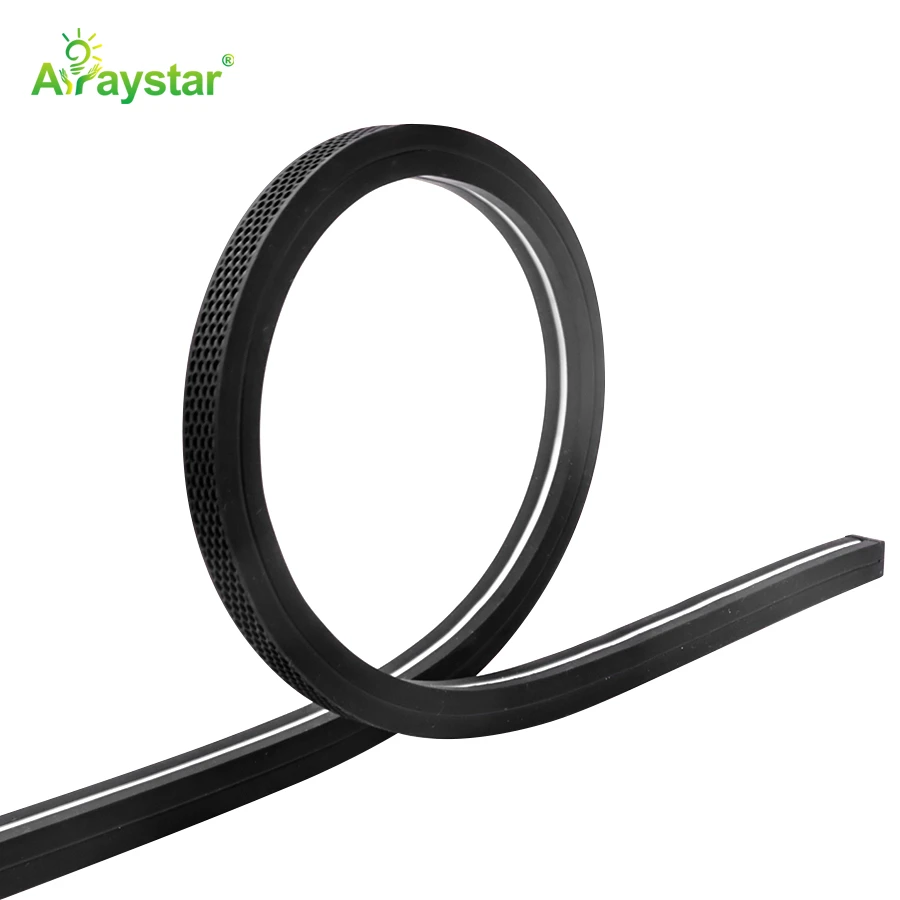
I size the driver to about 80% of the connected wattage, derated for the outdoor ambient, and I budget 0.3–0.5V drop per metre on the low-volt feed. If the run is long, I feed from the centre or add an injection point rather than over-sizing the feed cable. The black 5×12 mm profile is a common retrofit choice because it clips neatly onto existing rope routes. Worked example: on a 10 m fascia I split the run into two 5 m halves fed from the centre, so each half sees about 0.3 V of drop and the far end sits near 23.7 V — even enough that the swap looks intentional.

Making the new flex sit like the old rope
Rope light is round and forgiving; neon flex is a rigid profile that wants to bend on its designed axis. I check the bend direction of the new profile before I clip it around corners, because a fascia run has bends the old round rope absorbed without thinking. The side-bend 0612B is made for the kind of jogs a retrofit route throws at it. I leave a service loop at the driver end and re-use the old clips only if they grip the new profile; otherwise I swap them. I also check the bend axis on an offcut before clipping, because a rigid profile forced the wrong way kinks on the wall.
Safety and sign-off on a live swap
Because the old circuit was 230V, I treat the swap as mains work: isolate the circuit, confirm dead, and label the new driver clearly. The 24V side is SELV, but the mains input to the driver is not, so the junction box stays properly rated. After switch-on, I walk the run for a full reel length and check the far end is not dimming. The anti-glare 16×16 mm profile is a good choice where the retrofit needs a brighter, wider line than the old rope gave. My sign-off check is short: circuit isolated and labelled, driver mounted and rated, far end at 23.5–24.5 V, and a full walk of the fascia in the dark.
Before I re-use the old cable route, I always check the existing cable for perished insulation. Rope light cable that has spent ten years on a roof often has brittle outer sheath that cracks when you bend it, and re-using it as a 24V feed invites a short circuit. If the sheath is hard or cracked, I pull it out and run fresh low-volt cable in the same route; chasing the new cable is faster than diagnosing a mystery fault a month later. I also fit a 30 mA RCD on the new circuit, because a wet outdoor fascia and a newly installed driver are exactly the conditions a residual-current device is designed to protect against.
Recommended Products
Frequently Asked Questions
Can I just plug neon flex into the old rope light wiring?
No. Rope light is often 230V; neon flex is 24V DC from a driver. The mains cable must feed the driver, and the flex runs on the low-volt side.
Can I reuse the old rope light cable route?
Often yes, if the cable is sound and suitably rated for the low-volt feed. Keep the route and clips; re-use them as the 24V feed rather than chasing new cable.
How big a driver do I need for a retrofit?
Size it to about 80% of the connected wattage, derated 20–25% for the outdoor ambient. A 100W driver reliably drives 75–80W of flex.
Do I need to remove the old 230V rope?
Yes. Take the old 230V loop out of the load path entirely; do not leave it live behind the new install. Isolate and confirm dead before work.
Why does the far end of my retrofit look dim?
Voltage drop on the low-volt feed. Budget 0.3–0.5V per metre, keep the flex end at 23.5–24.5V, and centre-feed or inject on long runs.
Need help with your LED project?
Get factory-direct pricing, free samples and engineering support within 24 hours.
Email: info@arraystarled.com | Phone: +86-0755-2103-6746 | WhatsApp: 0086 1581 8514 077
Need to size your power supply? Use our LED Strip Power Calculator to find the right driver in seconds.







