
Gluing SMD Strip to Rough Stucco or Concrete That Will Not Hold Adhesive
- 2026-11-02 15:54
- /
- Arraystar LED
Flat VHB tape needs a flat face, and stucco or concrete gives it air pockets every 5 mm. The strip holds for a week in dry weather and peels off the first damp morning. You do not need a stronger tape; you need to bridge the rough surface and let clips do the work.
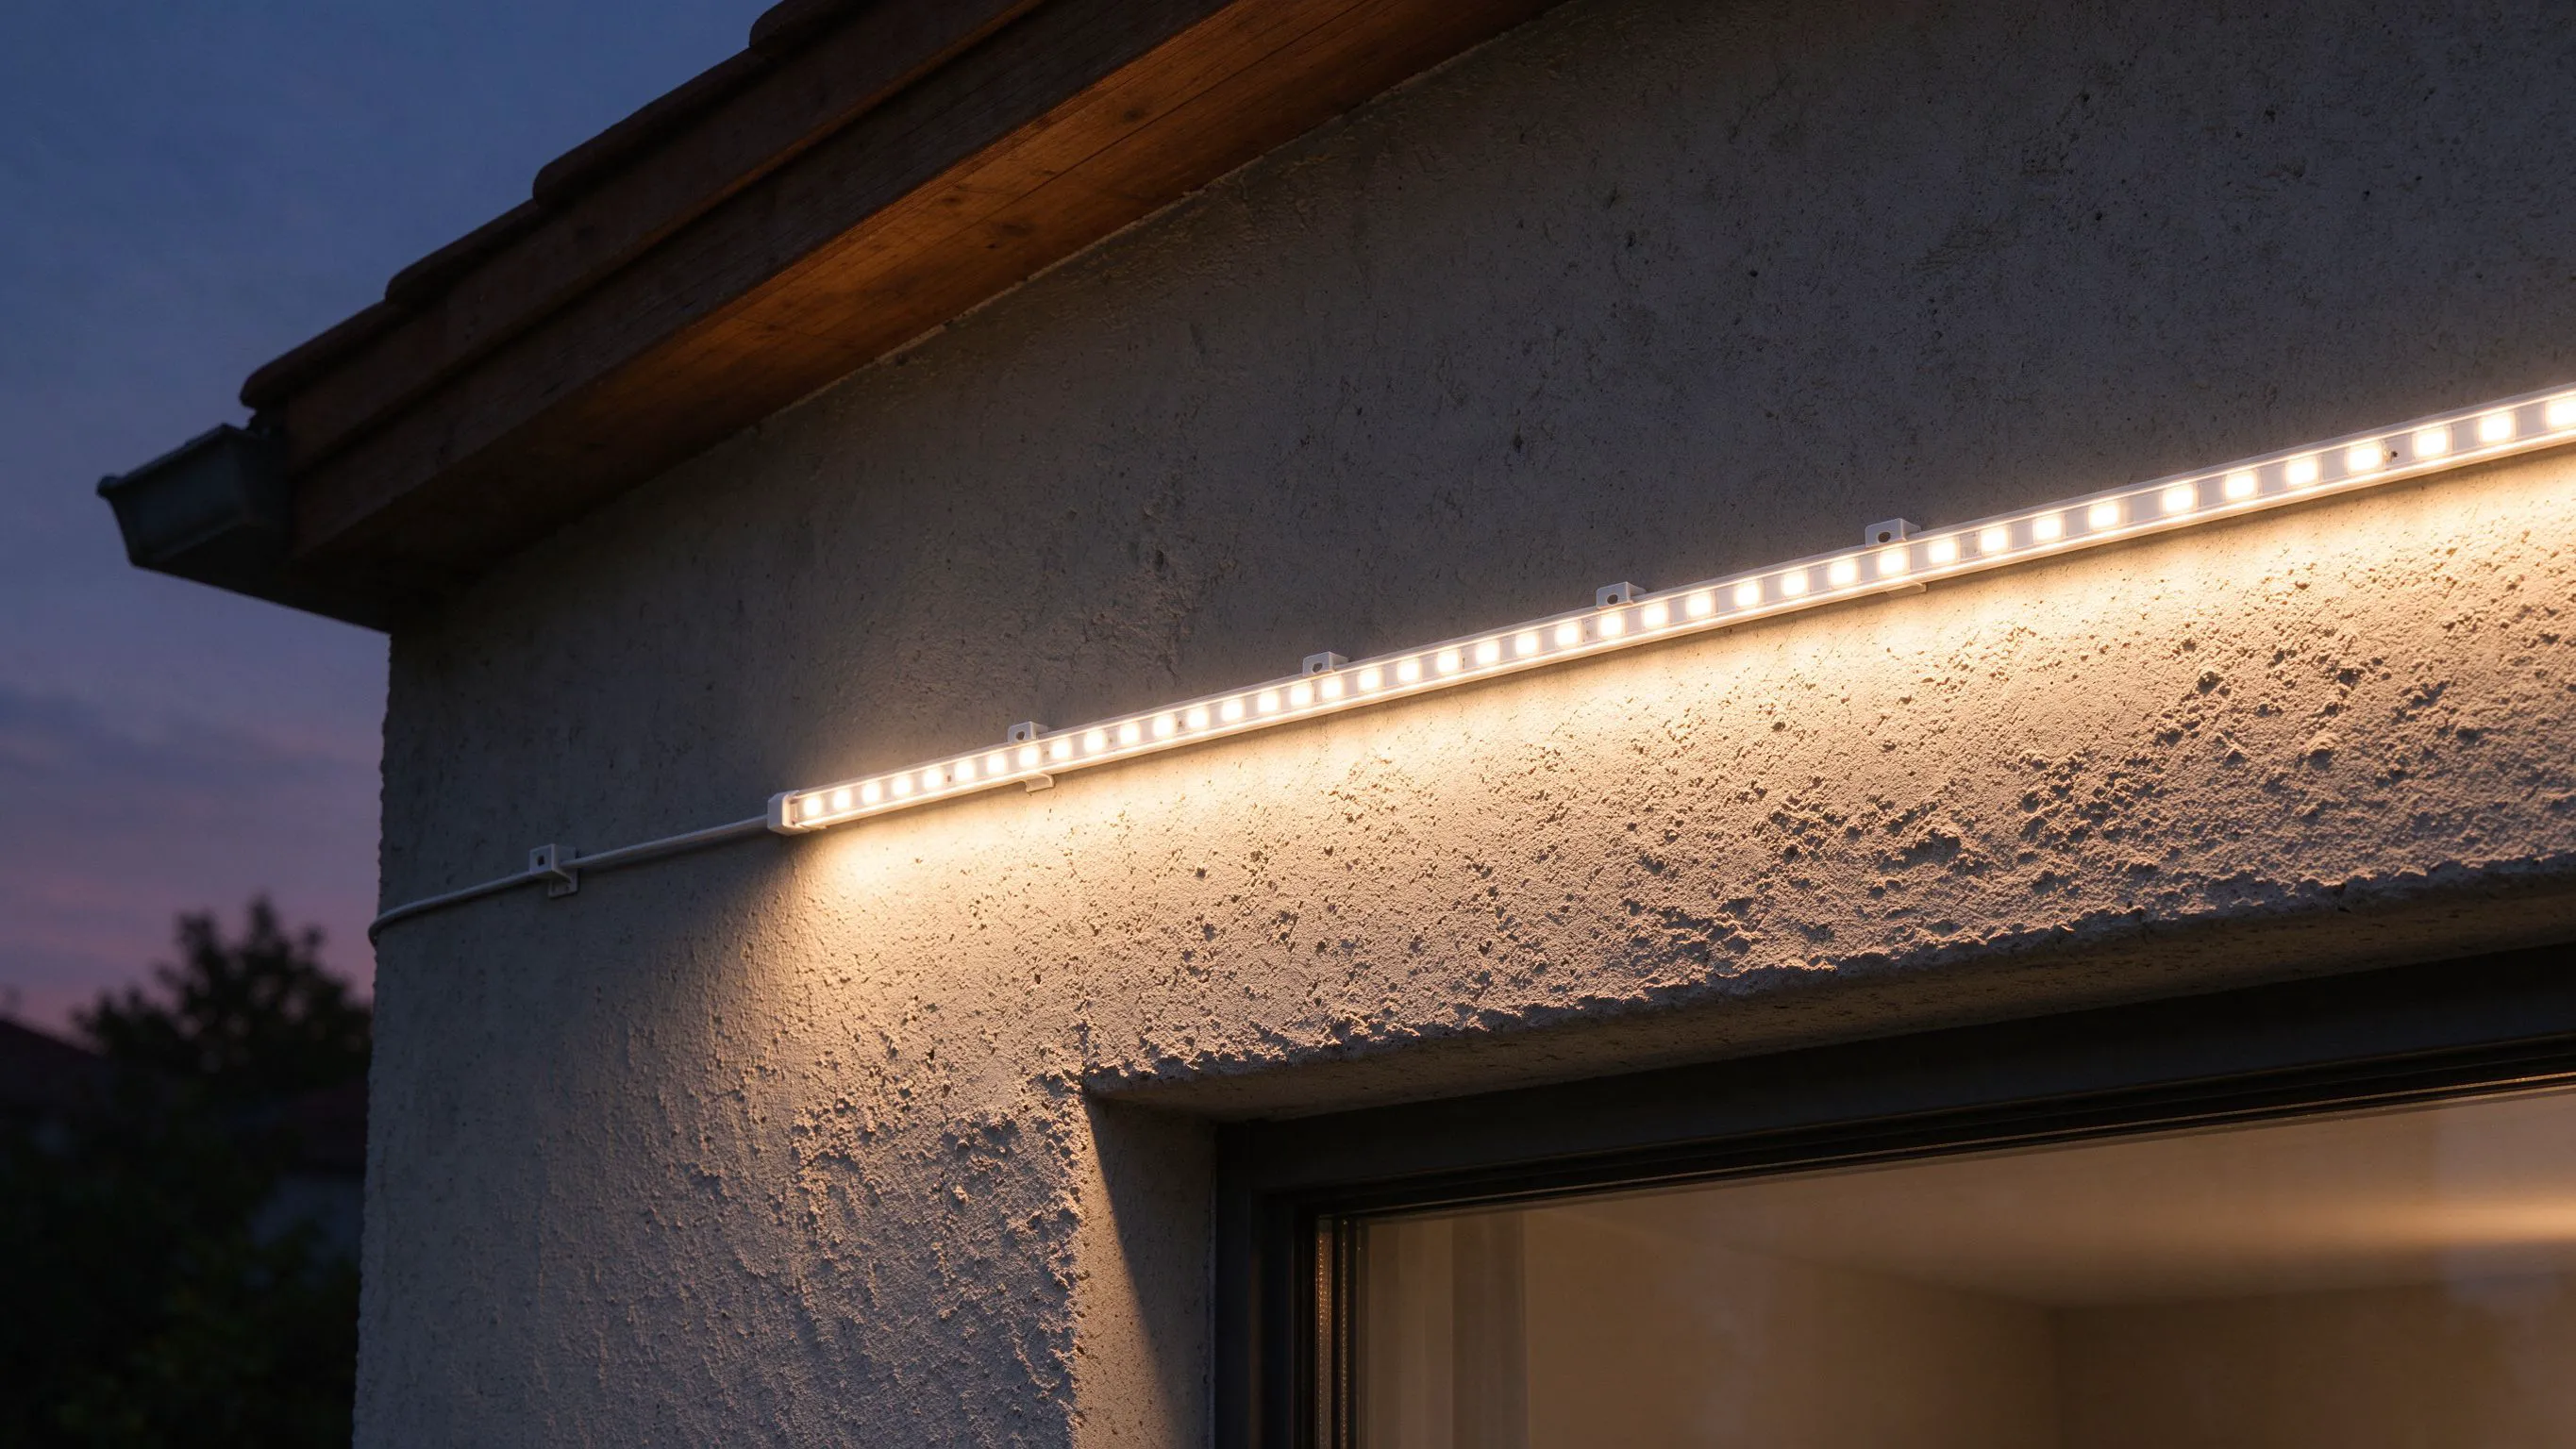
Why the strip keeps falling off the exterior wall
You clean the stucco, press the strip on hard, run your thumbnail along it, and it feels bonded. A week later half of it has lifted, and the adhesive is still stuck to the strip backing, not the wall. The wall is the problem. Stucco, rendered concrete and cast concrete are rough on a 1 mm scale, and a flat VHB tape only contacts the high points. The contact area might be 20 percent of what it would be on a painted drywall.
Rain makes it worse. Damp wicks into the porous concrete, the cold surface condenses moisture against the tape, and the bond that barely existed in dry weather lets go. On exterior masonry, adhesive backing is a positioning aid, not a fixing method.

What VHB tape can and cannot do on masonry
VHB foam tape conforms to about 0.5 mm of surface texture, not the 3 to 5 mm undulation of rough stucco. On a rendered wall you are bonding to the tips of the aggregates, and each tip is a point load. In sun, the strip heats up, expands, and the point loads shear off the aggregate dust. That is why it fails in summer afternoon, not on a cold morning.
The surfaces that fight adhesive the most
- Tyrolean or roughcast render, aggregate visible and loose.
- Poured concrete with form-tie holes and rock pockets.
- Exposed aggregate brickwork, porous and chalky.
Sealing and bridging the rough face
Before any strip goes on, I prime the footprint. On rough render, a bead of clear silicone or a dab of construction adhesive bridges the gaps and gives the tape a continuous face to stick to. I run a 6 mm bead along the wall, press the strip into it, and let it cure 24 hours before switching on. This is not a substitute for clips; it is what makes the clips look neat.
On rough masonry, adhesive is secondary; mechanical fixing carries the load.
| Wall type | Adhesive alone | What I add |
|---|---|---|
| Smooth render, cured | 30% contact | Tape plus clips at 300 mm |
| Roughcast stucco | 15% contact | Silicone bead plus channel |
| Poured concrete | 20% contact | Drilled standoffs every 400 mm |
Choosing a strip that flexes over bumps
A stiff rigid PCB strip bridges the bumps and contacts only the high points. A narrower, more flexible 2835 SMD board bends into the low spots and contacts more of the wall. On a zigzag board, the strip can run around corners and contour changes without fighting the surface. For long runs over rough walls, I also lean toward the 48 V long-reel strip, which lets me run 15 m from one feed instead of fighting voltage drop at every junction.
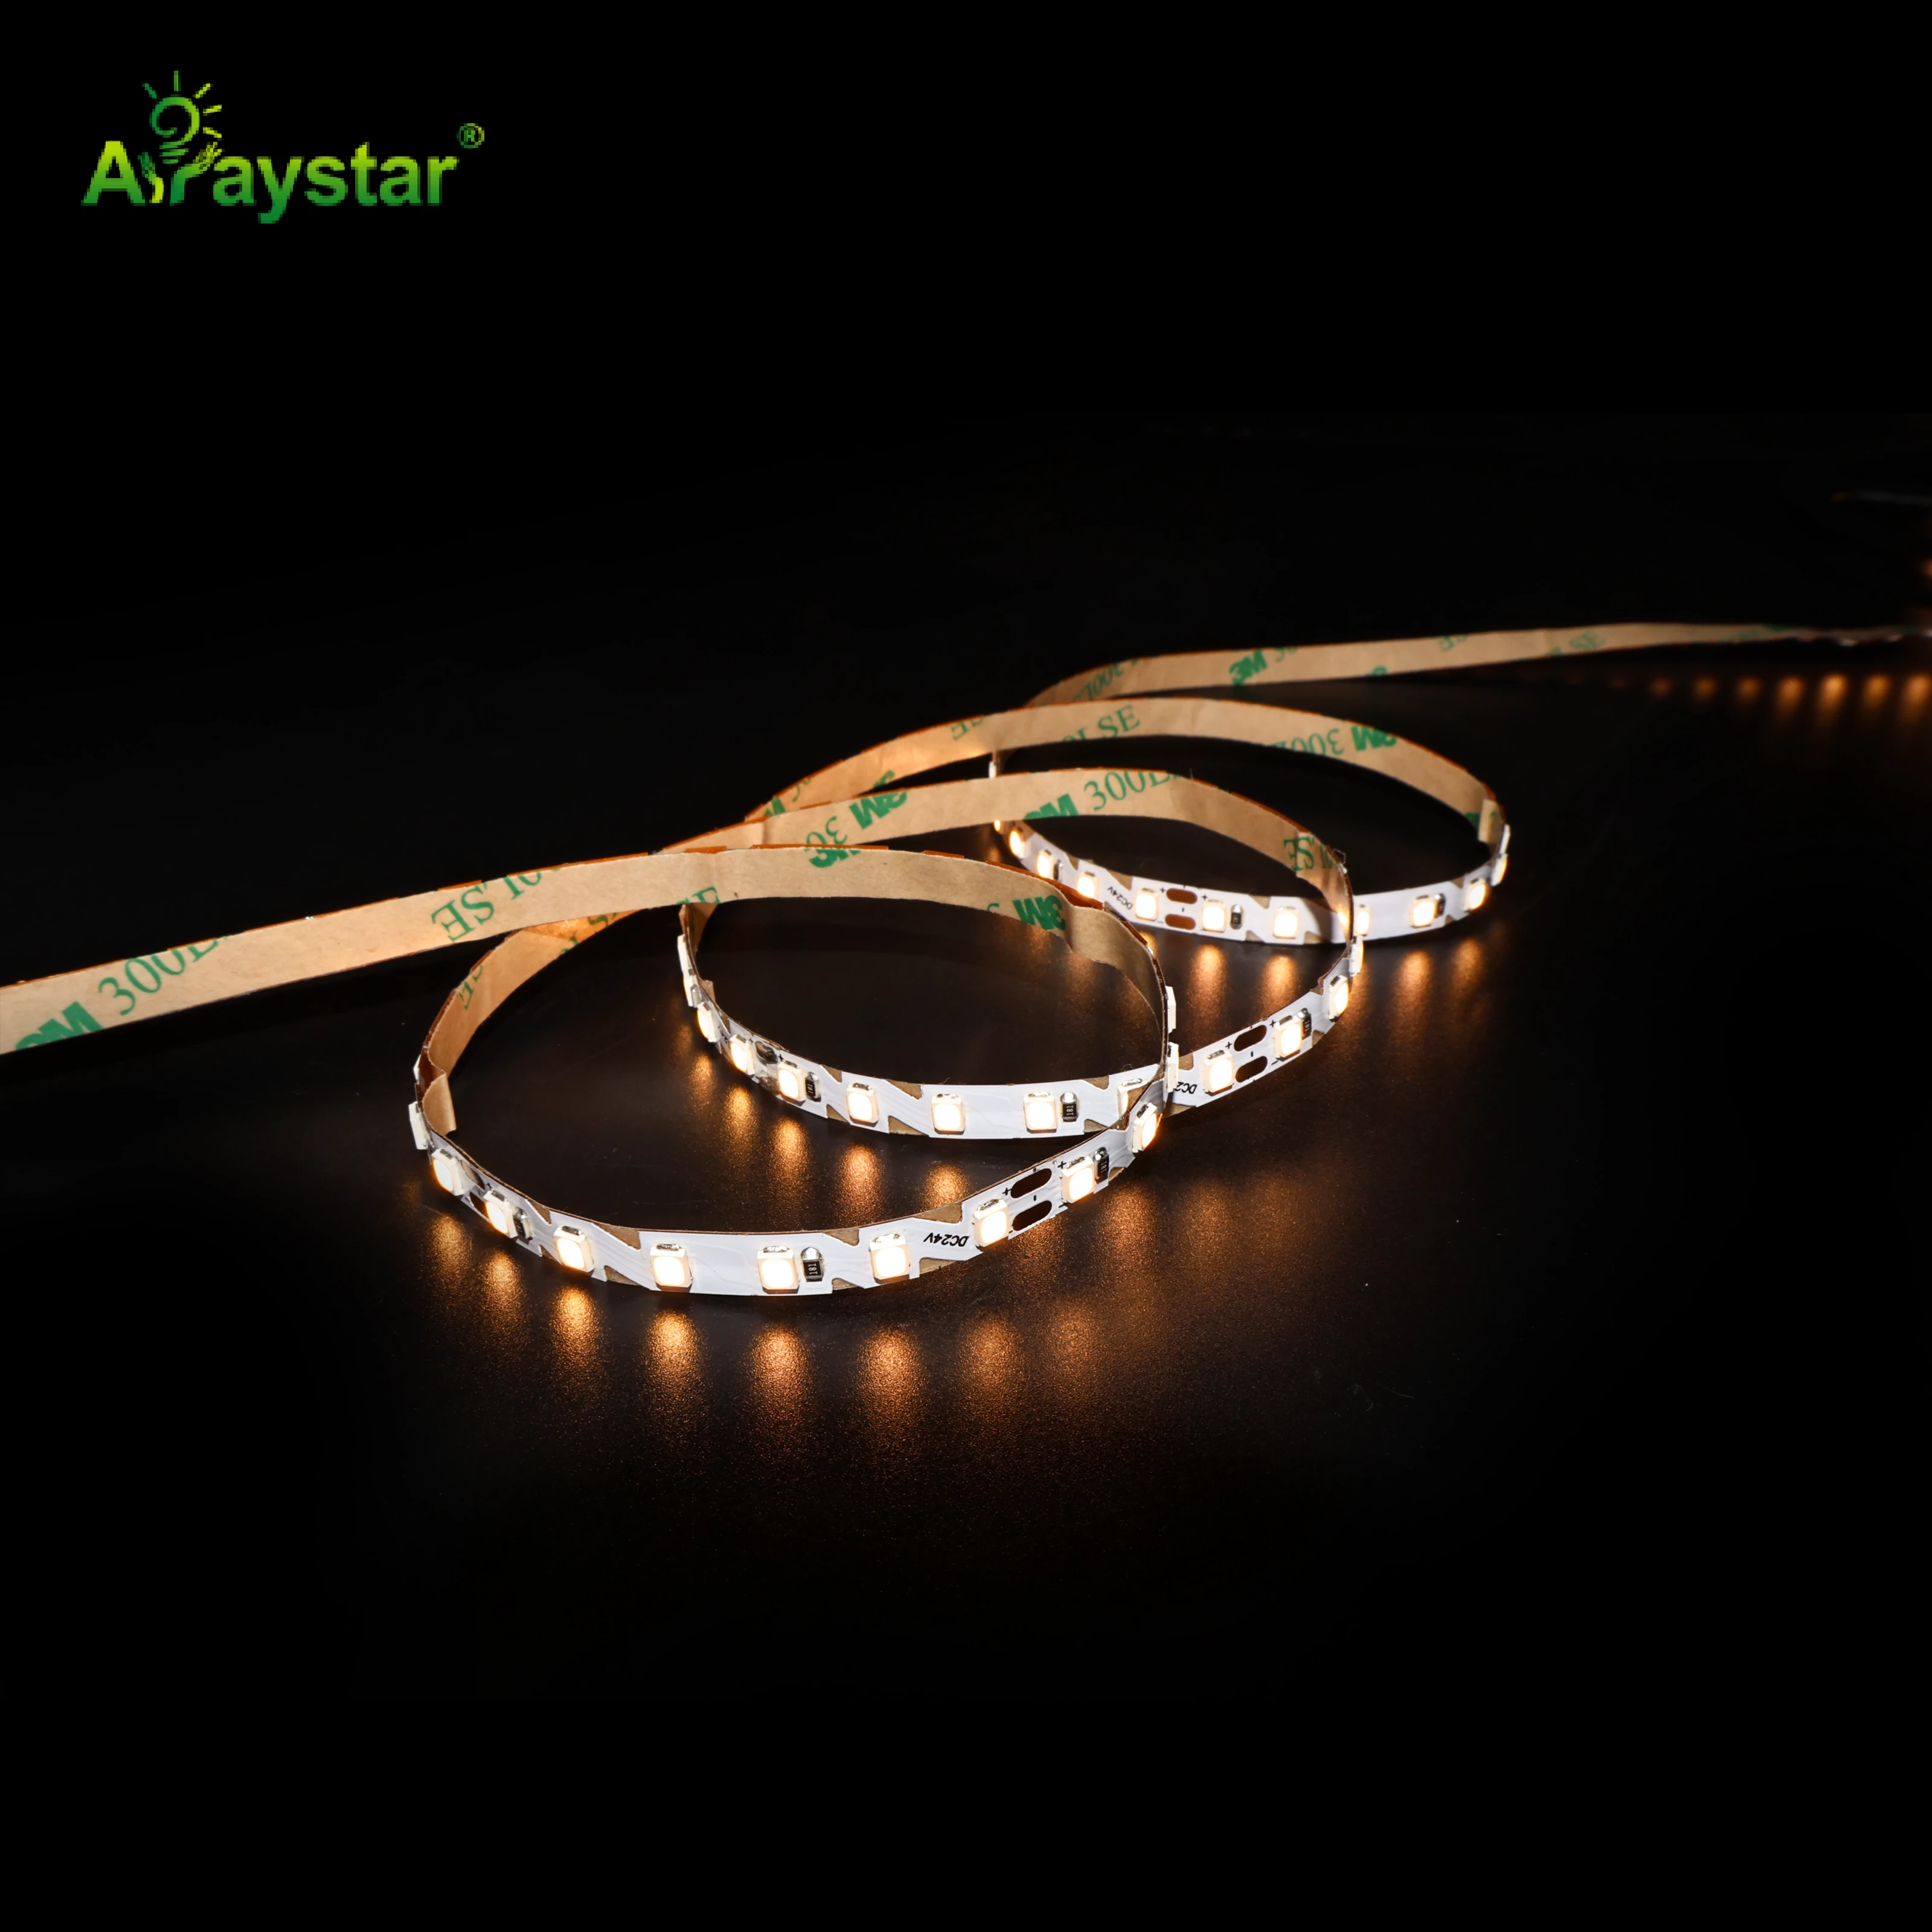
The free-cut 2835 board is handy on masonry because the cut points land every 25 or 50 mm, so you can trim the run to avoid a rock pocket instead of bridging over it with a gap.
Mechanical fixing that survives exterior weather
On exterior masonry, I plan for clips from the start. Stainless steel U-clips every 300 to 400 mm, screwed into the render with masonry plugs, hold the strip flat without pinching the silicone jacket. On a rough wall, I bed each clip in a small dab of silicone so water cannot run down the screw hole. The clips are visible up close but disappear at normal viewing distance.
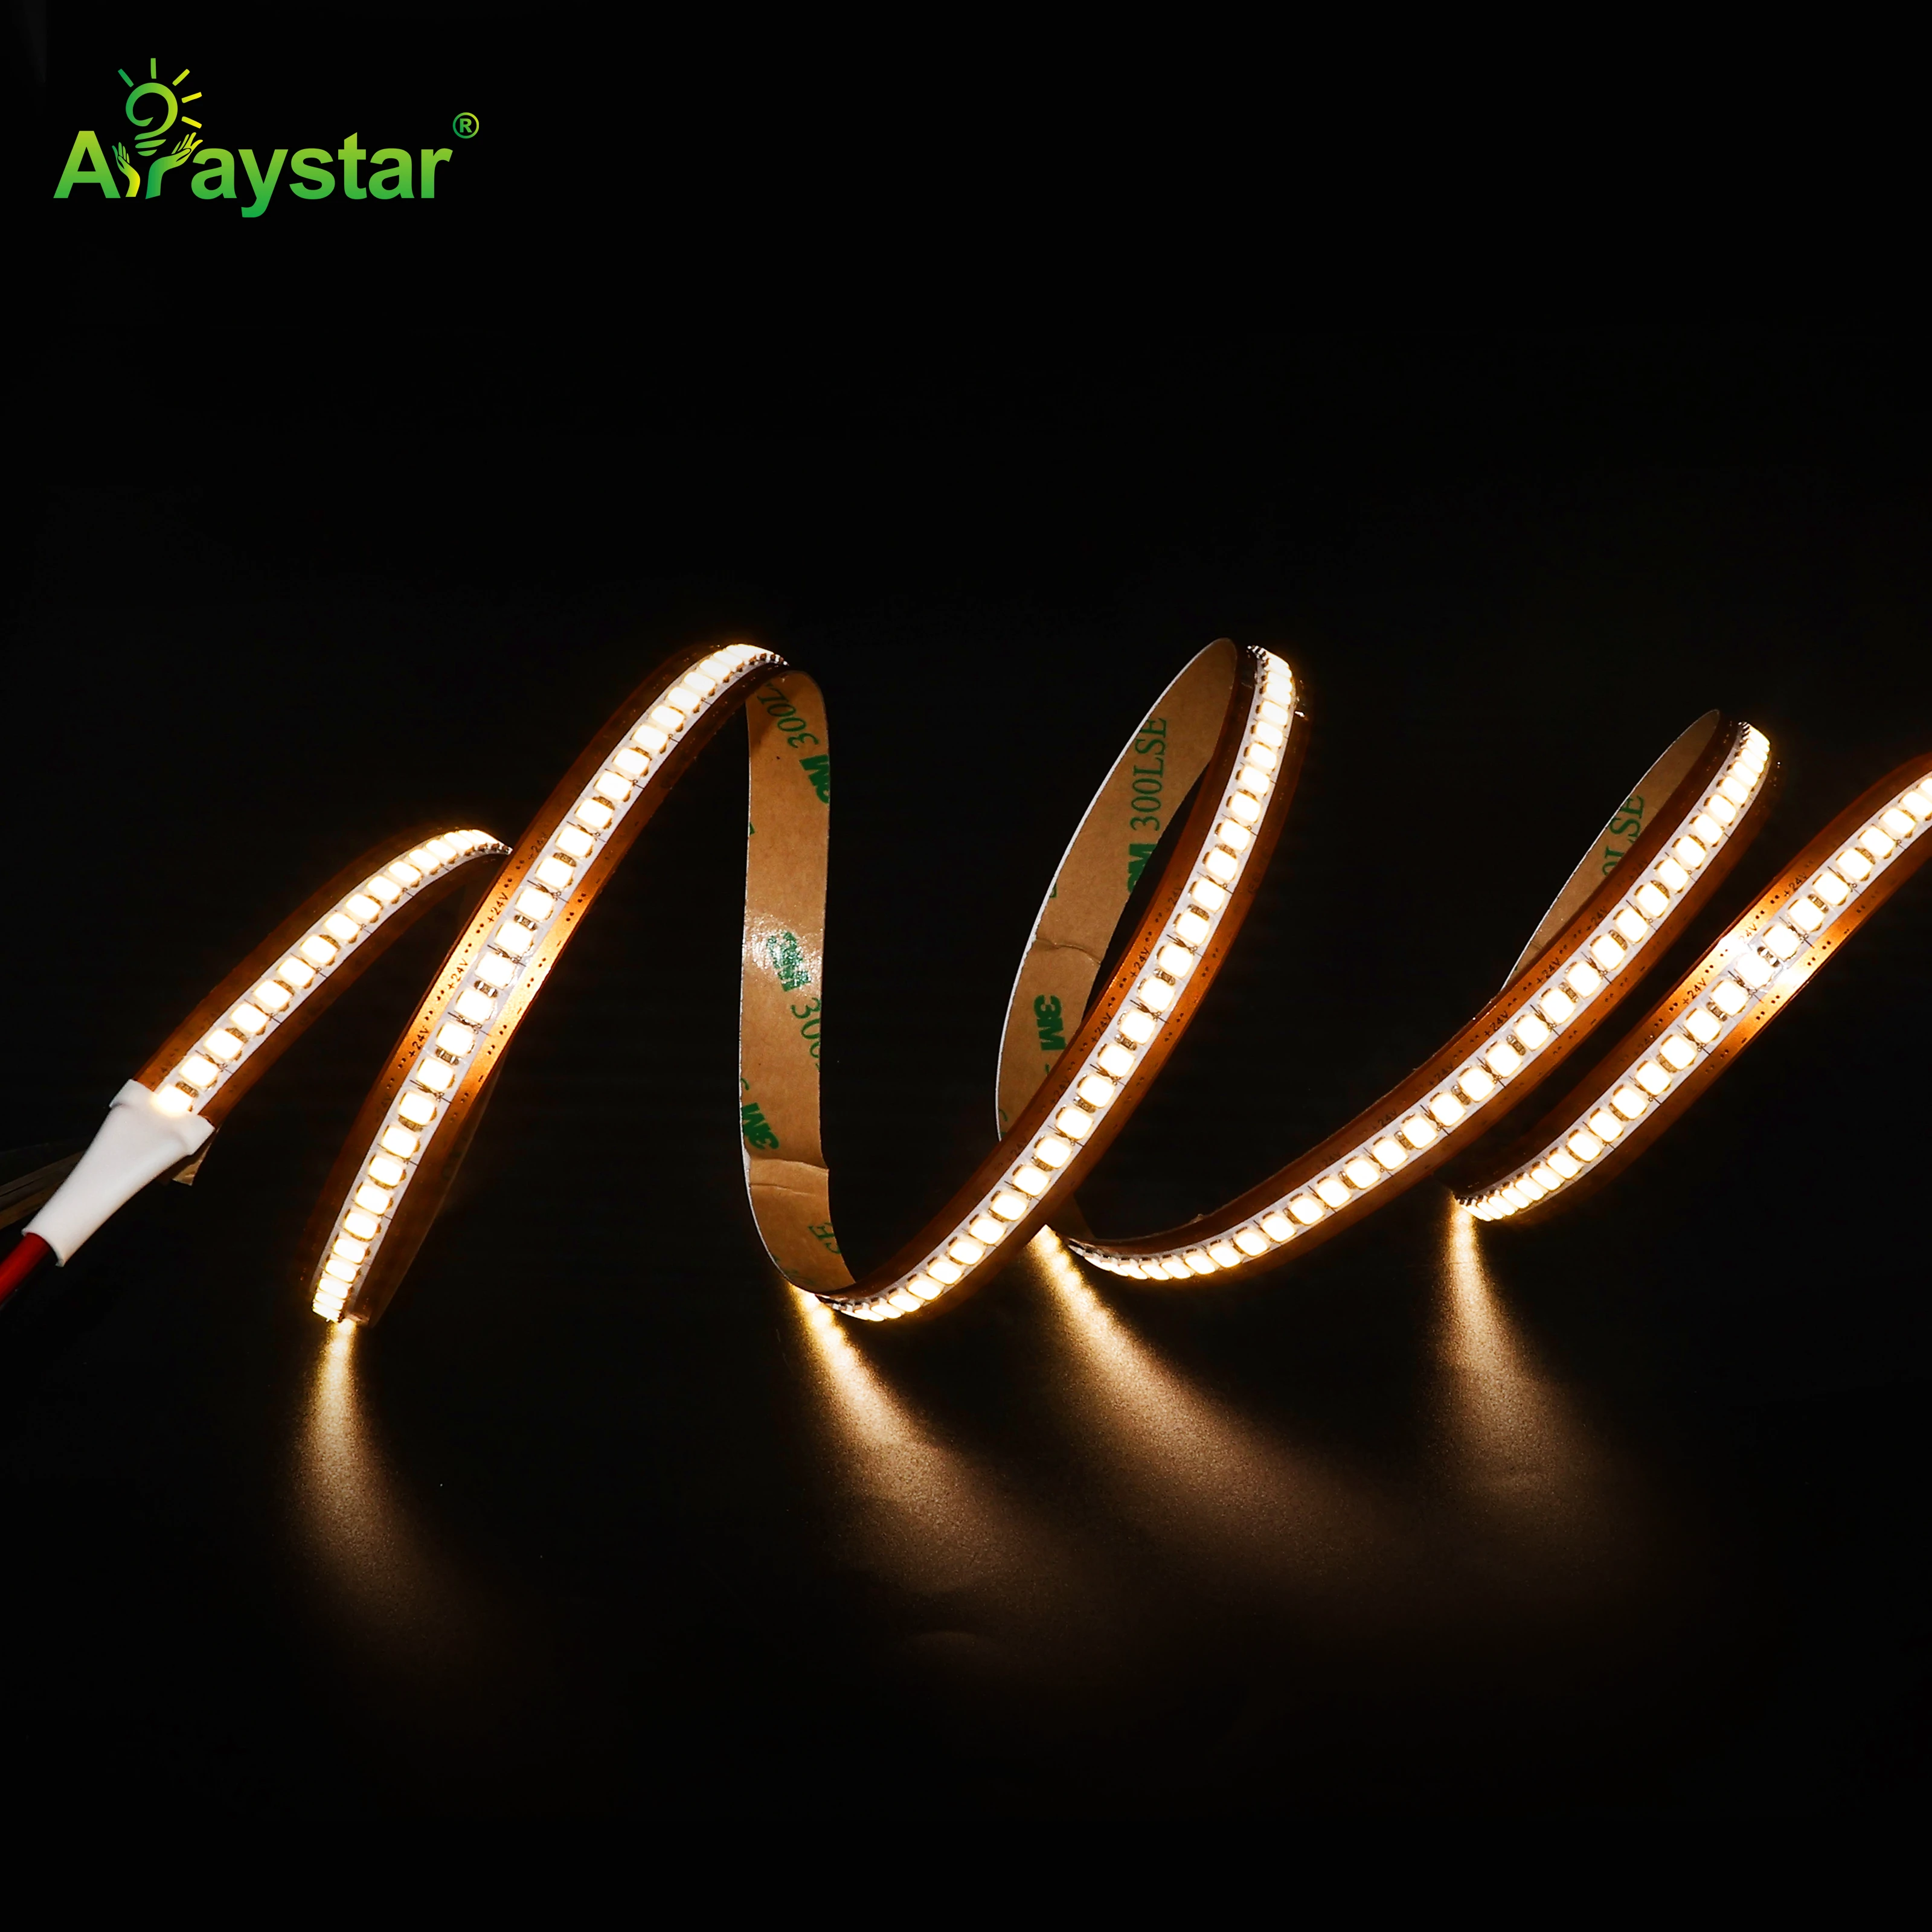
- Bed screw holes in silicone; porous render wicks rain behind the fixing.
- Use stainless clips; zinc-plated steel rusts within a year on exterior masonry.
- Plan clips at 300 mm on rough walls, 500 mm on smooth render.
Recommended Products
Frequently Asked Questions
Why will VHB tape not hold LED strip on stucco?
Because stucco undulates 3 to 5 mm and VHB foam only conforms about 0.5 mm. You end up bonding to the tips of the aggregate, maybe 20 percent contact, and each tip is a point load. Heat expansion shears those points off. On rough masonry, adhesive is positioning, not fixing.
What can I use instead of tape on a concrete wall?
Stainless U-clips every 300 to 400 mm, screwed into masonry plugs. On a rough face, bed each screw hole in a small dab of silicone to stop rain wicking behind it. Add a bead of construction adhesive between the clips to fill the gaps. The clips carry the load; the adhesive just seals.
Does a more aggressive outdoor tape work on stucco?
A little, but not enough to rely on. Outdoor-rated VHB on rough render still only contacts the high points, and the aggressive adhesive pulls off a layer of loose aggregate instead of holding the strip. You get a month or two of good weather, then a damp morning peels a section. Clips are cheaper than call-outs.
Should I choose a flexible or rigid strip for a rough wall?
Flexible. A narrow 2835 SMD board bends into the low spots of a rough wall and contacts more of the surface. A stiff rigid PCB bridges the bumps and only touches the high points. On a zigzag board, the strip also turns corners and contour changes without fighting the surface.
How do I stop rain getting behind the strip on masonry?
Bed the whole footprint in a 6 mm bead of clear silicone before pressing the strip down, then let it cure 24 hours. The silicone fills the air pockets and seals the wall. Add stainless clips every 300 mm and bed each screw hole with a dab of silicone. This keeps water out and holds the strip for years.
Need help with your LED project?
Get factory-direct pricing, free samples and engineering support within 24 hours.
Email: info@arraystarled.com | Phone: +86-0755-2103-6746 | WhatsApp: 0086 1581 8514 077
Need to size your power supply? Use our LED Strip Power Calculator to find the right driver in seconds.







