
Screw Holes and Clip Marks Show in My Surface-Mounted Channel
- 2026-11-02 15:55
- /
- Arraystar LED
You are not imagining the dots. A surface-mounted channel fixed with screws up the middle of the top lip will always show the holes under the diffuser. The fix is mechanical: move the fixing points to the side, or pick a channel with a hidden cover lip that hides the fasteners.
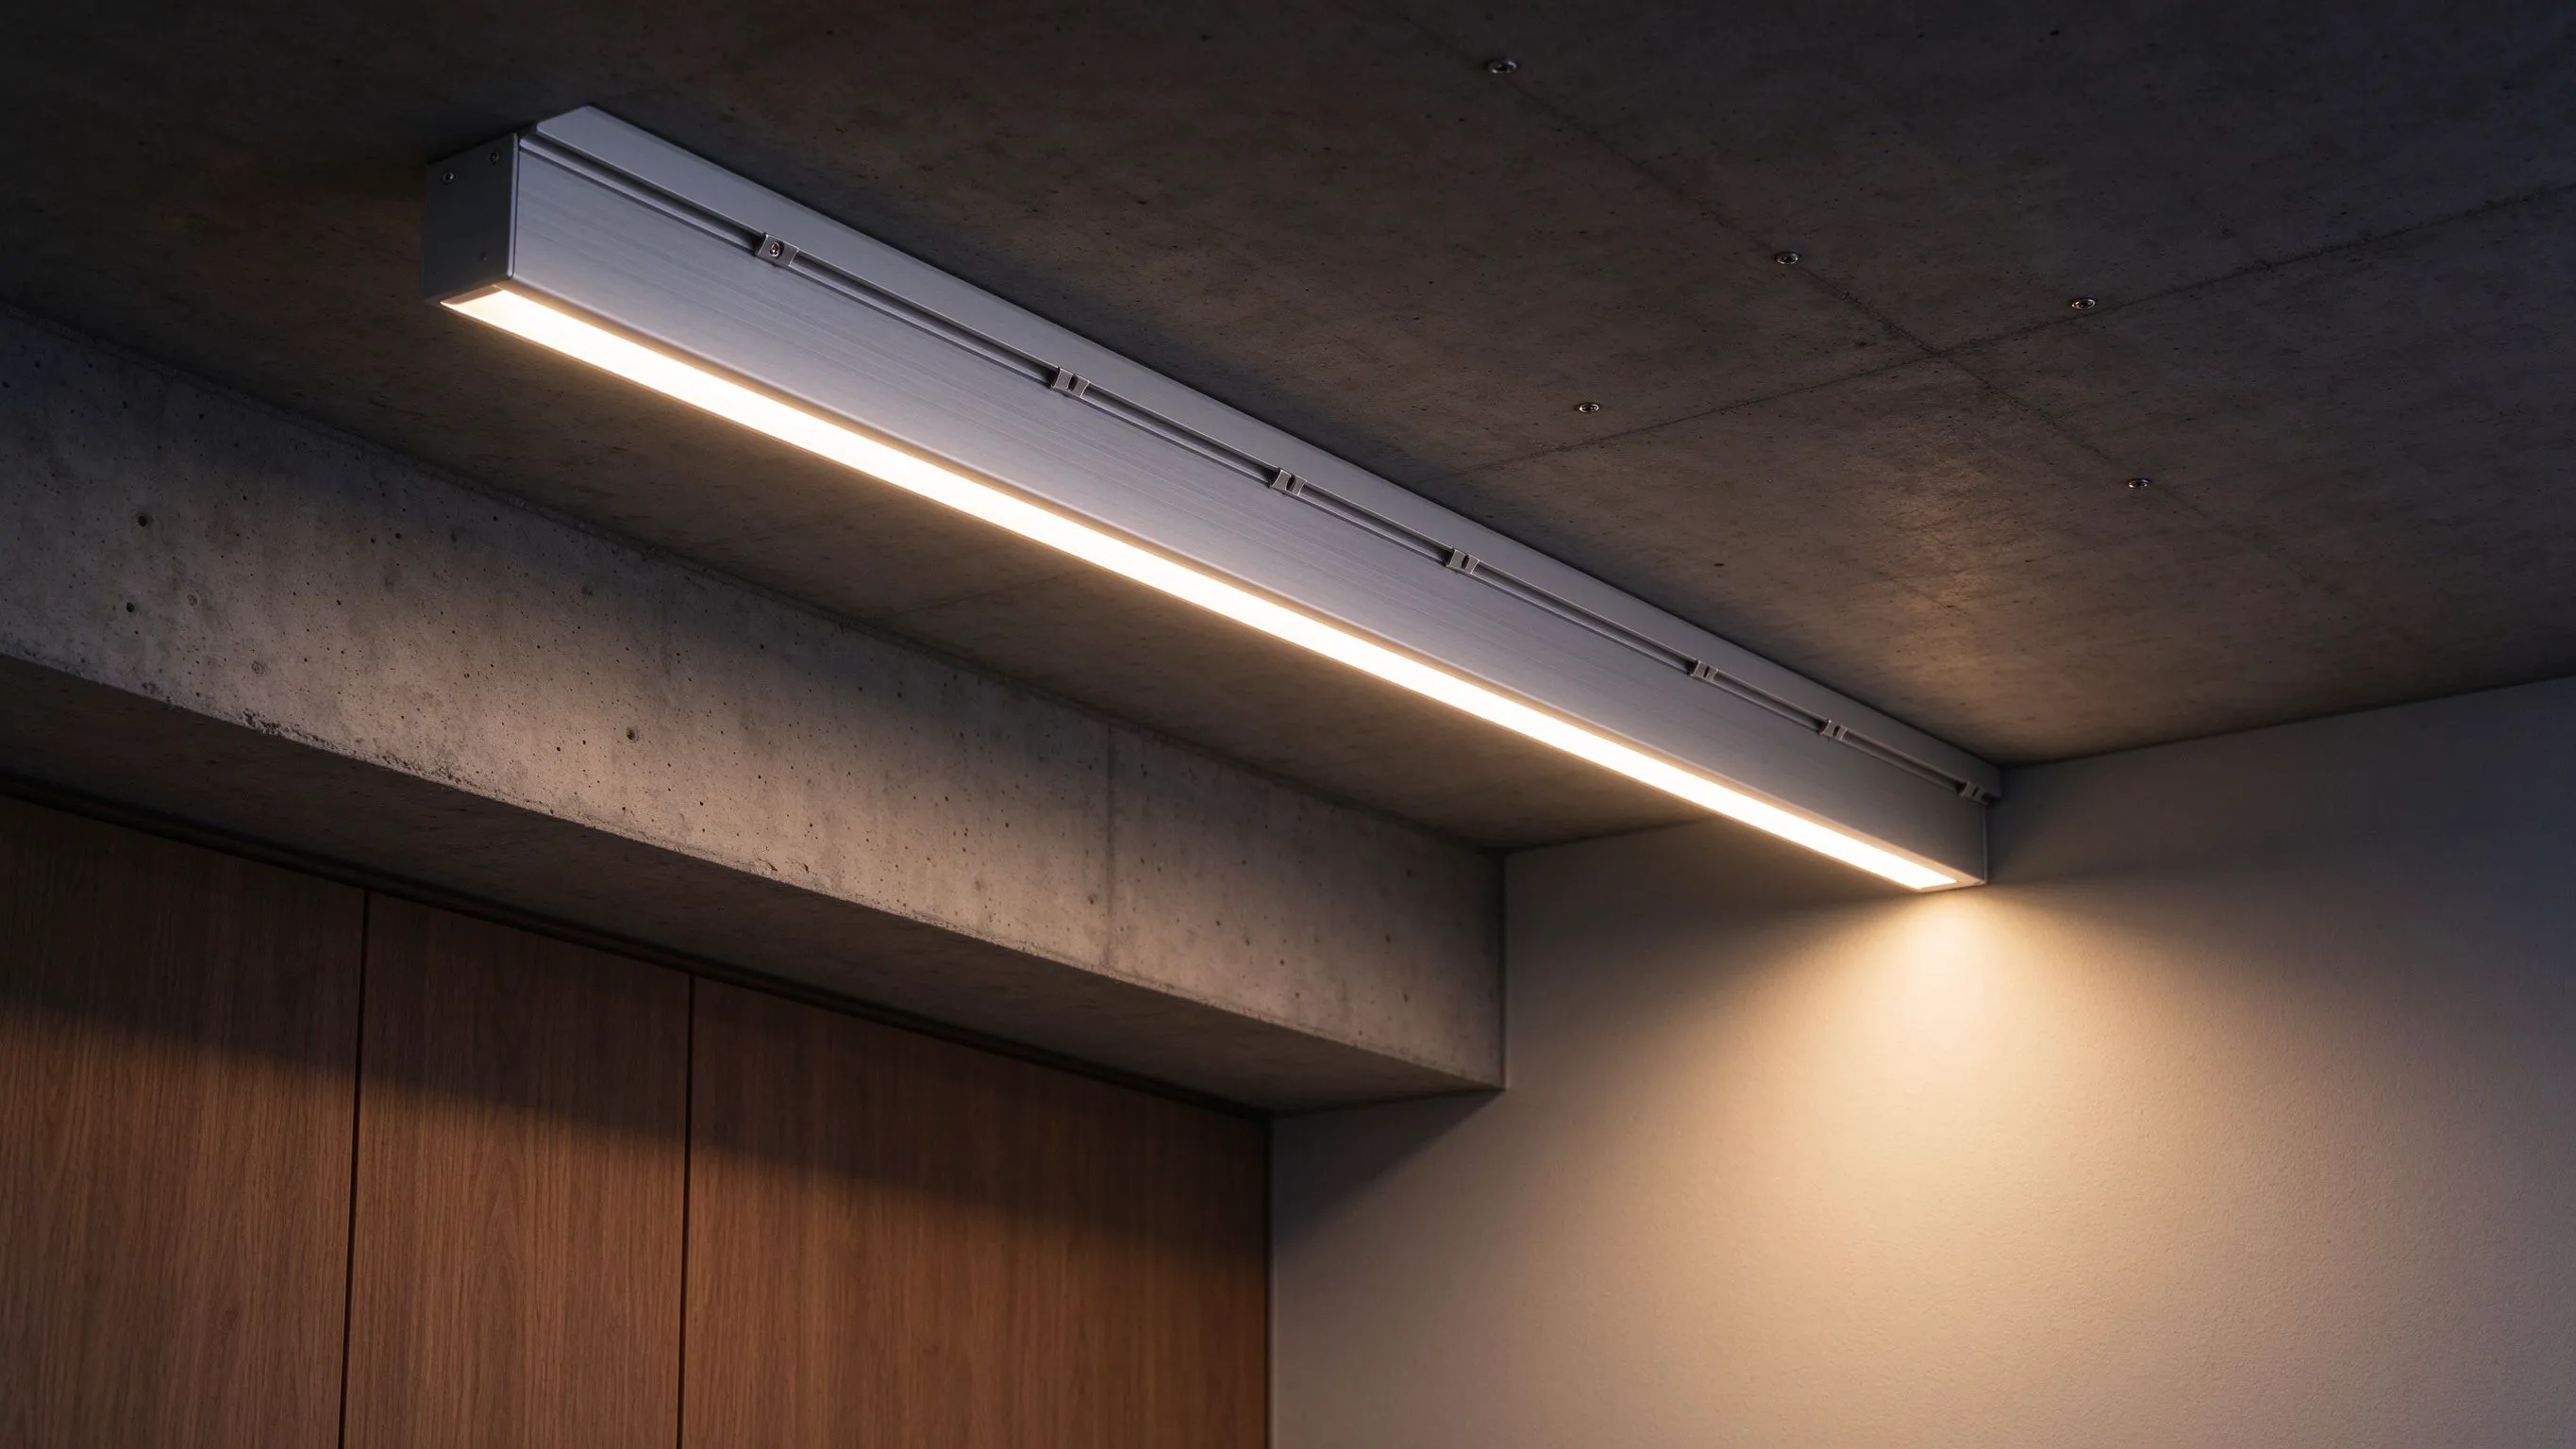
Why the dots show up only at night
In daylight you screw the channel to the wall, clip in the strip, pop the diffuser, and step back. It looks clean. Then the lights come on at 9 pm and you see a row of dark pinpricks down the middle of the run, exactly where the screws are. The diffuser is frosted enough to hide the screws in daylight, but when the strip behind it is the only light source, every shadow from a screw head projects through the plastic like a slide projector.
This is not a diffuser defect. It is a fixing-position problem. The screw head sits a few millimetres above the wall, directly between the LED and the diffuser, and it casts a small shadow cone. The thinner the diffuser, the sharper that shadow reads.
Where the fixing points actually belong
On a surface-mounted channel, the screw should never land on the light path. There are two places it can go: the side wall of the channel, through a pre-drilled hole in the aluminium leg, or under a removable cover lip that hides the fixing strip. A channel designed for surface mounting usually has one of those two features; if it does not, it is a recessed channel and you should not be screwing it to a flat wall.
If you can see the screw in daylight before the diffuser goes in, you will see it at night too.
| Fixing style | Visible at night? | Where to use it |
|---|---|---|
| Screw through top lip | Yes, dark dots | Never on a lit run |
| Screw through side wall | Hidden by diffuser lip | Surface mounts on flat walls |
| Clip over fixing strip | Completely hidden | Premium visible runs |
| Adhesive only | No holes at all | Short runs under 1 m on smooth walls |
Switching to side fixing
How I rework an existing run
- Pull the diffuser out and set it aside.
- Undo every top-lip screw and lift the channel about 5 mm off the wall.
- Drill a 3 mm hole through the side leg of the channel, every 400 to 500 mm.
- Fix through the side with a 6 mm pan-head screw and wall plug, so the head sits below the light path.
- Run a thin bead of neutral-cure silicone under the channel to fill the old top-screw holes.
Side fixing is not as strong as a screw through the top, because the side wall is thinner. On a 2 m horizontal run it is fine. On a 4 m run or on a wall subject to vibration, I add a small aluminium L-bracket at the midpoint instead of relying on the side screws alone.
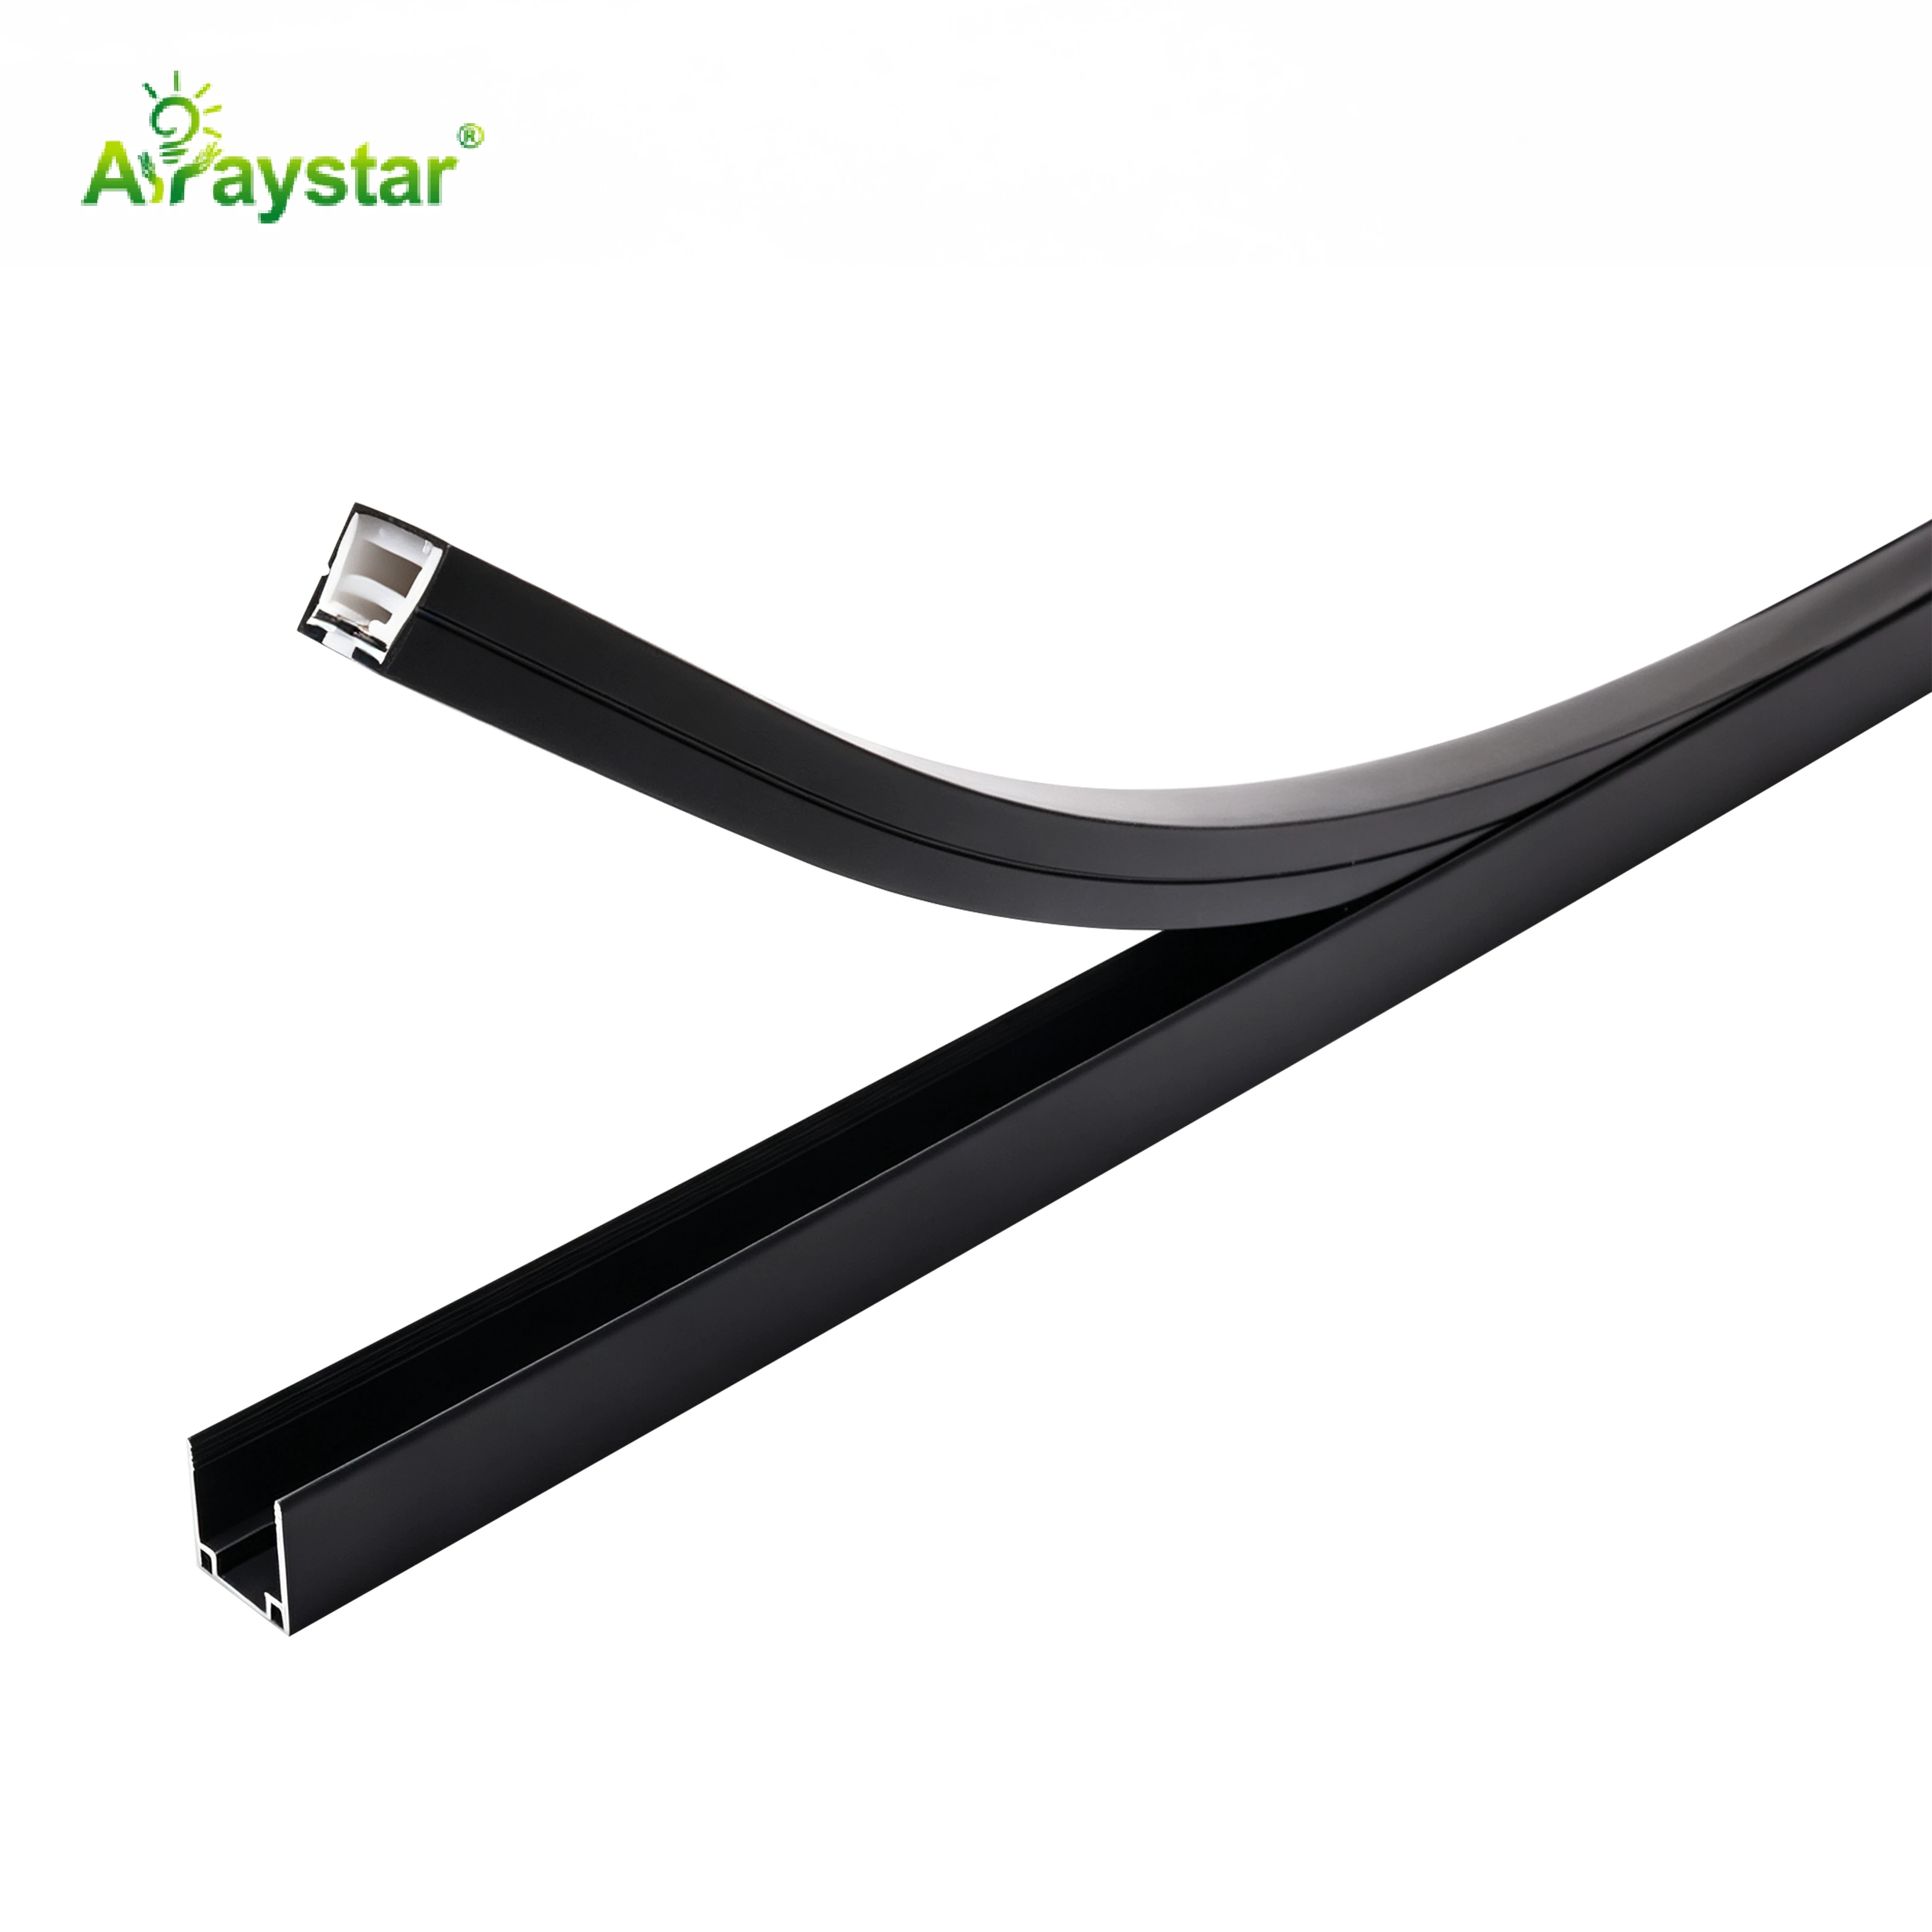
Choosing a clip-cover channel next time
The cleaner long-term fix is a channel with a separate fixing plate and a snap-on outer cover. You screw the plate to the wall, clip the channel body over it, and the screws are completely hidden between the two layers. This is the standard on premium cove and furniture installations, and it is why those runs look seamless from two metres back.
The trade-off is depth. A clip-cover channel is typically 2 to 3 mm deeper than a simple U-channel, so it stands further off the wall. On a tight cabinet reveal that may not fit. In that case I go back to side fixing and accept that the channel sits a little proud.
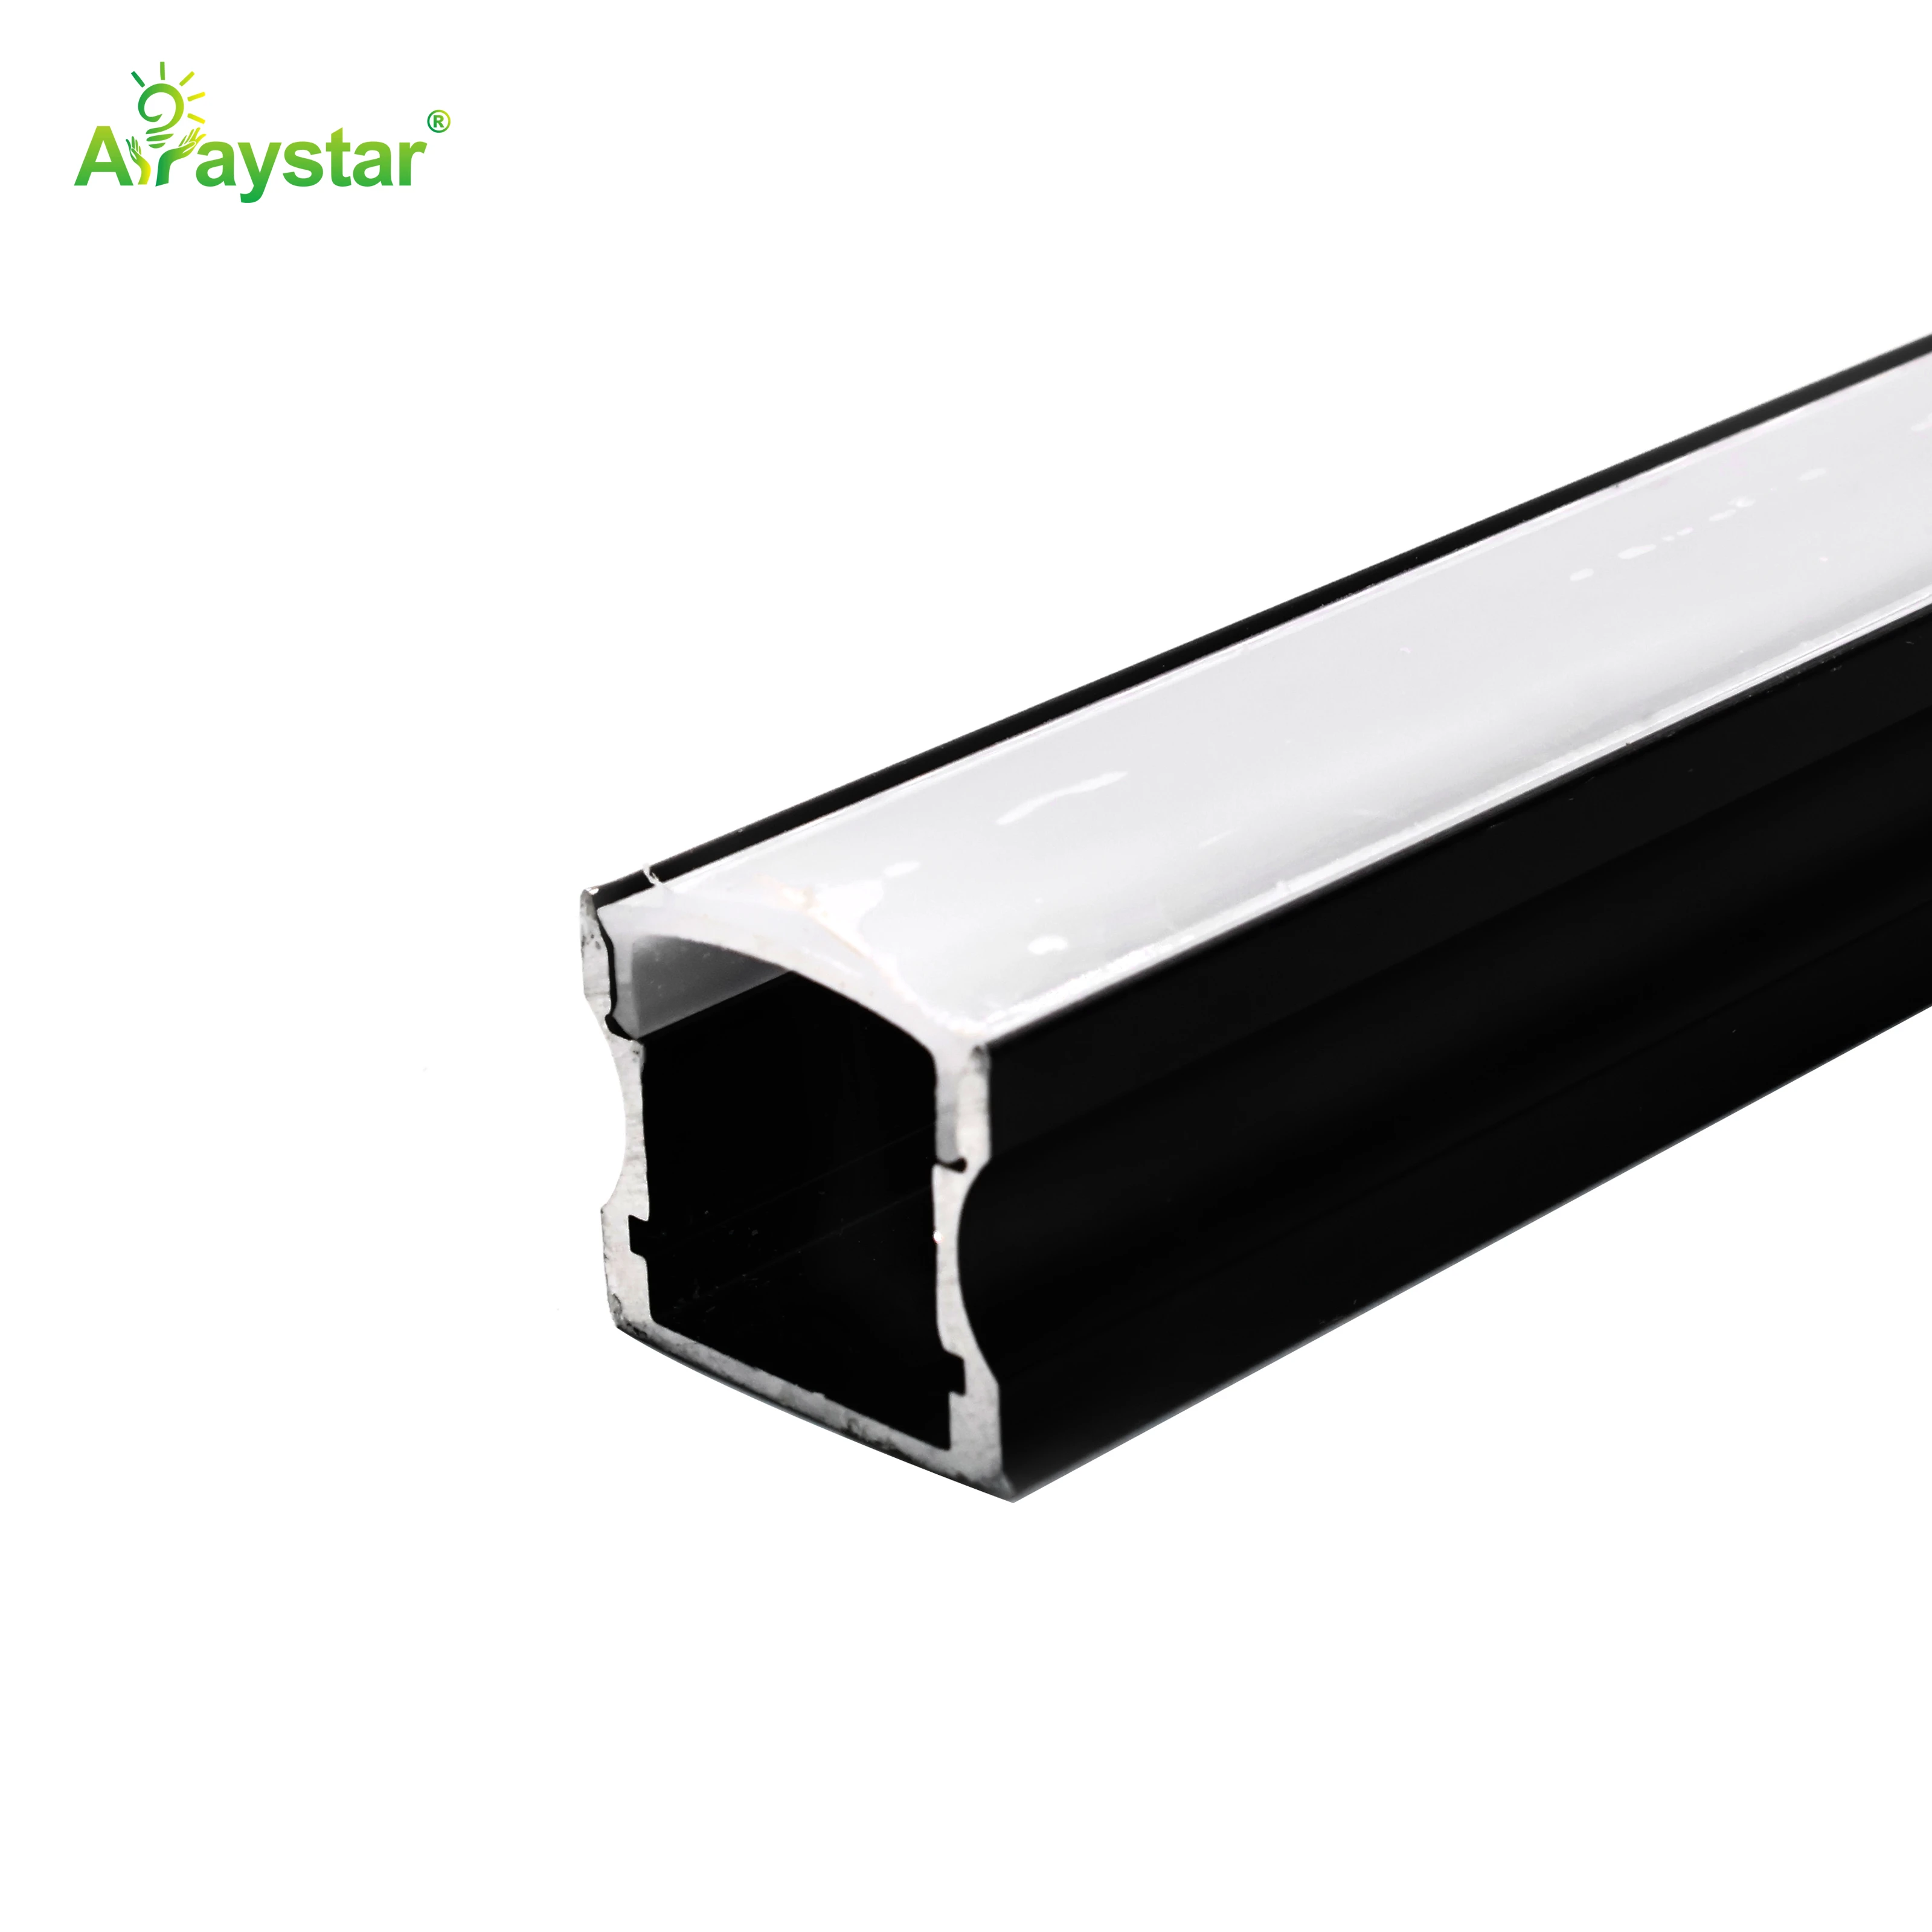
Adhesive, clips, and when the wall fights back
On smooth walls, glass, or furniture, I skip screws entirely and use VHB tape on the back of the channel. A 10 mm wide strip of 3 M VHB holds a 2 m aluminium channel permanently, and there is no hole to shadow. On painted drywall, tape alone will pull off after a year; on tile, glass, or powder-coated metal, it is the cleanest fix you can get.
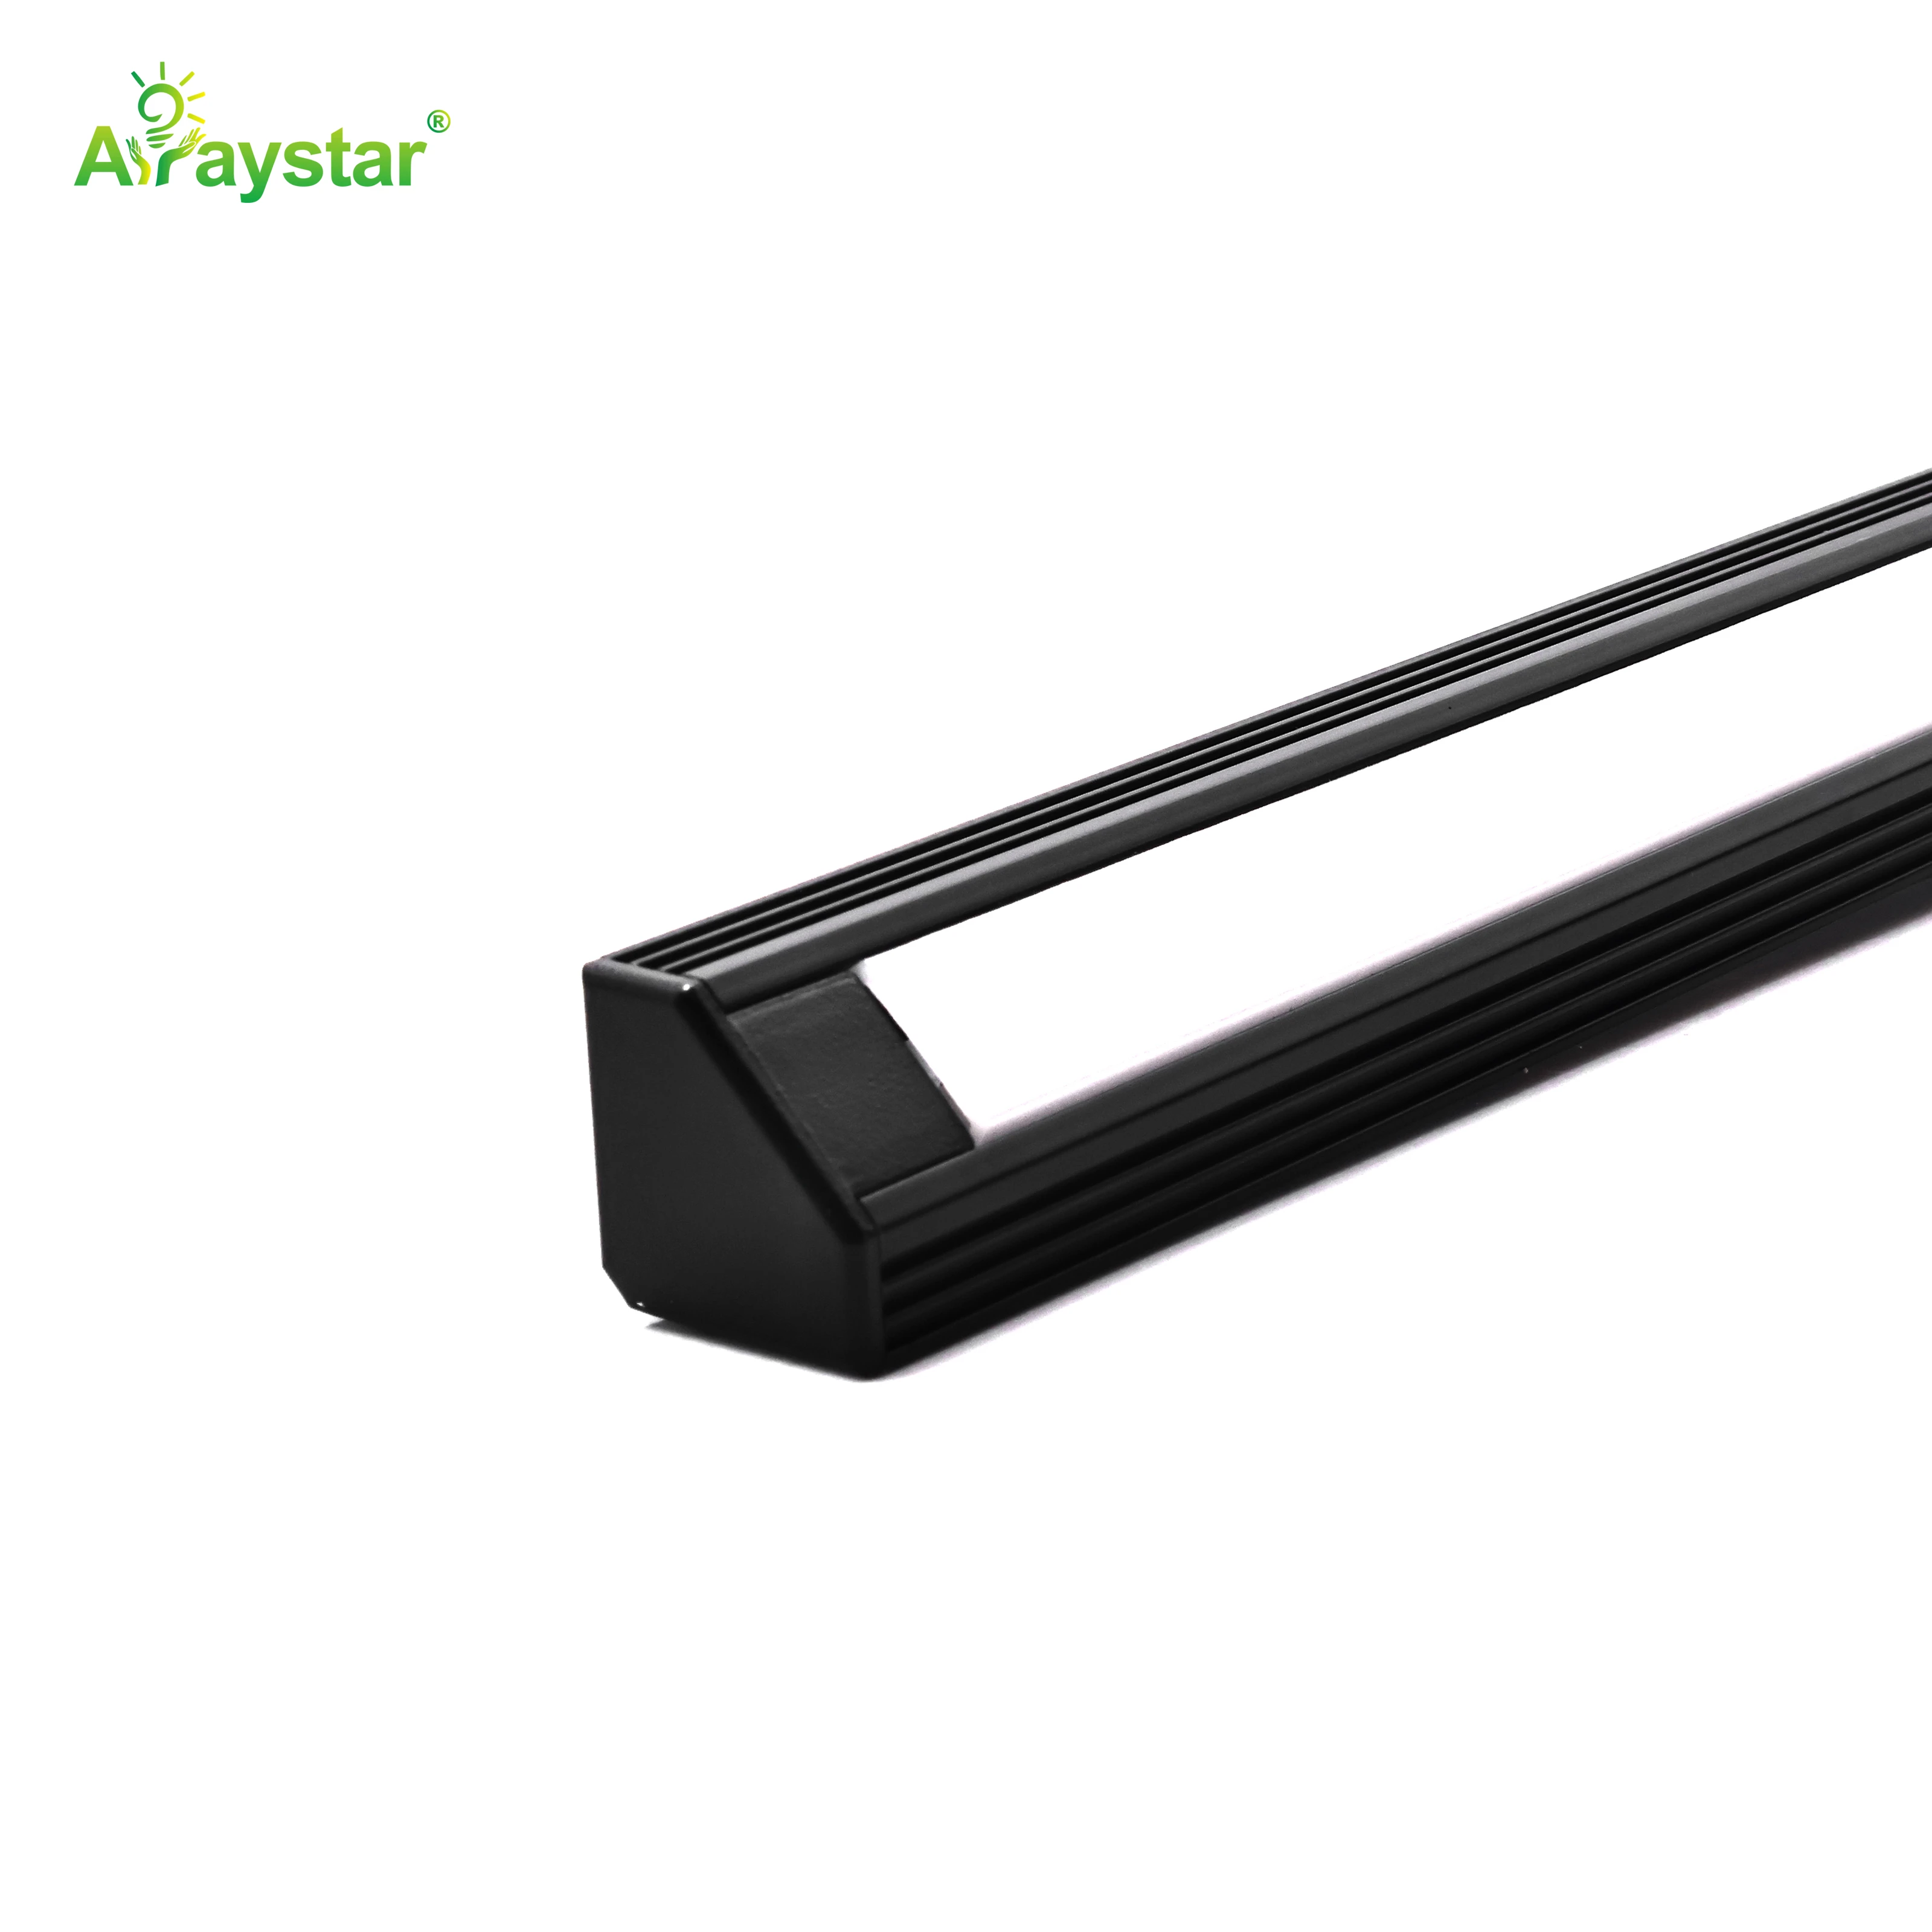
- Plan fixing positions before you order the channel; not every profile has side legs.
- Space fixings every 400 to 500 mm; wider gaps let the channel flex and show a shadow line.
- On textured walls, bed the channel with silicone so light does not leak under the edge.
- On painted drywall, use wall plugs, not self-drilling screws.
Recommended Products
Frequently Asked Questions
Why can I see screw holes through the LED diffuser at night?
Because the screw head sits between the LED strip and the diffuser, casting a small shadow. In daylight the ambient light hides it, but when the strip is the only source, that shadow projects through the frosted plastic. The fix is to move the screws out of the light path, through the side wall of the channel.
Can I just fill the old screw holes with filler?
You can, but the screw head itself is still inside the channel, still casting a shadow. Filling the hole on the wall outside the channel does nothing for the dot you see through the diffuser. You have to remove the screw, move the fixing point to the side leg, and then fill the hole on the wall.
How far apart should channel clips or screws be?
Every 400 to 500 mm on a horizontal surface-mounted run. Wider than that and the channel bows between fixings, which reads as a soft shadow line along the whole run. On vertical runs or on channels over 20 mm wide, I go tighter, every 300 mm. End fixings within 50 mm of each end.
Does VHB tape hold an aluminium channel permanently?
On smooth, clean, non-porous surfaces, yes. Tile, glass, powder-coated metal, varnished wood. On painted drywall or plaster, the paint layer pulls off after a year. Wipe the surface with isopropyl first, press the channel on for 30 seconds, and wait 24 hours before loading it. VHB is not removable, so plan the position carefully.
What is a clip-cover channel and why is it cleaner?
It is a two-piece channel: a fixing plate screws to the wall, and the decorative channel body clips over the plate. The screws sit between the two layers, hidden from view. It costs a little more and stands 2 to 3 mm prouder than a simple U-channel, but on a visible wall run it is the only way to get a truly seamless look.
Need help with your LED project?
Get factory-direct pricing, free samples and engineering support within 24 hours.
Email: info@arraystarled.com | Phone: +86-0755-2103-6746 | WhatsApp: 0086 1581 8514 077
Need to size your power supply? Use our LED Strip Power Calculator to find the right driver in seconds.







