
Touch Dimmer Sensor Switches: Wiring a 5A Under-Cabinet Circuit
- 2026-10-09 18:41
- /
- Arraystar LED
Under-cabinet task lighting is best controlled from a single point that both switches and dims, and a 12-24V 5A capacitive touch dimmer handles a full run of cabinet strip directly, up to its current rating, with a clean touch interface. Wiring it correctly to stay within 5A and dimming flicker-free is the difference between a professional kitchen fit-out and a strip that buzzes or drops out at low brightness.
Why Under-Cabinet Light Wants a Touch Dimmer
Kitchen task light needs to change with the activity: bright for prep and cooking, softer for evening and entertaining, and off entirely when not needed. A basic on/off controller cannot provide that range, while a mains dimmer is awkward to place among wall cabinets and often does not dim low-voltage LED strip cleanly.
A low-voltage capacitive touch dimmer mounted at the cabinet front gives a single intuitive point that taps to switch and holds to dim, sitting exactly where someone working at the counter reaches for it.
What the 12-24V 5A Touch Dimmer Does
- Tap to switch on/off, hold to dim up and down.
- Operates on 12V or 24V constant-voltage strip.
- Handles up to 5A of connected LED load.
- Capacitive touch with no mechanical switch to wear.
- Remembers the last brightness on many models.
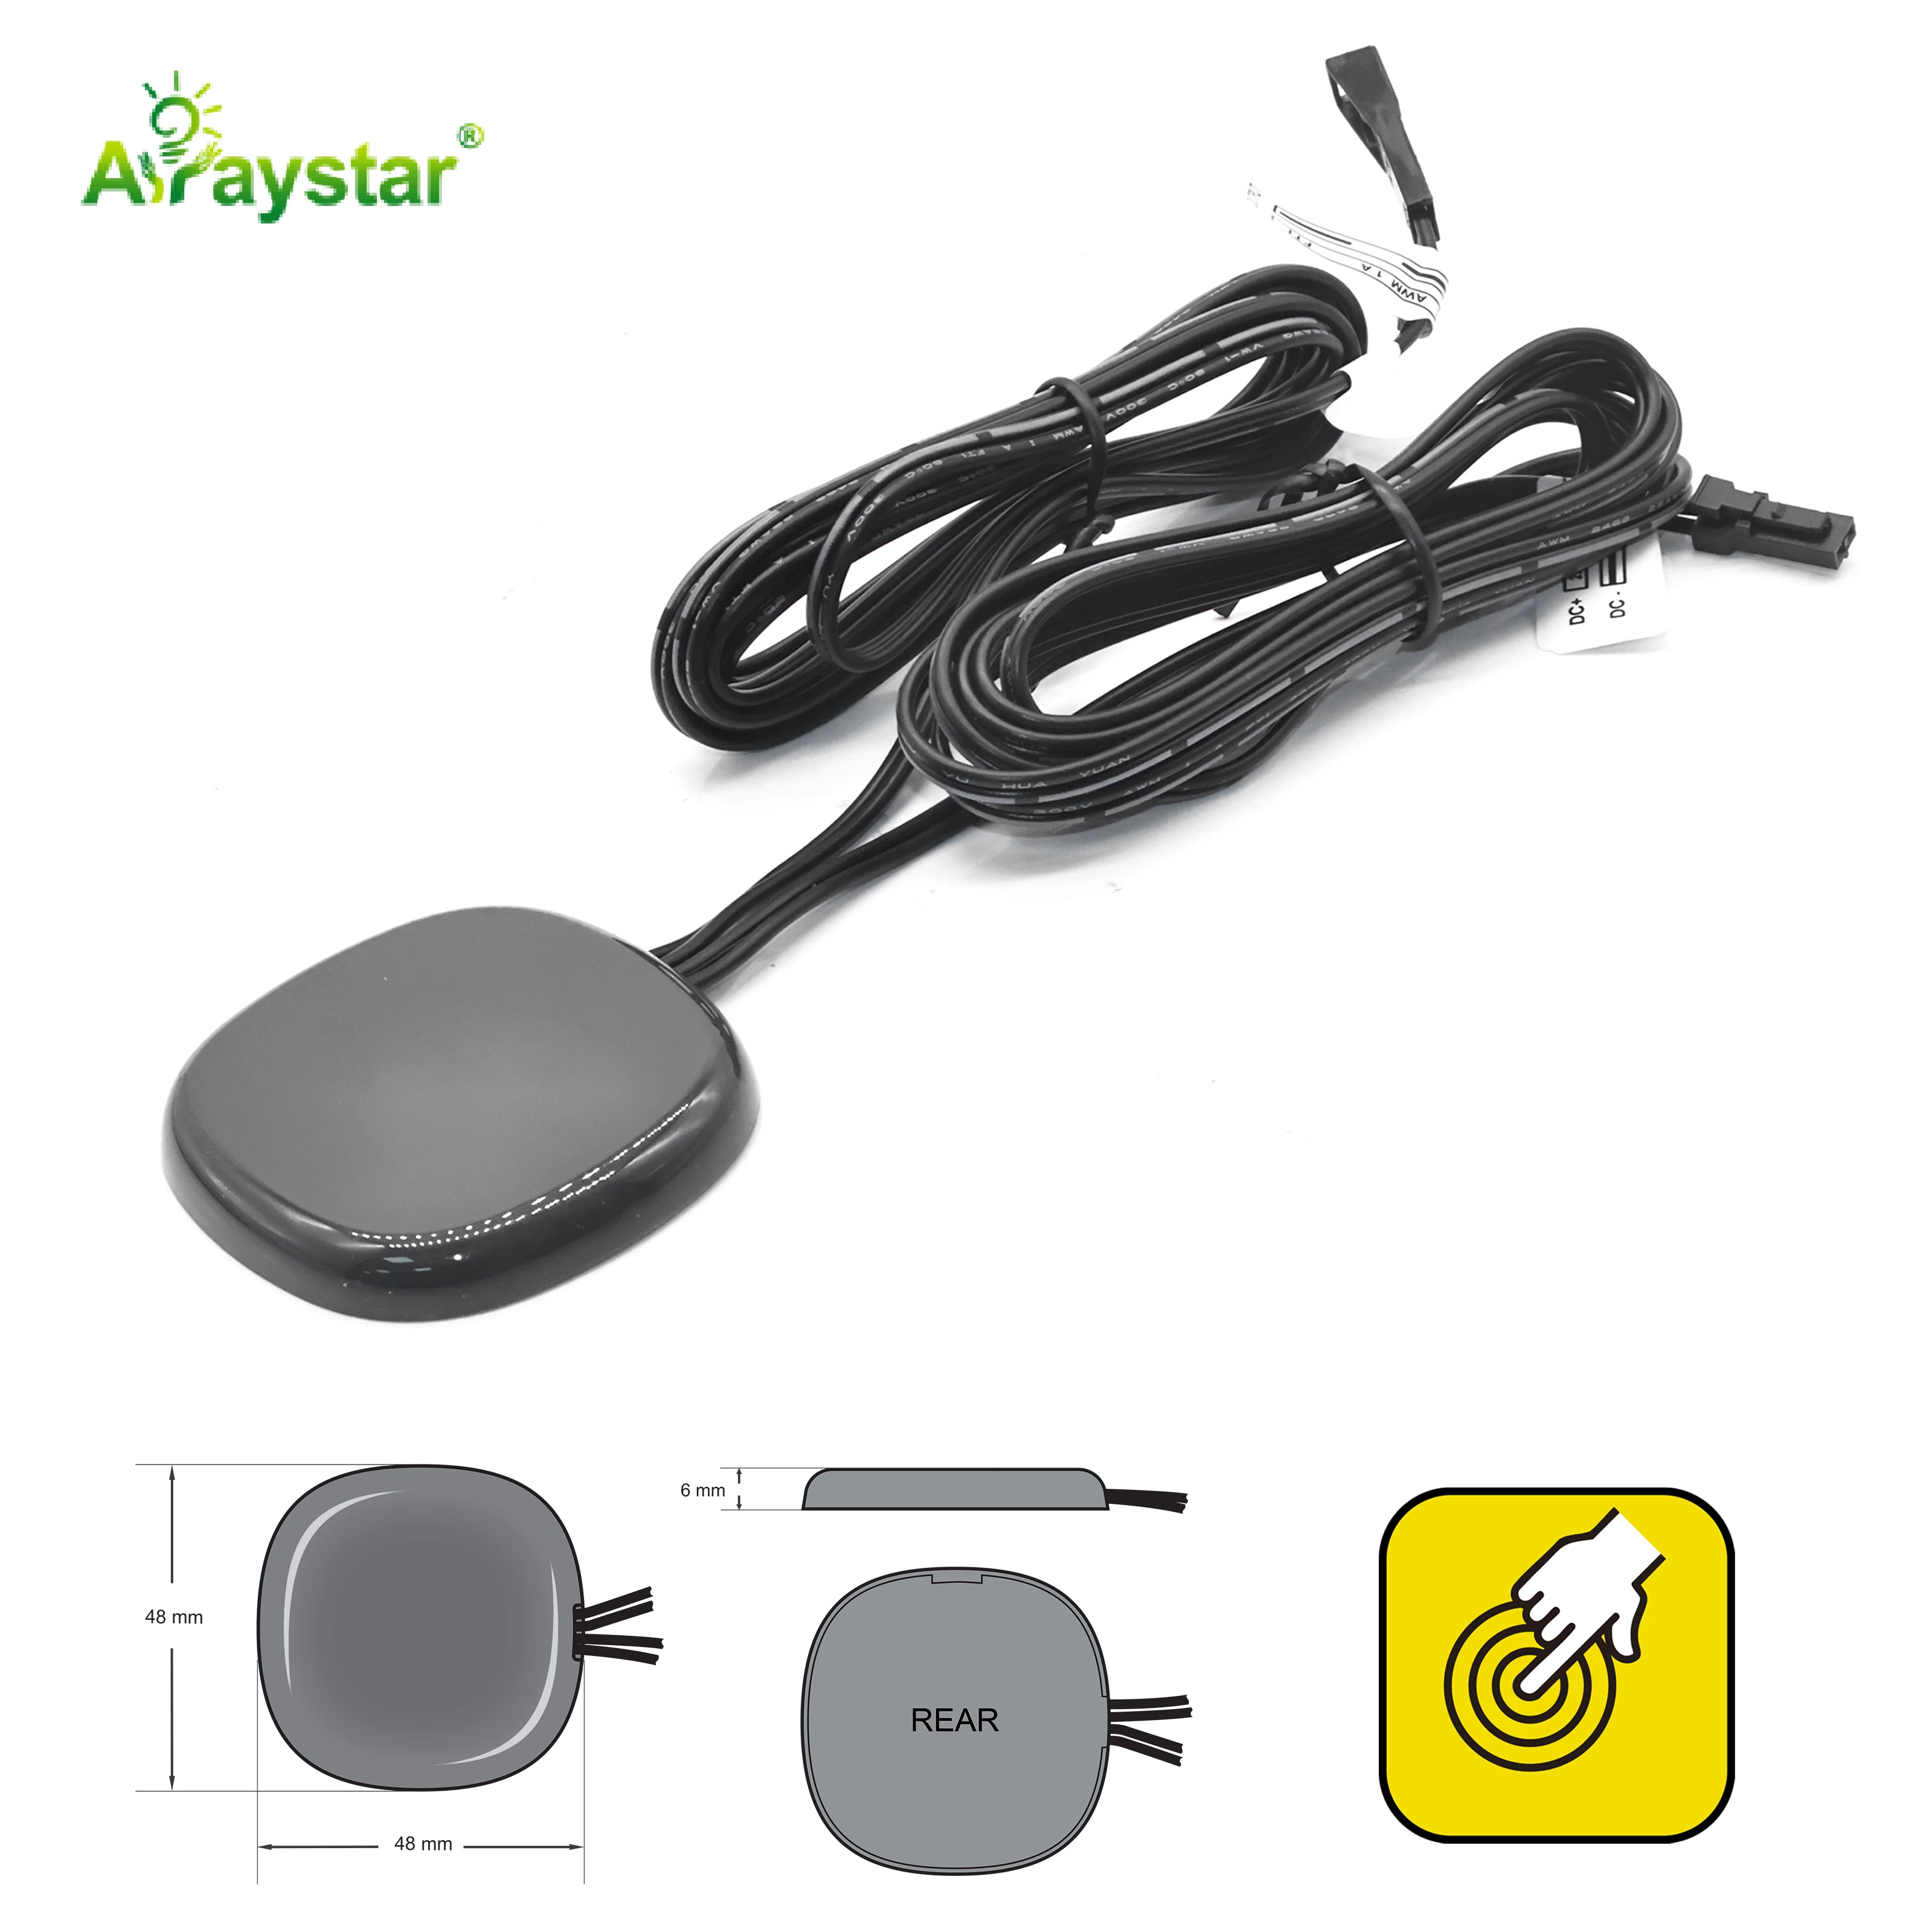
For a full under-cabinet run I use the 5A touch dimmer. It combines switching and smooth dimming at one reachable point on the low-voltage side.
Calculating Whether One 5A Dimmer Covers the Run
Always calculate strip current at full brightness, not by eye.
| Voltage | 5A corresponds to approx. | Typical coverage |
|---|---|---|
| 12V | 60W | A modest single-cabinet run |
| 24V | 120W | A longer under-cabinet run |
| Over 5A / over wattage | Split the load | Use two dimmers or an amplifier |
The essential calculation is total strip current: metres multiplied by current per metre. I keep the connected load within 5A with headroom, because running a dimmer at its limit causes heat and shortens life. At 24V the same 5A covers roughly double the wattage of 12V, which is one reason longer kitchen runs favour 24V strip.
Wiring the Dimmer Into the Circuit
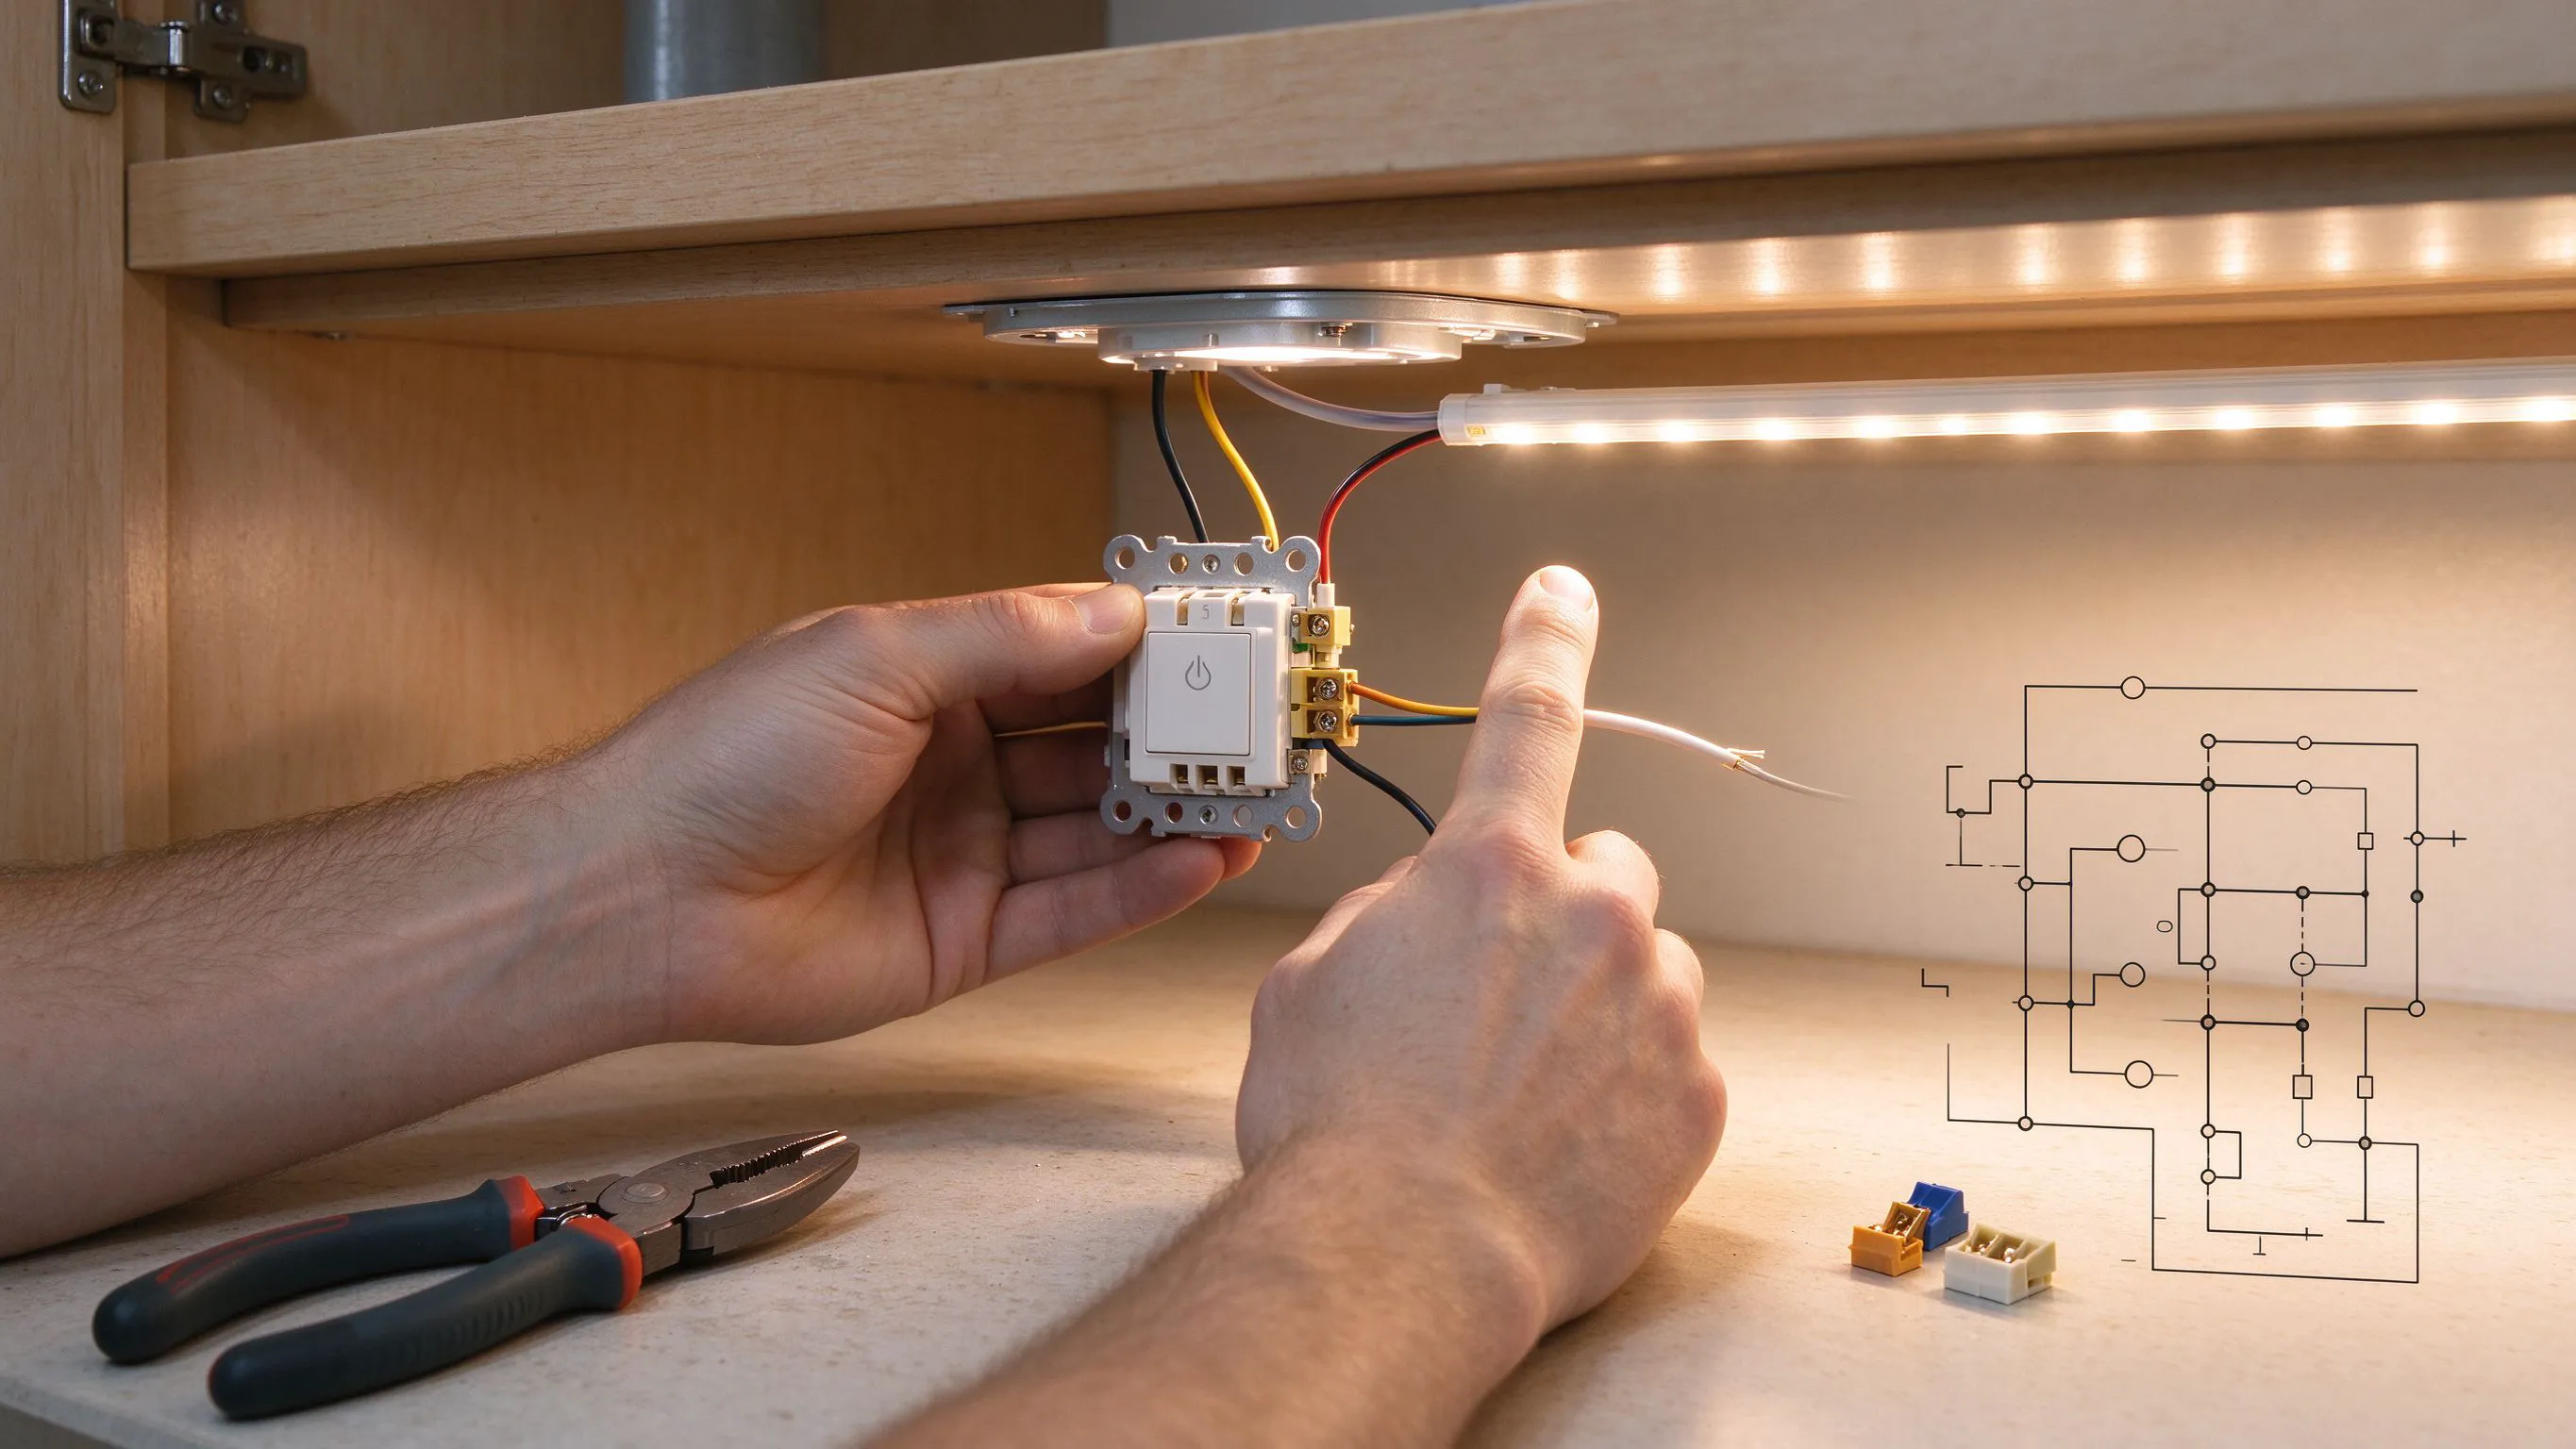
The dimmer sits between the constant-voltage driver and the strip: driver output to the dimmer input, dimmer output to the LED run, with polarity correct throughout and common negative/positive according to the device. I mount the touch point where it is reachable but not brushed accidentally, keep wiring tidy inside the cabinet, and where a run exceeds 5A I split it across multiple dimmers or add a power amplifier rather than overloading one unit.
- Wire driver to dimmer input, dimmer output to the strip.
- Observe polarity and the device's common wiring.
- Keep connected current under 5A with headroom.
- Split loads or add an amplifier for longer runs.
- Position the touch point to avoid accidental brushes.
Achieving Flicker-Free Low-End Dimming
A touch dimmer is only as good as its low-end behaviour. I pair it with a constant-voltage driver that dims cleanly and test the lowest level, because an incompatible or overloaded supply causes flicker, buzzing or sudden drop-out when dimming for evening light. If a long run shows uneven brightness between the first and last cabinets, I add power injection so the dimmed light stays uniform across the whole kitchen rather than fading toward the far end.
Single-Zone vs Multi-Zone Kitchen Control
One 5A touch dimmer suits a single under-cabinet zone switched and dimmed together. When a kitchen has distinct areas, wall cabinets, island pendants on separate drivers and plinth lighting, I give each zone its own control or use a multi-zone system so prep light and ambient light can be set independently. I plan the zones around how the client actually cooks and entertains rather than wiring everything to one point for convenience.
Specifying Under-Cabinet Dimming
Send the strip voltage, current per metre, total run length and how many zones you need. I will calculate total current, confirm whether one 5A touch dimmer covers the run or whether splitting or an amplifier is required, and specify a compatible flicker-free driver. We supply the 5A touch dimmer and recommend testing the full dimming range including the lowest evening level after wiring, before the cabinet trim is closed.
Zoning a Galley Kitchen for Task and Ambient Light
A galley kitchen had a single long run of wall cabinets down one side and a smaller return over the hob, and the client initially asked for one touch dimmer to control everything for simplicity. Once we walked through how the room is used, evening cooking with bright task light, morning coffee with soft ambient light, and guests with only the plinth and display cabinets lit, it was clear one zone would force compromises, and the total strip current also exceeded a single 5A dimmer at 12V.
- Calculate current per zone first; the combined run exceeded one 5A dimmer.
- Move the main run to 24V so each 5A dimmer covers more metres with less voltage drop.
- Give the prep/hob task strip its own touch dimmer set bright for cooking.
- Give the display and plinth ambient strip a separate dimmer set low for evenings.
- Place each touch point at the cabinet front nearest where that zone is used.
We re-specced the task run on 24V, which brought the prep and hob strip within one 5A touch dimmer with comfortable headroom and reduced the voltage drop that had made the far end of a proposed 12V run dimmer than the sink end. The ambient display and plinth strip, a much lower load, went on a second touch dimmer so the client could run soft evening light without flooding the work surface. Two touch points were mounted at the cabinet fronts, one by the prep area and one by the display shelving, each reachable from where that light is actually used. We paired both with flicker-free drivers and tested the lowest evening dimming level, the point where cheap combinations buzz or cut out, and added one injection point on the long task run so the light stayed perfectly uniform from sink to hob. The client ended up with independent bright cooking light and warm ambient light, each smoothly dimmable, rather than a single overloaded switch that did neither job well. The job reinforced two habits I now apply to every kitchen: zone the controls around real activities rather than wiring convenience, and do the current calculation before choosing voltage and dimmer count, because the one-dimmer request almost always hides both a capacity and a use-case problem.
Recommended Products
Frequently Asked Questions
What is a 12-24V 5A touch dimmer switch?
It is a low-voltage capacitive controller for constant-voltage LED strip: tap the touch point to switch on or off and hold it to dim up and down, often remembering the last brightness. It works on 12V or 24V and handles up to 5A of connected LED load, typically placed at the front of under-cabinet runs.
How much LED strip can one 5A dimmer control?
Calculate metres multiplied by current per metre and keep the total under 5A with headroom. At 12V that is roughly 60W and at 24V roughly 120W, so longer runs favour 24V. If the run exceeds the rating, split it across two dimmers or add a power amplifier rather than overloading one unit.
How do I wire a touch dimmer to under-cabinet strip?
Connect the constant-voltage driver output to the dimmer input and the dimmer output to the LED run, observing polarity and the device's common wiring. Mount the touch point within reach but where it will not be brushed accidentally, keep the load under 5A, and split the circuit or add an amplifier for longer runs.
Why does my touch-dimmed strip flicker or buzz at low brightness?
Usually a driver compatibility or overload issue: the constant-voltage supply does not dim cleanly to the low end, or the dimmer is run near its 5A limit and overheating. Use a compatible flicker-free driver, keep the load within rating with headroom, and add power injection if a long run is uneven or fades toward the far end when dimmed.
Should I control the whole kitchen from one touch dimmer?
Only if it is a single zone used together and within 5A. If the kitchen has separate wall-cabinet, island and plinth lighting on different drivers, give each area its own control or use a multi-zone system so task light and ambient light can be set independently, planned around how the space is actually used for cooking and entertaining.
Need help with your LED project?
Get factory-direct pricing, free samples and engineering support within 24 hours.
Email: info@arraystarled.com | Phone: +86-0755-2103-6746 | WhatsApp: 0086 1581 8514 077
Need to size your power supply? Use our LED Strip Power Calculator to find the right driver in seconds.







