
A Sharp Bend Killed a Section of My COB Strip - Cracked Board Inside
- 2026-11-02 15:54
- /
- Arraystar LED
You are not imagining it: a COB strip will bend around a 90 degree corner on the reel, and then die two weeks later at the exact corner you pulled tight. The flex survives the install; the copper trace underneath does not.
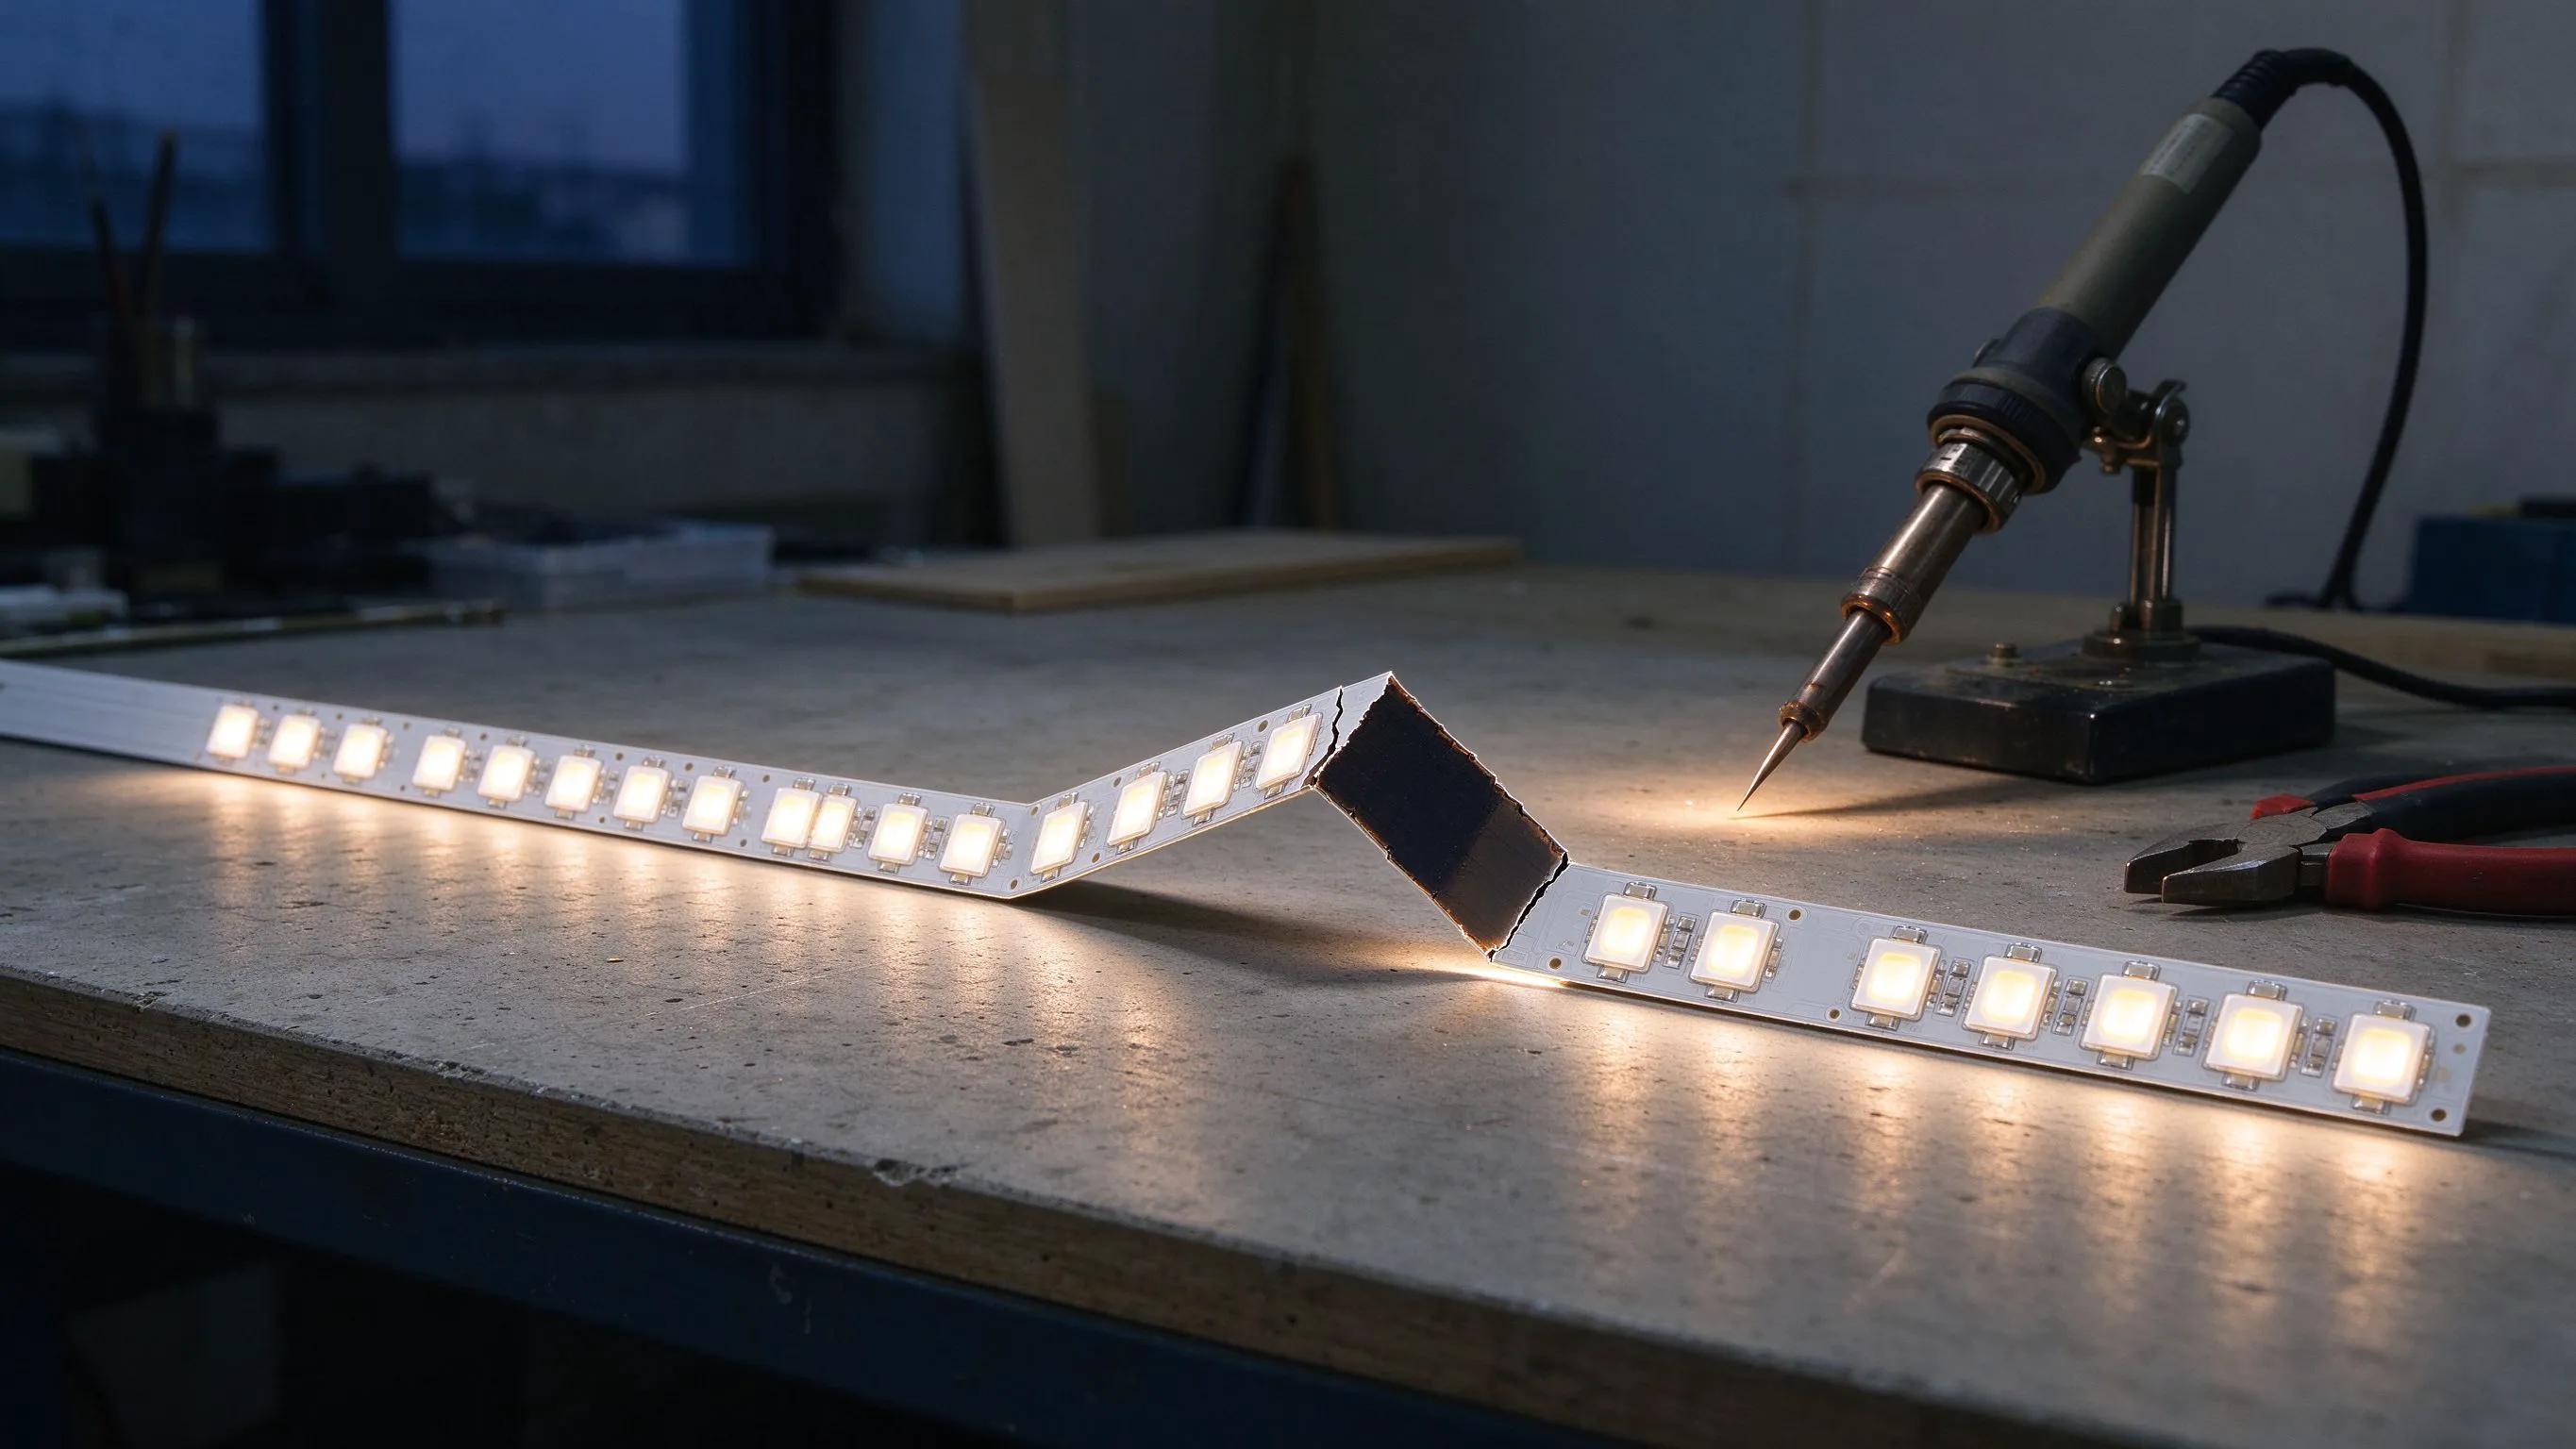
The symptom that always looks like a driver fault
The first call I get is almost identical. A run lights up fine after install, then one segment goes dark, and the dark part begins exactly at a tight corner where the strip turns around a cabinet, a window reveal or a cove. The driver still hums, the rest of the run is at full brightness, and swapping the PSU does nothing. I have stopped replacing drivers on these calls. I go look at the bend.
COB flex looks unbreakable because the whole face is a phosphor slab with no visible chips. People treat it like a rubber cord and crease it around a 5 mm corner radius. The slab tolerates that. The 35 micron copper trace routed under it does not, and a hairline crack opens on the first thermal cycle after install.

Where the trace actually cracks
COB copper traces are thinner than the traces on a 5050 SMD board, because the PCB has to stay flexible enough to wrap. When you fold the strip past its minimum bend radius, the outer copper layer stretches beyond its yield point. It does not snap open immediately. It micro-cracks, the crack grows over a few hundred heat cycles as the strip warms and cools, and one morning the whole node after the bend drops out.
The three places I inspect first
- Tight 90 degree corners where the strip was folded rather than eased around a radius.
- Places where the strip was taped over a sharp aluminium extrusion edge or a mitre.
- The short tail after a connector, where installers yank the strip straight to seat it.
Diagnosing the dead section in two minutes
You do not need a microscope. Peel the strip back from the corner until you can see both sides of the bend. With the run powered on, gently flex the suspected crack back and forth by a few degrees. If the dark section flickers or comes back, the trace is cracked and you have found the fault. If nothing changes, probe the solder pads at each end of the dead segment with a multimeter set to DC voltage; the pad that reads 0 V while the next one reads 24 V marks the break.
A 24 V reading at the pad after the break tells you power made it that far.
| What you see | Where to look | Fix |
|---|---|---|
| Dark after a tight corner | Cracked trace at the bend | Cut back 50 mm, rejoin |
| Dark at a connector tail | Yanked pad lifted off | Recut to clean pads, resolder |
| Dark across a whole reel half | Feed trace broken at feed end | Reinject 24 V after cut point |
How to cut back and rejoin without repeating the fault
Once I find the crack, I cut 50 mm on each side of it, not just at the fault. That removes the stressed copper, because the micro-crack you can see is usually not the only one. I solder the two clean ends onto a small 10 mm wide joiner, or bridge them with a 20 mm piece of solid 22 AWG wire tinned on both ends. I never rely on a snap-in connector at a bend, because the connector body itself forces a sharp angle.

The rejoined run then wants a proper radius. I radius the corner to at least five times the strip width: on an 8 mm board that is a 40 mm internal bend radius, on a 5 mm board 25 mm. Anything tighter and you are inviting the same crack back next winter.
Choosing a strip that survives corners
If the job has a lot of tight turns, I stop fighting the strip and pick one built for it. A thinner, narrower board flexes around corners with less stress, and a waterproof silicone flex construction bends further before the copper complains. For exterior or damp corners, the waterproof extrusion-built runs hold up because the silicone jacket distributes the bend over a wider arc instead of letting the PCB fold.

- Treat the datasheet minimum bend radius as a hard floor, not a suggestion.
- Radius every corner to at least 5x strip width; never fold a 90 degree turn.
- Add a solder join after every tight corner so the stressed copper gets removed.
Recommended Products
Frequently Asked Questions
Can a cracked COB trace be repaired without replacing the whole reel?
Yes. Cut 50 mm on each side of the visible crack, bridge the two clean ends with a 20 mm piece of tinned 22 AWG wire or a narrow solderless joiner, and re-power. The stressed copper comes out with the cut, which is why you remove 50 mm each side instead of just snipping at the fault.
What is the minimum bend radius for an 8 mm COB strip?
Most 8 mm COB boards want a 35 to 50 mm internal bend radius. I use 40 mm as the planning number. Below that, the outer copper layer stretches past its yield point and opens a micro-crack within a few hundred thermal cycles. On 5 mm narrow boards I plan around 25 mm.
Why does the strip work for two weeks and then die at the corner?
The bend opens a hairline crack, not a full break. The strip still conducts on the first few power-ups, but every heat cycle widens the crack a little. After 100 to 300 cycles, which is about two to four weeks of normal evening use, the copper finally parts and the segment after the corner drops out.
Is it the strip or the driver when one section goes dark?
Measure at the pad. If the pad right after the dark section reads 24 V but the strip stays dark, the fault is on the strip side and the driver is fine. If the pad reads 0 V while the feed pad reads 24 V, the trace is broken between them. Drivers almost never kill exactly one corner segment.
Should I use a quick connector at a corner instead of soldering?
No. A snap connector forces the strip to a sharp exit angle and its own body becomes the bend. On a COB run, solder the join, then let the strip radius freely after it. Connectors belong on straight 90 mm flat sections, never within 100 mm of a corner.
Need help with your LED project?
Get factory-direct pricing, free samples and engineering support within 24 hours.
Email: info@arraystarled.com | Phone: +86-0755-2103-6746 | WhatsApp: 0086 1581 8514 077
Need to size your power supply? Use our LED Strip Power Calculator to find the right driver in seconds.







