
Bending Neon Flex Around a Compound Curved Acrylic Panel
- 2026-11-02 15:54
- /
- Arraystar LED
A panel that curves in two axes at once fights a single-plane neon flex, and pushing the tube into a twist gives you a kink or a pale band. I pick side-bend versus top-bend flex to match the curve axis, and I split the run where the panel twists so the flex never has to twist with it.
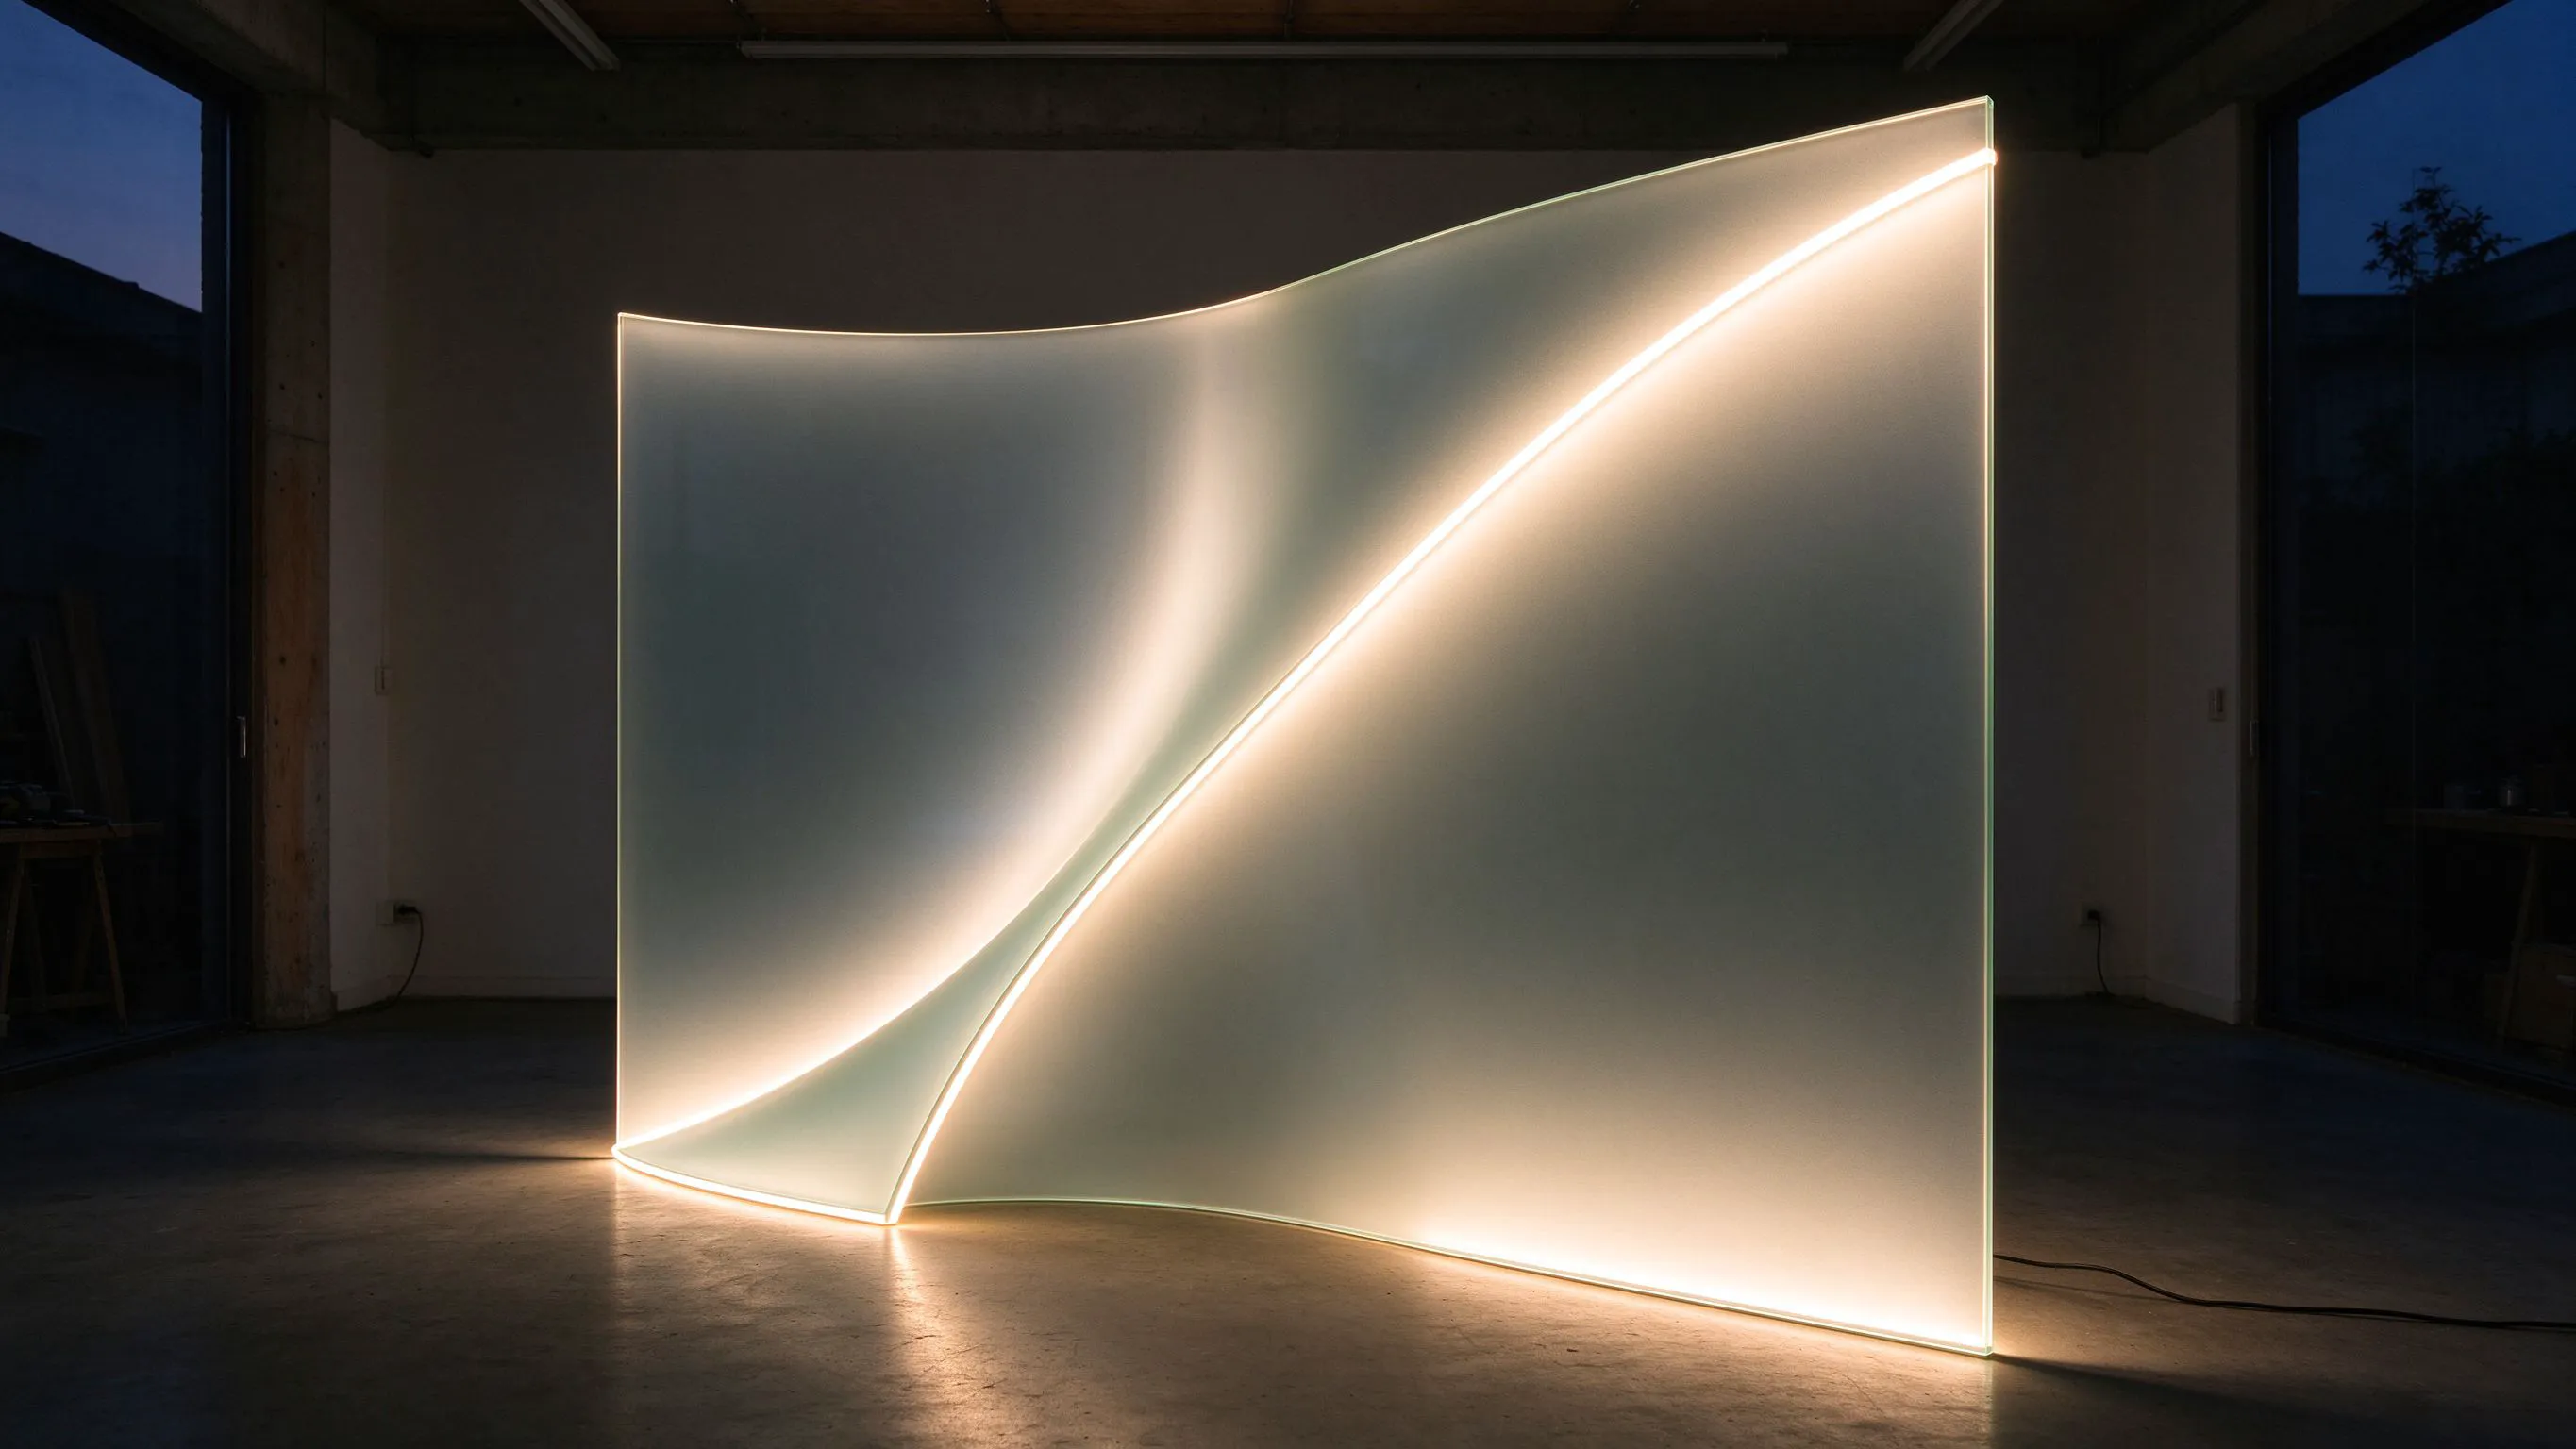
The panel curves two ways at once
A flat sign is easy. A panel that bends around a corner in plan view and also rolls slightly top-to-bottom is a compound curve, and most neon flex is built to bend in one plane only. Push it into a compound shape and the silicone jacket twists, the copper trace inside spirals, and you get either a kink or a section where the light goes pale because the strip is edge-on to the viewer.
I see this on curved reception walls, on cylindrical pillars that also taper, and on boat-like acrylic panels for retail displays. The installers usually bought a generic neon tube and discovered the problem on the wall. The choice of flex cross-section has to be made before the order, not after.
Side-bend versus top-bend flex
Neon flex is not symmetric. The flat LED strip inside sits on one plane of the extrusion. If the strip faces up, the flex bends smoothly left and right but fights an up-down curve. If the strip faces out, the flex bends smoothly up and down but fights a left-right curve. The datasheet calls these top-bend and side-bend, and buying the wrong one is the root of most compound-curve failures.
Which way does your panel actually bend?
- Roll a pencil along the curve; if it moves left-right in plan view, you need side-bend flex.
- If the curve moves up-down along the panel height, you need top-bend flex.
- If the panel does both, split the run at the twist and use the right flex for each section.
- Round 360 degree tubes bend in all directions but read as a dot, not a flat even face.
How to lay the run on a compound panel
I trace the curve onto paper at full scale first and mark every place where the bend direction changes. That point is a natural break. I cut the flex there, fit a short connector, and let each section follow its own curve plane. The break is hidden in the acrylic joint or behind a fitting, so it is invisible from the floor.
- Lay out the curve at full scale on paper and mark the twist point with a circle.
- Choose flex bend direction per section based on the local curve axis.
- Leave 20 mm slack at the break so the connector can sit flush without pulling.
- Test-fit the flex on the bench before adhesive; silicone is unforgiving once stuck.

Minimum radius by flex size
On a compound curve the effective radius on the inner face is tighter than the panel radius, because the flex sits off the panel surface. I add 10 mm to the panel radius when I check the datasheet, and I never go below the published minimum on a section that also has to twist. If the math does not work, I split the run.
Add 10 mm for the flex stand-off off the panel surface.
| Flex size | Min side-bend radius | Min top-bend radius | Compound curve? |
|---|---|---|---|
| 0306 mini | 20 mm | 15 mm | Best for tight rolls |
| 5 x 8 mm | 25 mm | 20 mm | OK on gentle twist |
| 8 x 16 mm | 40 mm | 30 mm | Split at the twist |
| 12 x 12 mm | 60 mm | 45 mm | Do not compound |

Bonding flex to a curved acrylic face
Acrylic is usually smooth and slightly oily from the machining process, so adhesive alone holds poorly. I wipe the panel with isopropyl alcohol, apply a thin bed of neutral-cure silicone along the curve, and hold the flex in place with low-tack masking tape until the silicone skins over, about 30 minutes. I leave the tape on for two hours before I remove it and power up.
- Wipe acrylic with isopropyl; do not use glass cleaner, which leaves silicone residue.
- Bed the flex in a 2 mm bead of neutral silicone, not a glue dot.
- Hold with masking tape for 30 minutes, then peel and inspect.
- Add a small hidden clip within 100 mm of every break point for long-term security.

Recommended Products
Frequently Asked Questions
Can I just order 360 degree round neon and avoid the bend problem?
Round 360 degree tubes bend in every direction and they are the easy answer for a compound curve, but they cast a round dot of light rather than a flat even face. On a high-end acrylic panel where the client wants a clean neon line, a round tube reads as cheap. Use it on pipework and outlines, not on feature walls.
How do I tell top-bend from side-bend on the datasheet?
The datasheet shows a diagram of the strip orientation. If the flat LED strip is drawn on the top face of the extrusion, it is side-bend, meaning it bends left-right. If the strip is drawn on the side face, it is top-bend, meaning it bends up-down. When in doubt, order a 200 mm sample and try both directions by hand.
What happens if I twist the flex on purpose?
You get a pale band. The LED strip is edge-on to the viewer for a short section, so the diffuser emits light from the side rather than the face. It looks like a dim patch even though the LEDs are on. Twisting also work-hardens the copper trace over time. Split the run at the twist instead of forcing it.
How tight a curve can a 5 by 8 mm flex follow on acrylic?
25 mm radius for a side-bend flex, or 20 mm for a top-bend flex, measured to the centre of the tube. Because the flex sits 5 to 10 mm off the panel surface, the effective panel radius can be a little tighter. If the panel curves below 30 mm, step down to a 0306 or 0408 mini flex instead.
Can I heat-form acrylic to a single-plane curve instead?
Yes, and that is the cleanest solution when you control the panel. Heat-form the acrylic to a single curve in one axis, then mount top-bend or side-bend flex to match. Avoiding the compound twist entirely means you never have to split the run, and the glow stays continuous. It costs a bit more in acrylic fabrication and saves hours on the install.
Need help with your LED project?
Get factory-direct pricing, free samples and engineering support within 24 hours.
Email: info@arraystarled.com | Phone: +86-0755-2103-6746 | WhatsApp: 0086 1581 8514 077
Need to size your power supply? Use our LED Strip Power Calculator to find the right driver in seconds.







