
Re-joining Cut Neon Flex: When to Use a Coupler vs Solder
- 2026-10-28 10:03
- /
- Arraystar LED
A plastic coupler is fast indoors, but outdoors it leaks at the seam. I choose the joint method by where the run lives: coupler on a dry interior feature, soldered and capped on any outside or wash-down run.
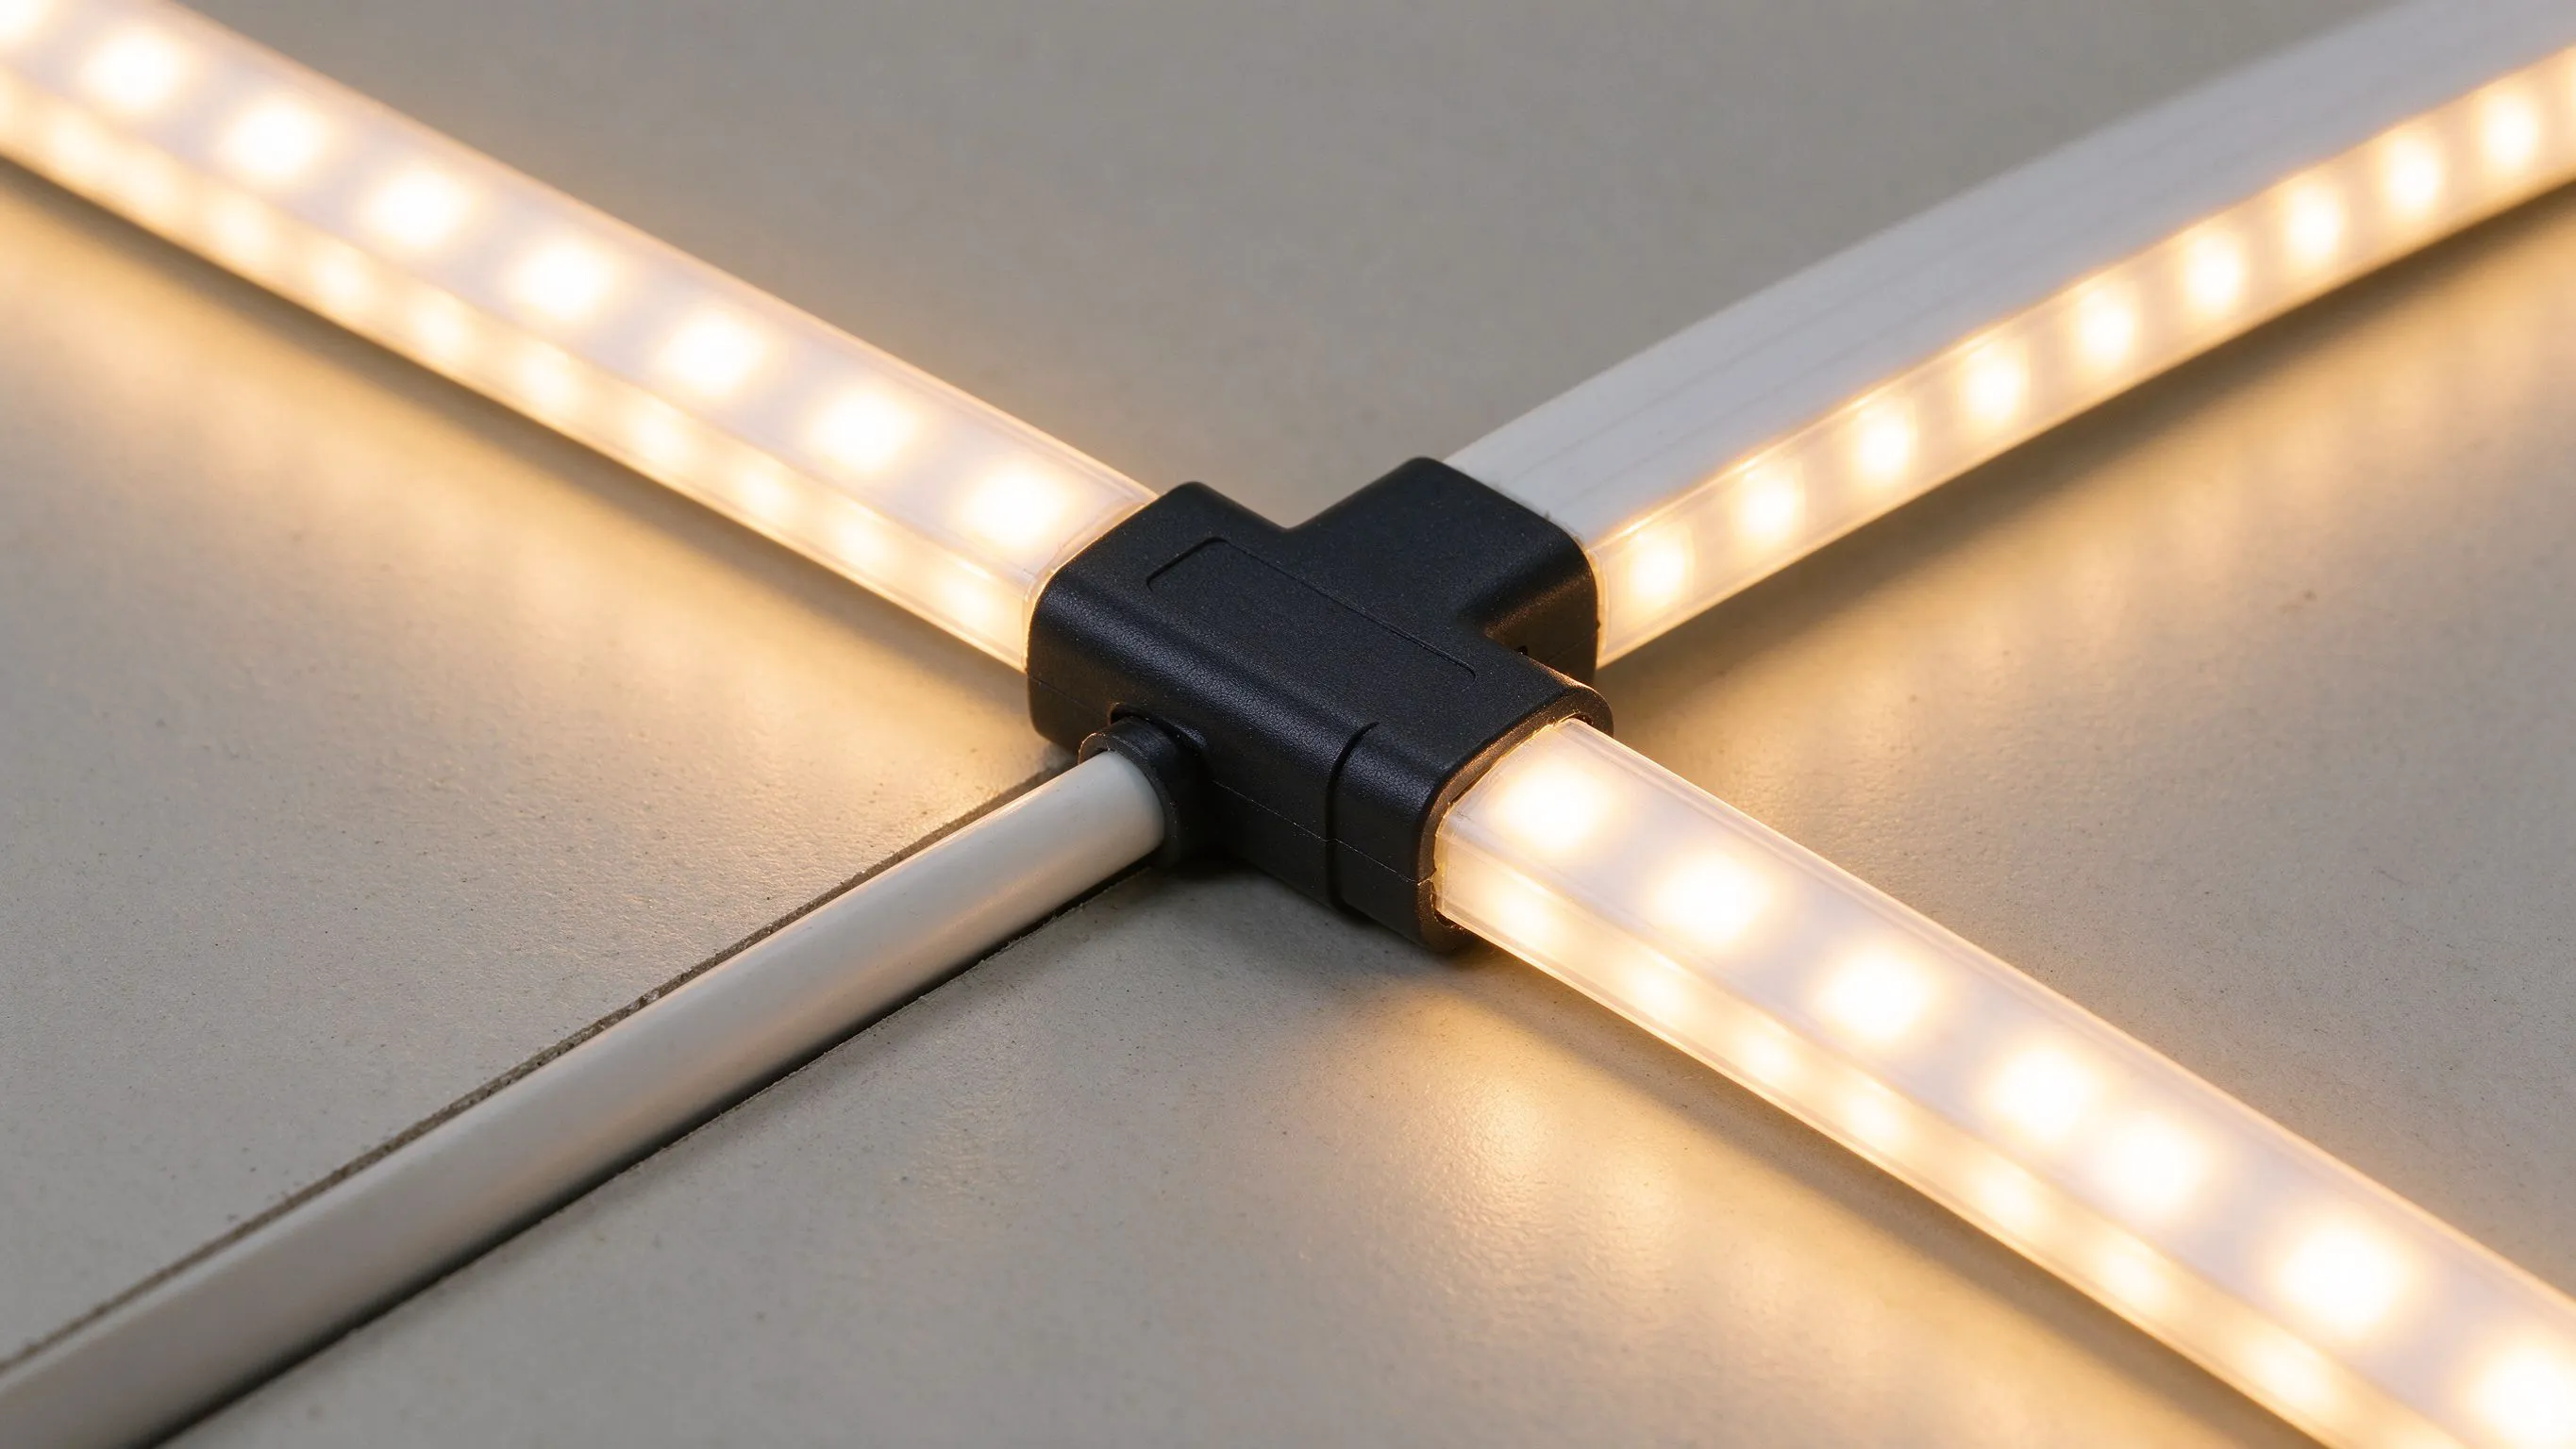
The two ways to rejoin cut neon flex
When a neon run is cut — trimmed to length, repaired after a knock, or extended mid-job — you have two honest options. A push-on coupler slots over the cut ends and connects the conductors in seconds, no tools. A soldered join opens the flex, tin the copper pads, and seals it back with heatshrink or a silicone sleeve. Each has a place, and picking the wrong one is how you get a flickering segment next spring. The deciding question is not 'how fast can I finish' but 'where will this joint live for the next five years'.

When the coupler wins
- Indoor, dry locations — coves, display shelves, sign lettering that never sees rain.
- Quick repairs where opening the flex would take longer than the job itself.
- Temporary or exhibition runs that will be pulled out at the end of the show.
On a dry interior feature, a coupler is the right call. It is fast, reversible, and if a segment fails later you can unplug and swap it without a soldering iron. The mini 5×8 mm profiles I use for lettering often end up coupler-joined inside a channel, where no water will ever reach the seam. I mark coupler joins with a small tag on the cable, so a future me opening the channel knows which joints are which and does not assume they are all soldered.
When you must solder and seal
Couplers are dry-location only; outdoors the seam is the leak path.
| Location | Joint method | Sealing | Why |
|---|---|---|---|
| Indoor dry | Coupler | None needed | Fast and serviceable |
| Outdoor facade | Solder + sleeve | IP67/IP68 seal | Coupler seam leaks |
| Wash-down / wet | Solder + sleeve | Self-amalgamating tape | Water drives straight into couplers |
| Pool edge (temporary) | Solder + sleeve | Fully capped | Immersion kills unsealed joins |
Outdoors, the coupler seam is the weak point. Water finds the gap between the two plastic halves, wicks into the conductors, and the joint goes intermittent within a season. On any exterior or wash-down run I open the flex, solder the pads, and rebuild the seal with dual-wall heatshrink plus a silicone sleeve. It takes longer on the day, but the joint lasts as long as the flex. The common mistake is using a coupler on a facade run because it is quicker, then wondering why the segment flickers after the first winter rain.

The cut itself sets up the join
A clean cut matters more than people think. I cut only at the marked cut points on the flex — usually every 25–50 mm on mini profiles — because cutting between pads strands a conductor. I use a sharp blade on a flat block, not scissors, which crush the extrusion. Once cut, I trim the jacket back 5 mm, tin the pads, and check the polarity before I push the ends together. A reversed polarity join lights nothing and wastes an hour. I also leave a 10 mm service loop near every join, so a future repair does not have to yank the run out of the channel.
After any soldered join I do a quick tug-test before sealing it: a gentle pull confirms the pads are bonded, not just held by solder paste. If the joint moves, I reflow it now rather than after the channel closes. It is a ten-second check that stops a cold joint surfacing as a flicker next winter.
Inspecting a join that already failed
When a segment flickers, I check the nearest join first. On a coupler join, I open it and look for green oxidation on the pins — that is water getting in, and the coupler has to go. On a soldered join, a hairline crack in the fillet means reflow. The free-cut 5×8 mm neon is forgiving to rework, and a properly sealed outdoor join should not need touching for years. If it does, I change the method, not just the fitting: a coupler that leaked once will leak again, so I swap it for a soldered, capped joint and move on.
One diagnostic I run before I even open a channel is a bench test: I disconnect the suspect join and feed the two cut ends from a known-good driver. If both halves light cleanly, the problem is the join itself, not the strip or the driver. If one half stays dark, I follow that half to the next cut point, because the fault is a stranded conductor between pads rather than a bad connector. This saves twenty minutes of guessing, and it tells me whether I am resealing one joint or replacing a whole metre. I keep a small bench driver and a couple of alligator leads in the van for exactly this check. The free-cut 5×8 mm neon is forgiving to rework, and a properly sealed outdoor join should not need touching for years.

Recommended Products
Frequently Asked Questions
Can I use a coupler on outdoor neon flex?
I would not. The coupler seam leaks water, wicks into the conductors, and goes intermittent within a season. Outdoors, solder and seal the join instead.
Where is a coupler the right choice?
Indoor, dry locations — coves, display shelves, sign lettering, and temporary exhibition runs that come out at the end of the show.
Where do I cut neon flex?
Only at the marked cut points, usually every 25–50 mm on mini profiles. Cutting between the pads strands a conductor and the far side dies.
How do I seal a soldered outdoor join?
Tin the pads, solder, then rebuild the seal with dual-wall heatshrink and a silicone sleeve; add self-amalgamating tape on wet or wash-down runs.
My neon flickers at a join — what now?
Open the join. Green oxidation on a coupler pin means water got in, so change to a soldered, sealed join. A hairline crack in a solder fillet means reflow it.
Need help with your LED project?
Get factory-direct pricing, free samples and engineering support within 24 hours.
Email: info@arraystarled.com | Phone: +86-0755-2103-6746 | WhatsApp: 0086 1581 8514 077
Need to size your power supply? Use our LED Strip Power Calculator to find the right driver in seconds.







