
Directional Bending in Neon Flex: Side-Bend vs Top-Bend Routing
- 2026-10-28 10:03
- /
- Arraystar LED
Bend neon flex on the wrong axis and you squish the light guide inside. I check every profile for side-bend versus top-bend before routing letters and curves, because a flex that wants to bend sideways will not lay cleanly around a top-bend arc.
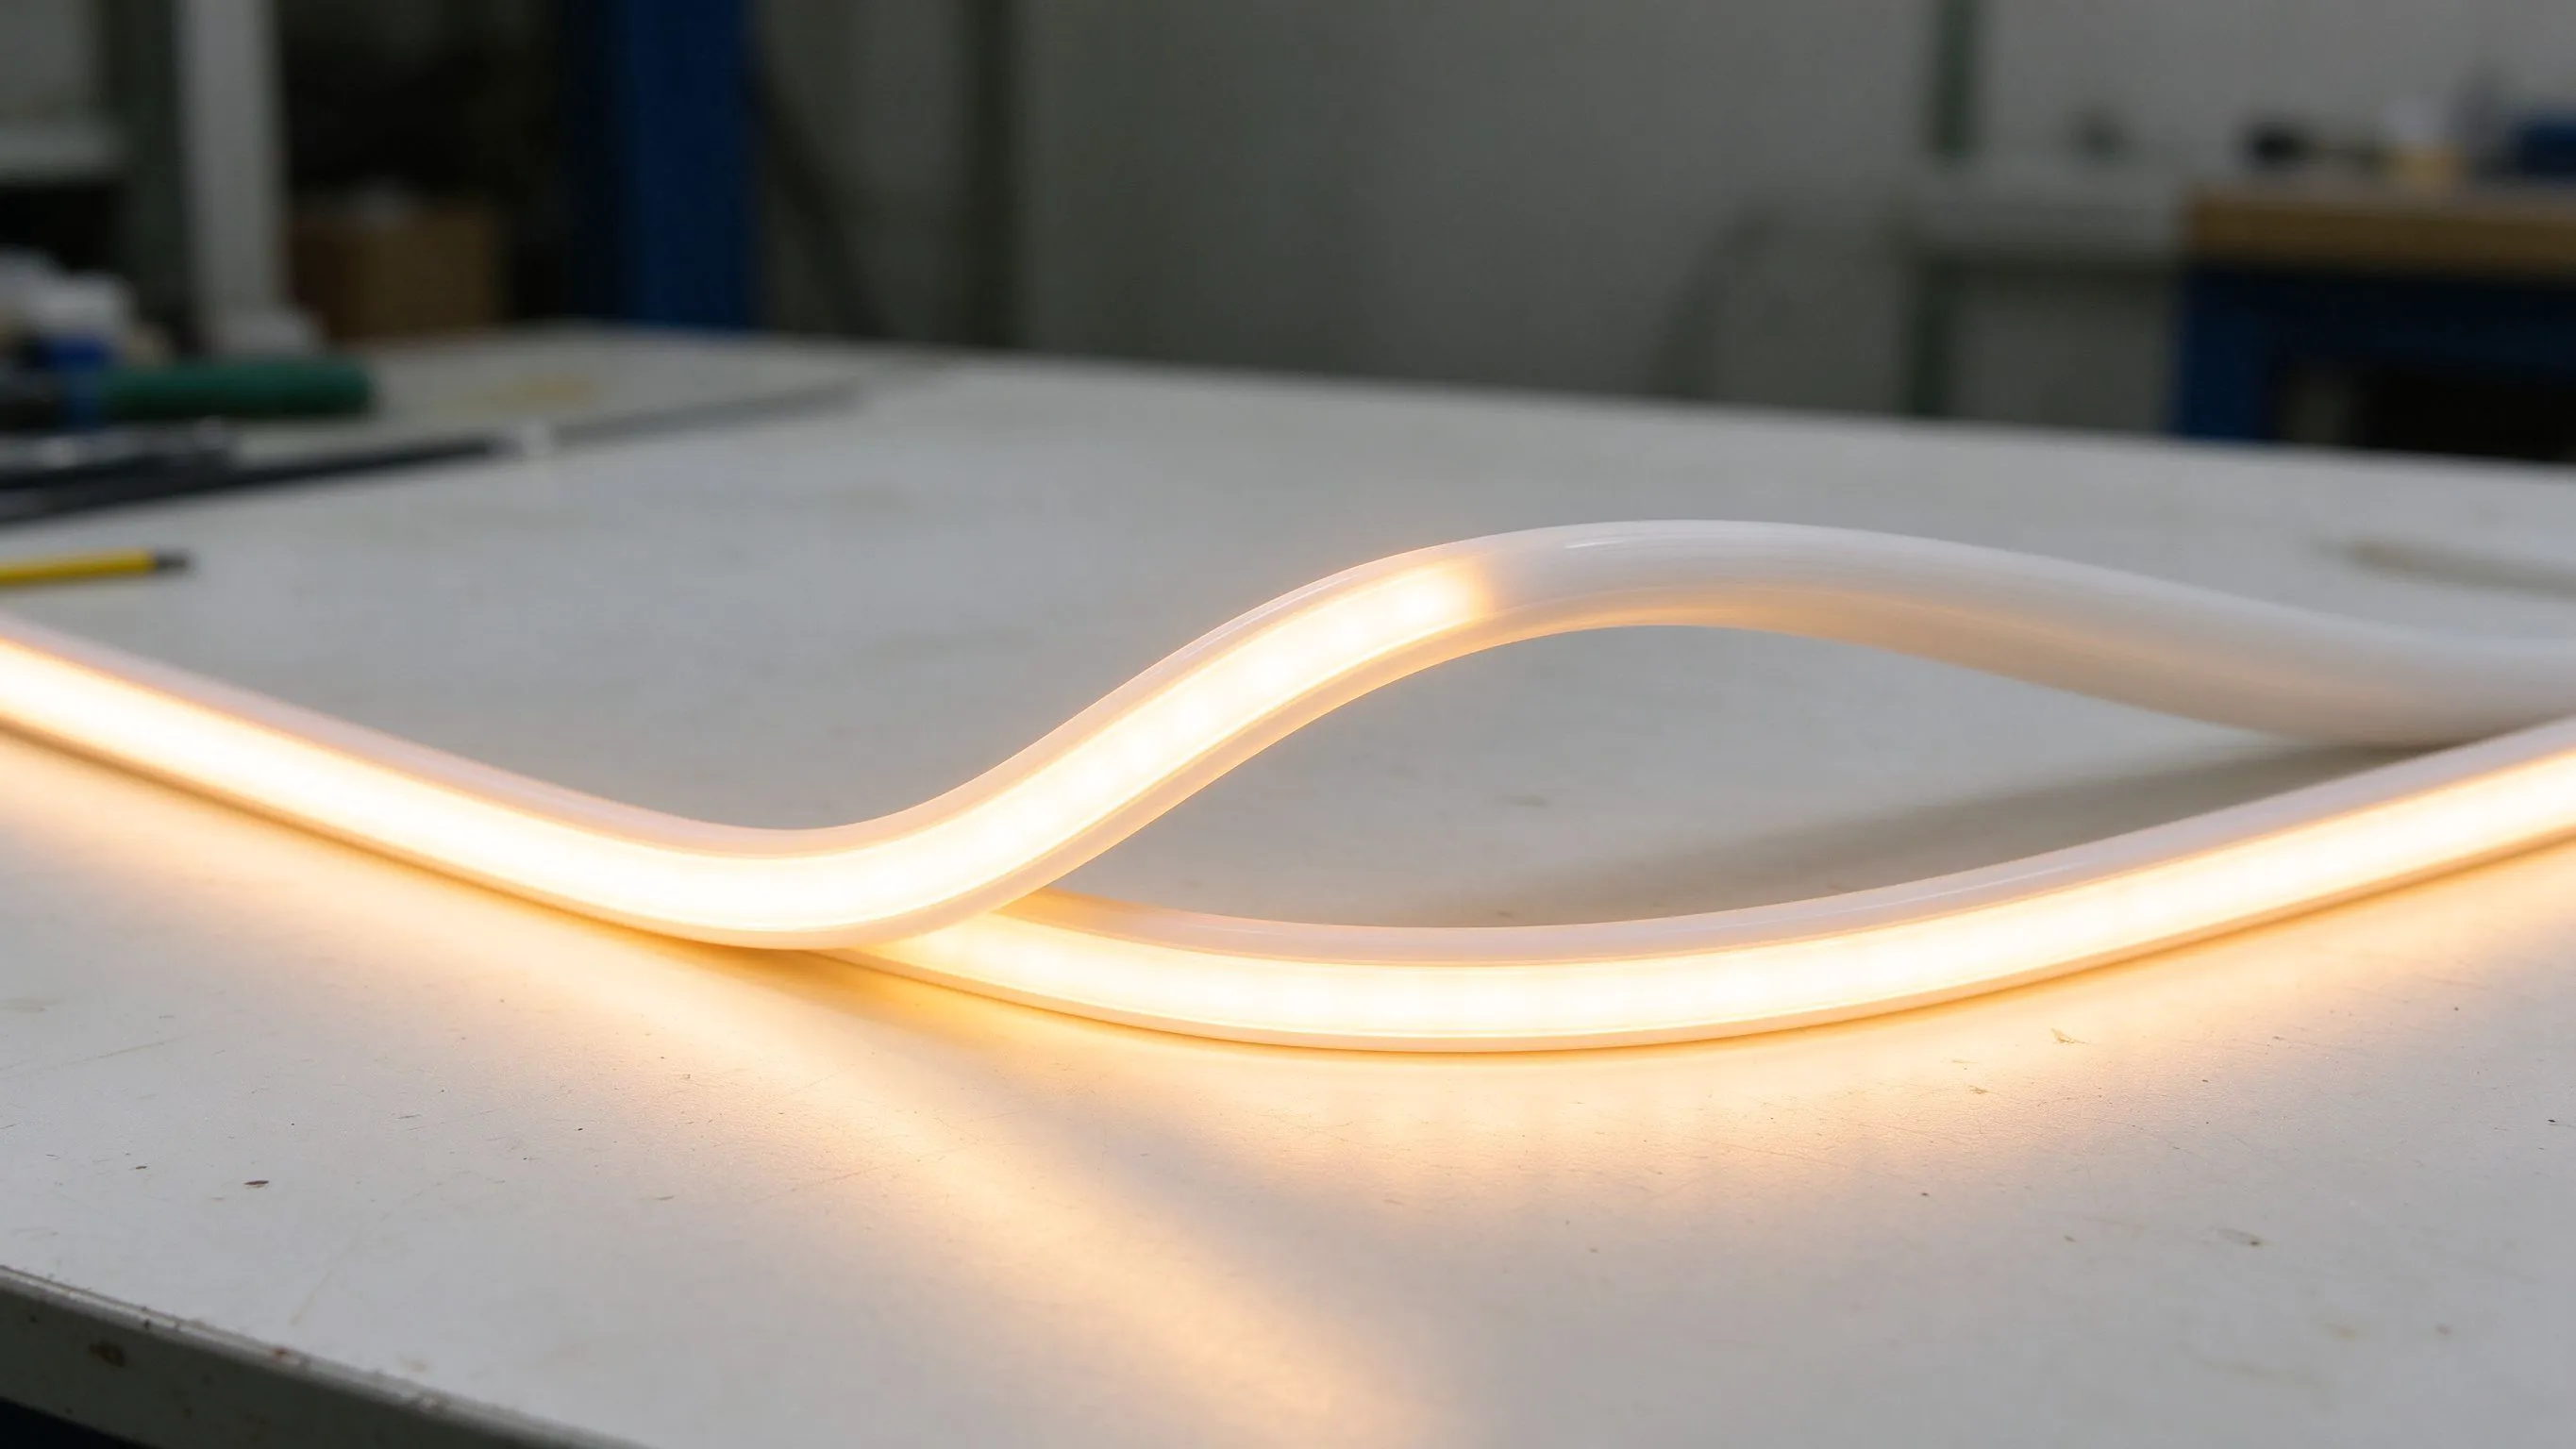
What side-bend and top-bend actually mean
Neon flex is built to bend on one axis much better than the other. Top-bend flex rolls like a carpet — it curves in the plane of its flat back, which suits letters, arcs and rounded reveals. Side-bend flex turns left and right on the wall, which suits parallel lines that need to jog around an obstacle. Bend a top-bend profile sideways and you crimp the internal light guide; bend a side-bend profile the long way and it kinks. The profile name tells you which axis it was designed for, and ignoring that name is the fastest way to a kinked run.
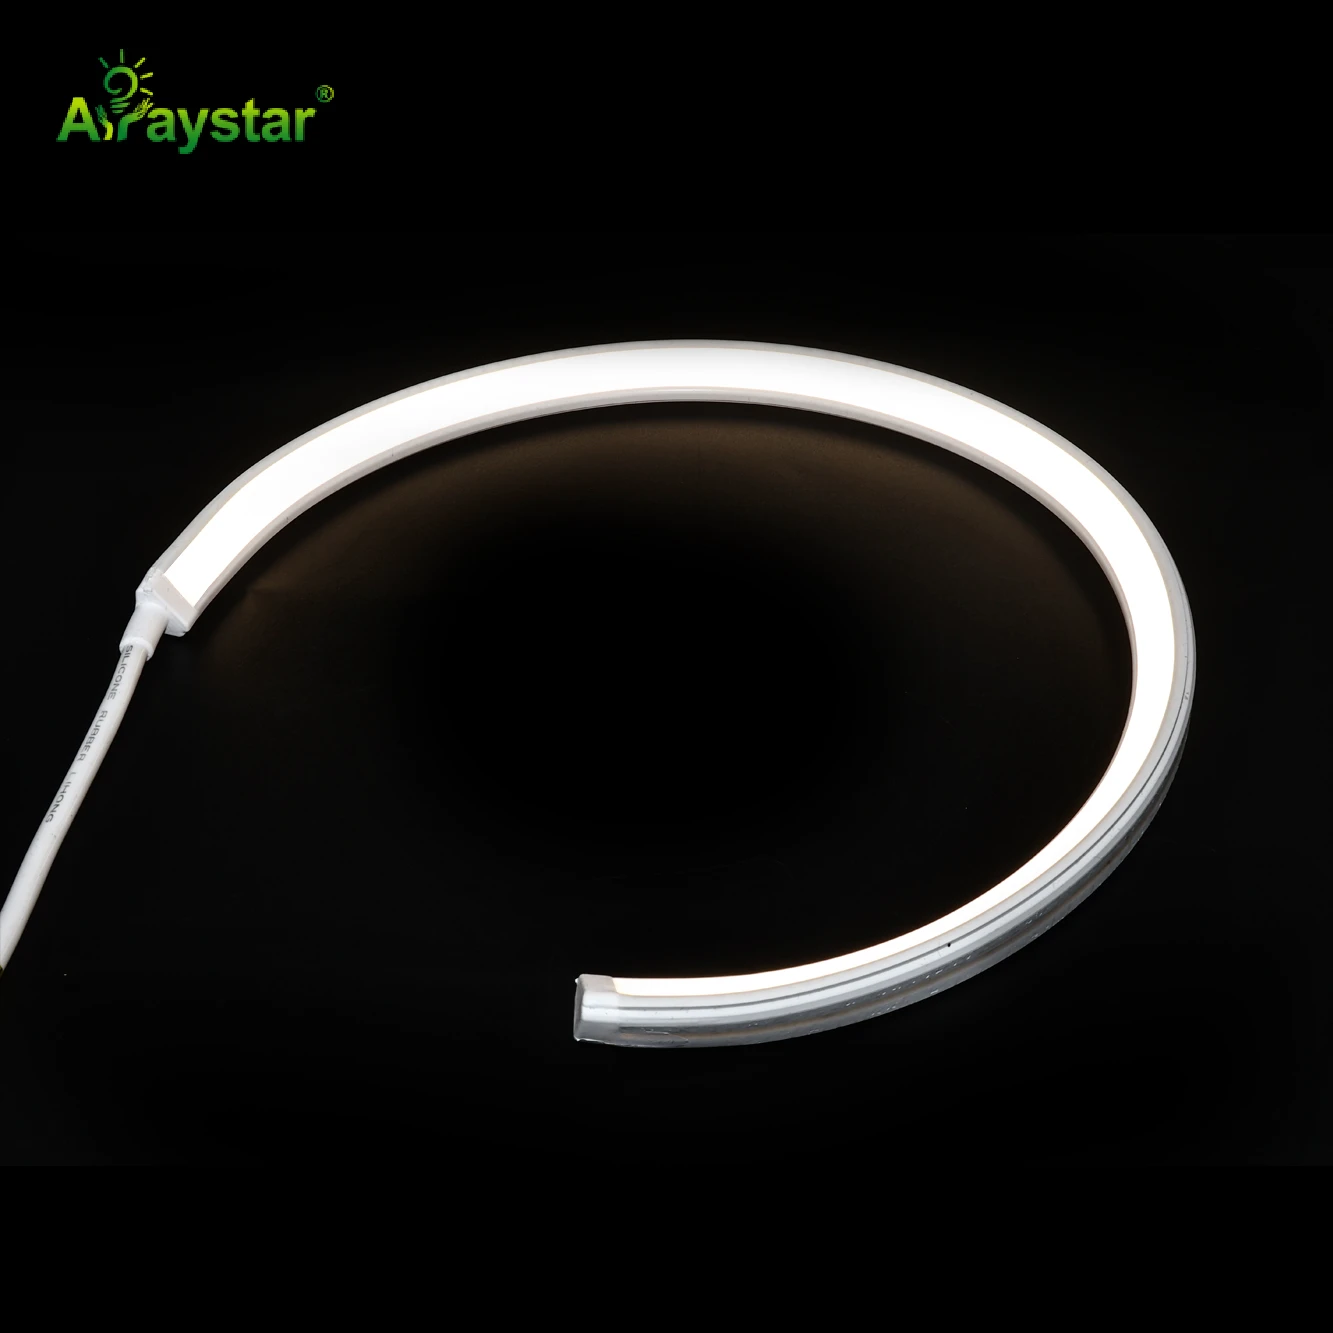
Reading the cross-section before you route
- Check the product data: a 'top bend' profile curves along its flat face; a 'side bend' profile turns on its narrow edge.
- Test-bend a 100 mm offcut by hand in both directions; the easy axis is the one the profile wants.
- Mark routing on a layout first, so joins and bends land where planned, not by accident.
- Respect the minimum bend radius, typically 30–50 mm for 10–12 mm profiles.
A 100 mm offcut test saves the install. I hold the scrap in both hands and bend it two ways; one direction is smooth and even, the other fights me and whitens the jacket. That tells me the axis before I commit 10 m of flex to the channel. I mark the offcut with a Sharpie so the next person on the job knows which way it bends, instead of guessing on the wall.
Routing letters versus routing reveals
Match the bend axis to the shape the run has to draw.
| Job | Bend axis | Typical radius | Profile type |
|---|---|---|---|
| Sign letter curves | Top-bend | 30–50 mm | Top-bend 12×12 mm |
| Parallel lines that jog | Side-bend | 40–60 mm | Side-bend profiles |
| Long cove reveals | Either, gentle | Over 100 mm | Either profile |
| Tight 90° corners | Pre-formed | Factory | Mitre or corner fitting |
For lettering I use a top-bend RGBW or white profile, because letters are made of arcs and rounded strokes that roll in one plane. The top-bend 12×12 mm RGBW strip lays around a circular logo without a kink. For straight parallel lines that need to step around a drain or a pillar, a side-bend profile does the jog cleanly. Tight 90° corners I never force; I use a mitre or a corner fitting. I once tried to bend a side-bend profile around a letter curve and it kinked on the first arc; I swapped it for the top-bend build and the same curve laid flat.
What a bad bend looks like
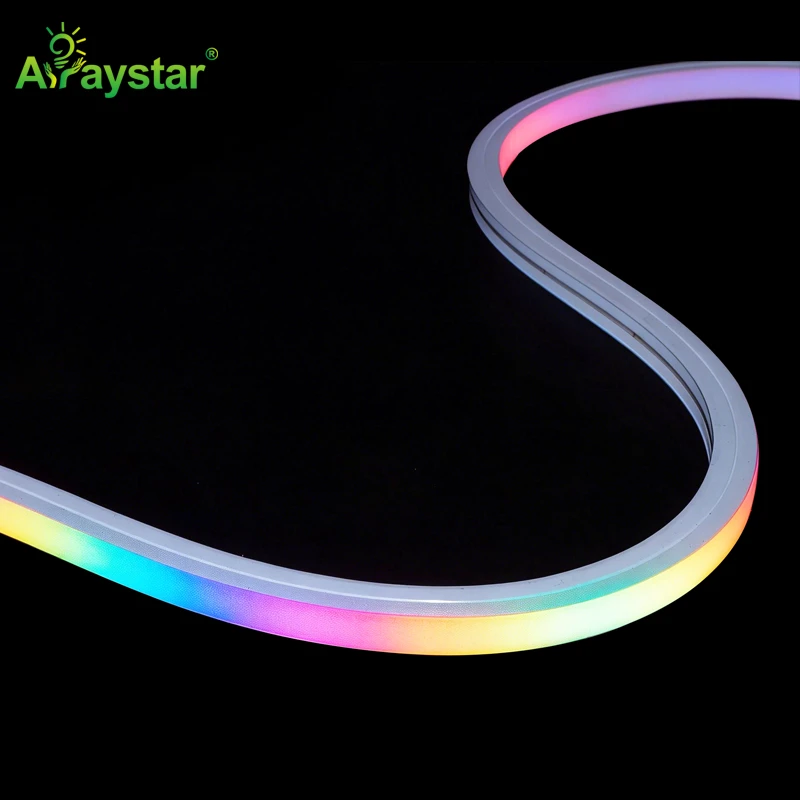
A forced bad bend shows up fast: the jacket whitens at the crease, the glow narrows to a thin line, or a dark spot appears where the light guide has collapsed. Once the guide is squished, the flex cannot be repaired — that section has to come out. This is why I test-bend offcuts and respect the radius. The magic-colour RGB profile I use for feature runs is forgiving on its designed axis and unforgiving on the wrong one. The tell-tale whitening at the crease is your warning sign; if you see it, straighten the run and reroute on the correct axis.
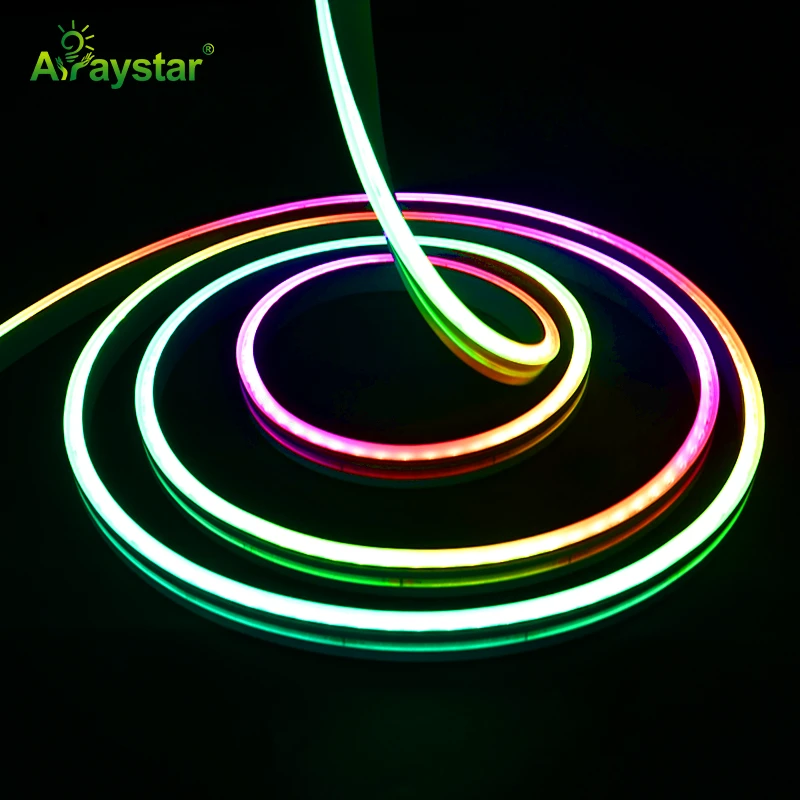
Fixing a route that fights you
If a run keeps kinking mid-install, the fix is almost always a profile swap, not brute force. I pull the section, check whether the shape calls for a top-bend or side-bend profile, and reroute. Twisting the flex 90° to force a curve looks like a workaround; in service it twists the light guide and the glow dies at the kink. Spending ten minutes on the offcut test upfront is cheaper than replacing a kinked run three months later. My rule is simple: if the offcut fights the bend, the profile is wrong, and forcing it just buys a failure later.
I also plan the bend locations on the layout before cutting, because every forced bend clusters where the run changes direction. On a multi-stroke letter, I route the bends at the stroke ends and keep the long straight sections straight; a flex that is bent then straightened then bent again on a short piece is the one that whitens at the crease. For a circular logo, I prefer one continuous top-bend run around the curve rather than short segments, because each cut join near the arc adds a potential weak point. If the curve is tighter than the offcut test allows, I step back and ask for a larger radius or a factory pre-bent corner, rather than over-bending on site.
Recommended Products
Frequently Asked Questions
What is the difference between side-bend and top-bend neon flex?
Top-bend flex curves along its flat face, suiting letters and arcs. Side-bend flex turns on its narrow edge, suiting parallel lines that need to jog. Each profile is designed for one axis.
How do I tell which way a profile wants to bend?
Bend a 100 mm offcut by hand in both directions. The smooth, even direction is the designed axis; the one that fights you and whitens the jacket is the wrong way.
What minimum bend radius should I respect?
Around 30–50 mm for 10–12 mm profiles, and gentler on thicker 16 mm sections. Forcing a tighter radius collapses the internal light guide.
Can I just twist the flex 90° to route it?
No. Twisting forces the wrong axis, squishes the light guide, and the glow narrows or darkens at the kink. Swap to the correct profile instead.
How do I handle a tight 90° corner?
Do not force it. Use a mitre cut or a pre-formed corner fitting on its designed axis, rather than bending the flex past its radius.
Need help with your LED project?
Get factory-direct pricing, free samples and engineering support within 24 hours.
Email: info@arraystarled.com | Phone: +86-0755-2103-6746 | WhatsApp: 0086 1581 8514 077
Need to size your power supply? Use our LED Strip Power Calculator to find the right driver in seconds.







