
Plaster-in Profile Edge Lip: Why a Clean Drywall Transition Fails
- 2026-10-28 10:04
- /
- Arraystar LED
I have fitted plaster-in channels behind gypsum for a decade, and the hairline shadow you see on completion is almost never a bad plastering job. It is the edge lip sitting a fraction too proud or too shy of the board face.
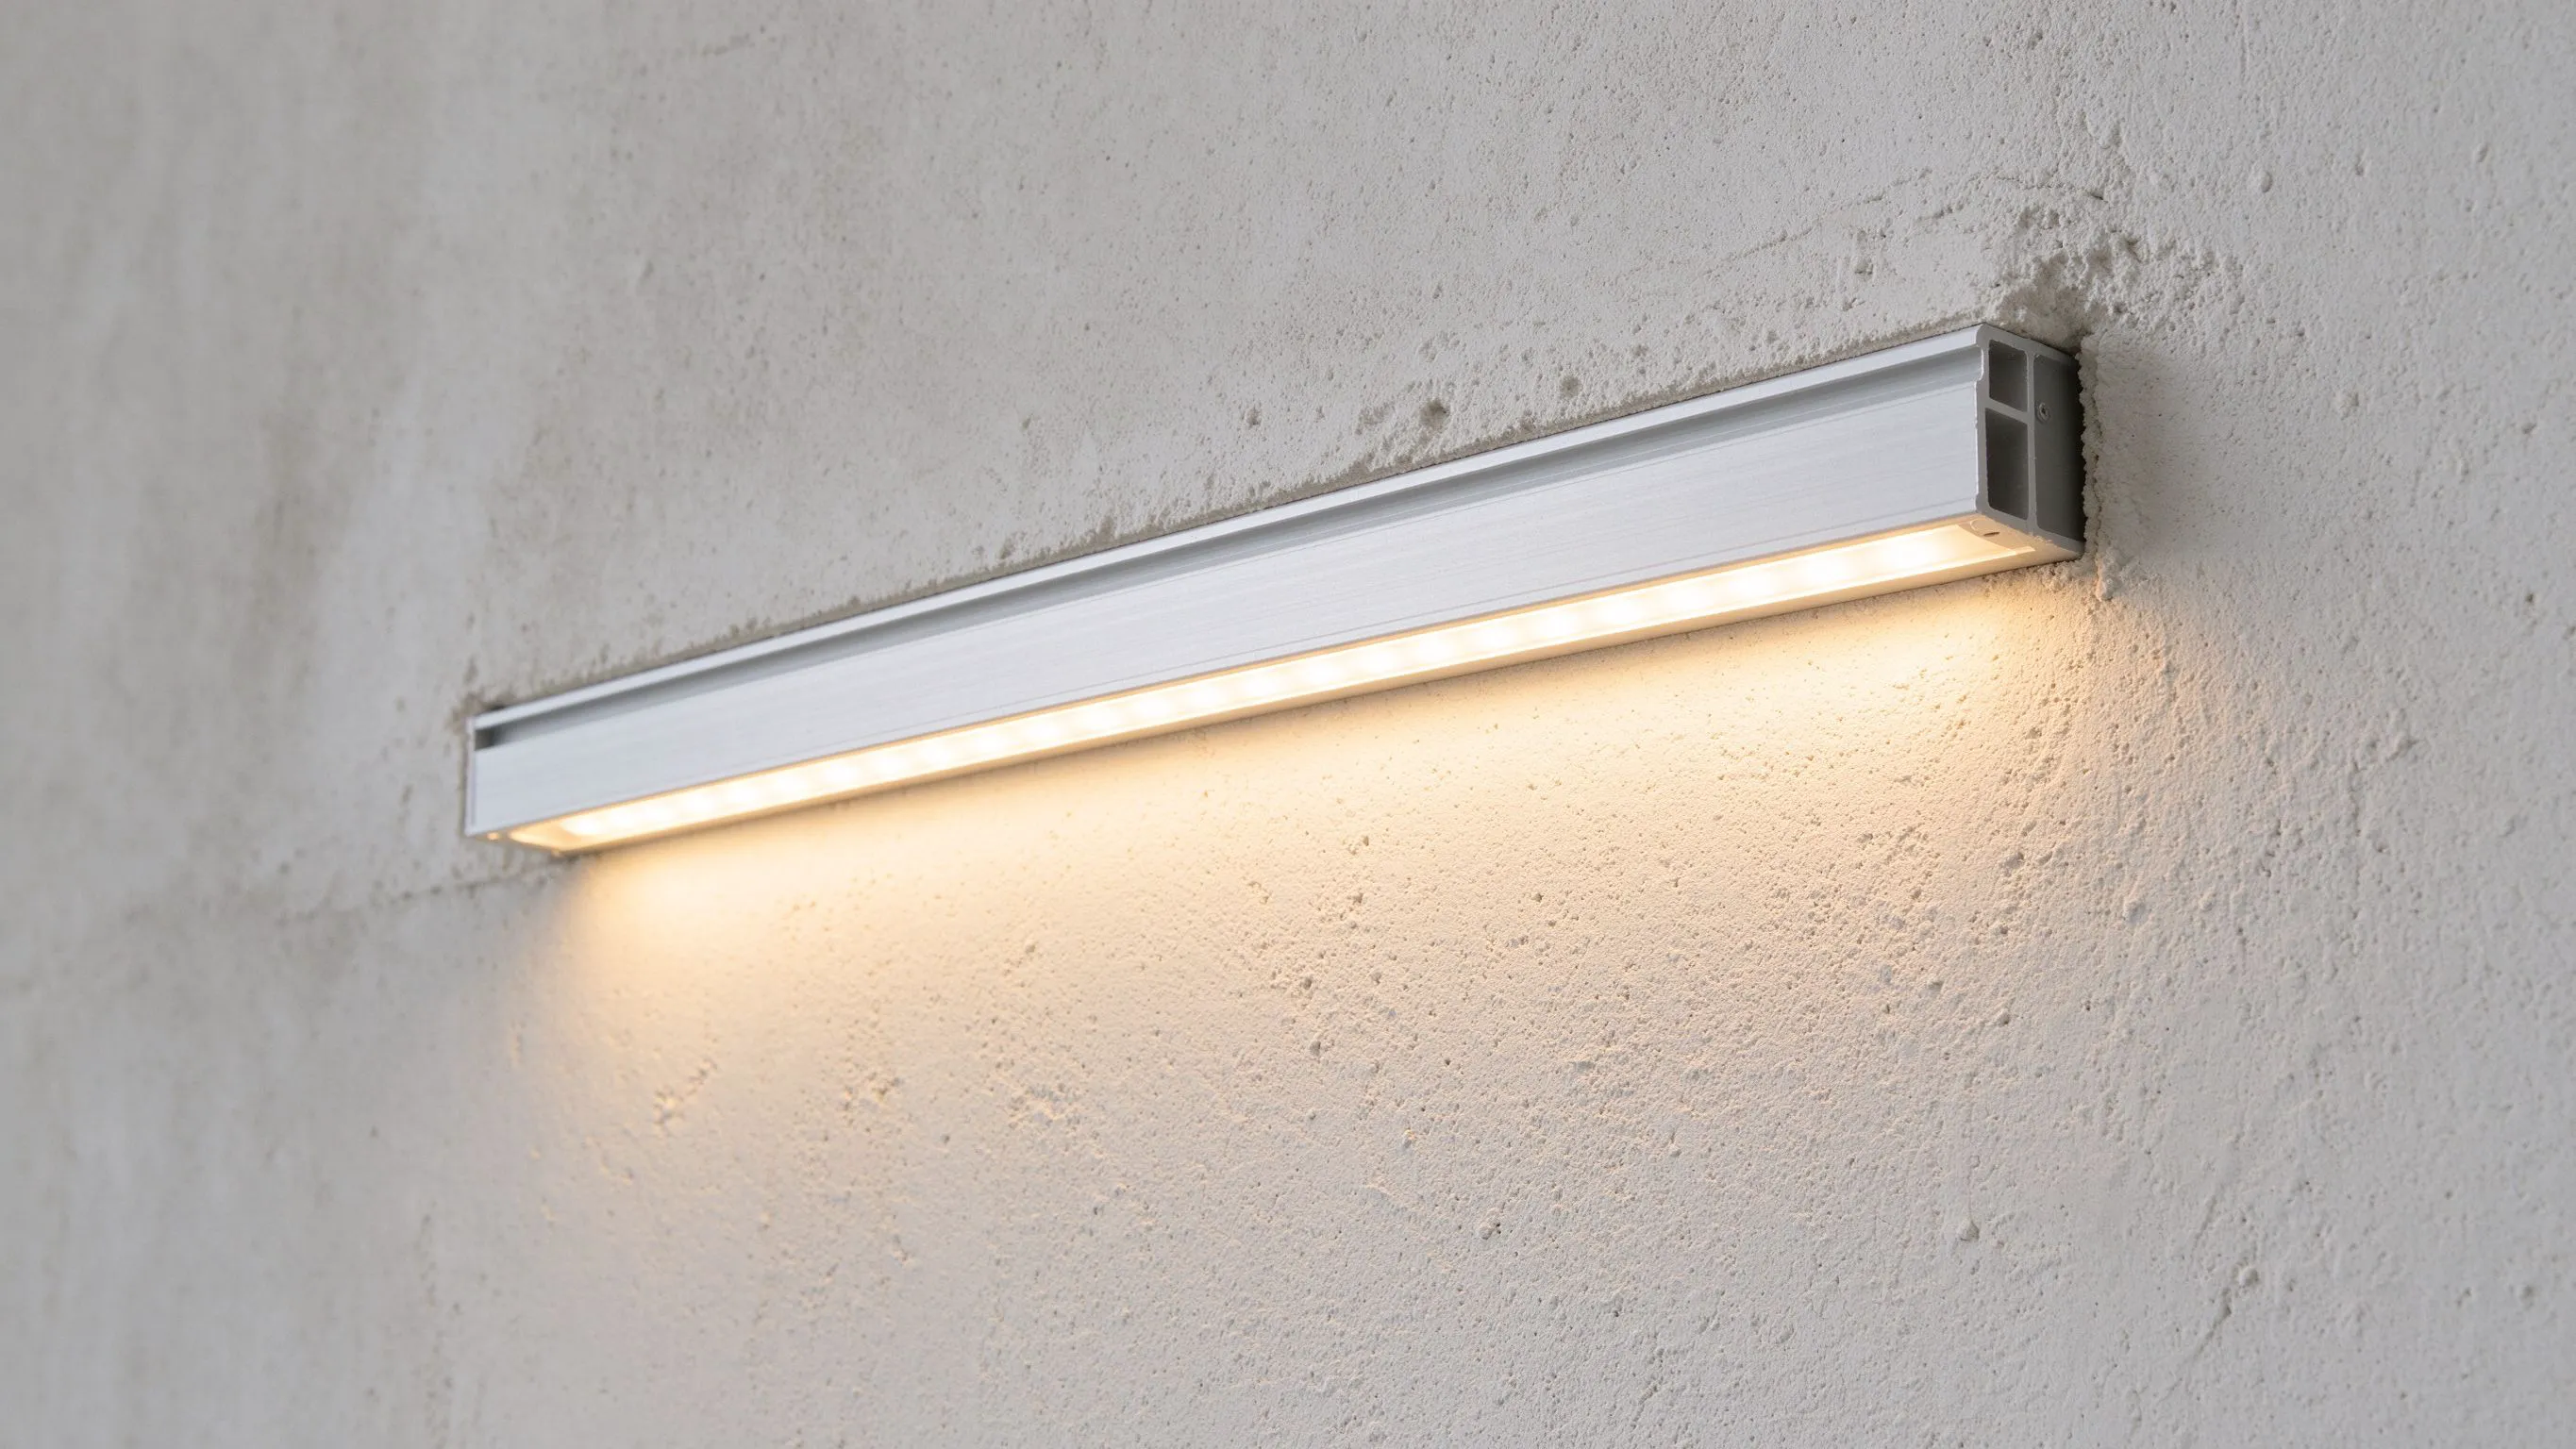
Why the edge lip is where the light betrays you
A plaster-in LED profile is designed to be buried in the drywall, with a flat flange or edge lip that the plasterer skins over. The lip sets the final reveal: how much aluminium sits flush against the finished wall. Get that one millimetre wrong and you either see a dark groove at night or a shiny silver line in daylight.
On a hotel corridor job I watched a crew float plaster right up to the channel and then skim a coat over the lip itself. The result was a channel buried half a millimetre too deep, and the light pooled inside the trough instead of washing the wall. We had to pull diffusers and grind the reveal back on a ladder at midnight.
The three things the lip controls
- Reveal depth: how far the diffuser sits below the finished plaster face.
- Light spill angle: whether the beam grazes the wall or drops straight down.
- Shadow line: the thin dark edge that reads as a fault when the lip is off by 1 mm.
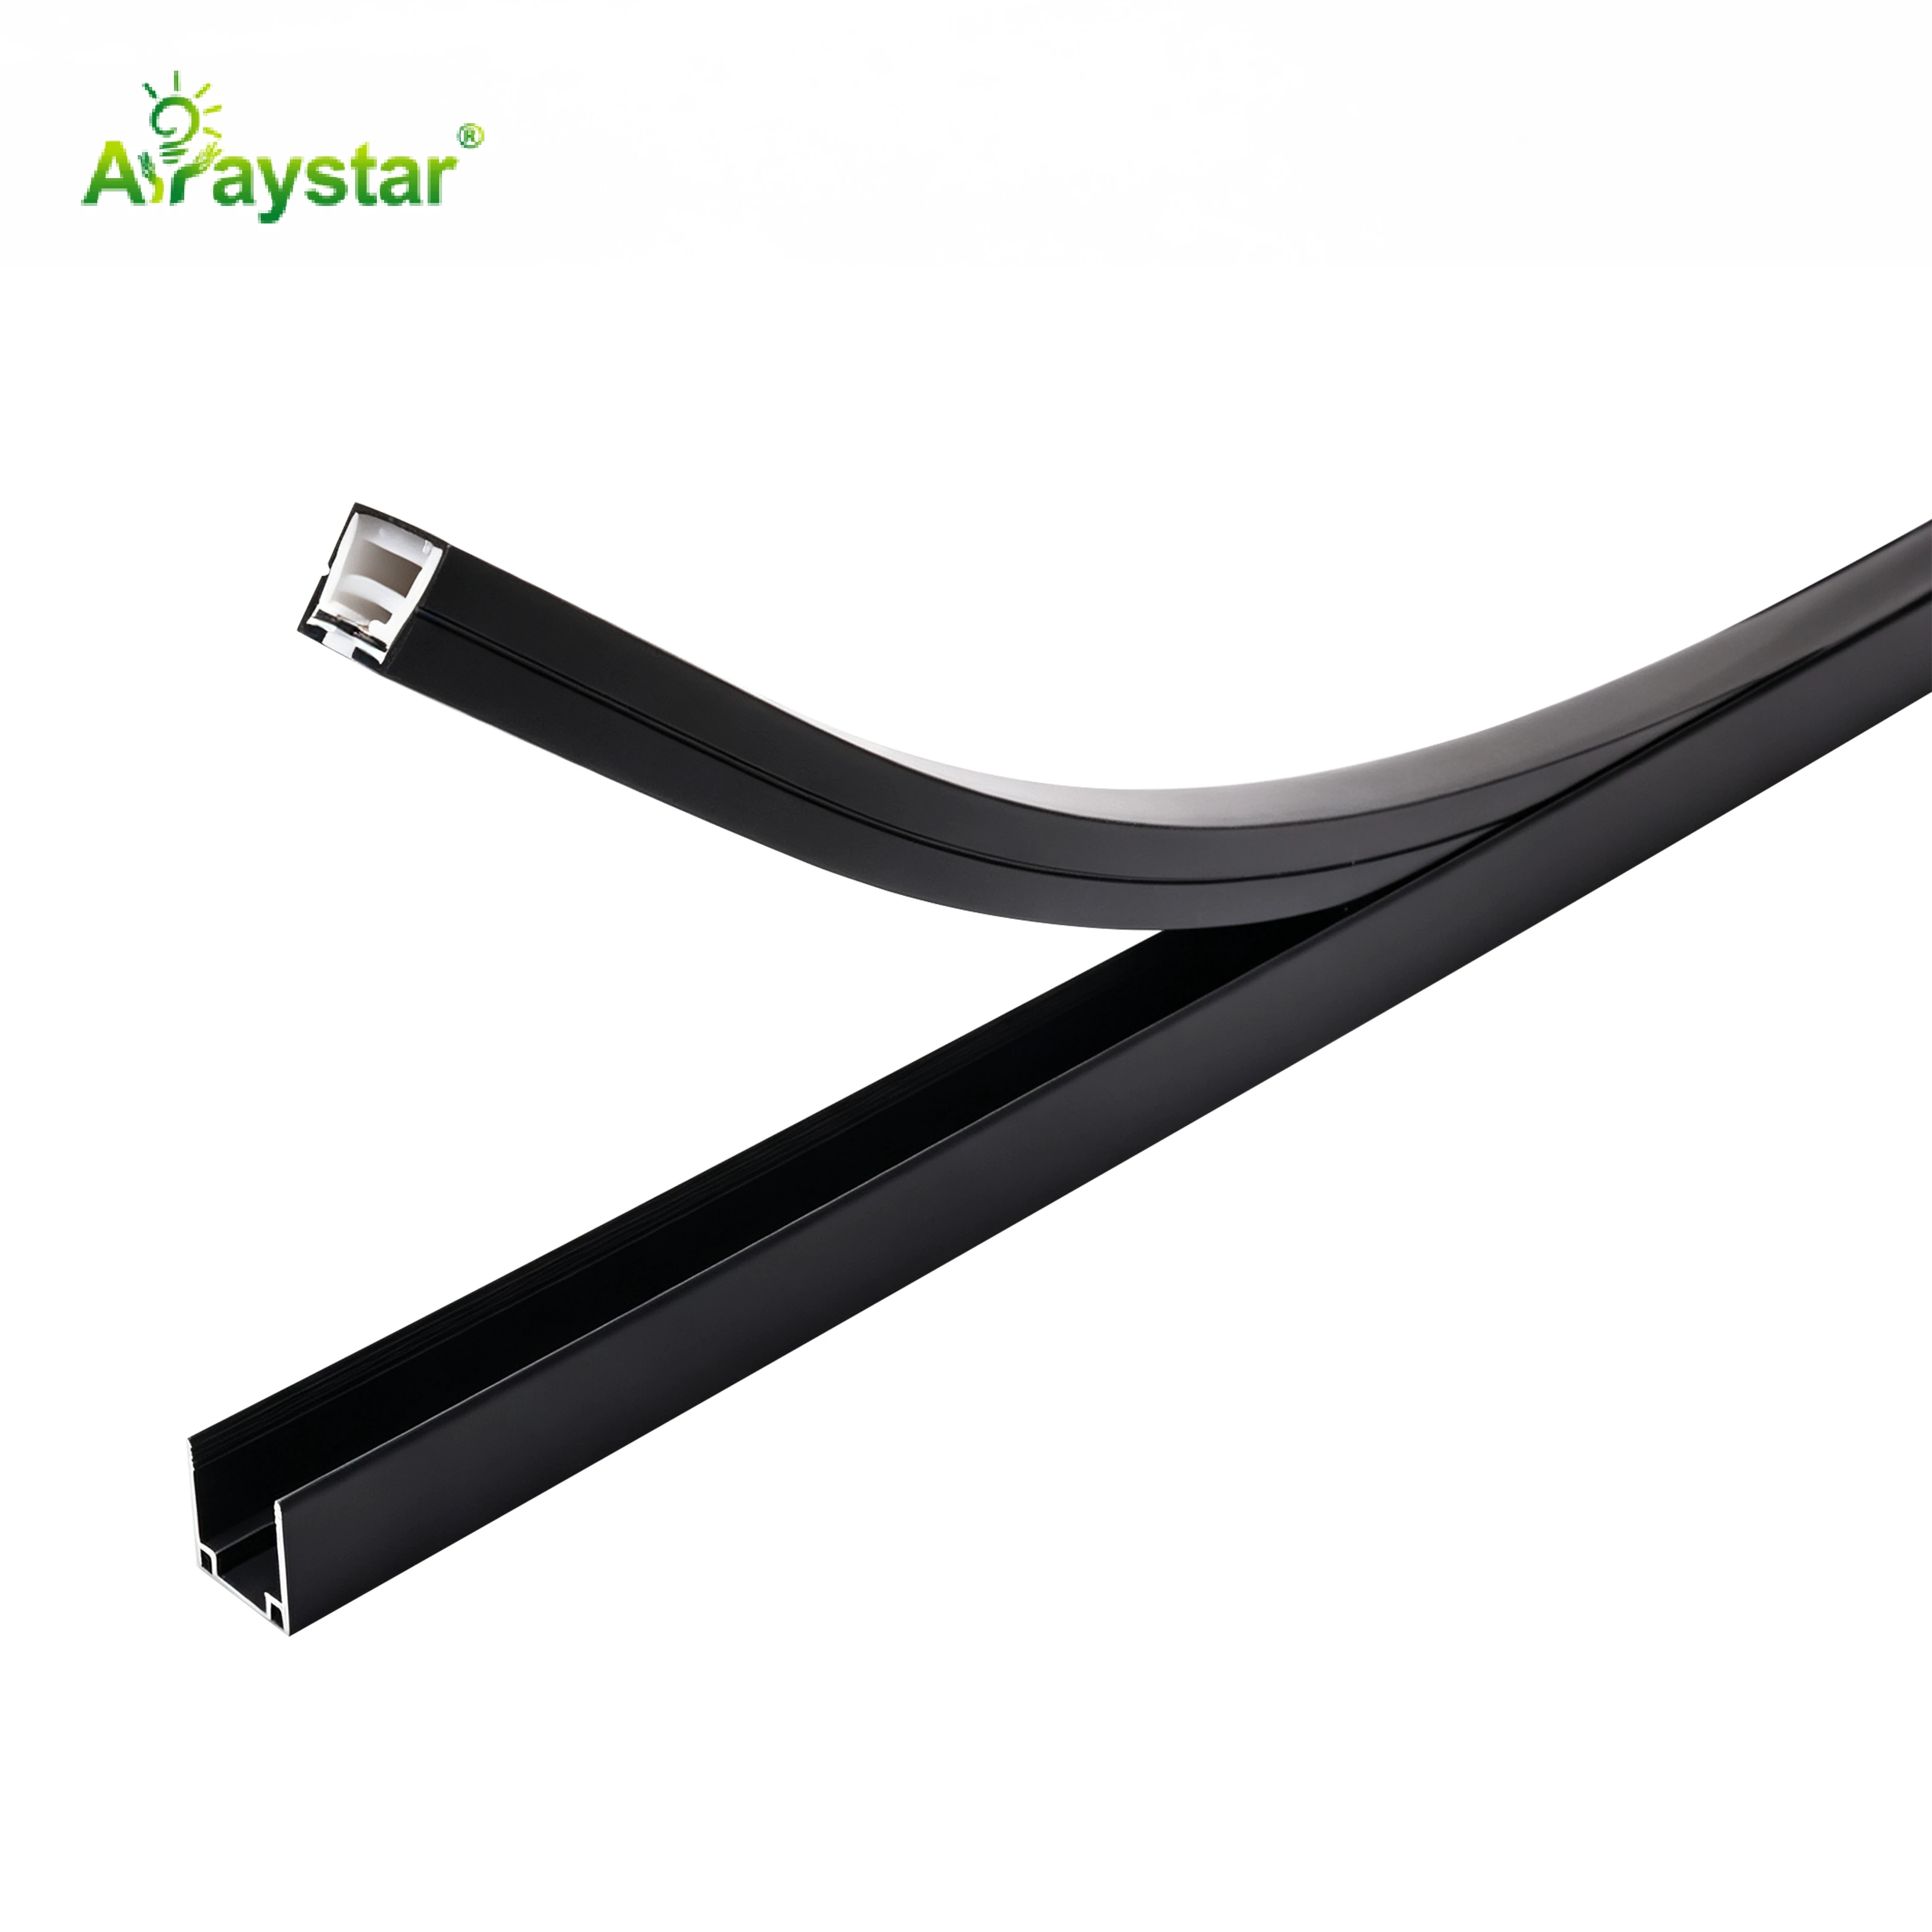
Setting the lip to the finished wall, not the raw board
The mistake I see most often is setting the channel level with the bare gypsum. Plaster adds three to five millimetres, and a skim coat adds another one to two. If the lip is flush with the raw board, it ends up buried by the time the decorator leaves. I set the lip one and a half to two millimetres proud of the planned finished surface so the skim lands it exactly flush.
Work backwards from the painted finish, not from the bare board.
| Build-up layer | Typical thickness | Lip offset to plan for |
|---|---|---|
| Gypsum board | 12.5 mm | Zero baseline |
| Base plaster / backing coat | 3-5 mm | +4 mm above board |
| Final skim coat | 1-2 mm | +1.5 mm over backing |
| Paint / emulsion | 0.1 mm | Ignore |
Carry a straight edge and a depth gauge on site. Every few metres, drop the gauge into the trough and confirm the lip reads the same number. If one section has drifted, correct it before the plasterer gets there, not after.
Corner returns and the Square19 reveal
Inside and outside corners are where the lip geometry goes to pieces. A straight channel lays flat, but at a return the plasterer has to feather up to two flanges meeting at an angle. I use a dedicated corner profile rather than trying to mitre a straight one, because the corner piece already carries the lip on both faces at the correct depth.
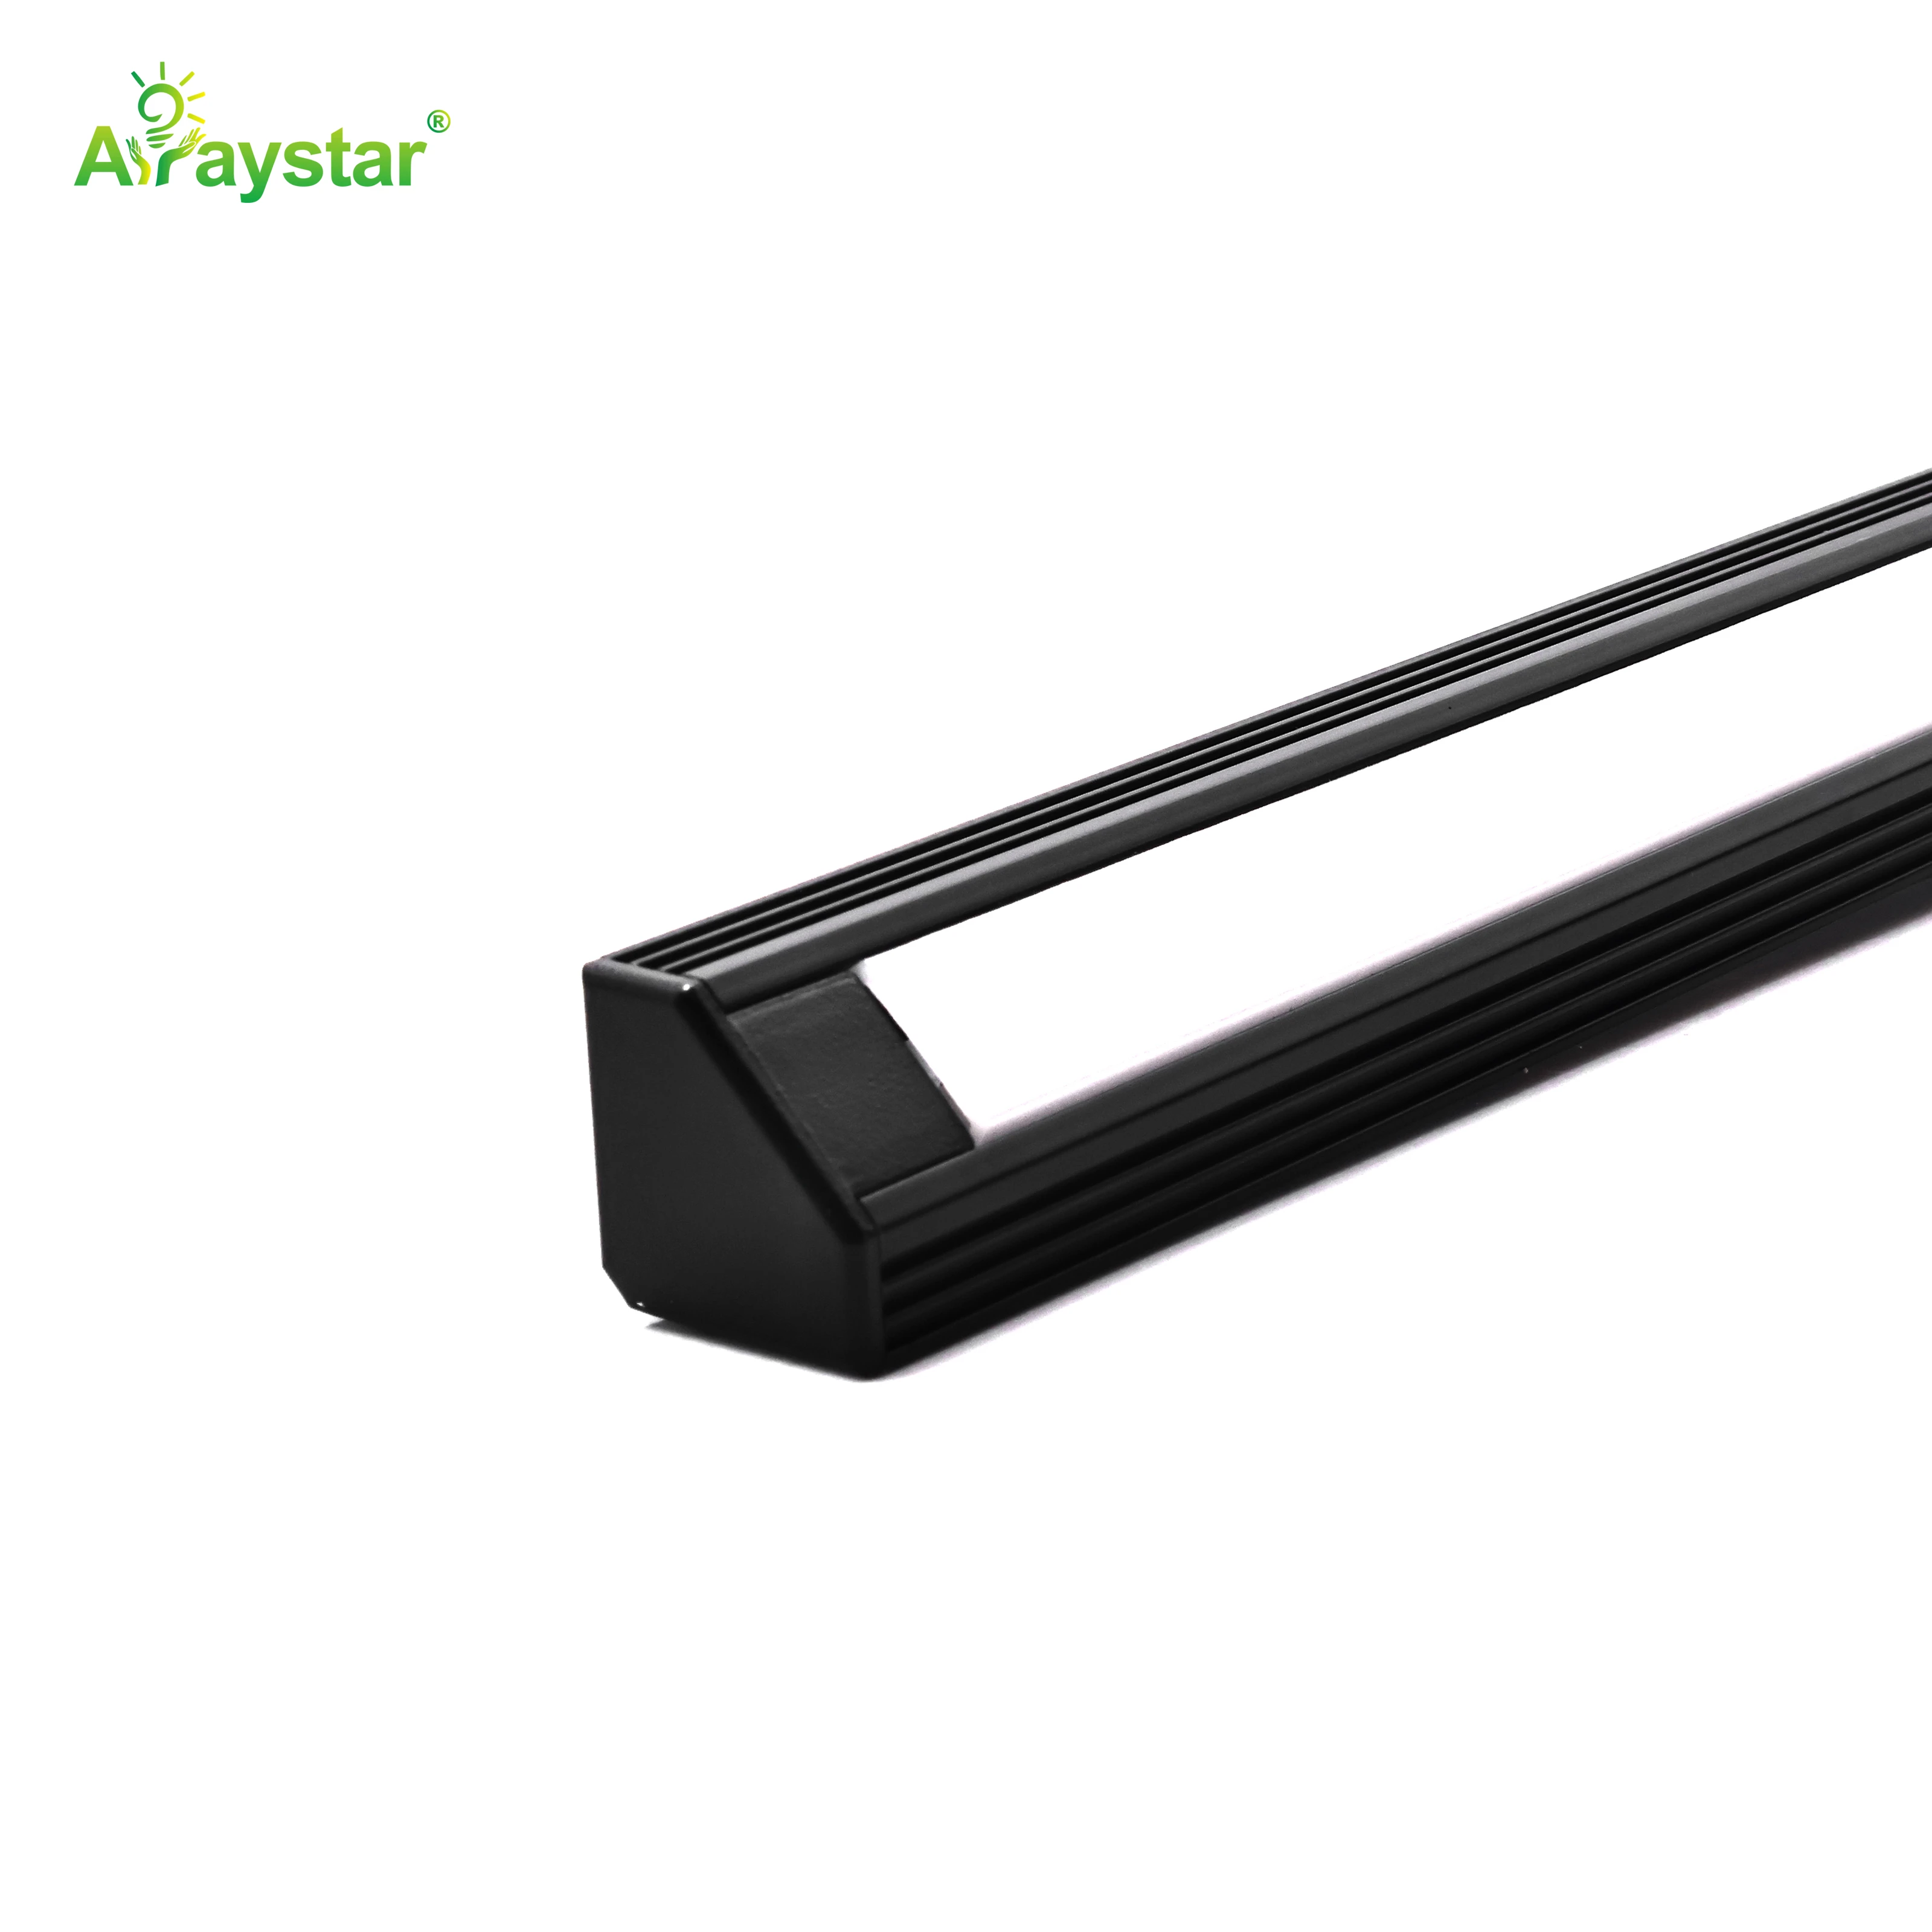
Where the corner piece meets a straight run, I leave a 2 mm expansion gap and fill it with a small bead of neutral-cure silicone after the plaster dries. Aluminium moves and gypsum does not; a hard joint here cracks the skim by the second winter.
Diffuser seating and the false-flush trick
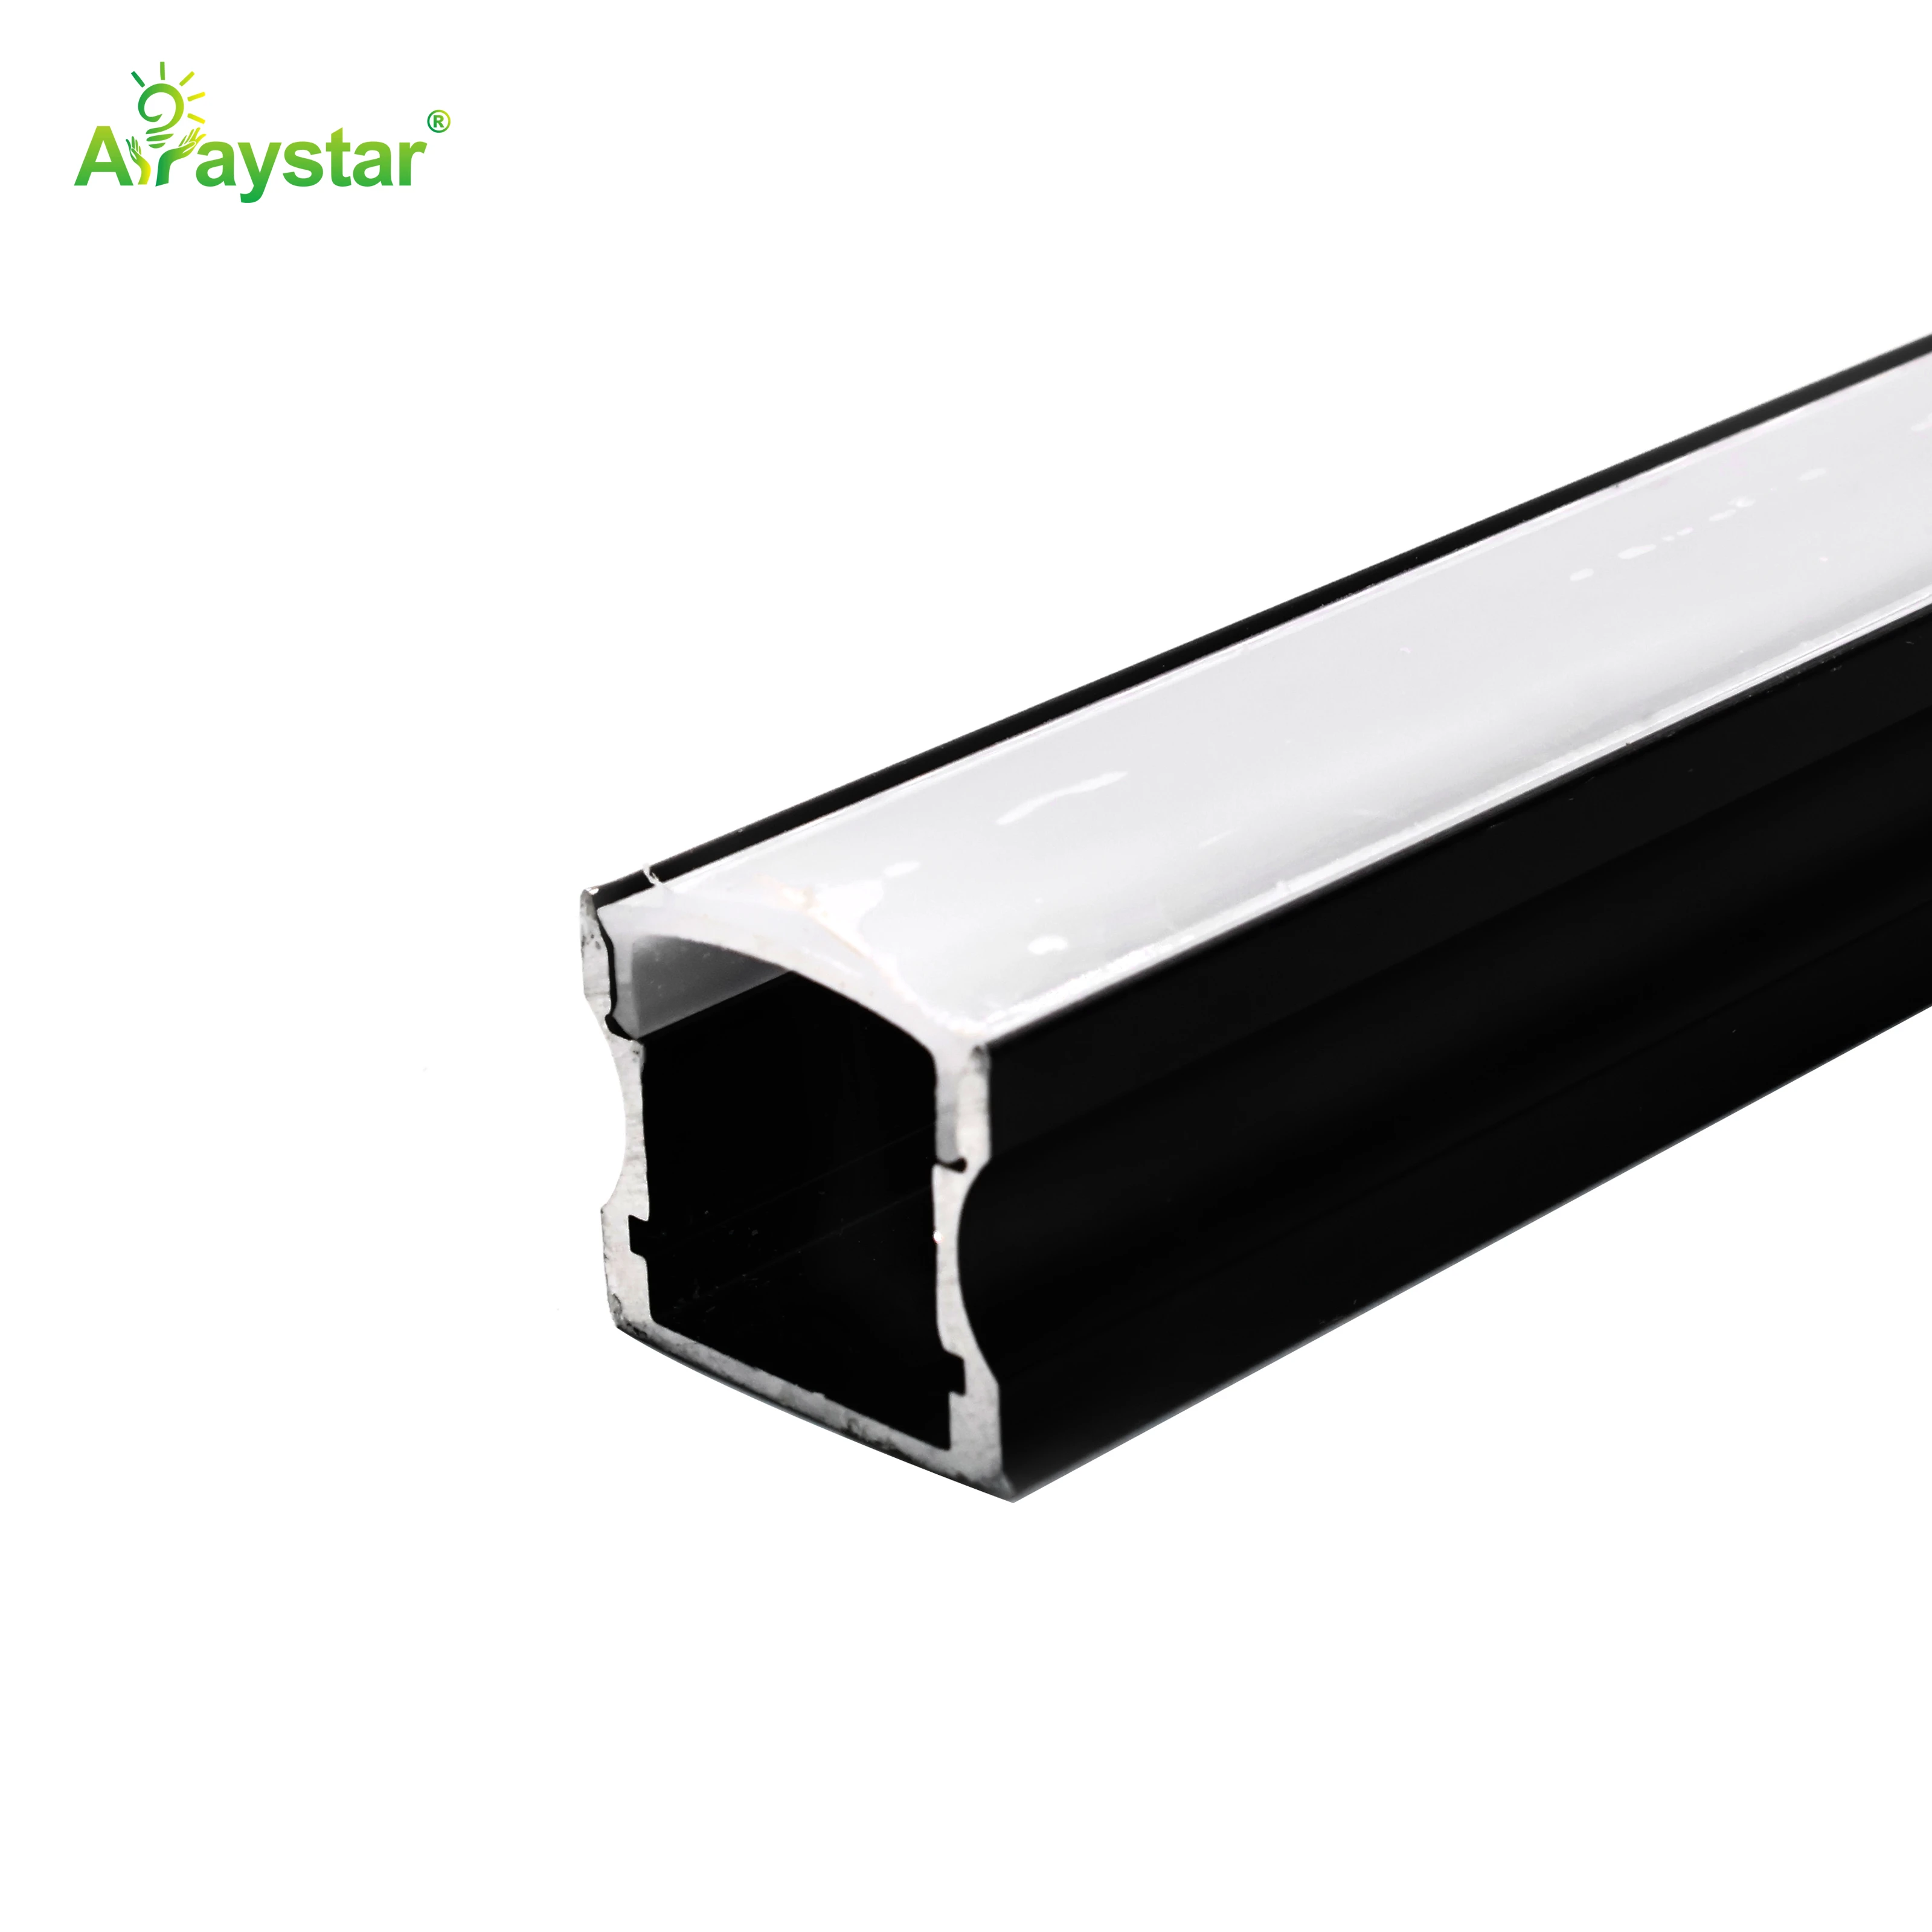
Once the wall is painted, click the diffuser in and look at the joint from a metre away, not nose-on. A diffuser that seats flush on the aluminium but sits a touch below the plaster throws a soft shadow. If that happens, I lift the diffuser and slip a 0.5 mm PE foam strip under its lower flange to raise it by the thickness I need. It is a ten-minute fix and beats grinding plaster out.
The handover look I walk at night
I never judge a plaster-in run in daylight. I switch it on after dark, stand back three metres, and walk the whole length slowly. A properly flush lip gives a continuous line of light with no dark groove and no silver edge. Any place where the line wavers is a lip that drifted on install, and I mark it while I can still pull the plasterer back.
Recommended Products
Frequently Asked Questions
How far should the channel lip sit above the plasterboard?
I set it about one and a half to two millimetres proud of the planned finished wall, not the bare board. Backing plaster and skim add up to five millimetres, so flush-on-board ends up buried. The goal is the diffuser landing exactly flush with the painted face.
Why is there a dark line along my plaster-in LED?
Almost always the lip is sitting a millimetre too deep, so the light has to climb out of a trough and casts a groove shadow. Check the reveal with a depth gauge. If it is shy, raise the diffuser with a thin foam strip rather than grinding plaster out after painting.
Can I mitre a straight channel around a corner?
You can, but the lip geometry rarely survives the cut and you end up with an uneven reveal. I use a purpose-made corner profile that carries the flange at the correct depth on both faces, and leave a 2 mm silicone gap where it meets the straight run for thermal movement.
Should plaster cover the edge lip of the channel?
No. The plaster should skin up to the lip and finish flush with it, never over it. Plaster over the lip buries the diffuser and kills the light spill. Tell the plasterer to stop at the aluminium edge and feather the paint line there instead.
How do I judge a plaster-in job is right?
Switch it on after dark and walk three metres back. A flush lip reads as one continuous line with no dark groove and no silver edge. Daylight hides the fault; the dark exposes every drifted millimetre. Mark any waver before you hand over, not after the client calls.
Need help with your LED project?
Get factory-direct pricing, free samples and engineering support within 24 hours.
Email: info@arraystarled.com | Phone: +86-0755-2103-6746 | WhatsApp: 0086 1581 8514 077
Need to size your power supply? Use our LED Strip Power Calculator to find the right driver in seconds.







