
WLED on ESP32: A DIY Guide to Running Addressable LED Strips From Your Phone or Home Assistant
- 2026-09-29 12:08
- /
- Arraystar LED
If you want phone control, music sync, and Home Assistant integration for addressable strips without paying for a proprietary controller, WLED on an ESP32 is the answer. It's free open-source firmware, genuinely easy to flash, and once set up it's rock solid. I've put these in desks, bedrooms, and a few bar fit-outs. Here's the whole process from blank board to working lights.
What you need
- An ESP32 dev board (more GPIO, Wi-Fi built in, handles segments better than the older ESP8266).
- Addressable strip — WS2812B (5V) or WS2815 (12V). For a desk/bedroom I like WS2815 for less voltage drop; the IC differences are in the addressable IC guide.
- A matching 5V or 12V power supply sized to the strip.
- Jumper wires; a level-shifter is optional for short runs.
Flashing WLED (the easy part)
- Go to the WLED web installer in a Chrome/Edge browser and plug the ESP32 in via a data USB cable.
- Click install, choose the ESP32 build, and let it flash — no command line needed.
- When it boots, the board creates a Wi-Fi access point. Join it, follow the captive portal to enter your home Wi-Fi details, and it reconnects to your network.
- Find its IP (shown in the portal or your router) and open it in a browser — that's the WLED control UI. The WLED app on your phone finds it automatically.
Wiring it correctly
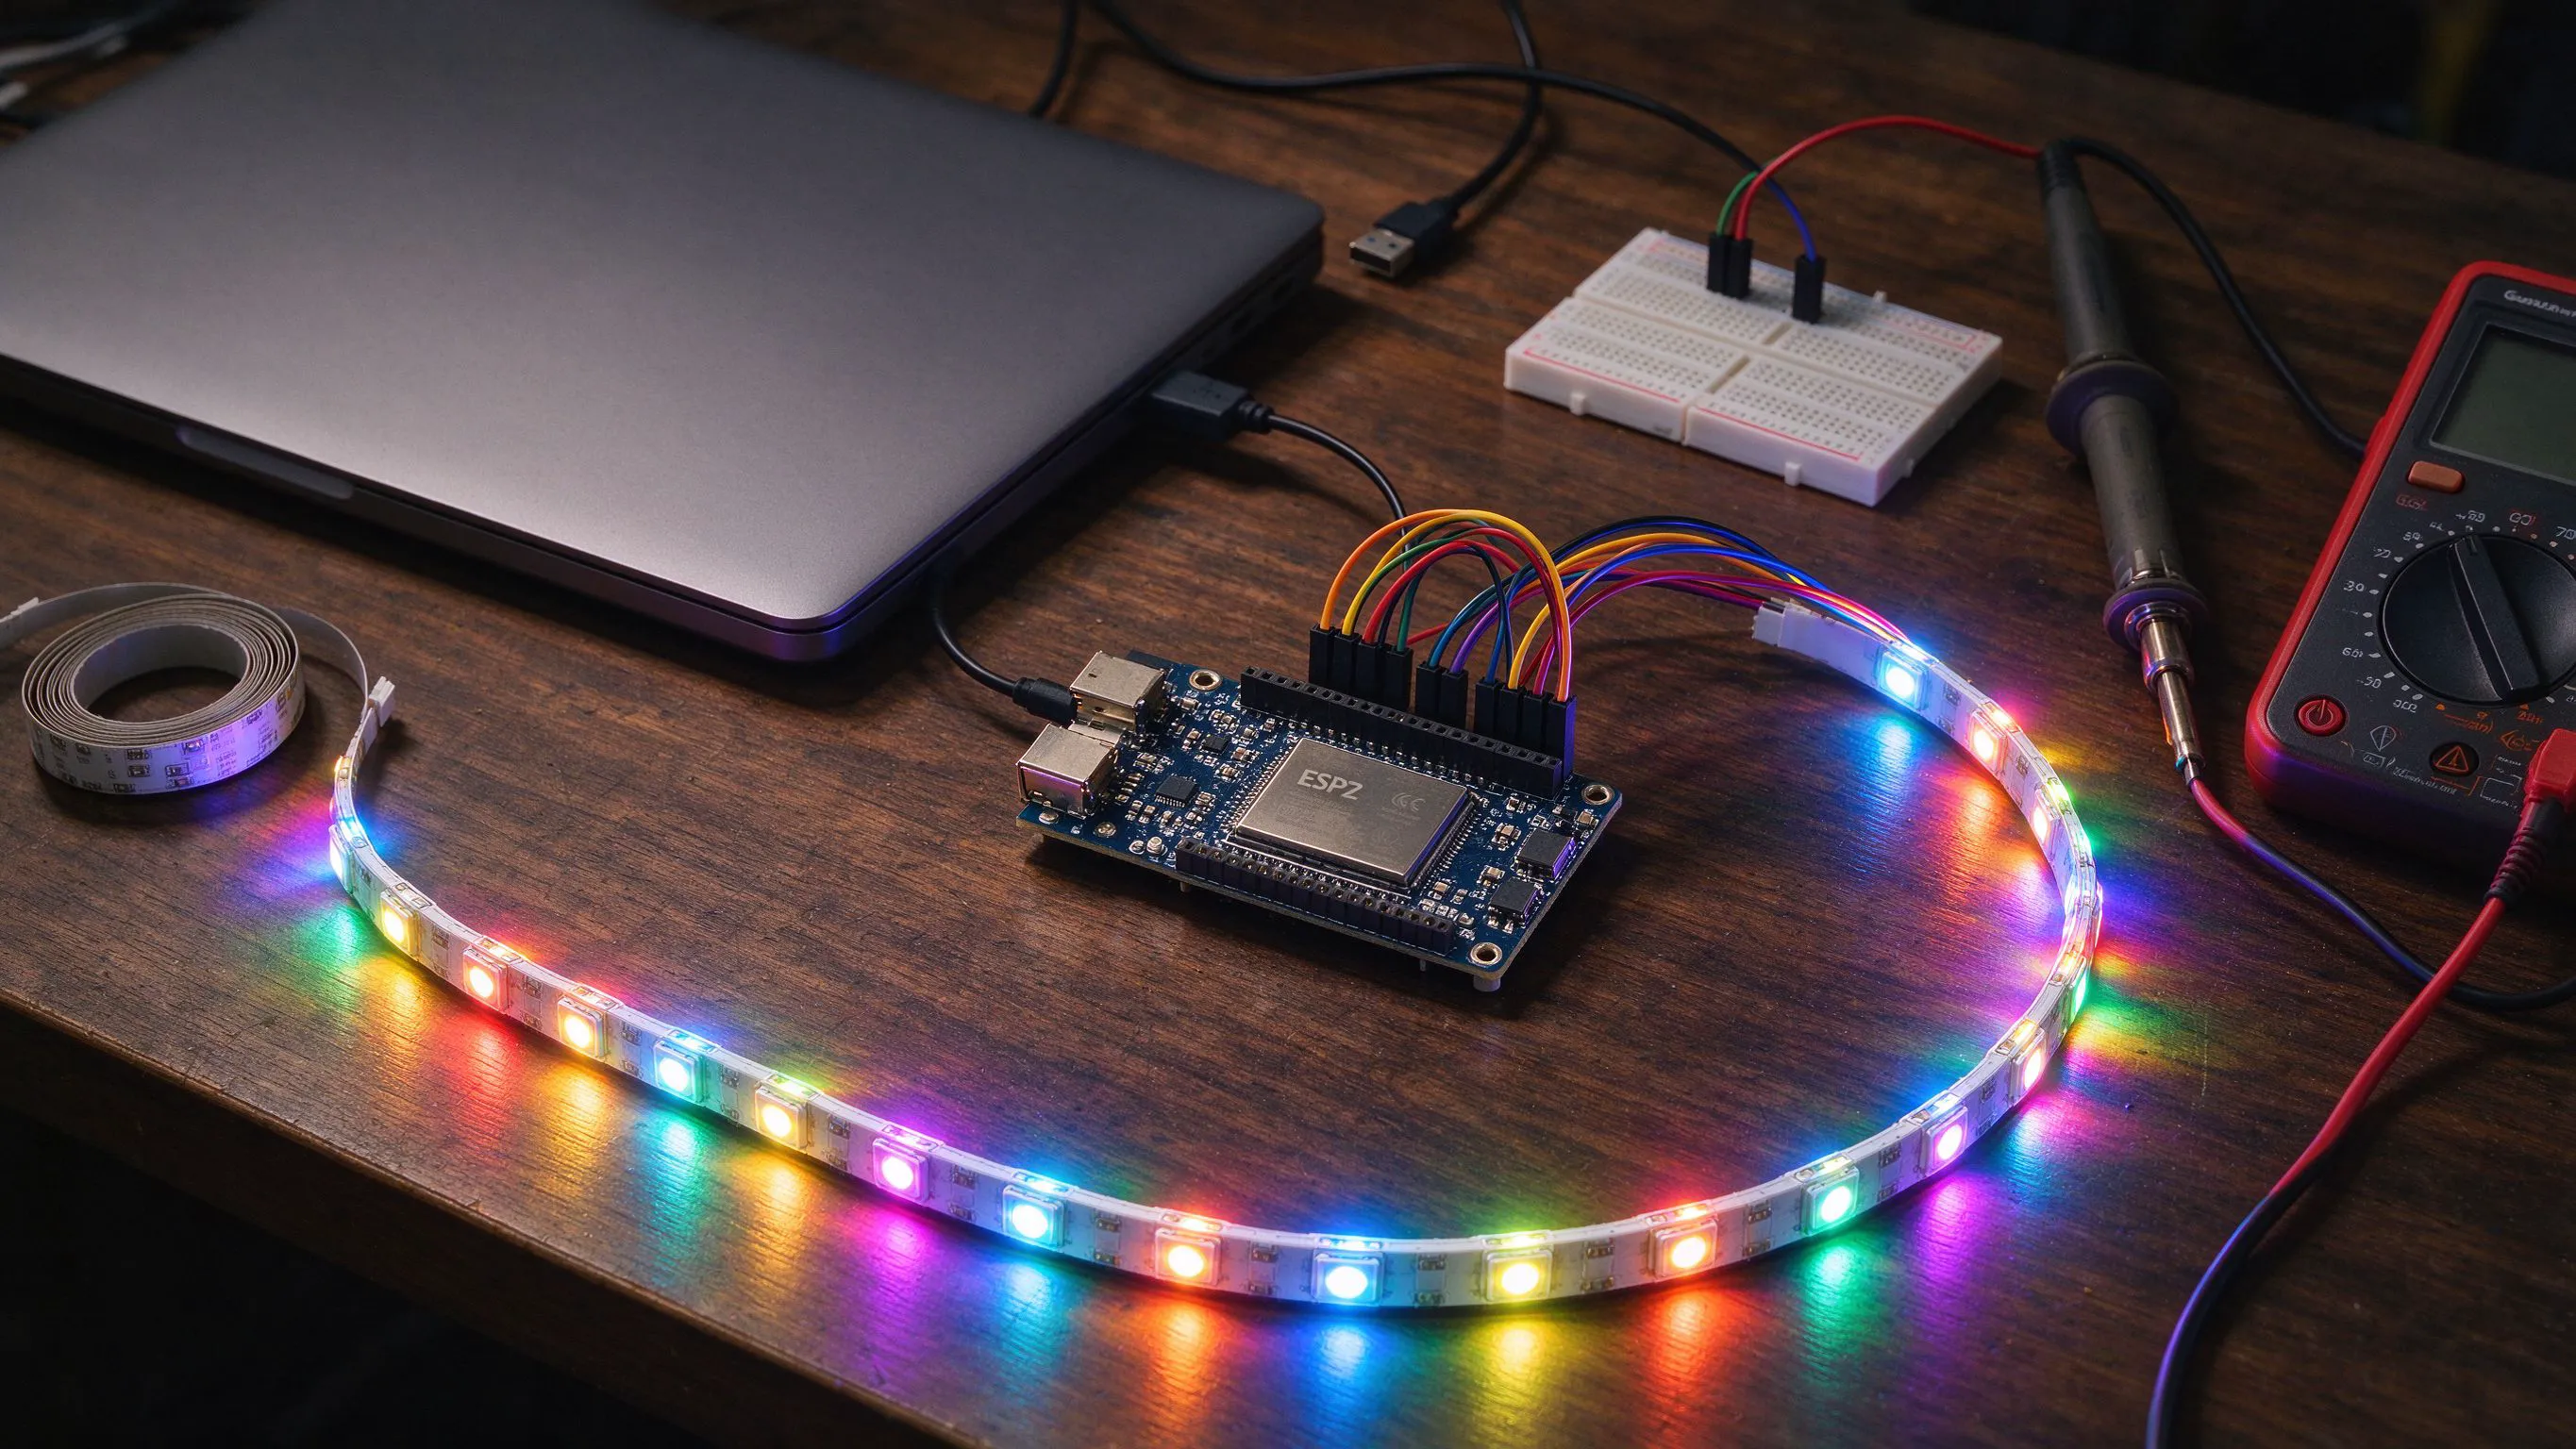
Connect the strip's data-in (DIN) to a GPIO pin on the ESP32 (GPIO2 is a common default in WLED settings). The crucial step people miss: join all the grounds together — the power supply ground and the ESP32 ground must be common, or the data signal has no reference and the strip misbehaves. Power the strip from the supply (not the board's USB for more than a few LEDs). Add a large capacitor (around 1000µF) across the strip's power terminals and a resistor (300–500Ω) on the data line for protection on permanent installs.
Power injection
Addressable strips draw a lot at full white — WS2812B can pull ~60mA per pixel. Don't run the whole strip from one end; inject power from the supply every metre or so on 5V, less often on 12V WS2815. The driver sizing math applies here too. Undersized feed wire causes the same dimming, so use the wire gauge guide.
WLED features worth setting up
- Segments — split one strip into logical areas (e.g. desk backlight vs under-monitor) with separate effects and brightness.
- Effects and palettes — hundreds built in; set boot defaults and a default brightness under 100% to avoid a full-white power spike on power-up.
- Sync — UDP sync across multiple controllers; the microphone module adds real-time music reactivity.
- Home Assistant — WLED is auto-discovered over the WLED integration; you get brightness, effect, color, and segment controls in HA and can automate them.
The no-solder option
If soldering isn't for you, pre-flashed WLED controllers with screw terminals are available — wire the strip and supply to the terminals and skip the board work. You lose a little flexibility but it's the fastest route.
FAQ
Why are my colors wrong or the first pixel flickering?
Usually a missing common ground or no data-line resistor. Confirm grounds are joined, and for long data runs add a 300–500Ω resistor or logic level shifter.
How many LEDs can one ESP32 drive?
Hundreds to 1,000+ in terms of data, but power must come from the supply with injection — the board only provides the data signal, not the LED power.
Can I control WLED without internet?
Yes — it works entirely on your local network, and the AP mode lets you control it directly even with no router at all.
Tell me the strip type, length, and whether you use Home Assistant and I'll spec the board, supply, and wiring for a clean WLED build matched to an addressable strip from our range.







